Integrating Unity Ads into Your Flutter App
This guide walks you through integrating Unity Ads into your Flutter app.
1. Creating Unity Project
Go to the Unity Ads dashboard and log in or create an account. Navigate to the dashboard.
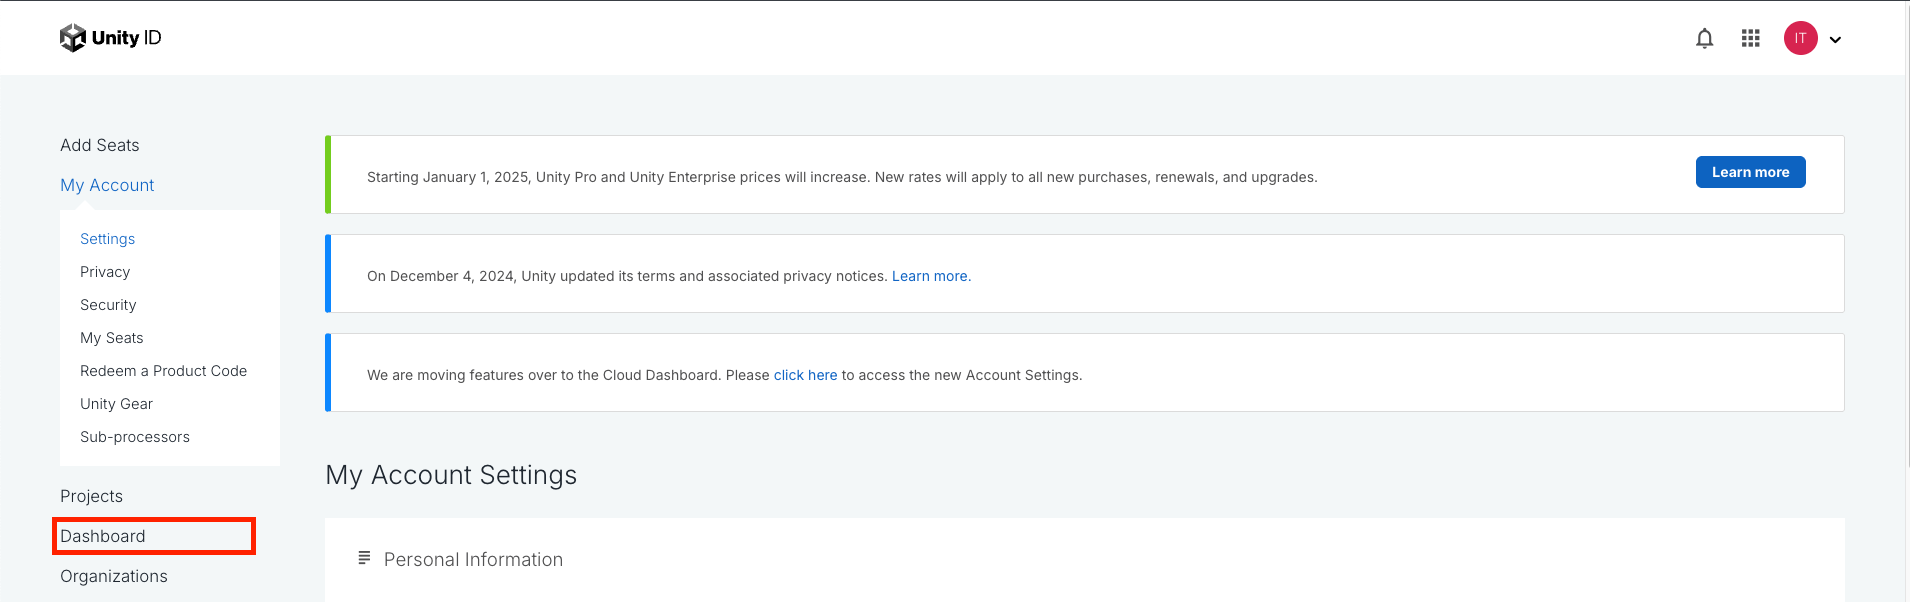
Create a new project and fill in the required details. If you already have a project, skip to Step 2.
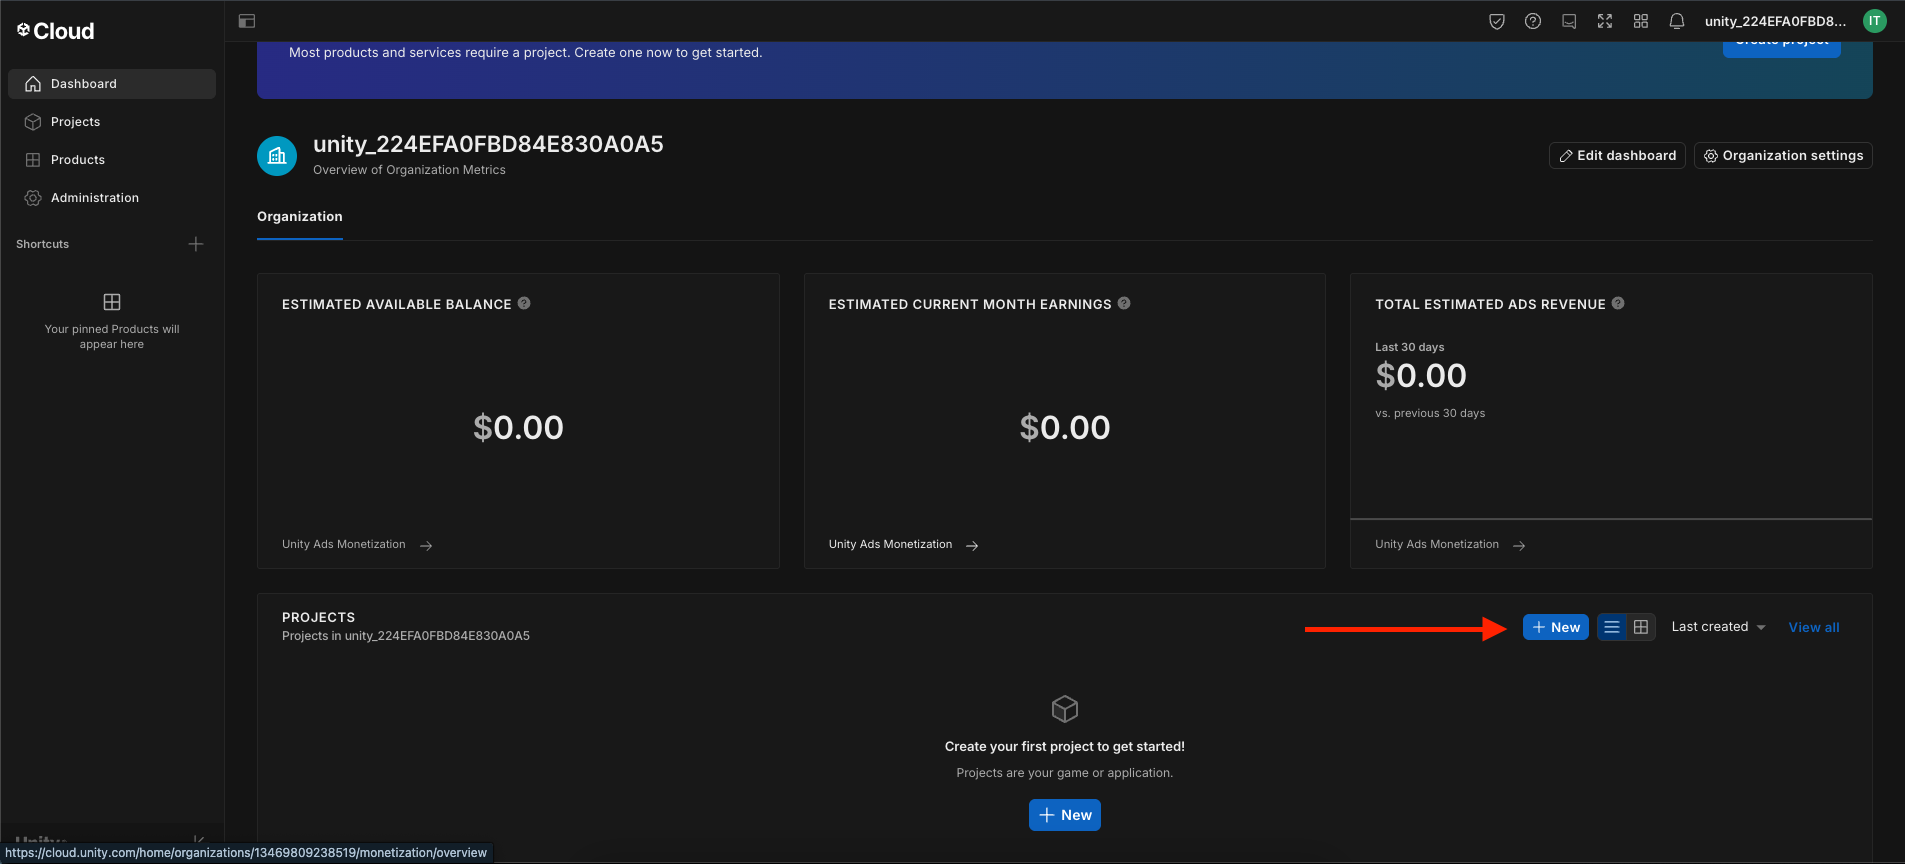
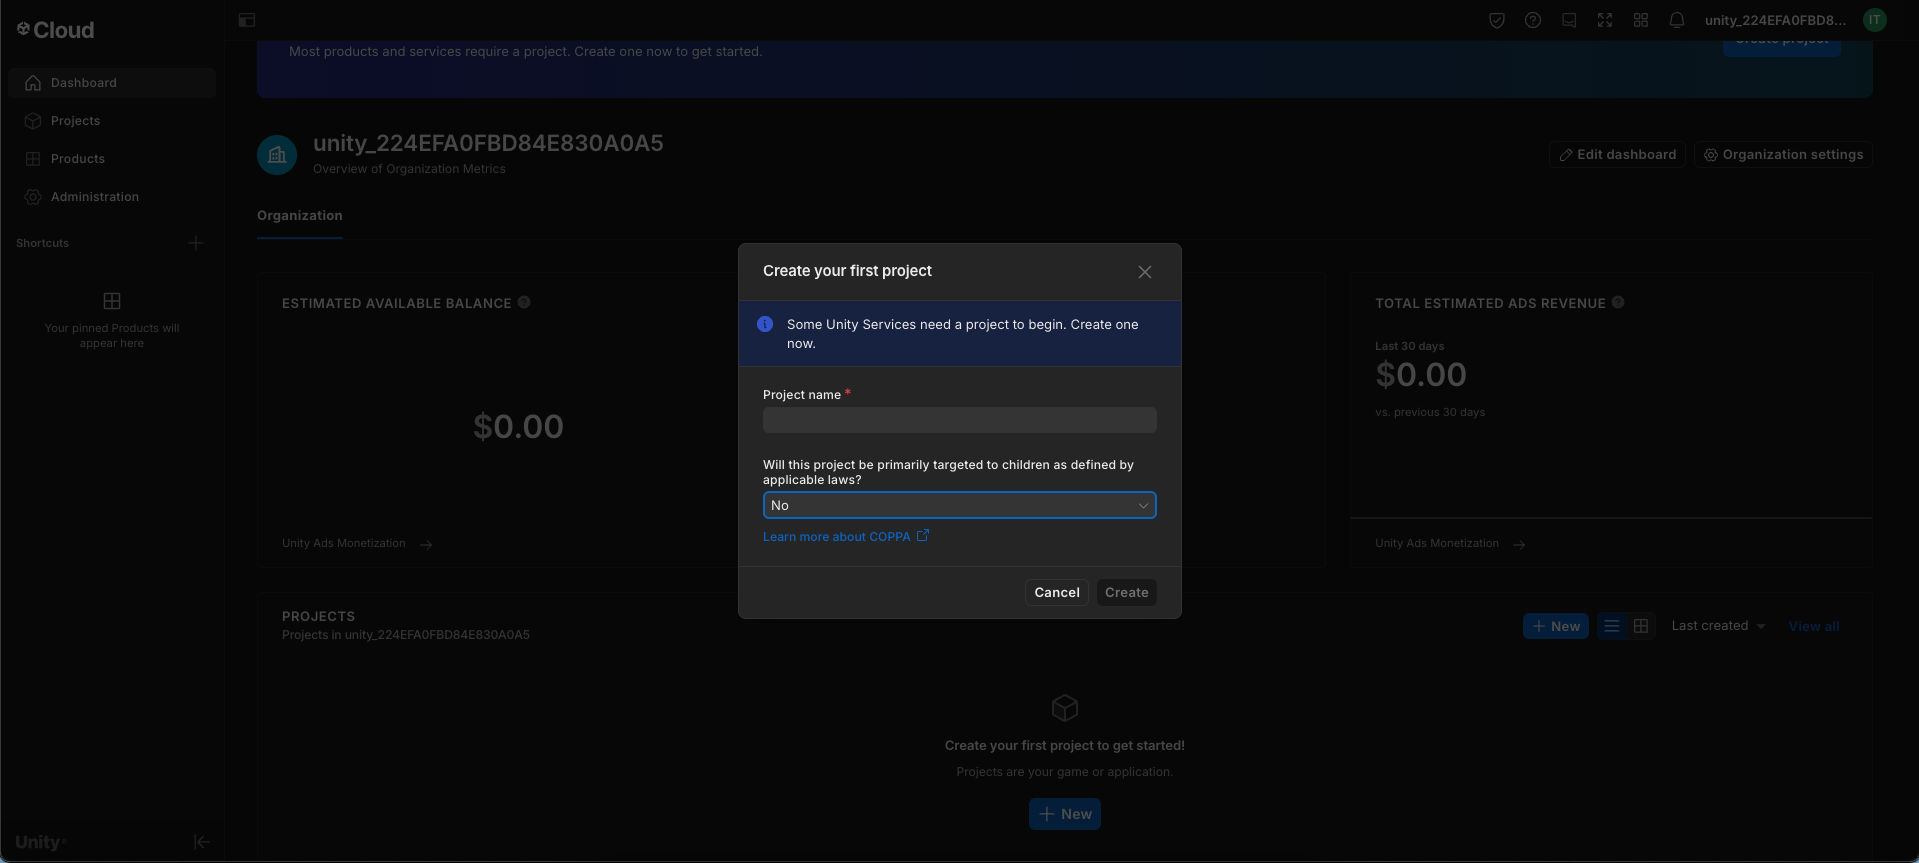
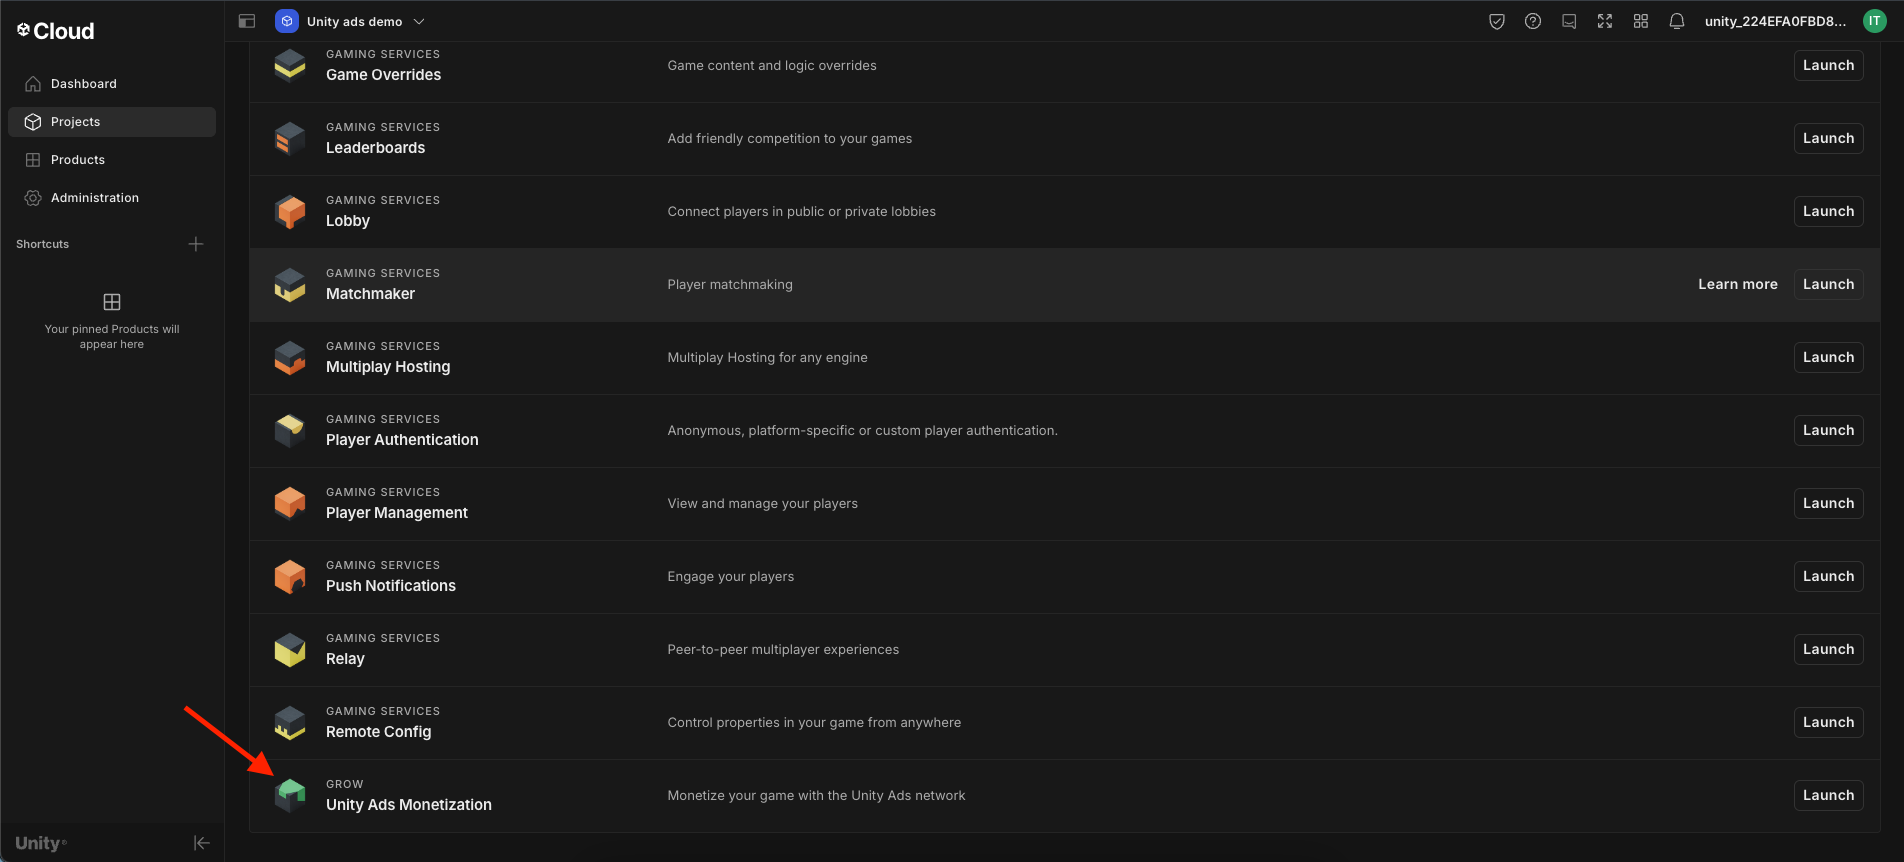
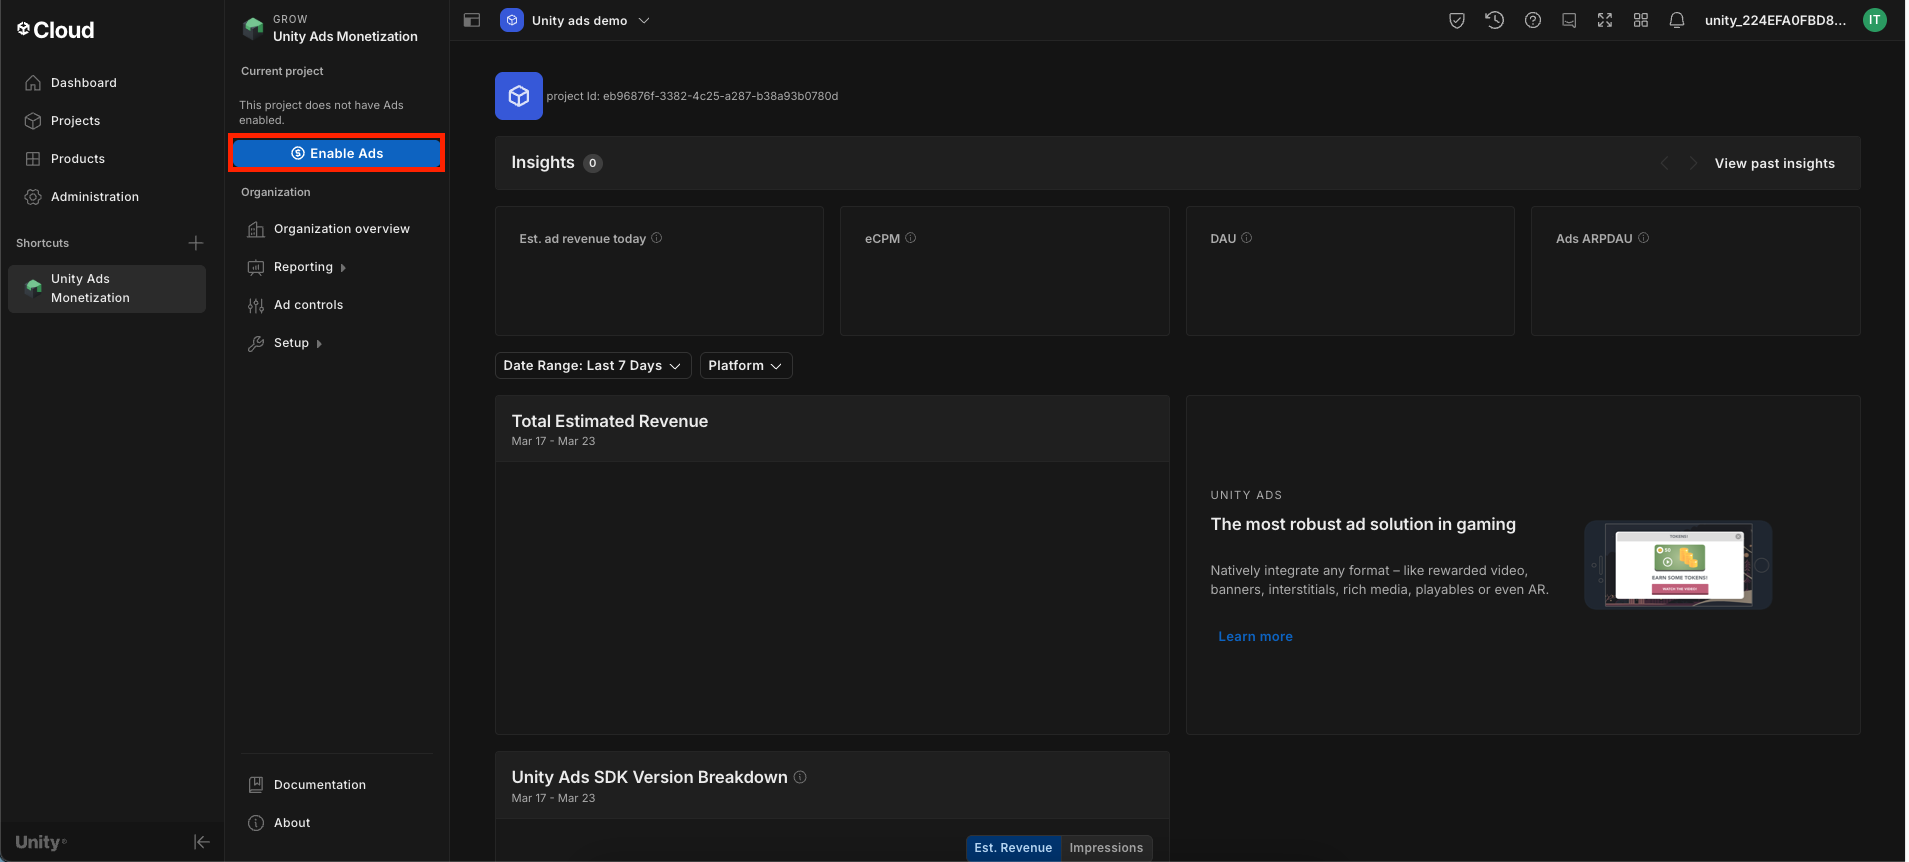
Open your project, scroll down, and locate Unity Ads Monetization.
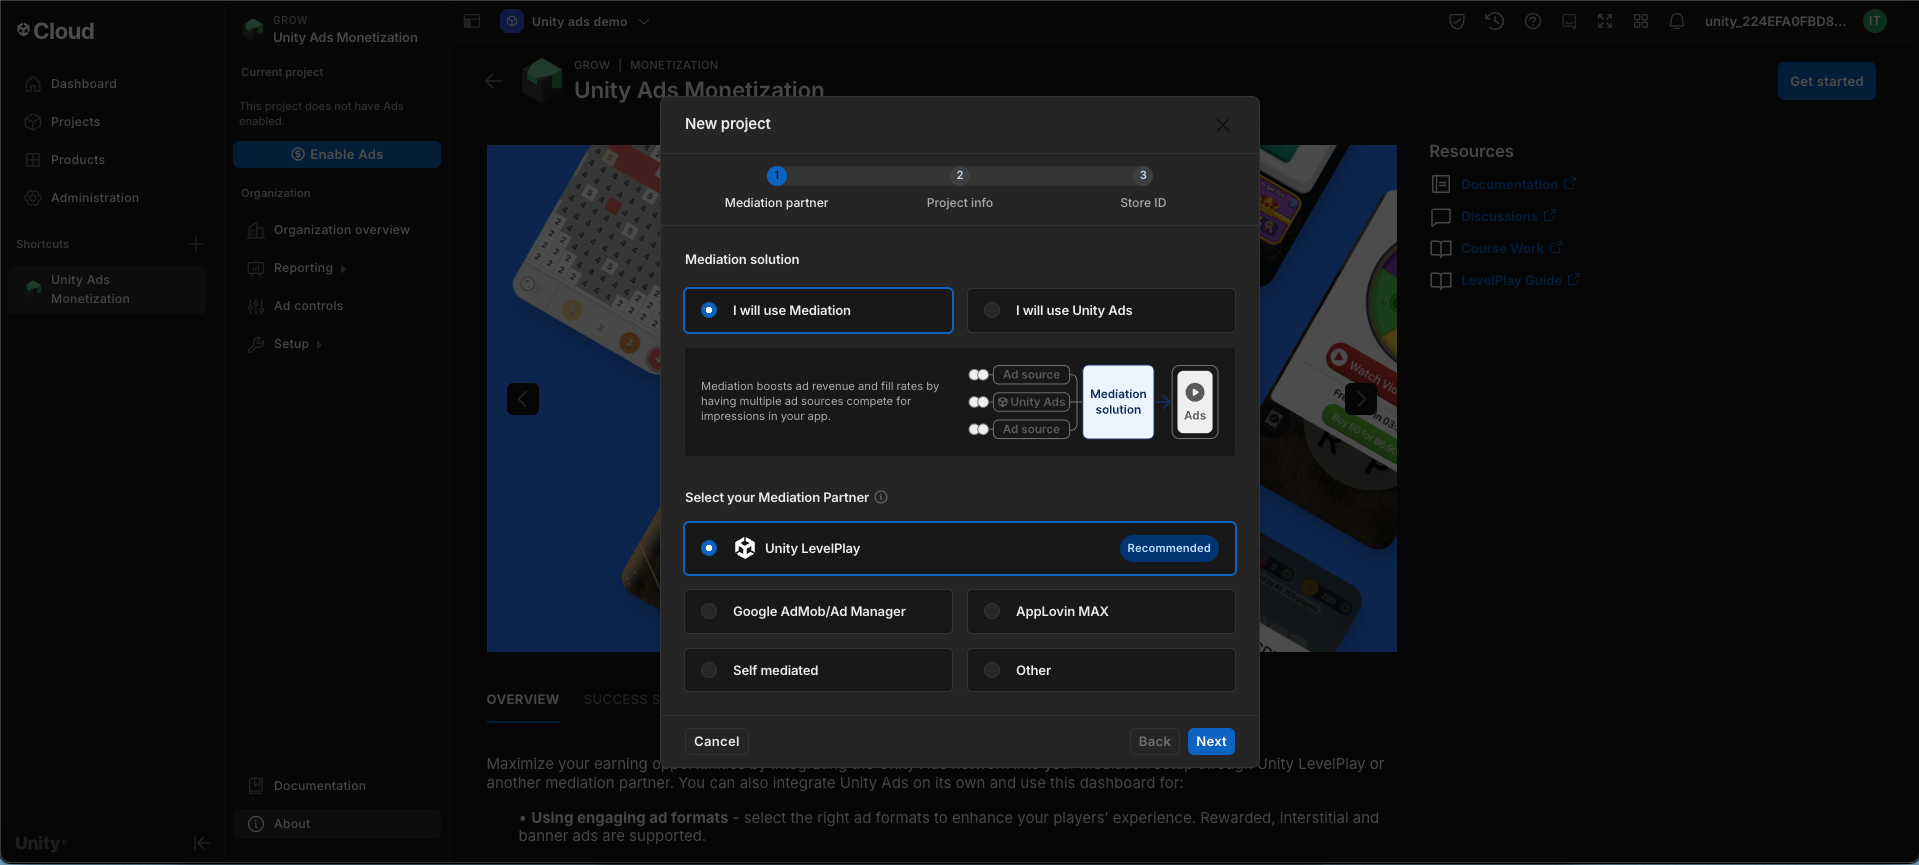
Choose one of the monetization options:
- "I will use Unity Ads": Displays ads only from Unity's ad network. If no ads are available, nothing is shown.
- "I will use Mediation": Allows multiple ad networks, increasing fill rates by displaying ads from other sources if Unity has no available ads.
Using mediation may require additional setup. Read more about it here.
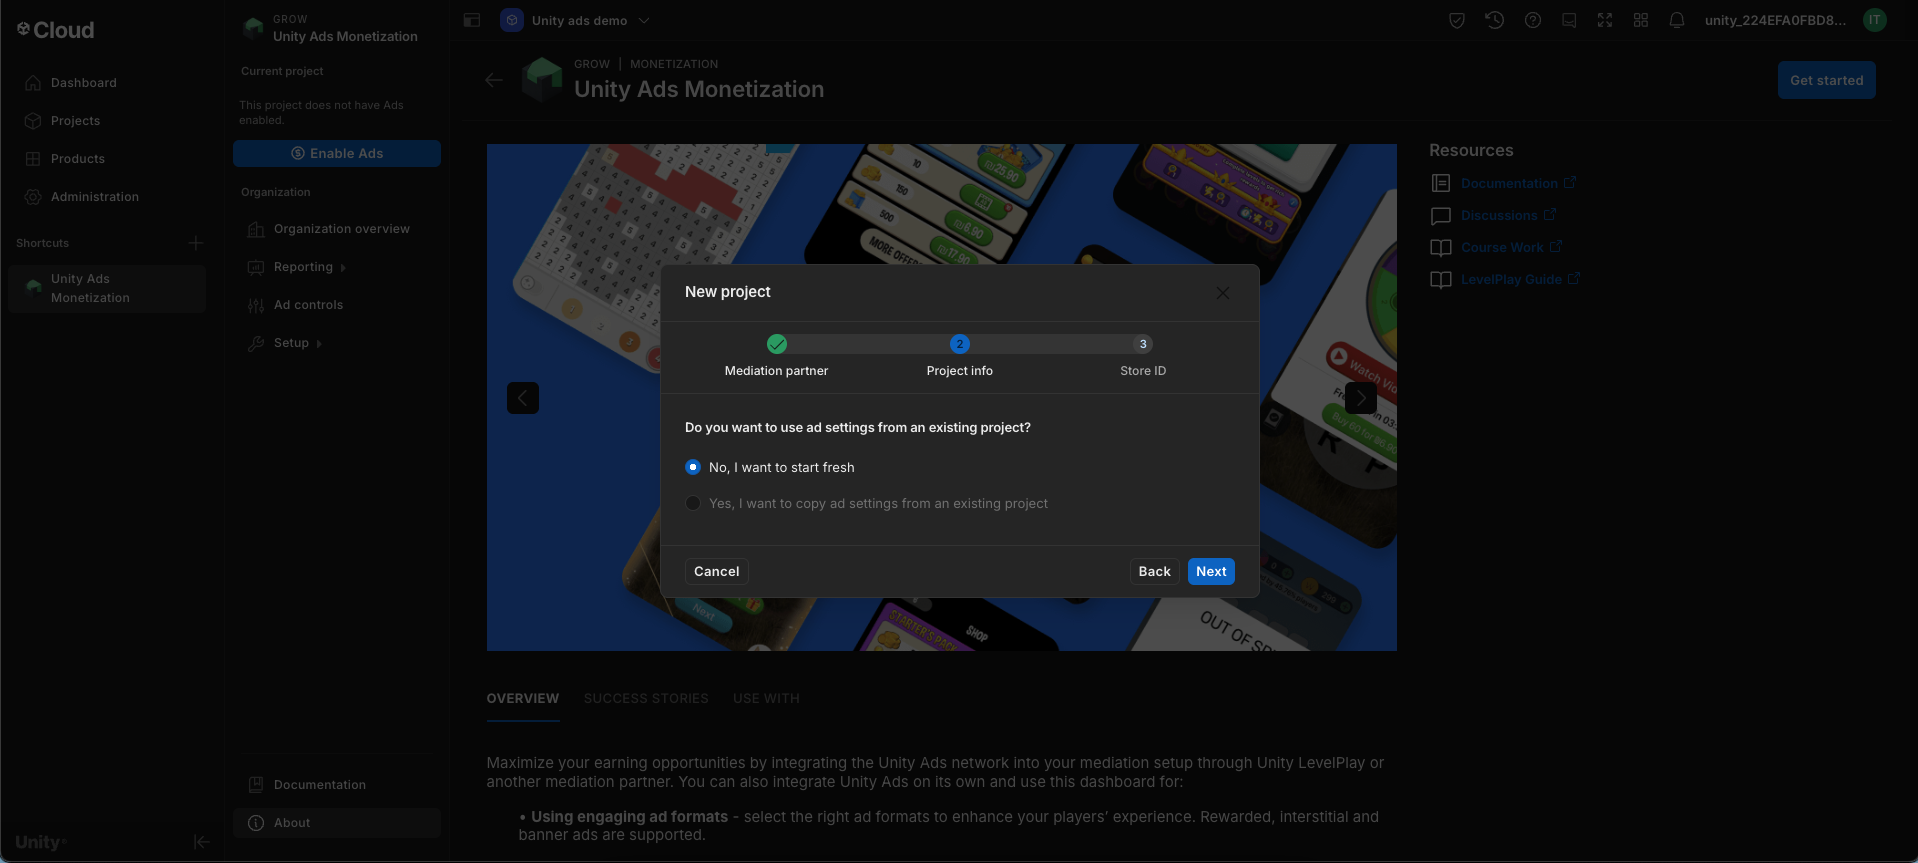
If you have an existing Unity project and want to copy its ad settings, select Yes. Otherwise, choose No.
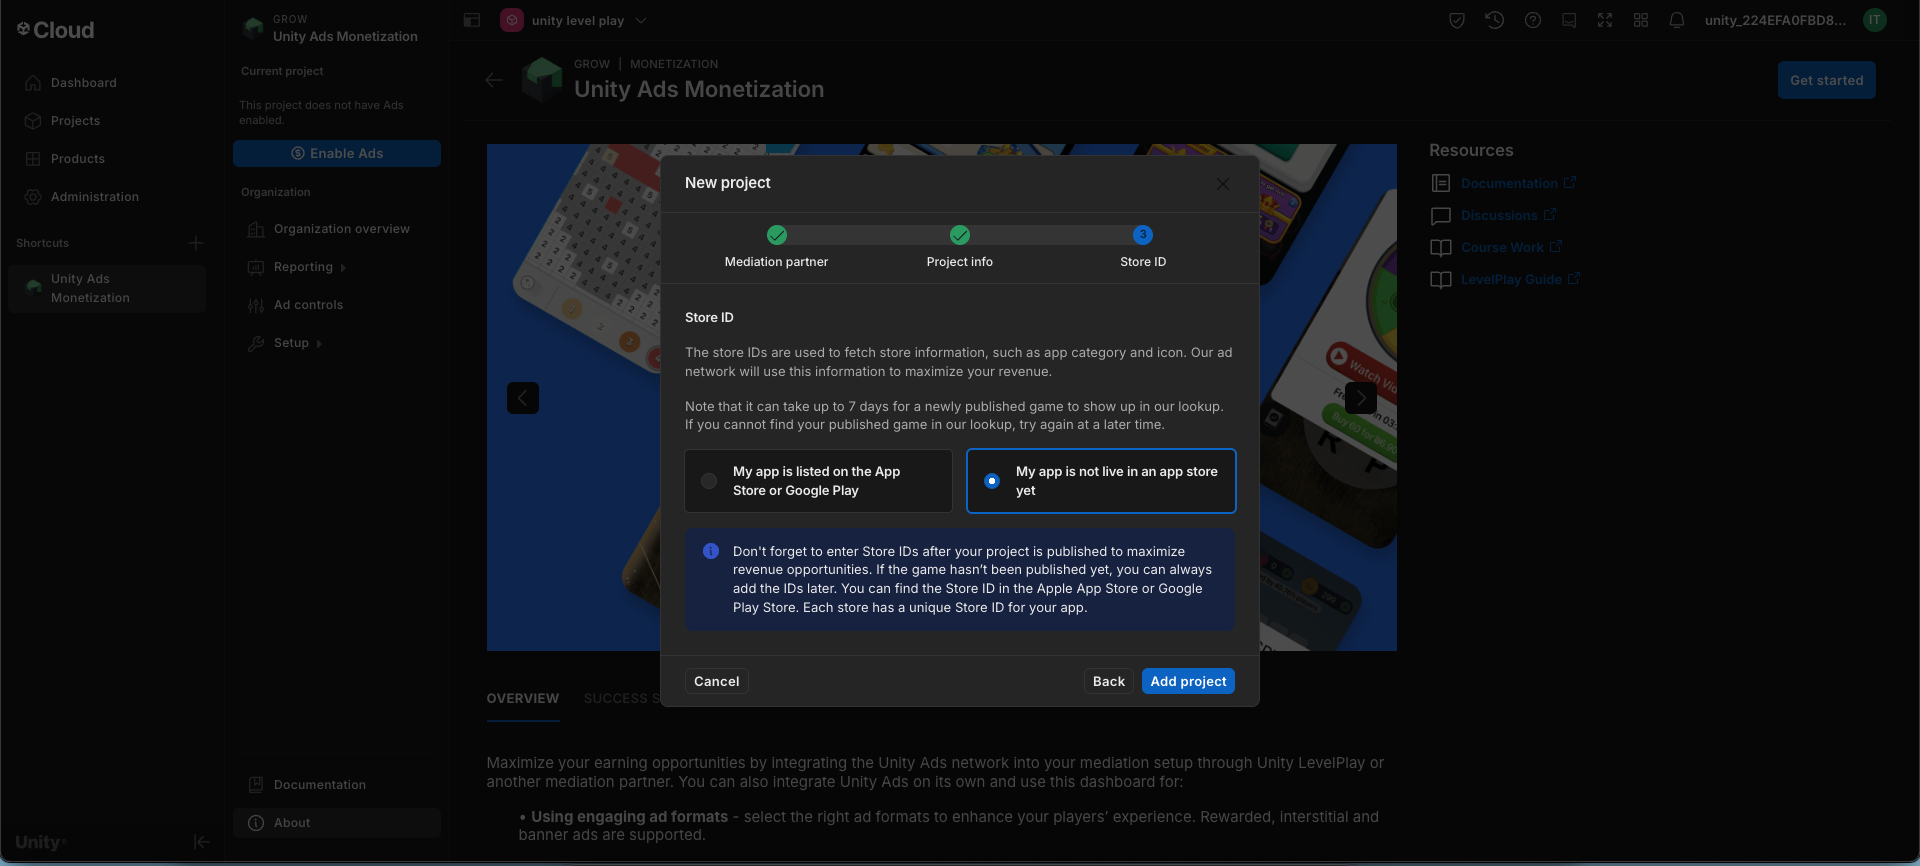
Select "My app is not live yet" and click Add Project.
You can add store IDs later when the app goes live.
Unity Ads is now ready for integration.
2. Integrating Unity Ads
In your admin panel, navigate to the Settings, then locate the Unity Ads configuration options.
Add the required Unity Ad IDs in the admin panel and click Submit.
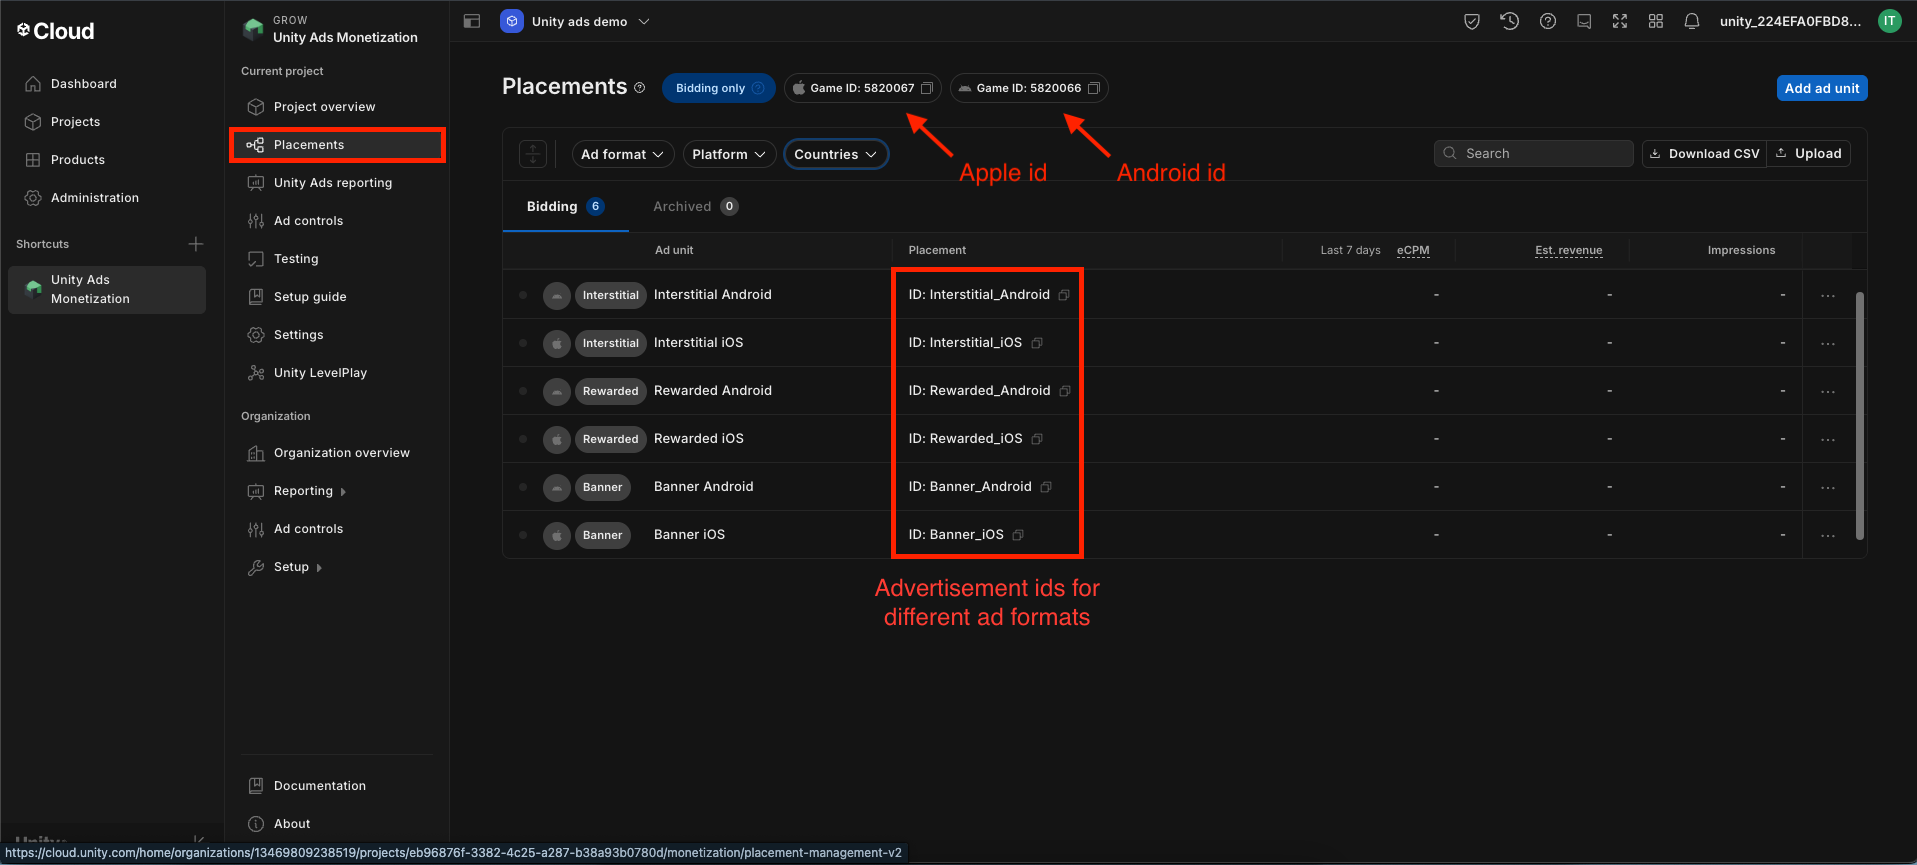
🎉 That’s it! Your app is now ready to display Unity Ads — time to start monetizing!
3. Enabling Test Mode
In your Unity project, go to the Testing section and override the default settings to force test mode. This ensures test ads are displayed to all users.
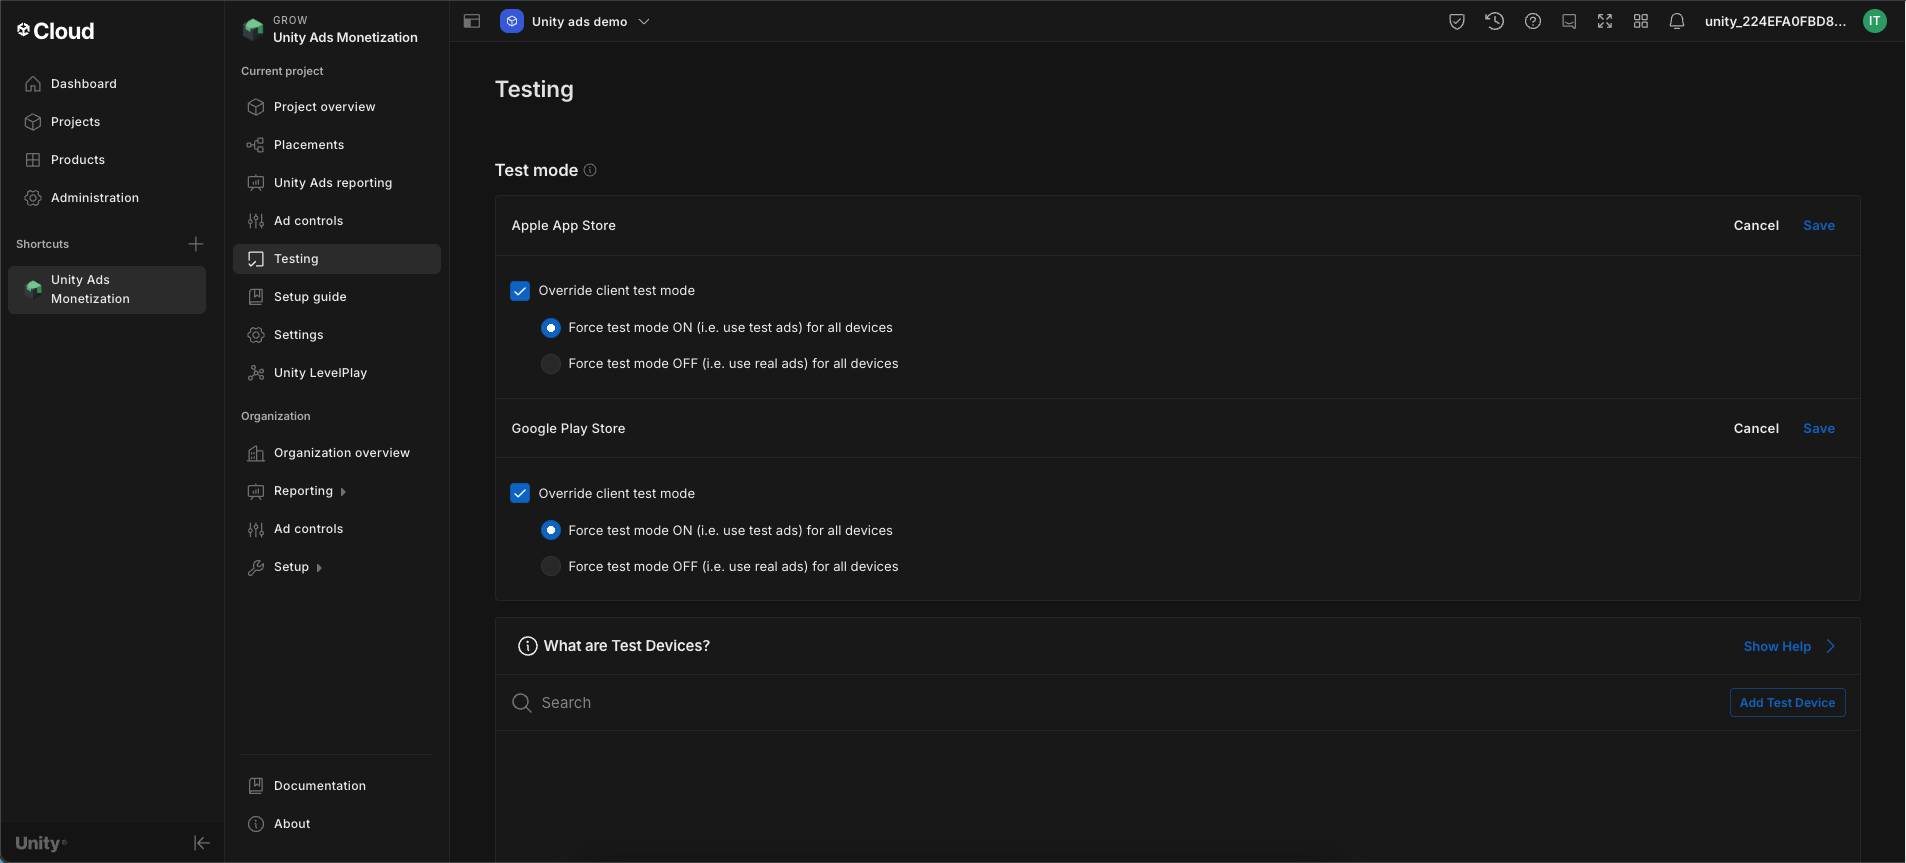
To enable test ads for a specific device:
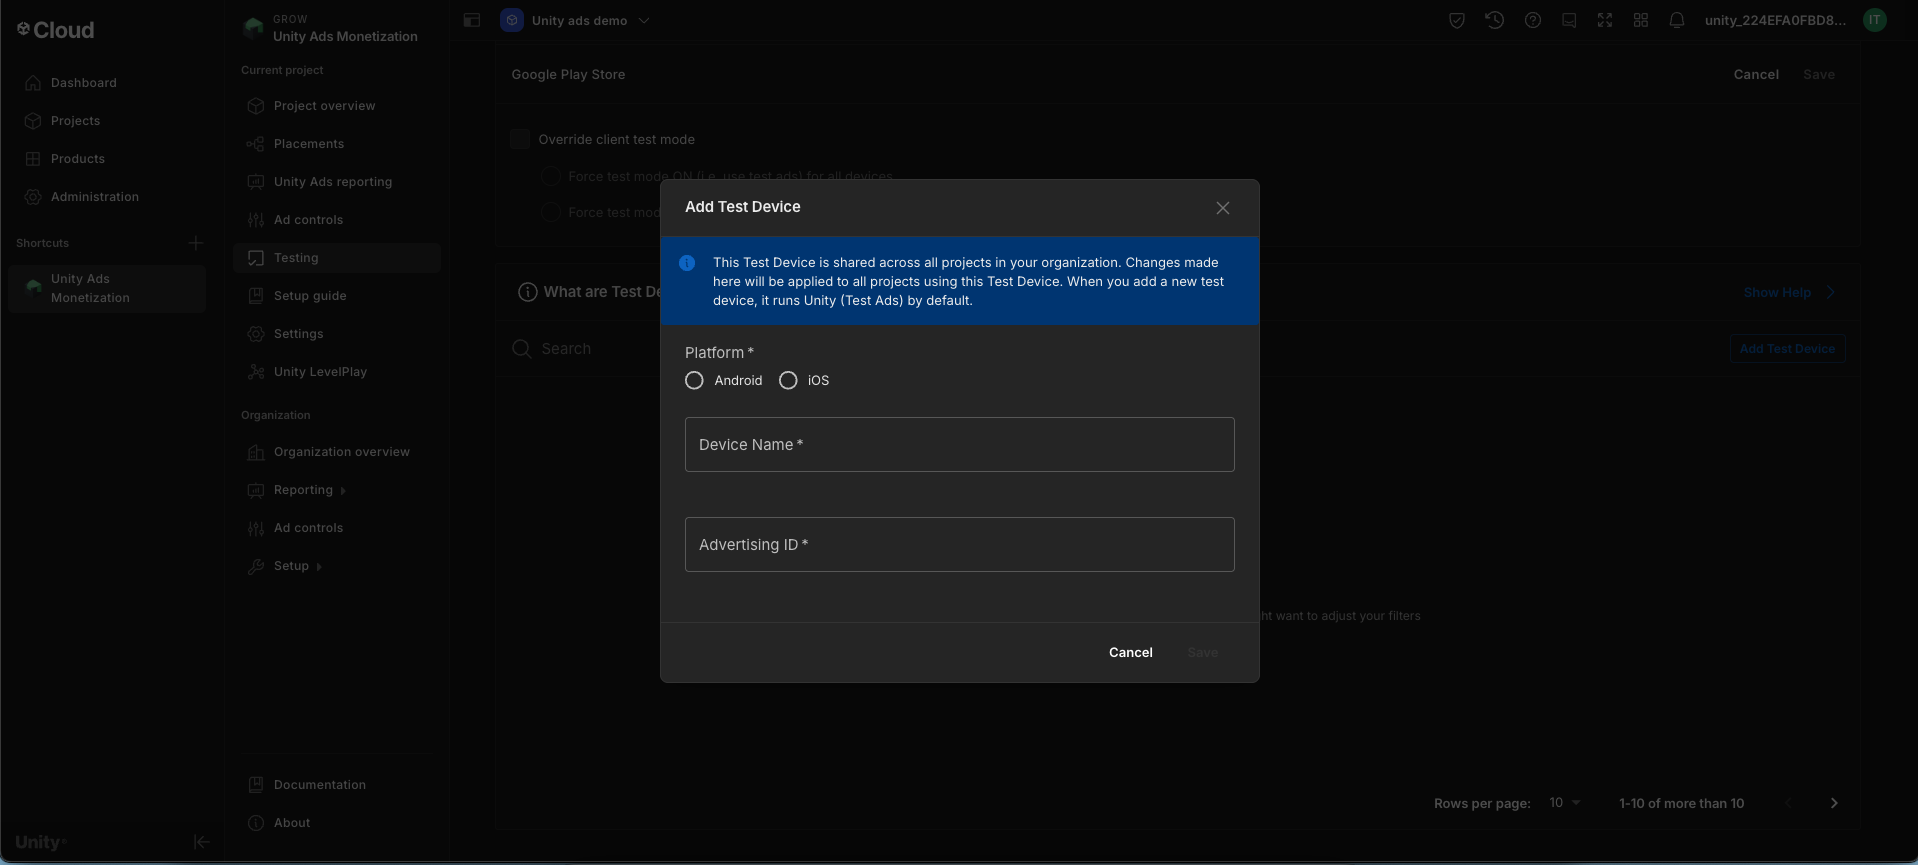
- Scroll down and click on Add Testing Device.
- Finding Advertising IDs
- Android: Settings > Google > Ads
- iOS: Advertising IDs are not publicly visible. Use a third-party app to find your iOS advertising ID
Remember to turn off test mode before deploying your app.