🚀 Installation Steps
📋 Overview
- Follow these step-by-step instructions to install e-School SaaS on your server.
- Ensure all server requirements are met before starting installation
🔄 Installation Process
1️⃣ Initial Installation Screen
The first screen you'll see when starting the installation process.

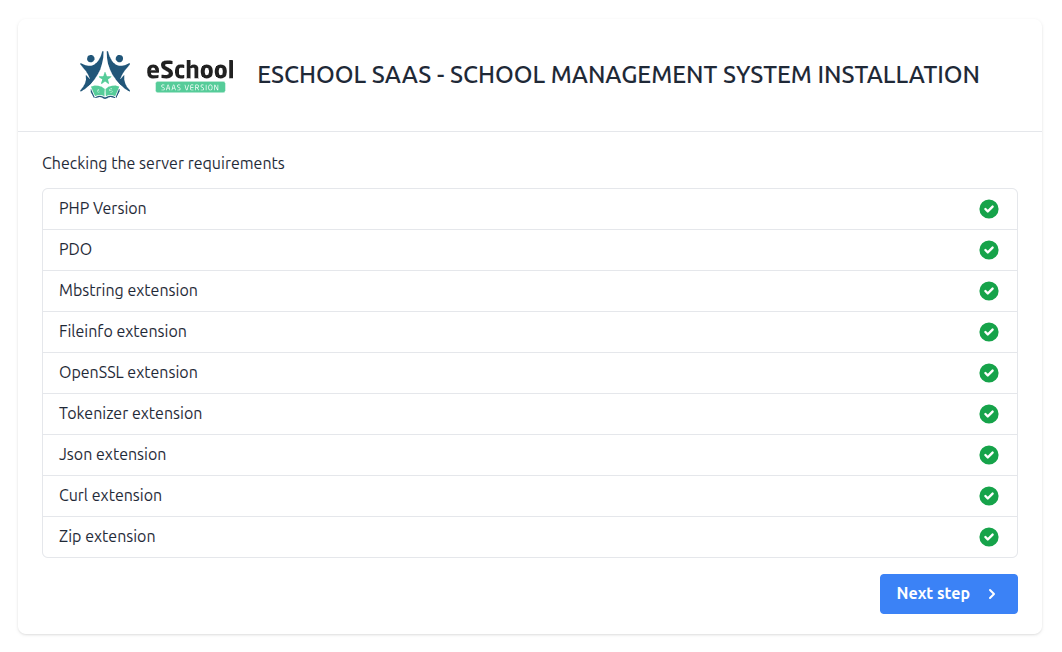
2️⃣ Server Requirements Check
⚠️ Important: If PHP version is lower than 8.0 or any extension is missing, it will be highlighted in red. Ensure your server meets all requirements before proceeding.
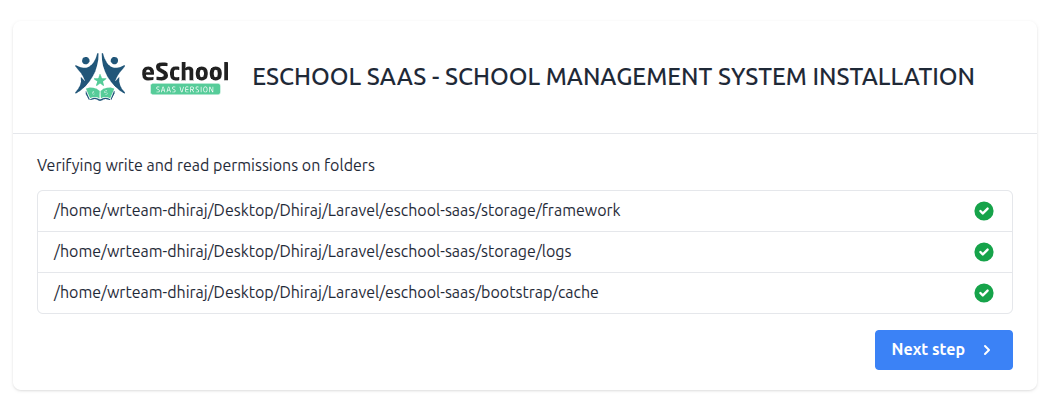
3️⃣ Directory Permissions
🔐 Required Action: Verify and set read & write permissions for these folders.
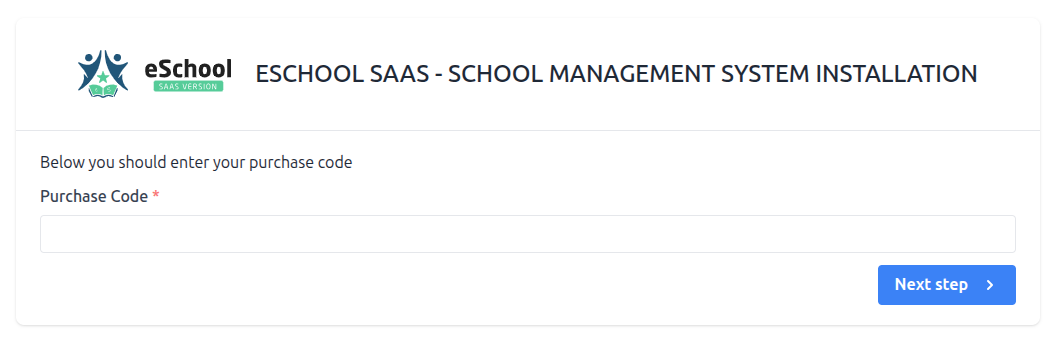
4️⃣ Purchase Code Verification
🔑 Required: Enter your purchase code to verify your license.
📝 Finding Your Code:
- Visit Envato Help: Where is My Purchase Code?
- Follow the instructions to locate your unique purchase code
- Copy and paste the code into the verification field
5️⃣ Database Setup
Configure your database connection settings.
📝 Getting Database Credentials:
- Follow our guide on Database Access Setup to create and obtain your database credentials
- You'll need the following information:
- Database Name
- Database Username
- Database Password
- Database Host (usually localhost)

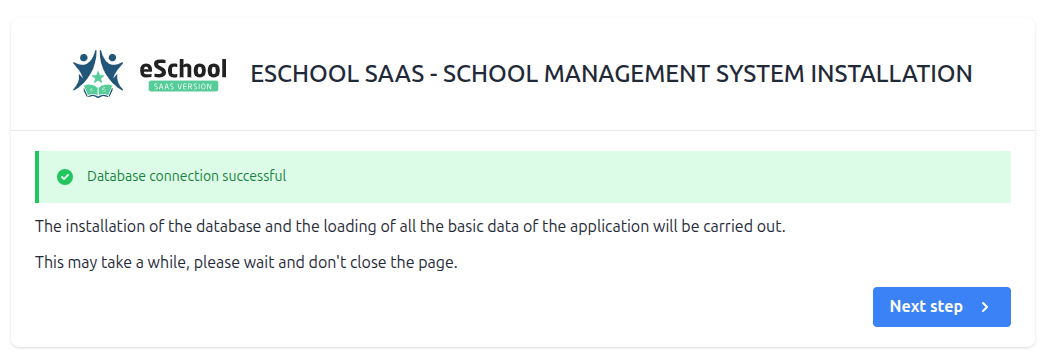
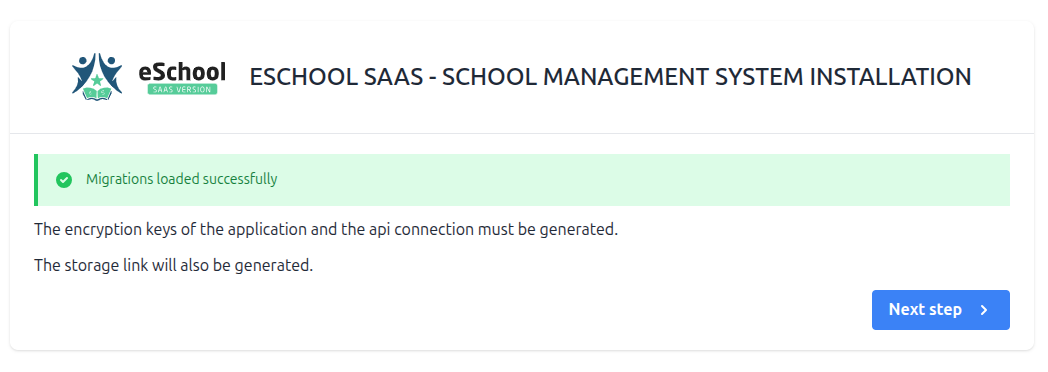
6️⃣ Database Connection Status
Verify your database connection is successful.
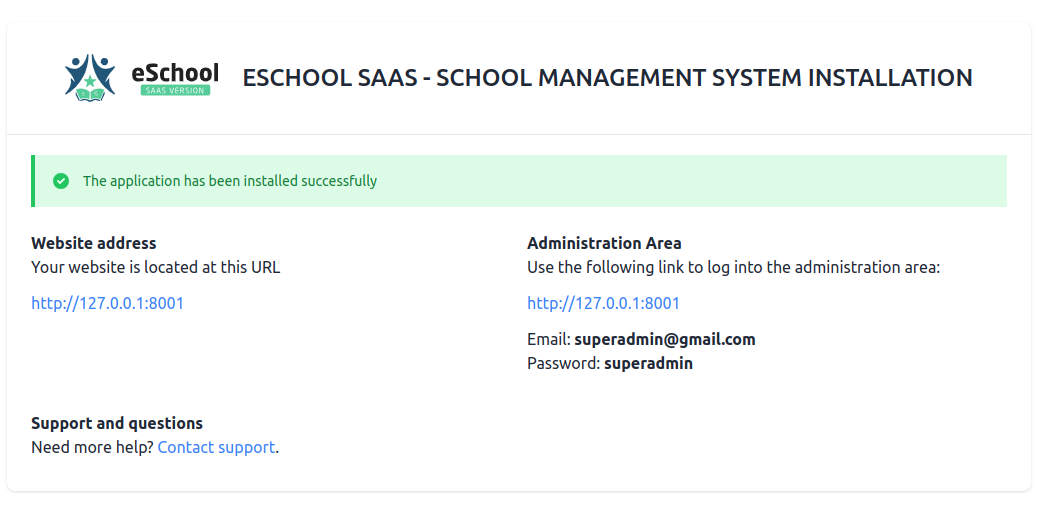
7️⃣ Installation Complete
🎉 Success! Your Admin panel has been installed successfully. Use the provided credentials to log in as Super Admin.
8️⃣ Default Admin Panel Login Credentials
🔑 Default Login Details:
- Email:
superadmin@gmail.com - Password:
superadmin
⚠️ Important: For security, please change these default credentials immediately after your first login.
📝 Notes
- Make sure to save your Super Admin credentials securely
- Keep your purchase code for future reference