⚙️ Additional Configurations
After successful installation, configure these essential settings to ensure your e-School SaaS system functions optimally.
📋 Configuration Overview
Complete these configurations in order for the best setup experience:
- 🏫 System Settings
- 🌐 Language Settings
- 🔔 Notification Settings
- 📧 Email Configuration
- 💳 Payment Gateway Setup
- 🔐 Security Settings
- 📞 Contact Settings
- 📝 About Us Settings
- 🔒 Privacy Policy Settings
- 📜 Terms & Conditions
- 🔄 System Updates
- 💾 Database Backup
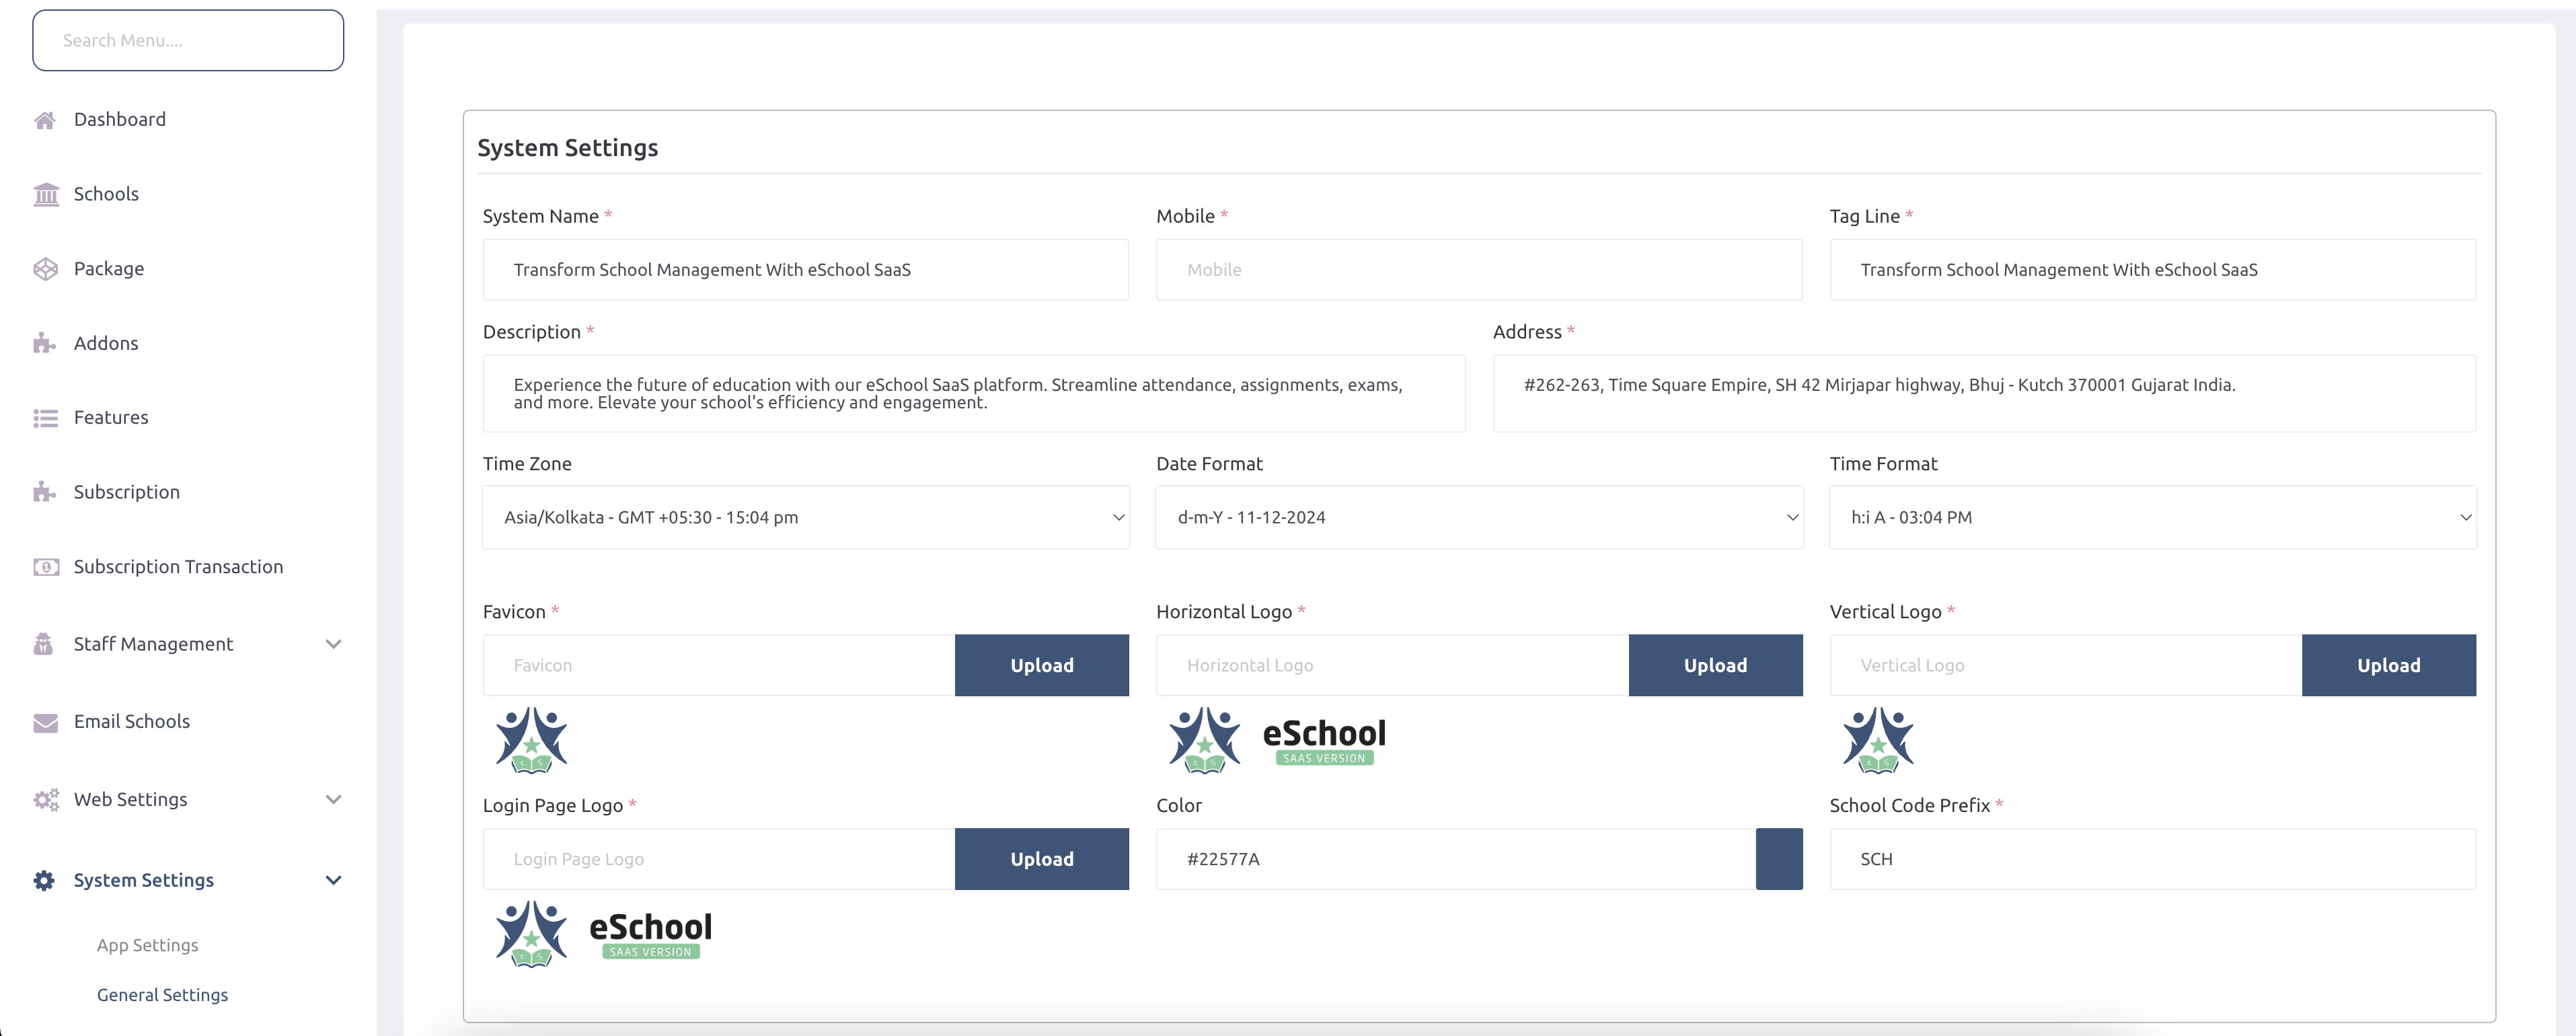
1️⃣ System Settings (Super Admin)
🏫 Basic Information
- 📝 System Name – App name displayed across the platform
- 📞 Mobile Number – Contact number for support/display
- 🏷️ Tag Line – Catchy phrase representing your school/app
- 📄 Description – Brief description of platform features
- 📍 Address – Full postal address of your institution
⏰ Time & Date Settings
- 🌍 Time Zone – Set local timezone (e.g., Asia/Kolkata)
- 📅 Date Format – Choose date display format (e.g., dd-mm-yyyy)
- 🕐 Time Format – Choose time display format (e.g., hh:mm AM/PM)
🎨 Branding & Visual Settings
- 🔖 Favicon – Small icon displayed in browser tab
- 🖼️ Horizontal Logo – Main logo for header and topbar
- 📐 Vertical Logo – Alternate logo for sidebar layouts
- 🔑 Login Page Logo – Logo shown on login screen
- 🎨 Color Theme – Primary UI color for branding
🔧 System Configuration
- 🏫 School Code Prefix – Prefix for generating school codes (e.g., SCH)
- 🚧 Web Maintenance Mode – Enable to temporarily restrict access
- 🔐 Two-Factor Verification – Add extra login security
- 📁 File Upload Size Limit – Maximum file upload size (in MB)
- 📝 School Inquiry Form – Enable/Disable public school inquiry
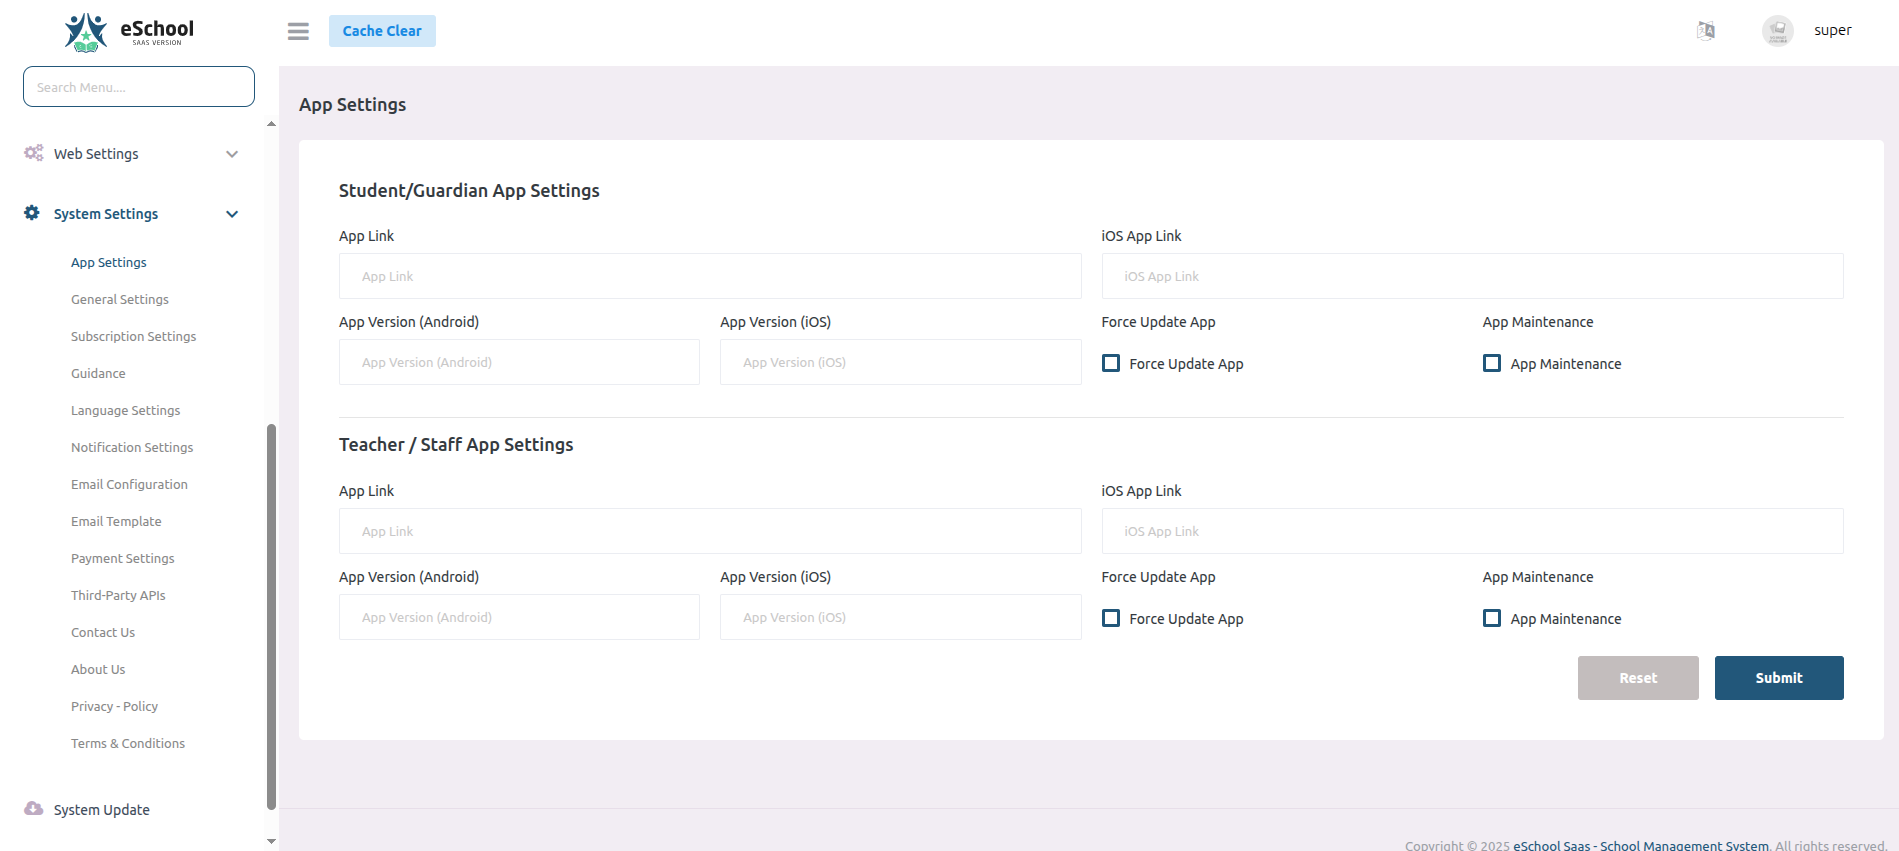
2️⃣ App Settings
Configure settings that will be used by your Flutter mobile application.
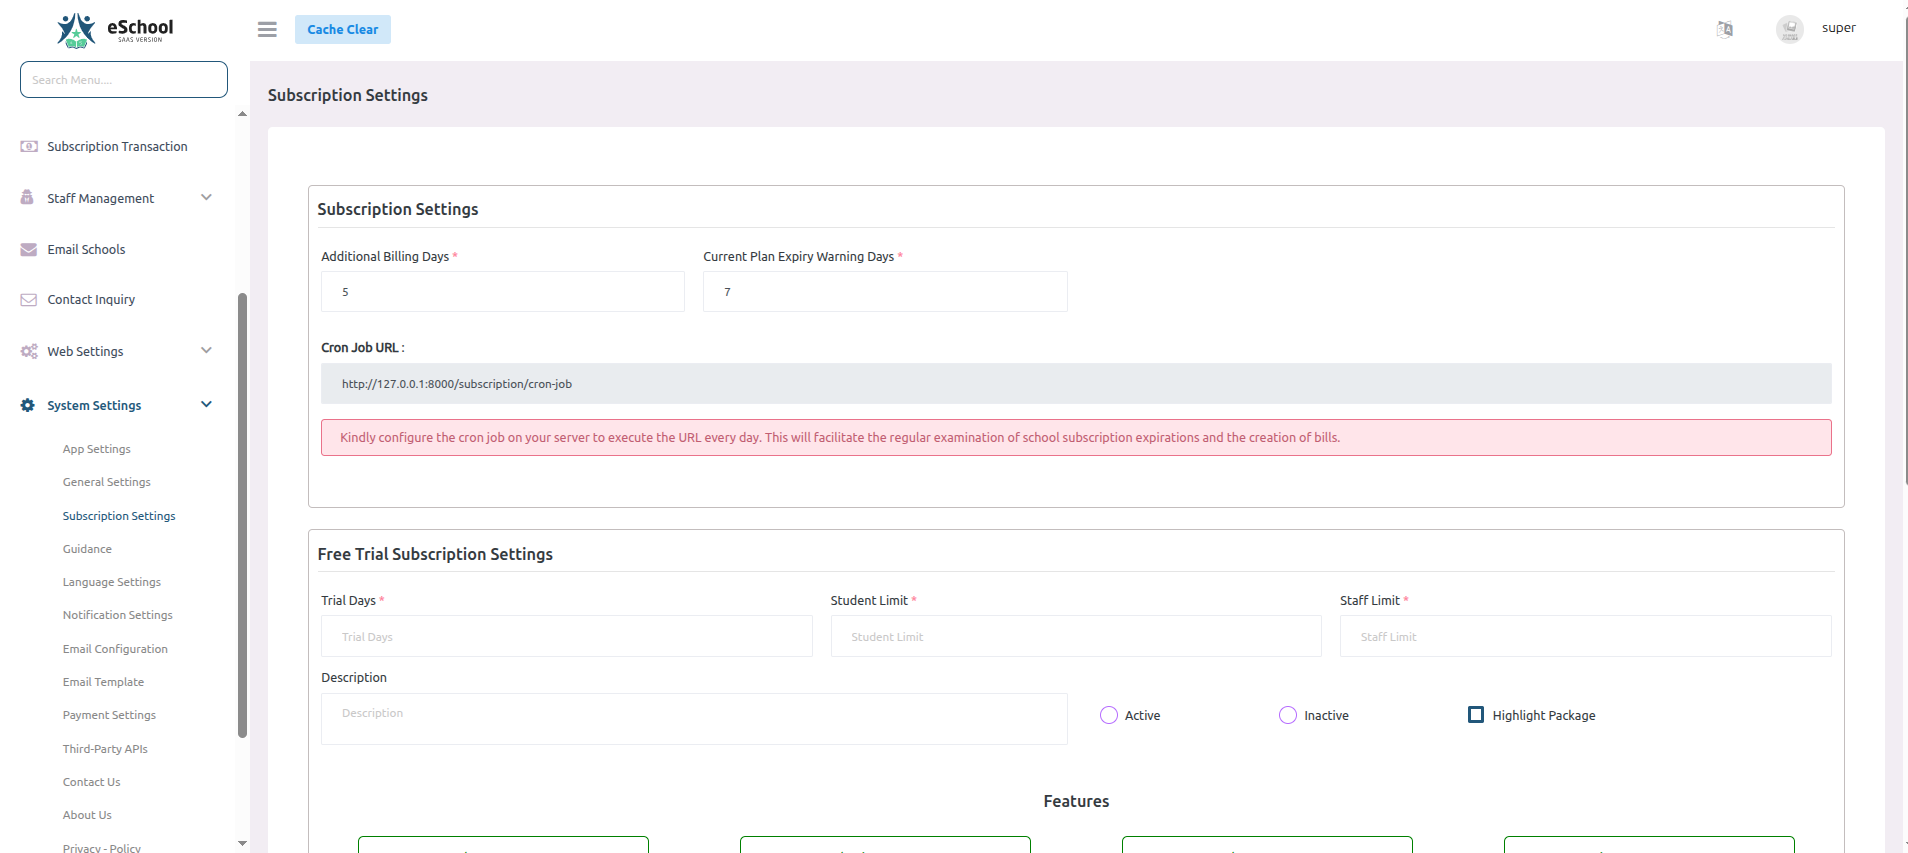
3️⃣ Subscription Settings
Configure subscription and billing settings for your schools.
⚙️ General Settings
- 📅 Additional Billing Days – 5 days grace period for payments
- ⚠️ Expiry Warning – 7 days advance notice before plan expires
- 🔄 Cron Job URL –
http://127.0.0.1:8000/subscription/cron-job- Configure daily cron job to check subscriptions and generate bills
🎁 Free Trial Configuration
- ⏰ Trial Duration – Set number of trial days
- 👥 Student Limit – Maximum students during trial
- 👨💼 Staff Limit – Maximum staff during trial
- 📝 Description – Trial plan details
- ✅ Status – Active/Inactive
- ⭐ Highlight – Featured trial package
📱 Available Features
| Core Features | Academic Features | Administrative Features |
|---|---|---|
| Student Management | Assignment Management | Staff Management |
| Teacher Management | Lesson Management | Expense Management |
| Staff Leave Management | Exam Management | Website Management |
| Fees Management | Attendance Management | Announcement Management |
| School Gallery Management | Timetable Management | Chat Module |
| ID Card & Certificate Generation | Academics Management | Holiday Management |
| Session Year Management | Slider Management |
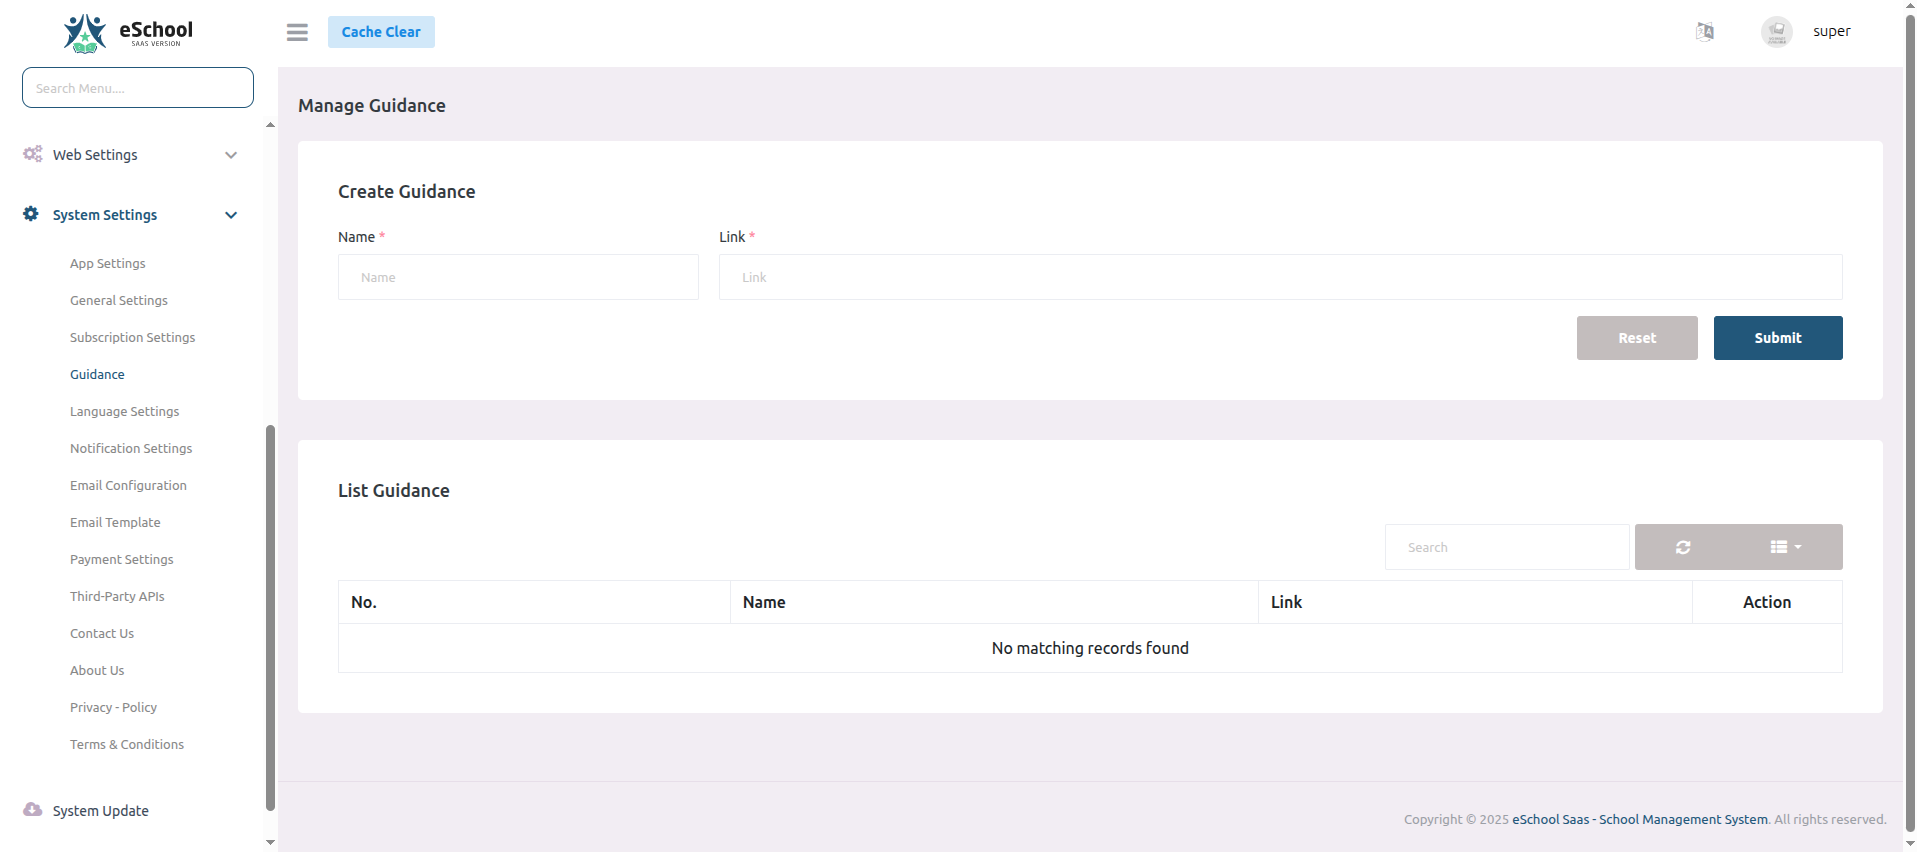
4️⃣ Manage Guidance
Configure guidance links and resources for your schools.
⚙️ Create Guidance
- 📝 Name - Enter a descriptive name for the guidance resource
- 🔗 Link - Provide the URL where the guidance content can be accessed
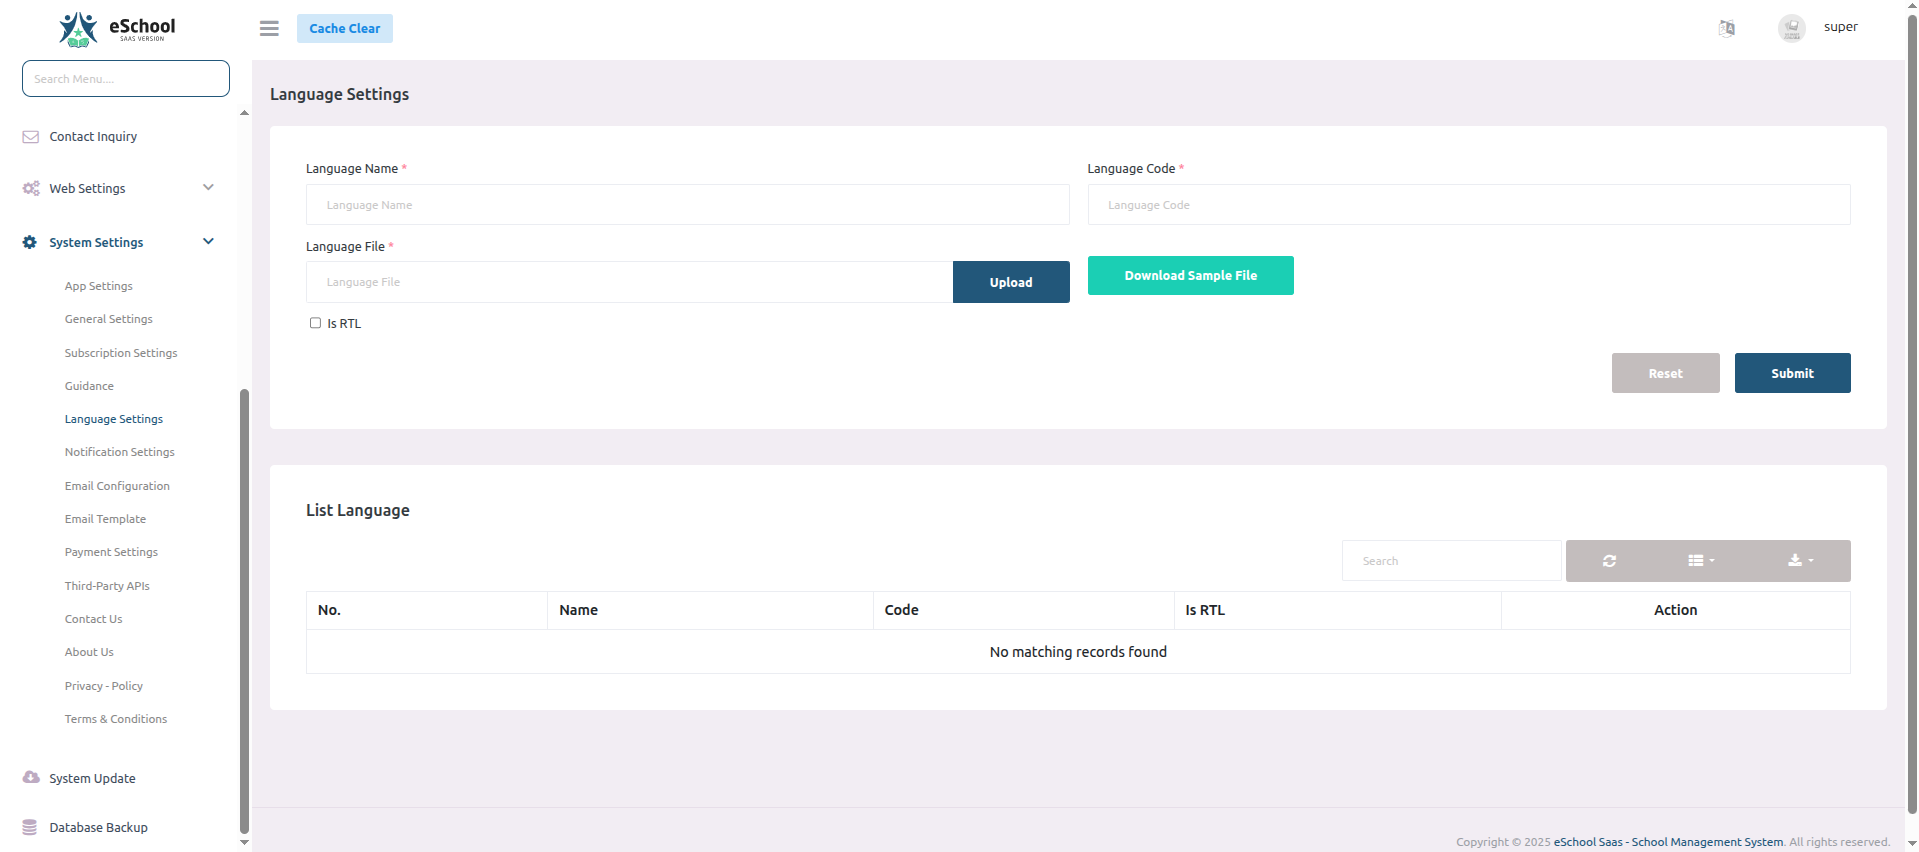
5️⃣ Language Settings
Configure language options for your schools.
⚙️ Language Configuration
- 📝 Language Name - Enter the display name of the language (e.g., English, Spanish)
- 🔤 Language Code - Specify the ISO language code (e.g., en, es)
- 📄 Language File - Upload the language translation file
- ↔️ Is RTL - Enable for right-to-left languages (e.g., Arabic, Hebrew)
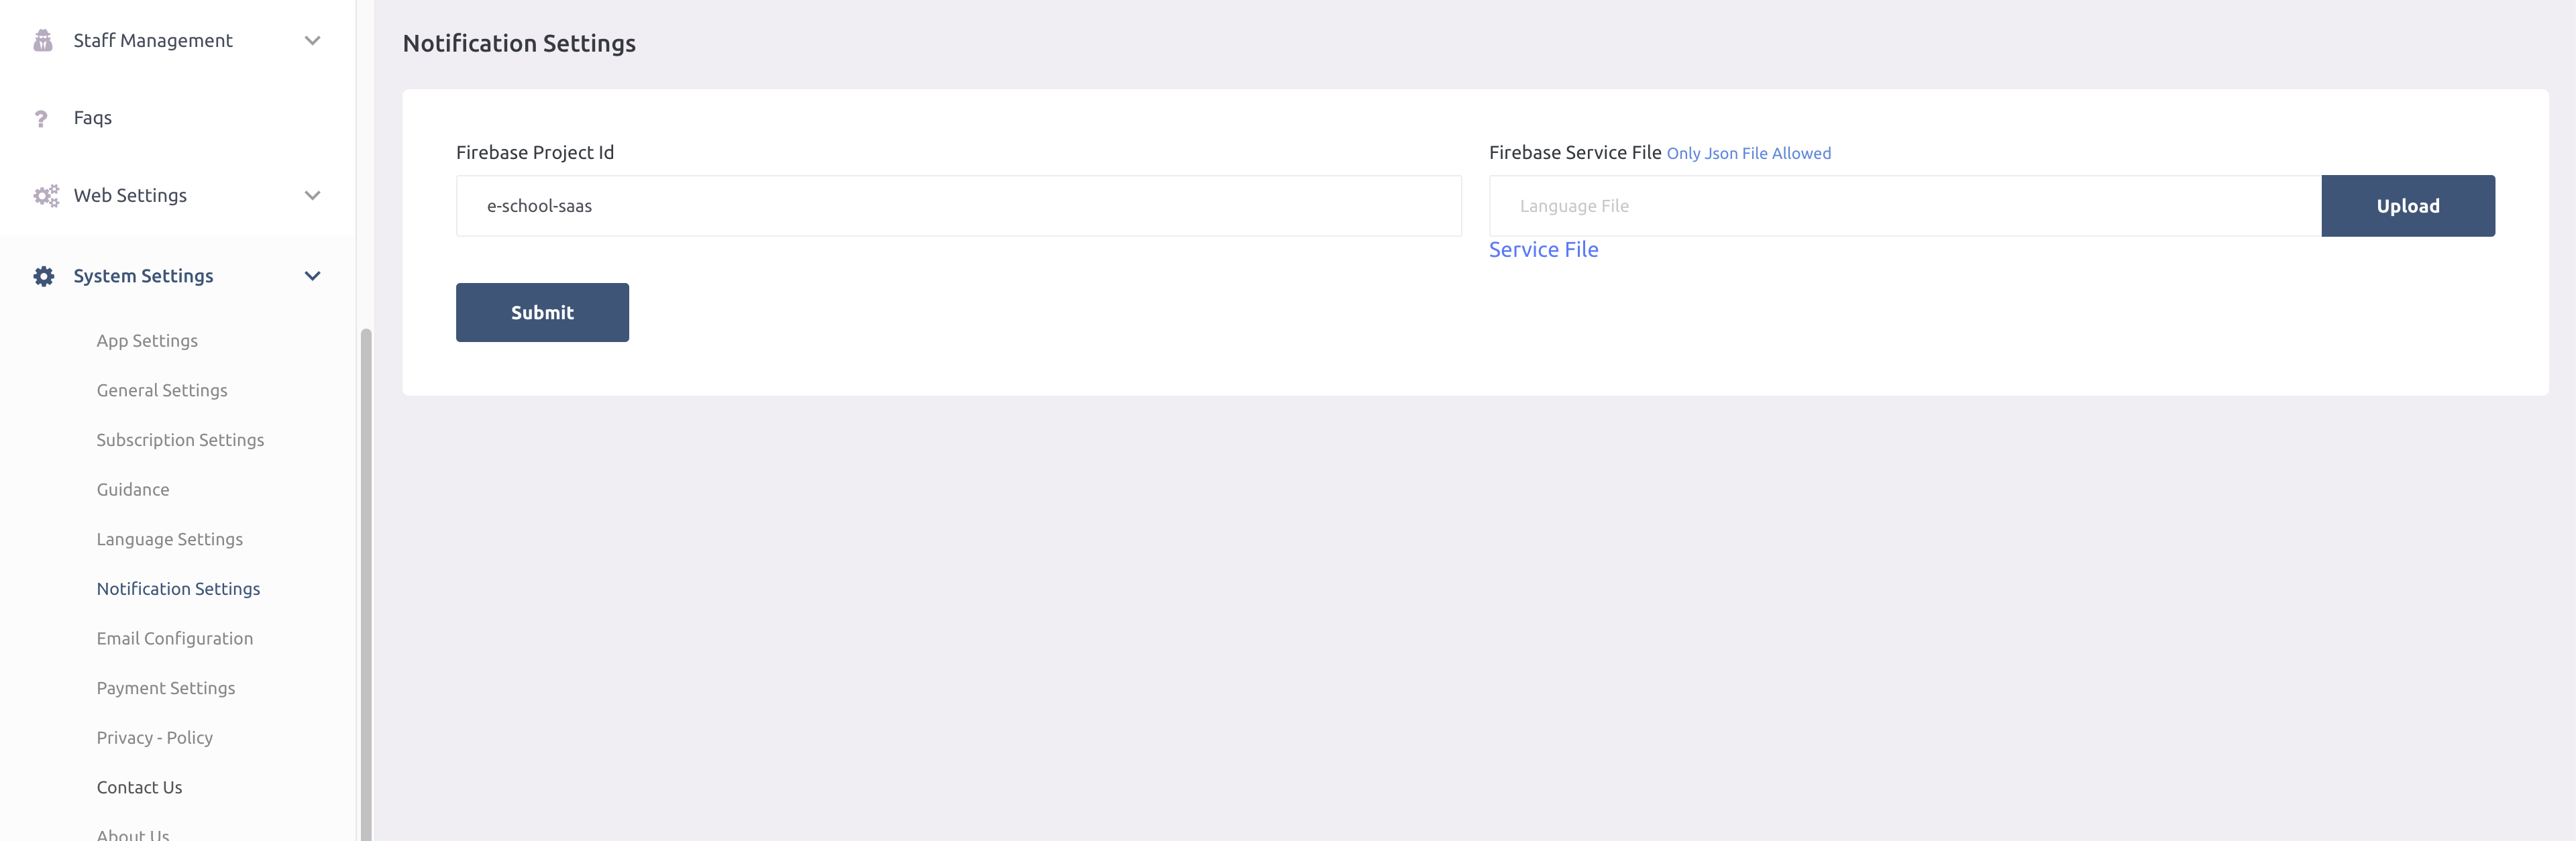
6️⃣ Notification Settings
🔥 Firebase Configuration
- 🆔 Firebase Project ID – ID of your Firebase project
- 📄 Firebase Service File – Upload
.jsonfile for Firebase integration
📋 Getting Firebase Credentials
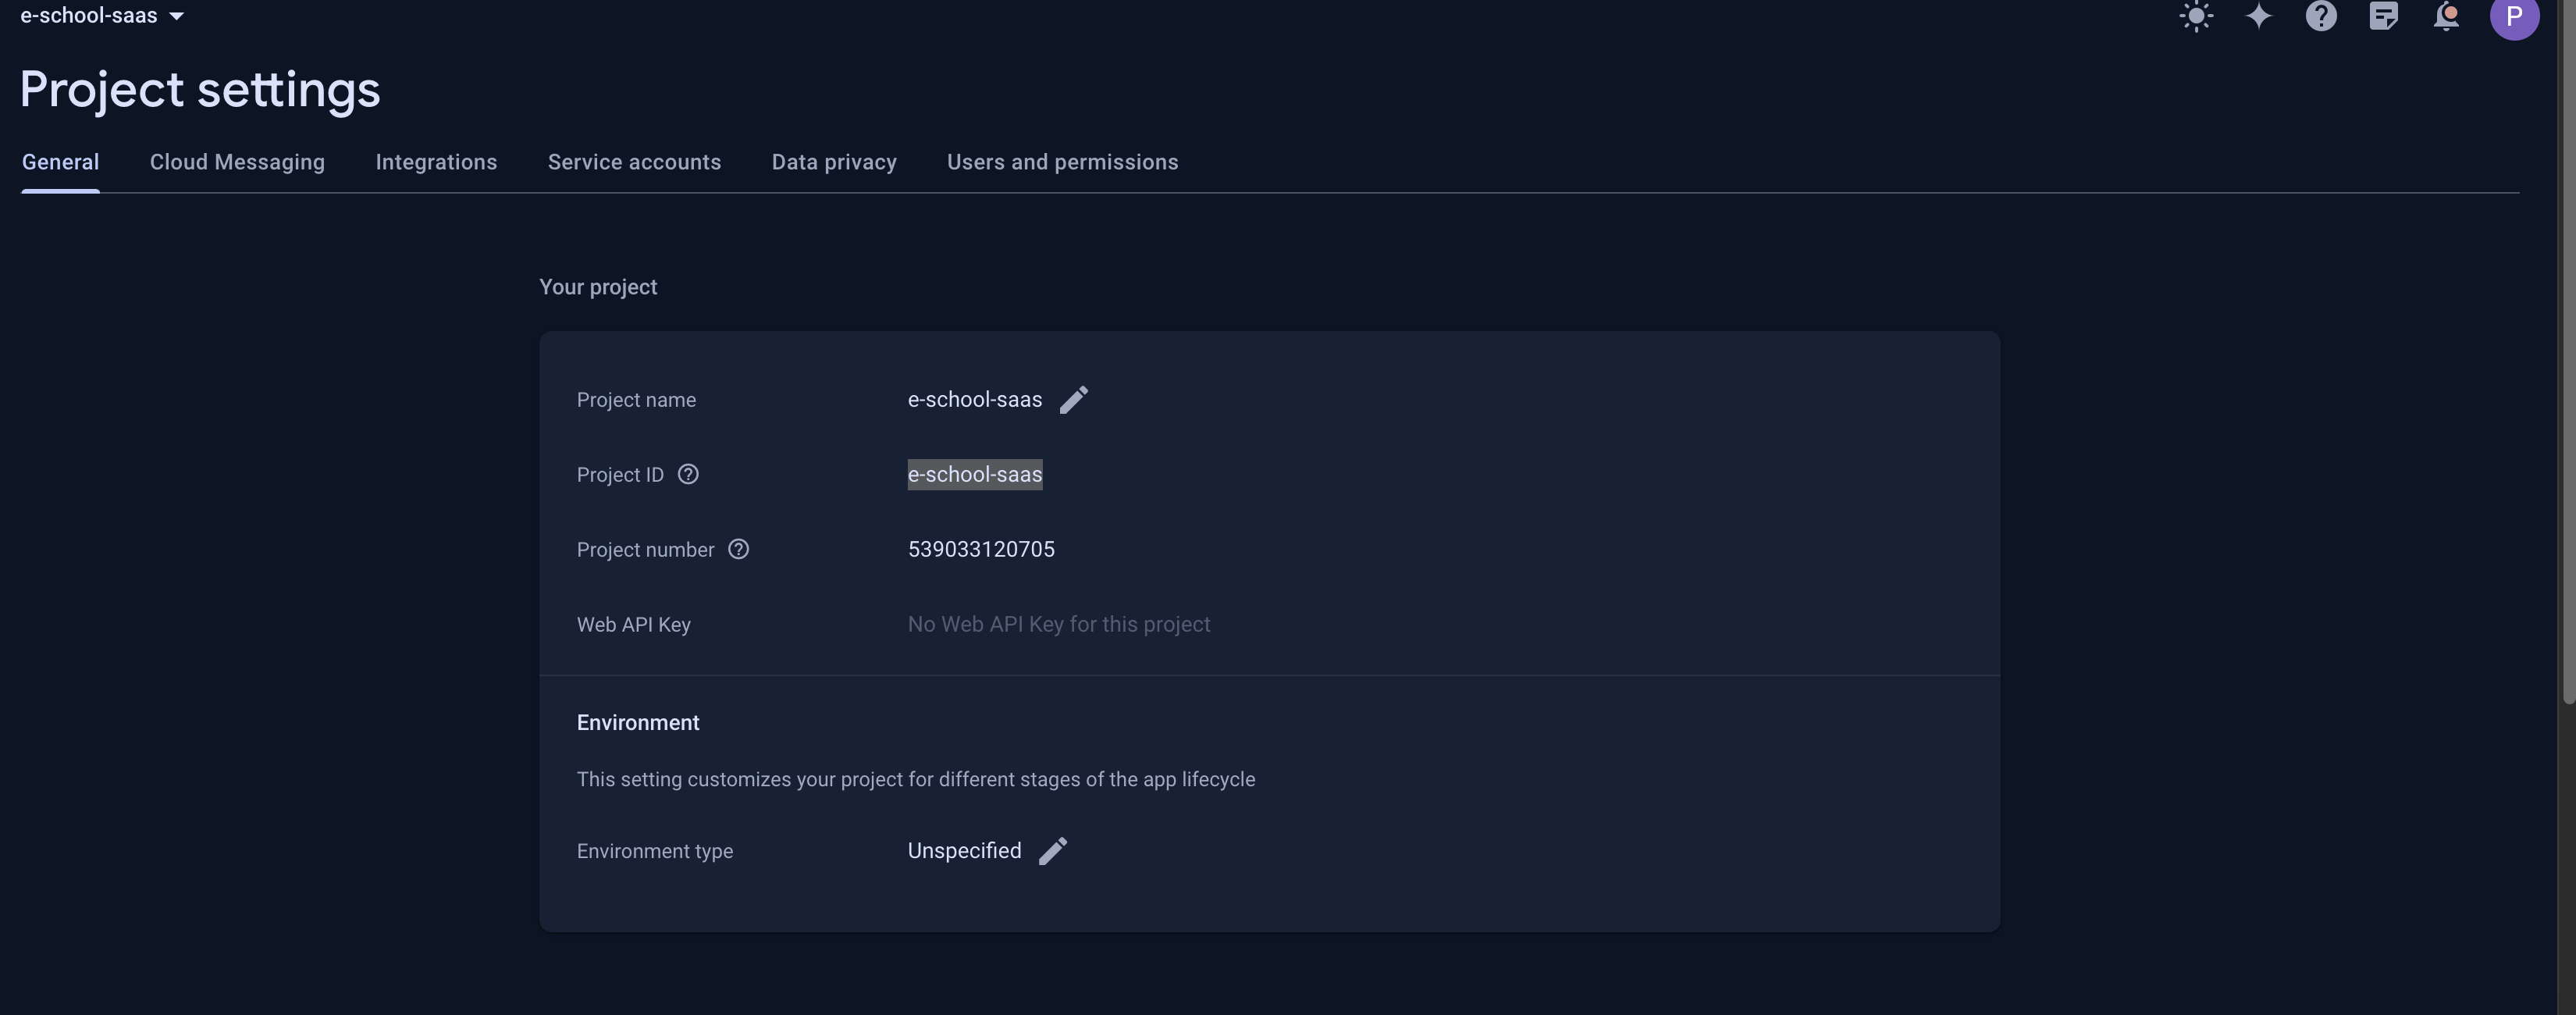
Step 1: Get Firebase Project ID
- Go to your Firebase Console
- Select your project
- The Project ID is shown in the project settings:
Step 2: Download Service Account File
- In Firebase Console, go to Project Settings
- Navigate to Service Accounts tab
- Click "Generate New Private Key"
- Save the downloaded
.jsonfile: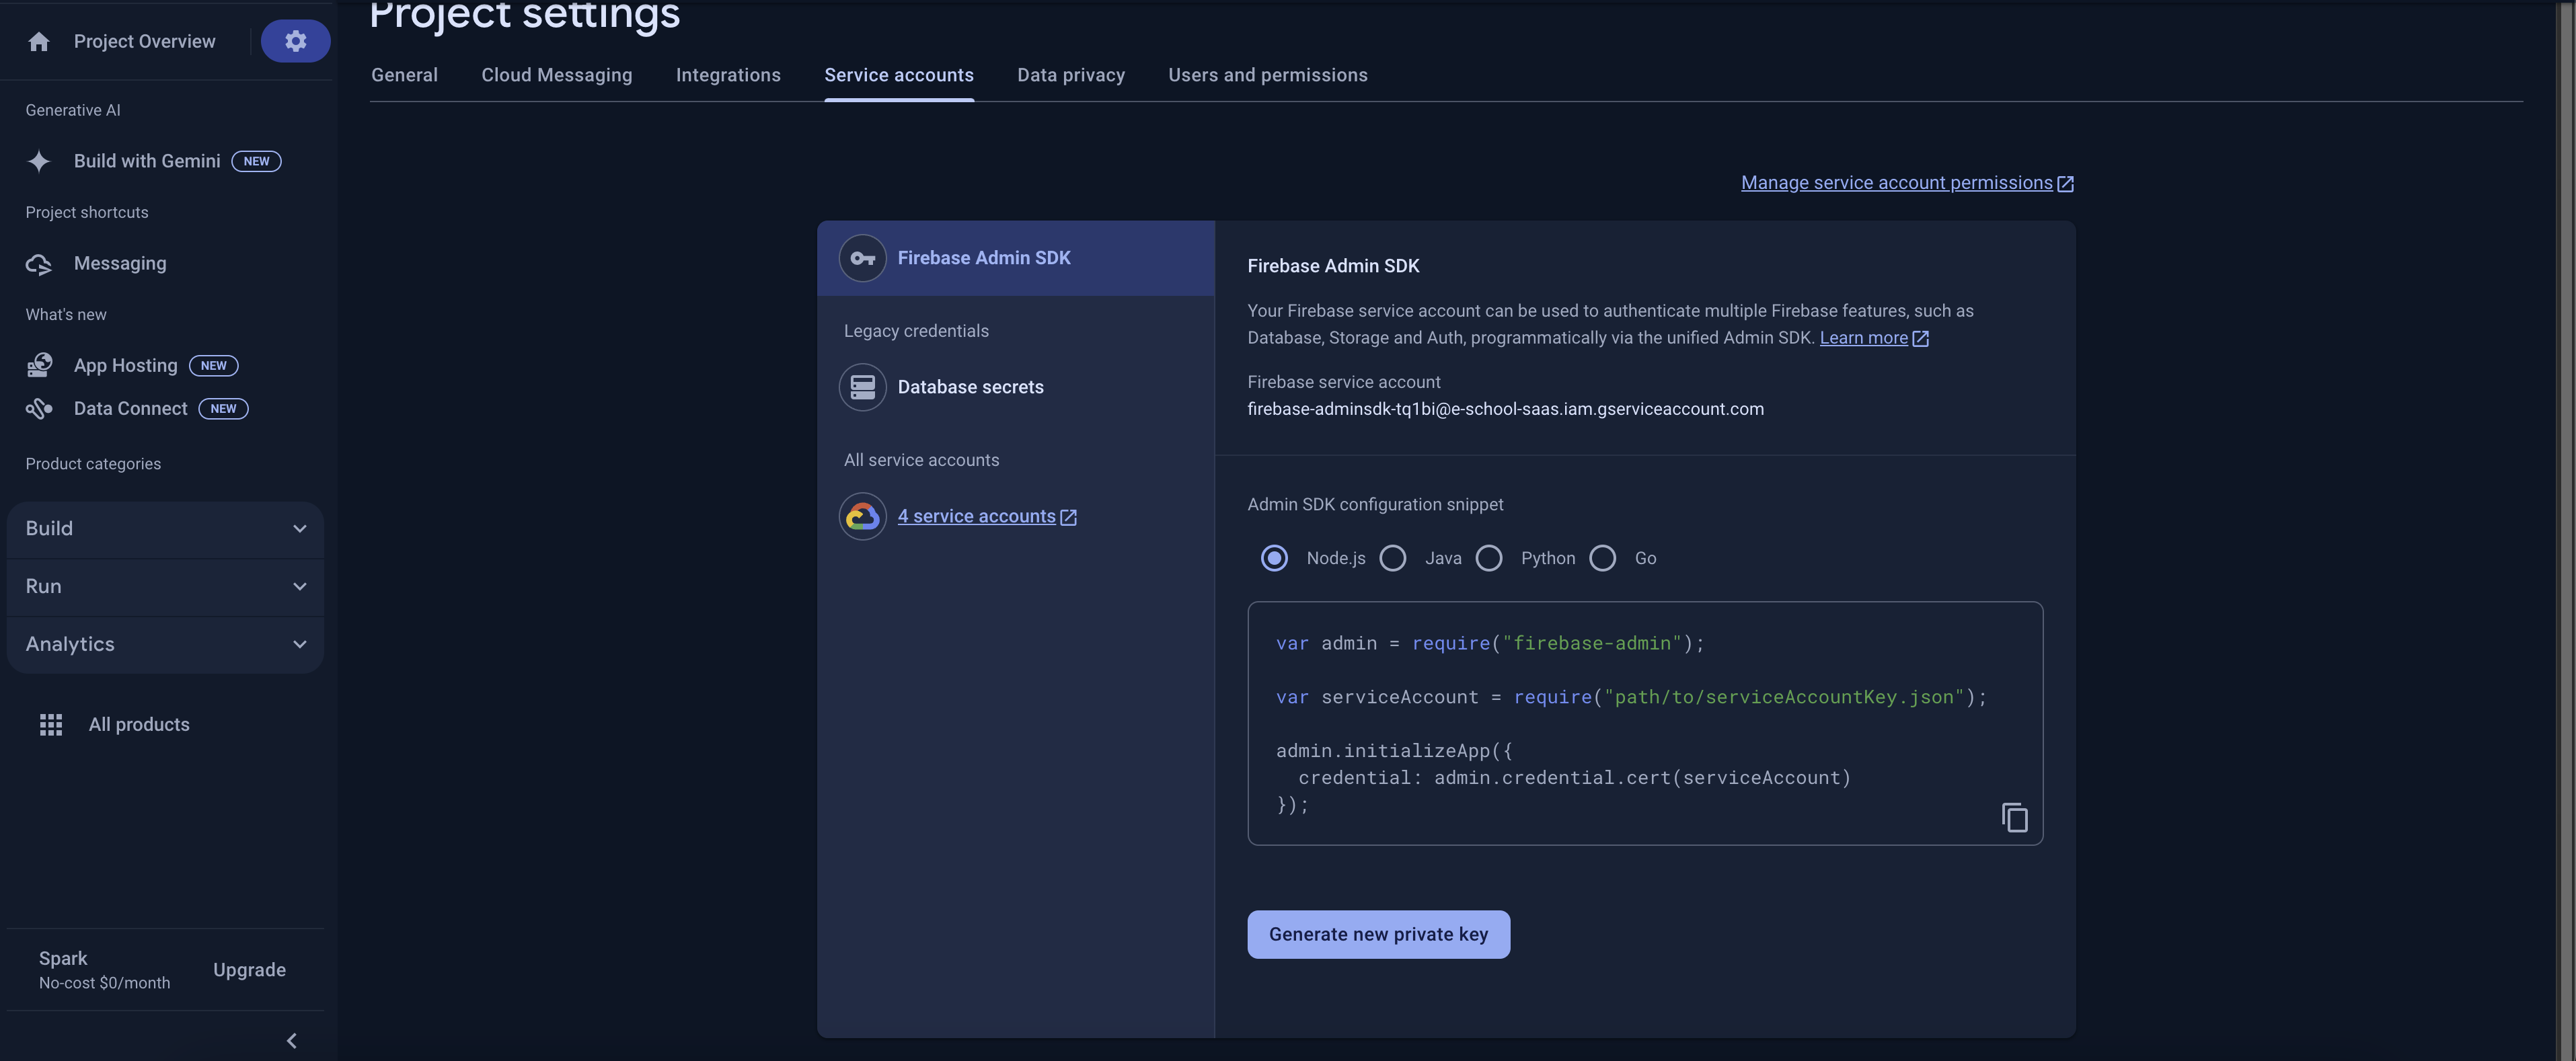
Step 3: Upload Service Account File
- In admin panel, click "Upload Service File"
- Select the downloaded
.jsonfile - Click "Save" to complete setup:
⚠️ Important Notes:
- Keep your service account file secure and never share it
- The file contains sensitive credentials
- Only upload official Firebase service account files
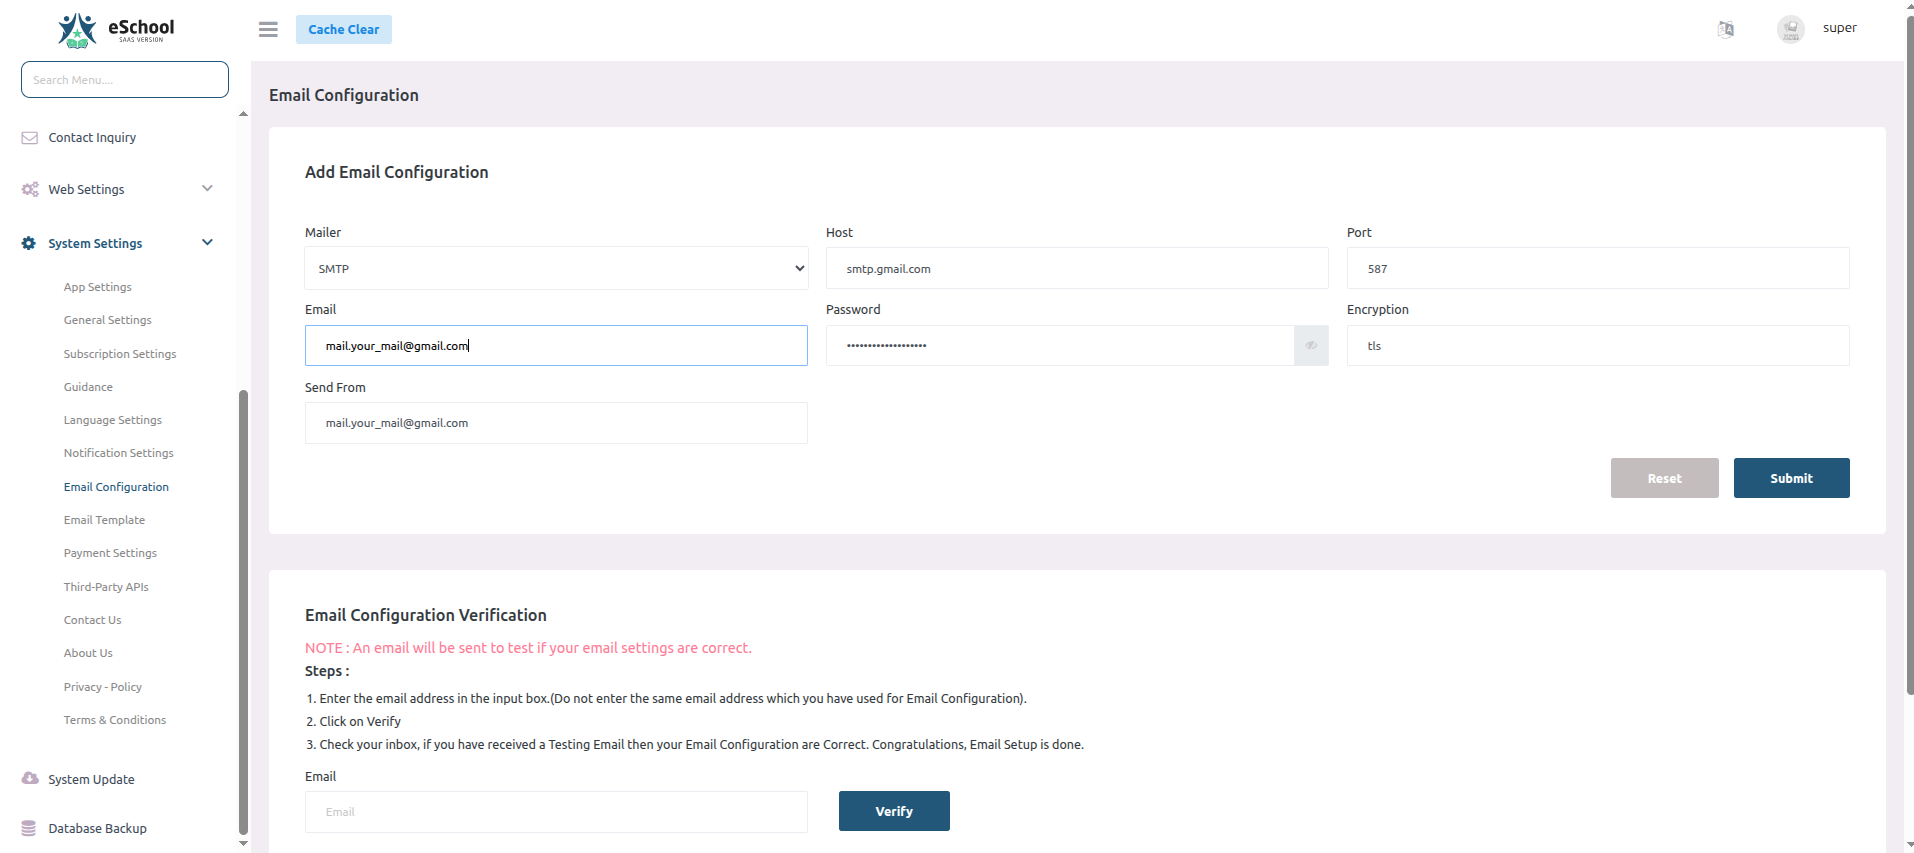
📧 Email Configuration
Configure your email settings to enable system notifications and communications.
📨 Mailer Settings
- 📮 Mailer Type - SMTP
- 🌐 Host - smtp.gmail.com
- 🔌 Port - 587
- 📧 Email - mail.your-domain@gmail.com
- 🔑 Password - •••••••••••••••••••
- 🔒 Encryption - TLS
- 👤 Send From - mail.your-domain@gmail.com
📨 Supported Email Providers
- Mailgun – Reliable email delivery service
- Sendmail – Traditional email sending
- Postmark – Transactional email service
- Amazon SES – Scalable email service
✅ Email Configuration Verification
To verify your email settings are working correctly:
- Enter a test email address (different from configuration email)
- Click "Verify" button
- Check inbox for test email
- If received, configuration is successful
⚠️ Note: The verification email address must be different from the email used in the configuration settings.
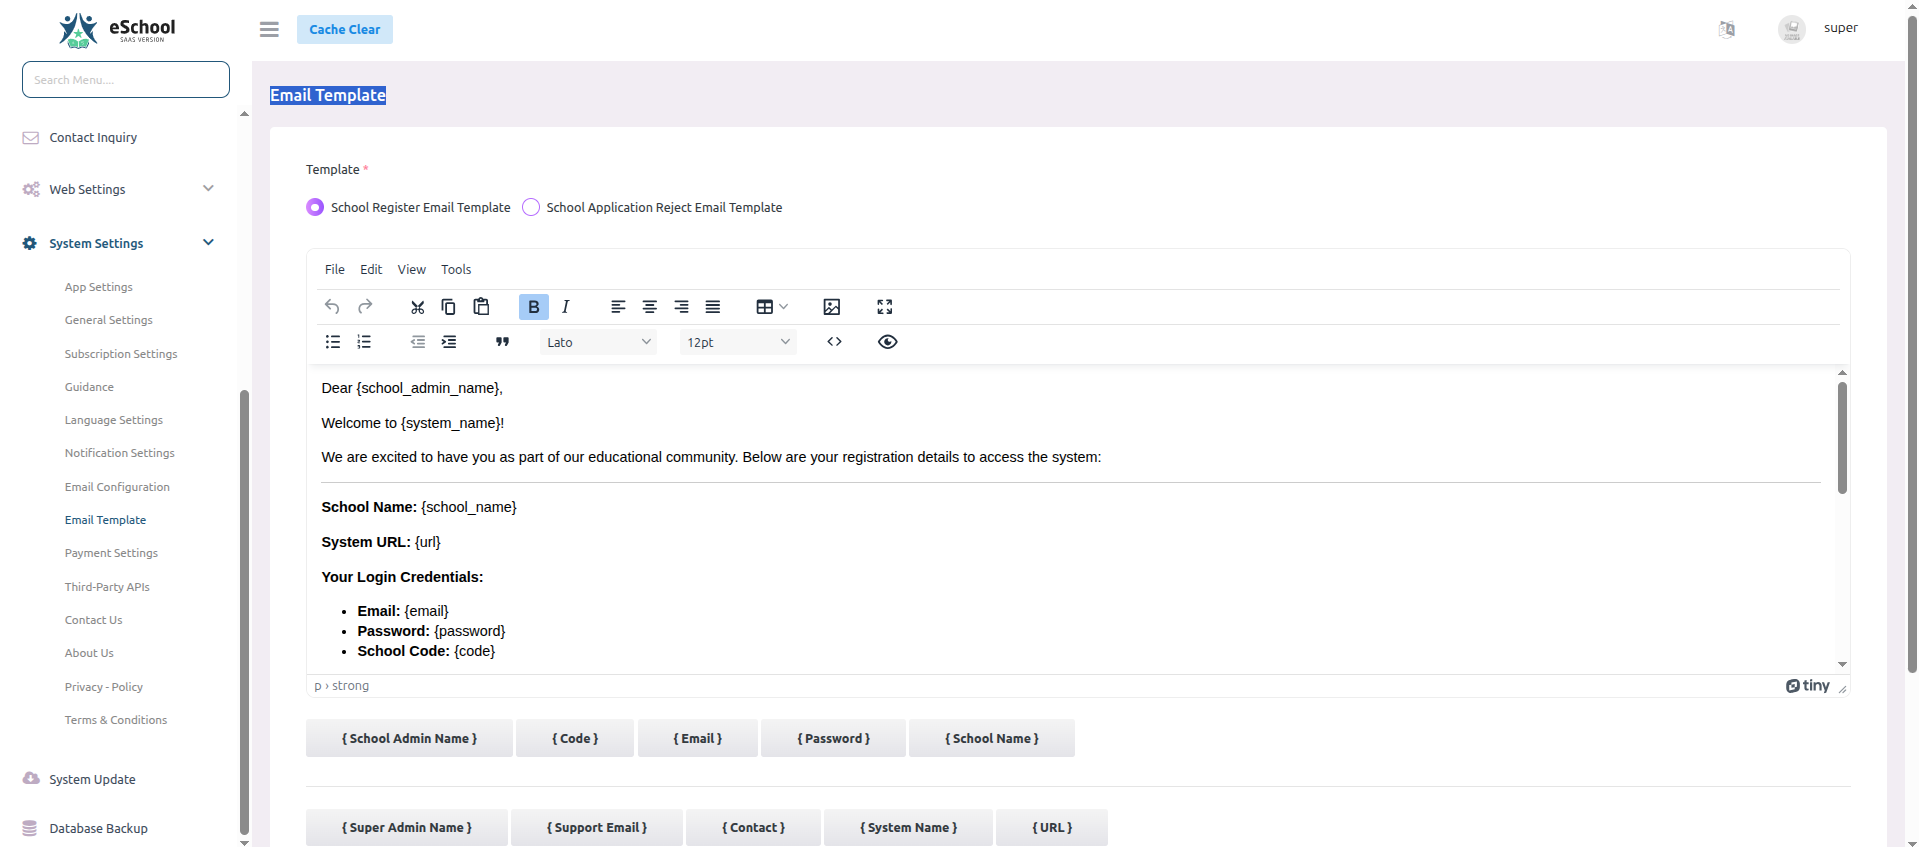
7️⃣ Email Templates
Configure email templates for different notification types:
📝 School Registration Template
Template for when a new school registers:
- 📋 Subject - Welcome to
{{school_name}} - 📄 Body - Customize welcome message and onboarding instructions
- 🔄 Variables - Use
{{school_name}},{{email}},{{password}}etc.
School Application Rejection Template
Template for rejected school applications:
- 📋 Subject - Update on Your School Application
- 📄 Body - Professional rejection message with feedback
- 🔄 Variables - Use
{{school_name}},{{reason}}, etc.
⚠️ Important Tips:
- Keep subject lines clear and concise
- Maintain professional tone in all communications
- Test templates before activating
- Include contact information for support
- Use variables consistently across templates
8️⃣ Payment Gateway Configuration
💰 Currency Settings
- 💵 Currency – Default currency (USD, INR, etc.)
- 💲 Currency Symbol – Symbol shown in invoices ($, ₹, etc.)
🏦 Payment Gateway Setup
Configure payment gateways for fee collection:
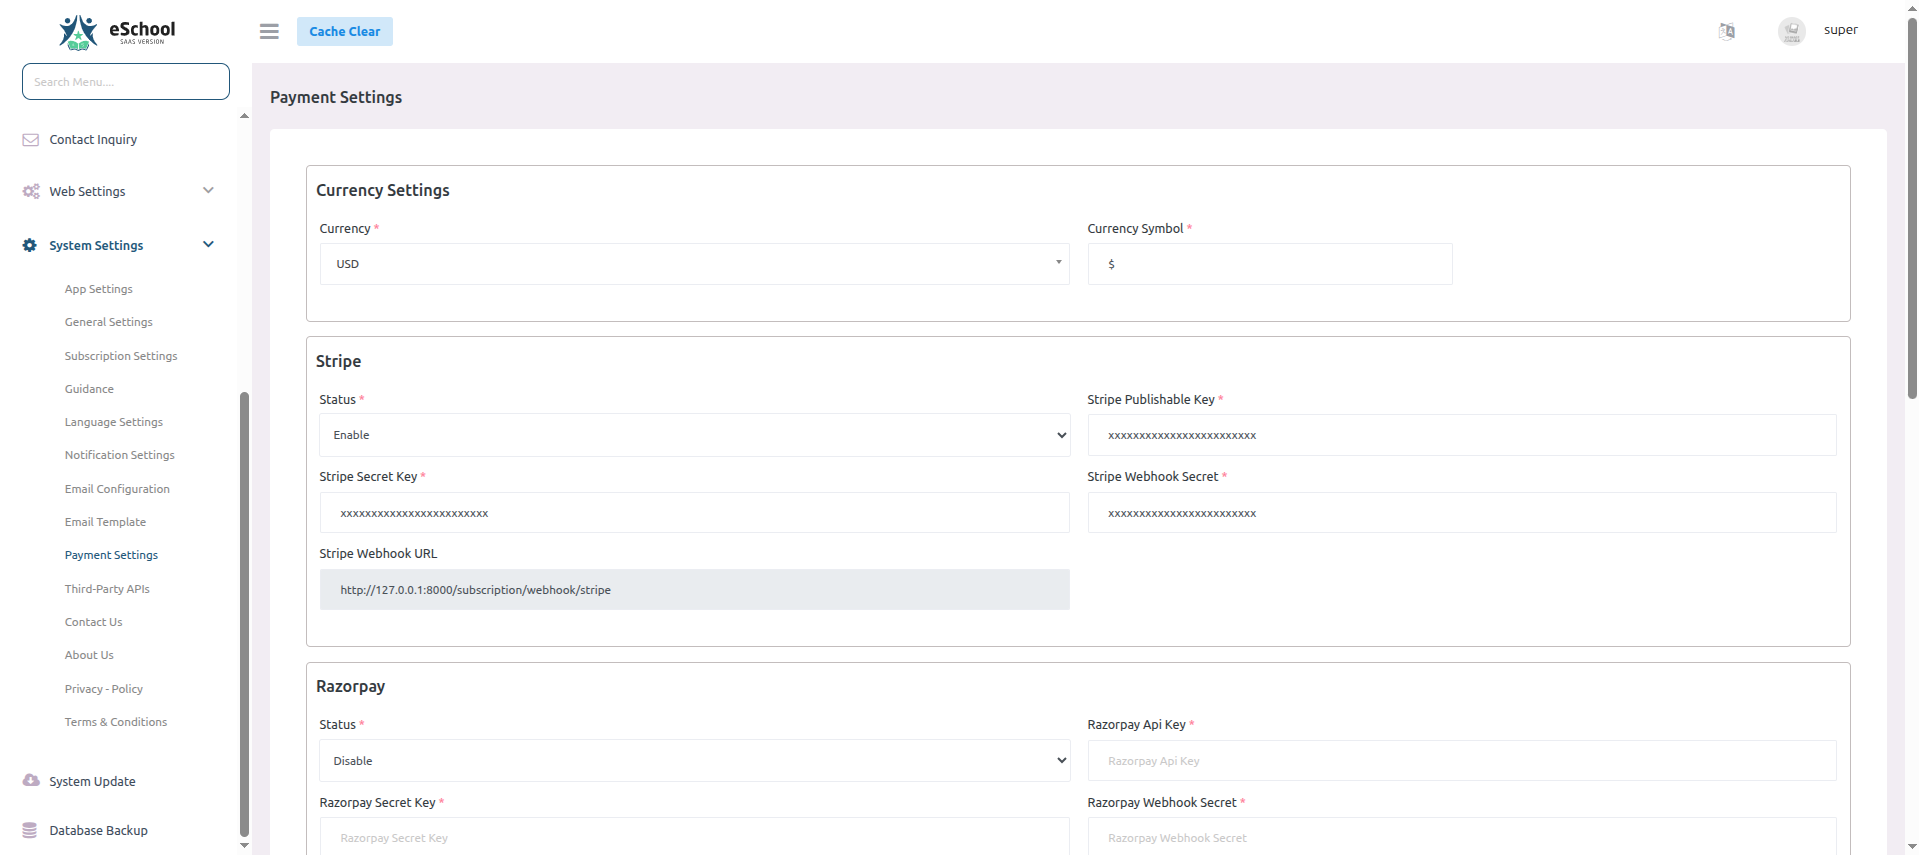
🔧 Gateway Configuration Parameters
Each gateway requires:
- ✅ Status – Enable/Disable gateway
- 🔑 Publishable Key – For client-side use
- 🔐 Secret Key – For backend authorization
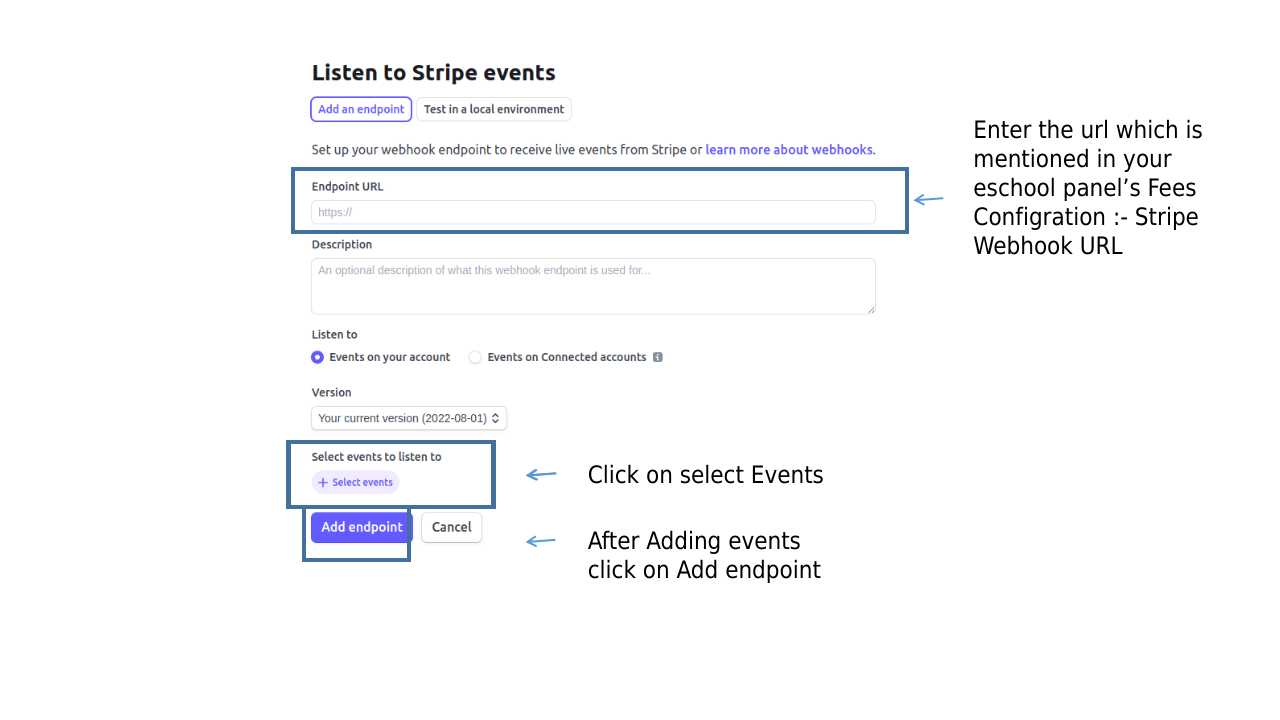
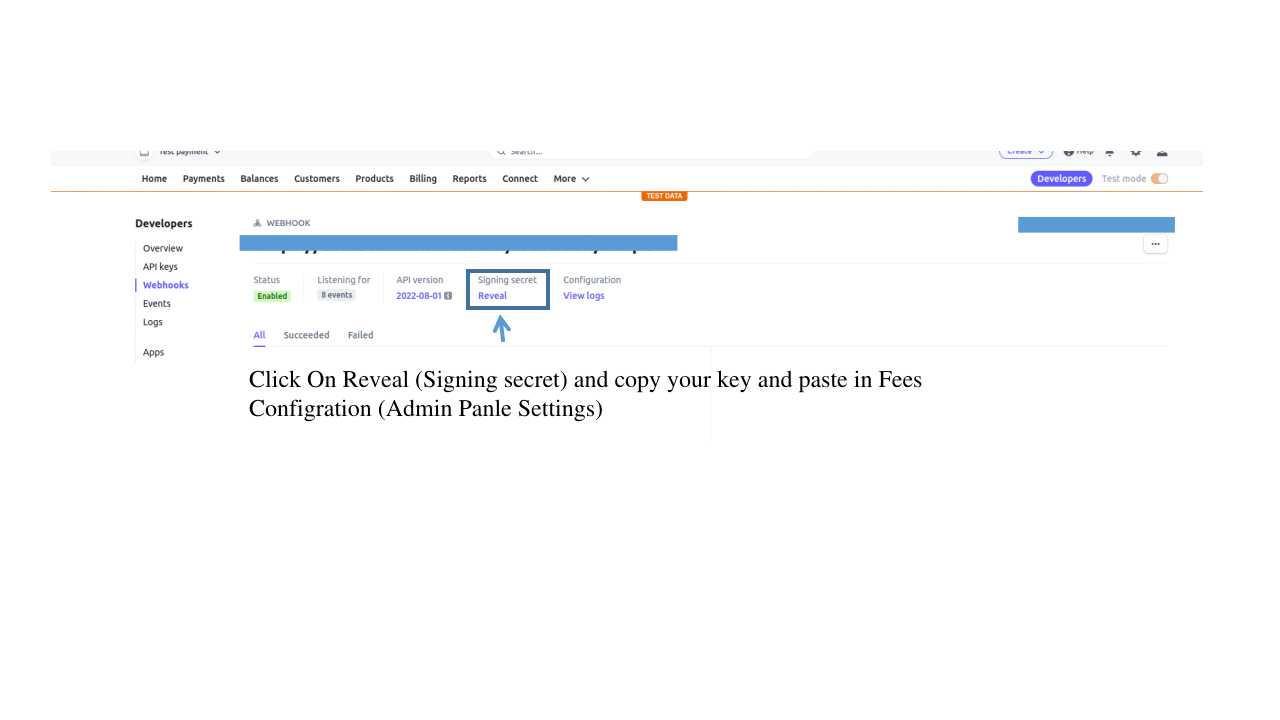
- 🔗 Webhook Secret – Verifies webhook authenticity
- 📡 Webhook URL – Receives payment notifications
💳 Supported Payment Gateways
- 💳 Stripe – Global card-based payments
- 🇮🇳 Razorpay – Popular in India
- 🌍 Paystack – Ideal for West Africa
- 🦋 Flutterwave – Wide African coverage, multi-currency
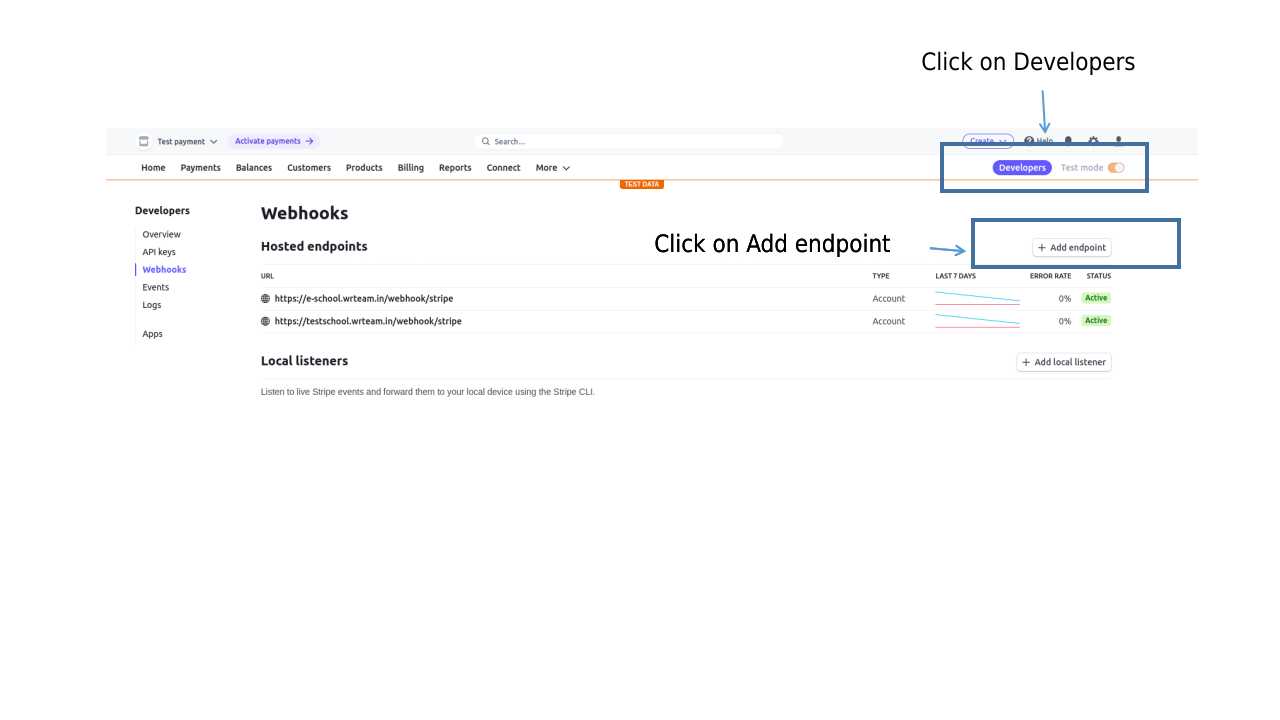
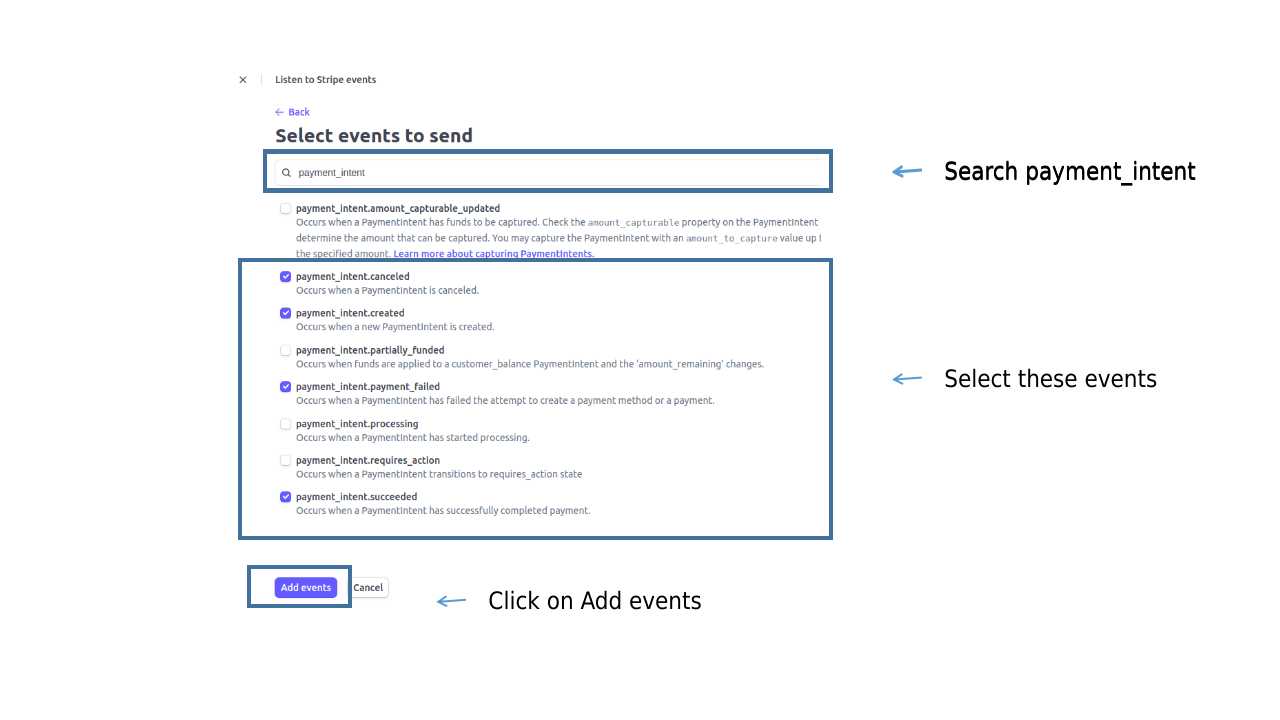
🔗 Webhook Configuration
Stripe Webhook Setup:
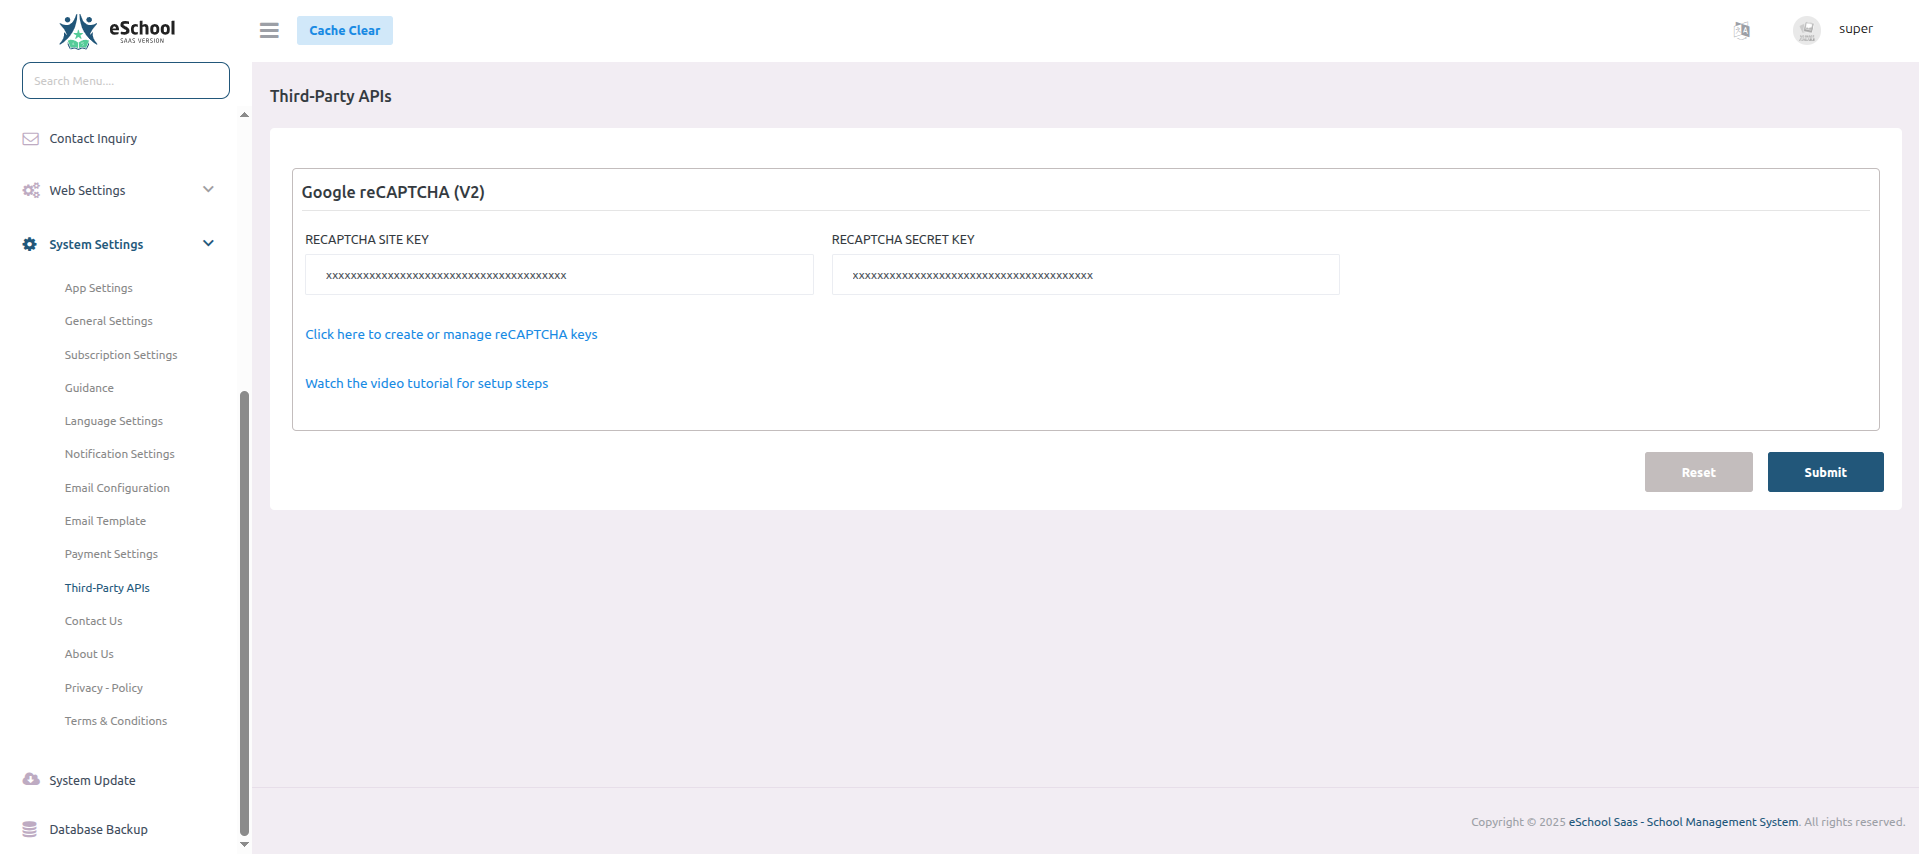
9️⃣ Security Settings
🛡️ Google reCAPTCHA (V2)
Protect your forms from spam and abuse:
- 🔑 RECAPTCHA SITE KEY – Public browser key
- 🔐 RECAPTCHA SECRET KEY – Server-side validation key
📚 Resources
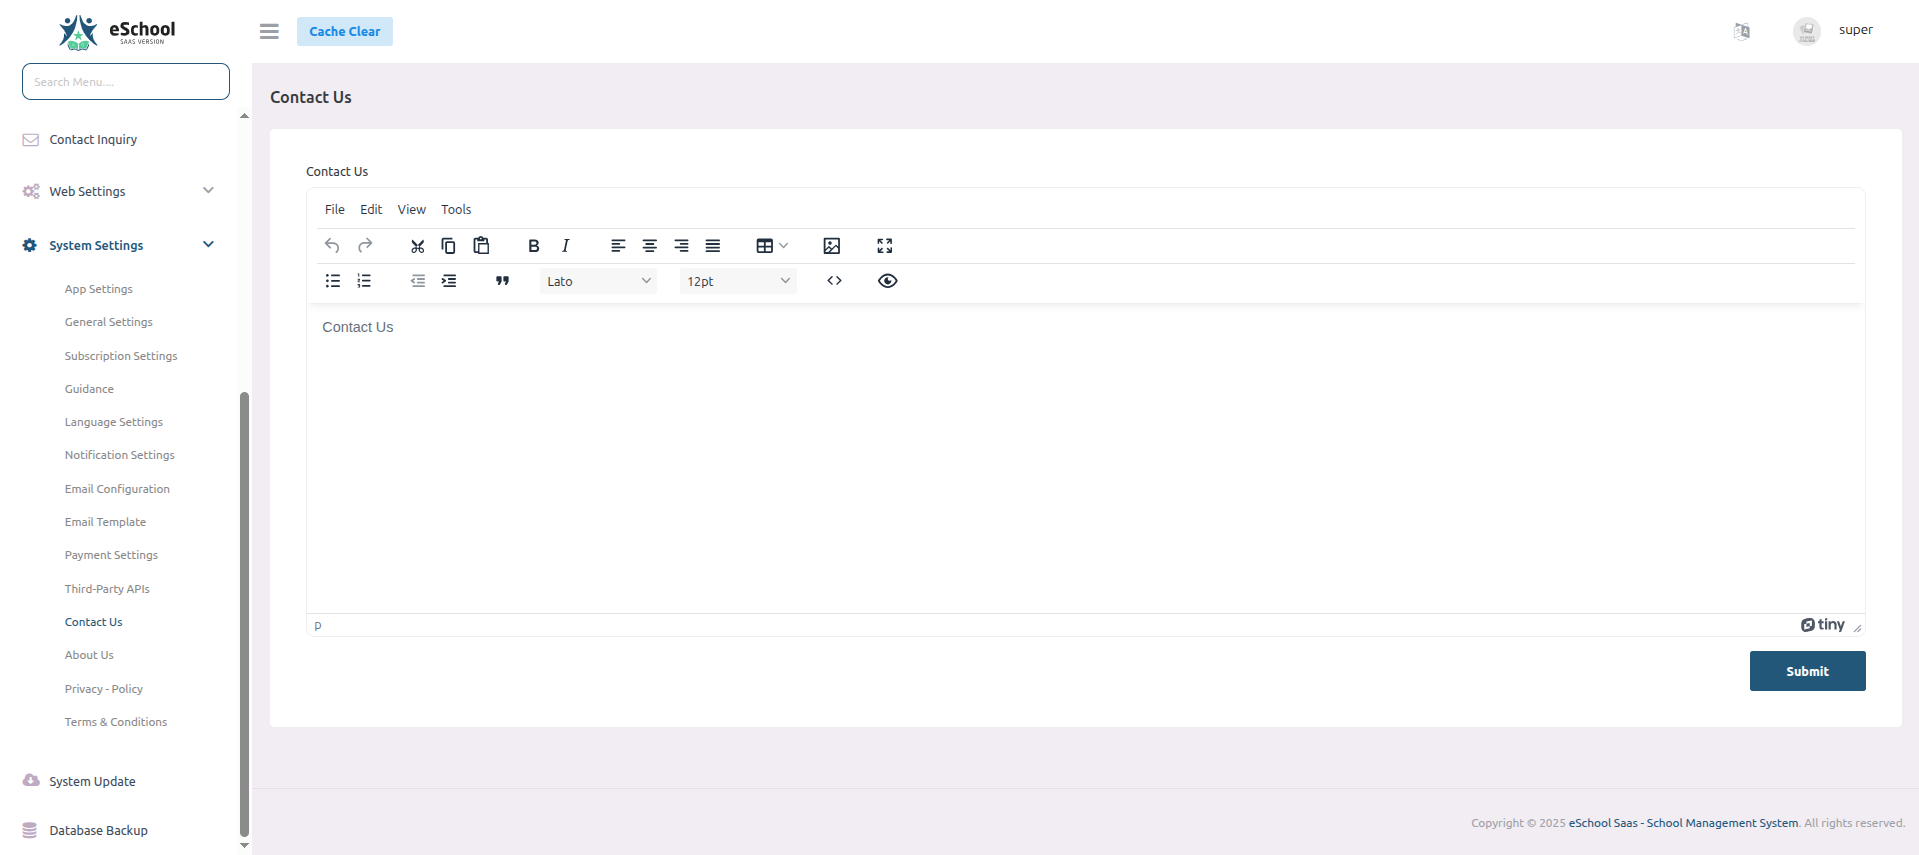
🔟 Contact Us Settings
Configure your contact information and form settings to help users reach you:
1️⃣1️⃣ About Us Settings
Configure your organization's information and branding that appears in the About Us section:

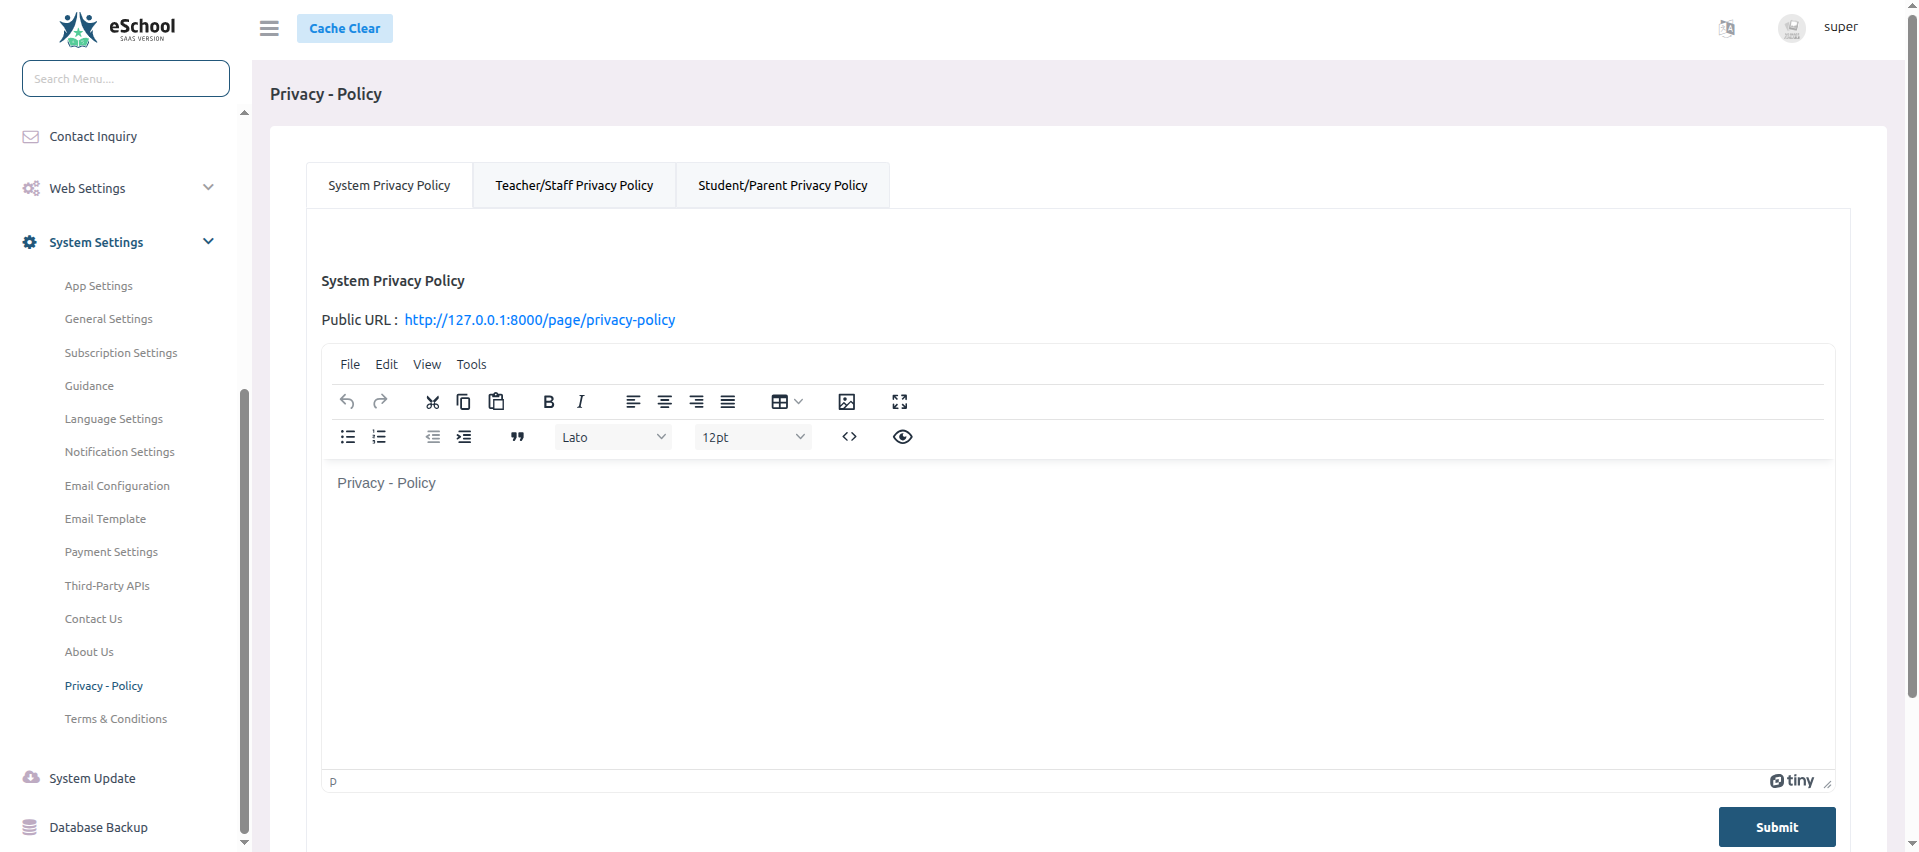
1️⃣2️⃣ Privacy Policy Settings
Configure privacy policies for different user groups in your system:
📜 System Privacy Policy
Set the main privacy policy that governs overall system usage:
👨🏫 Teacher/Staff Privacy Policy
Configure specific privacy terms for teaching and administrative staff:

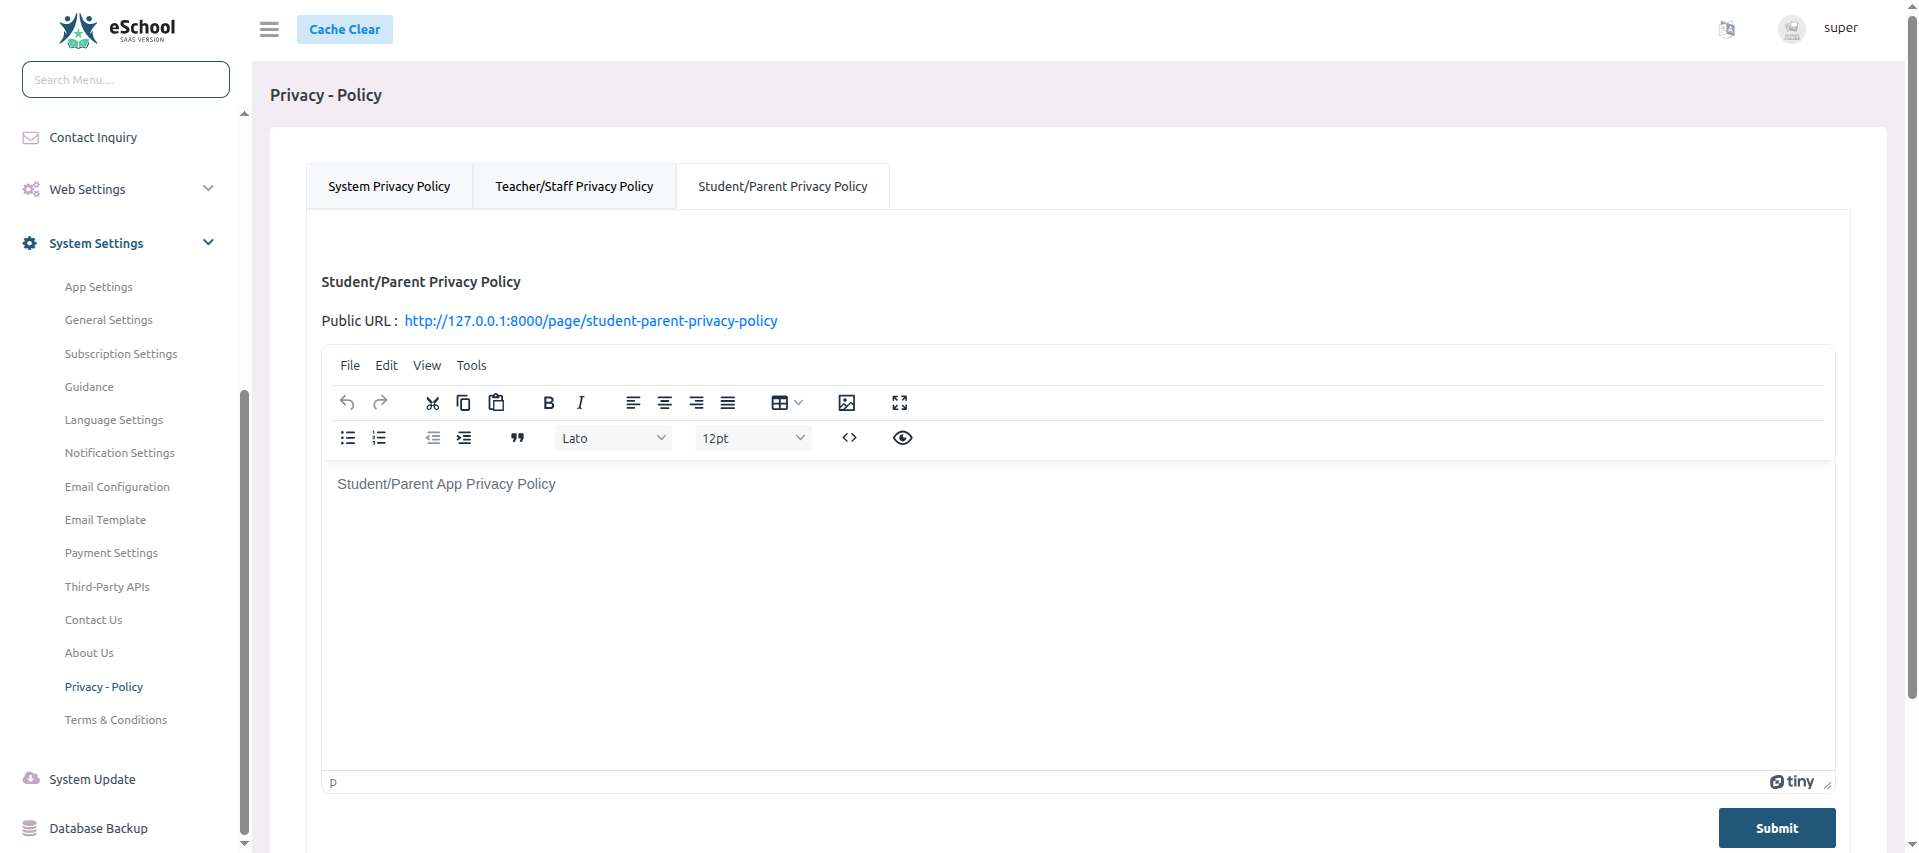
👨👩👧👦 Student/Parent Privacy Policy
Set privacy guidelines for students and their guardians:
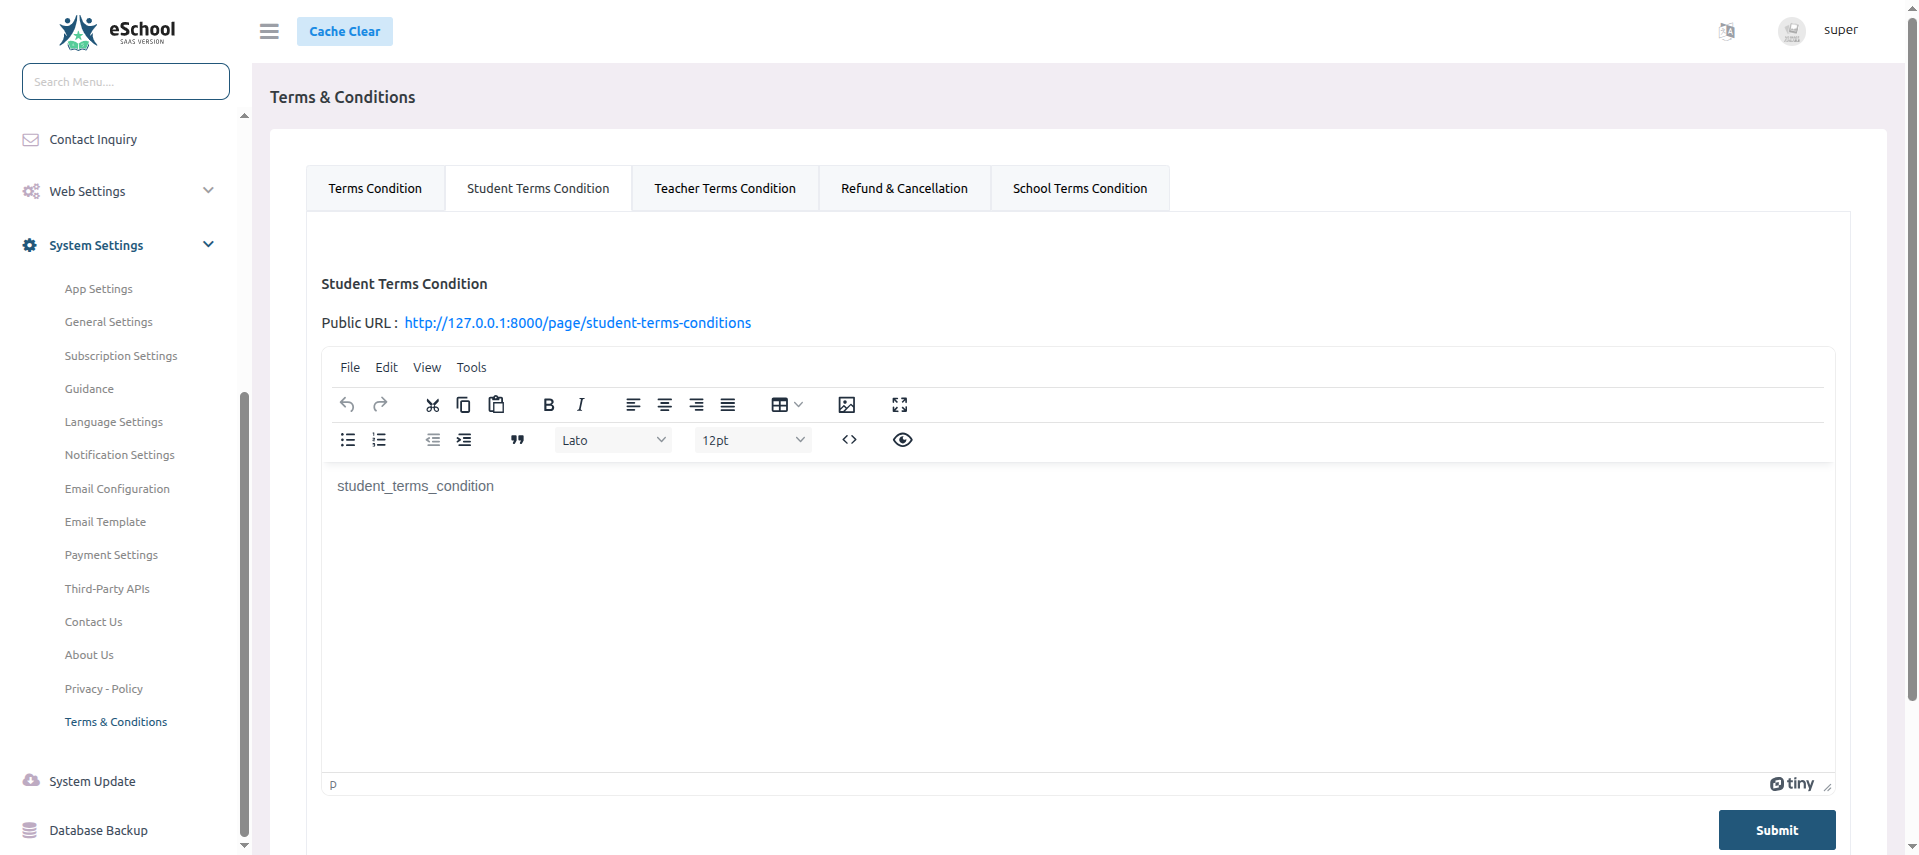
1️⃣3️⃣ Terms & Conditions Settings
Configure various terms & conditions for different user groups and scenarios:
📋 General Terms & Conditions
Set the main terms that govern overall system usage:

👨🎓 Student Terms & Conditions
Configure specific terms for student users:
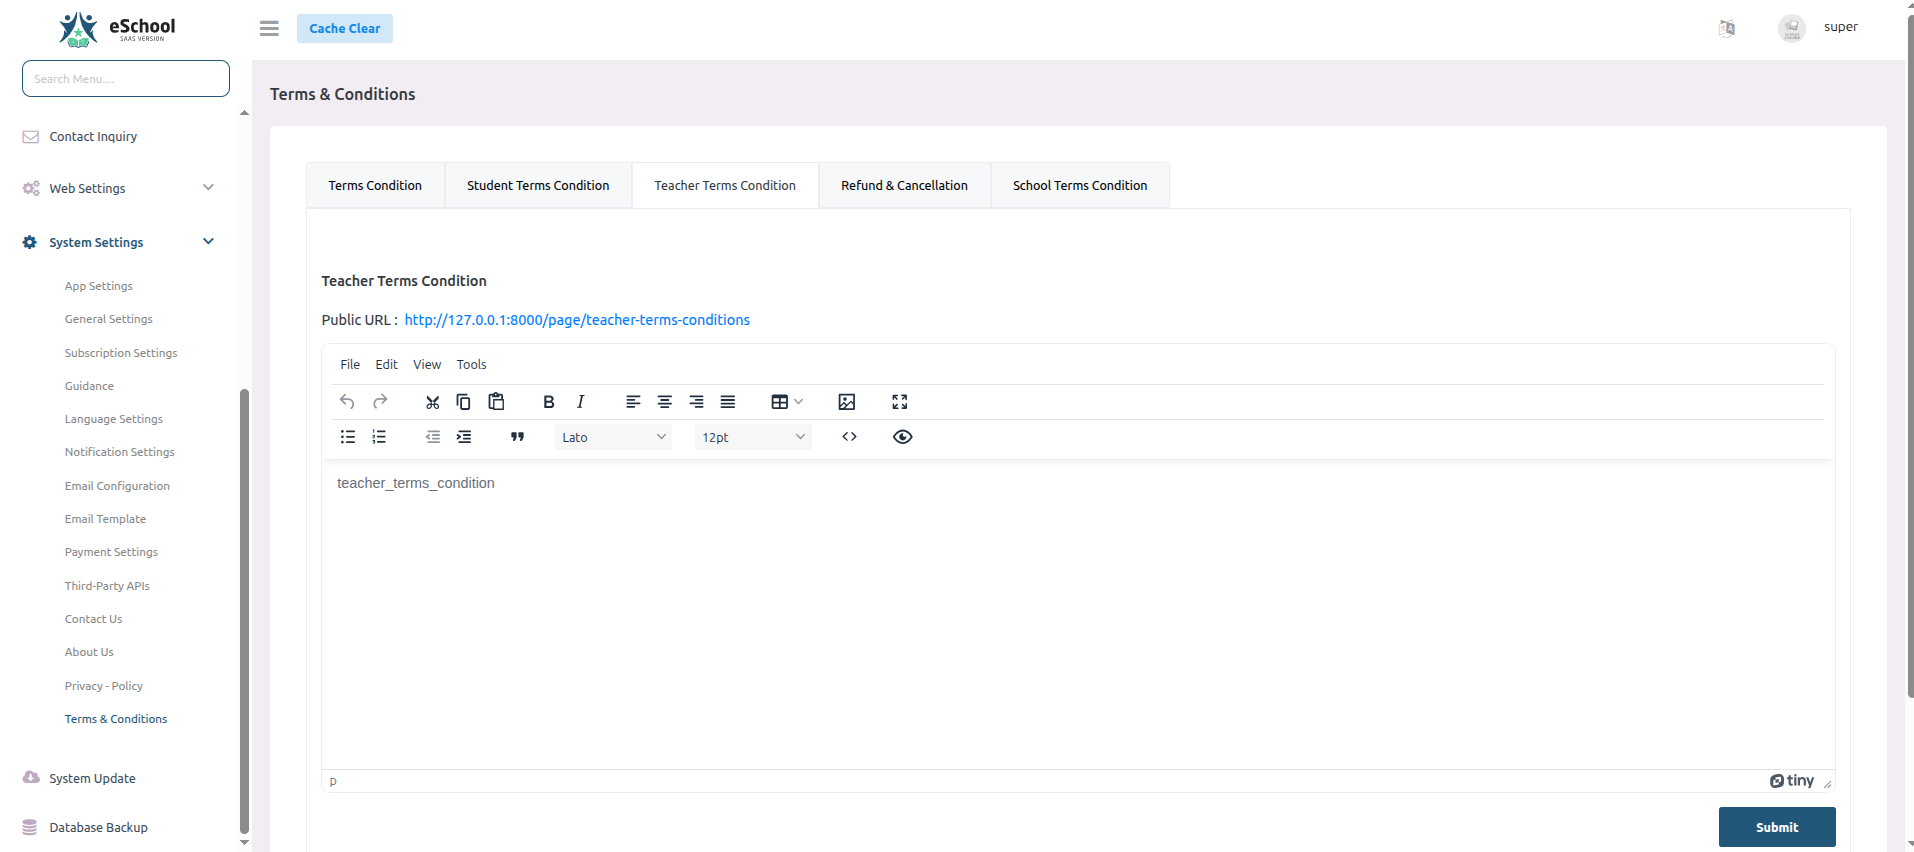
👨🏫 Teacher Terms & Conditions
Set terms of service for teaching staff:
💰 Refund & Cancellation Policy
Configure refund and cancellation terms:

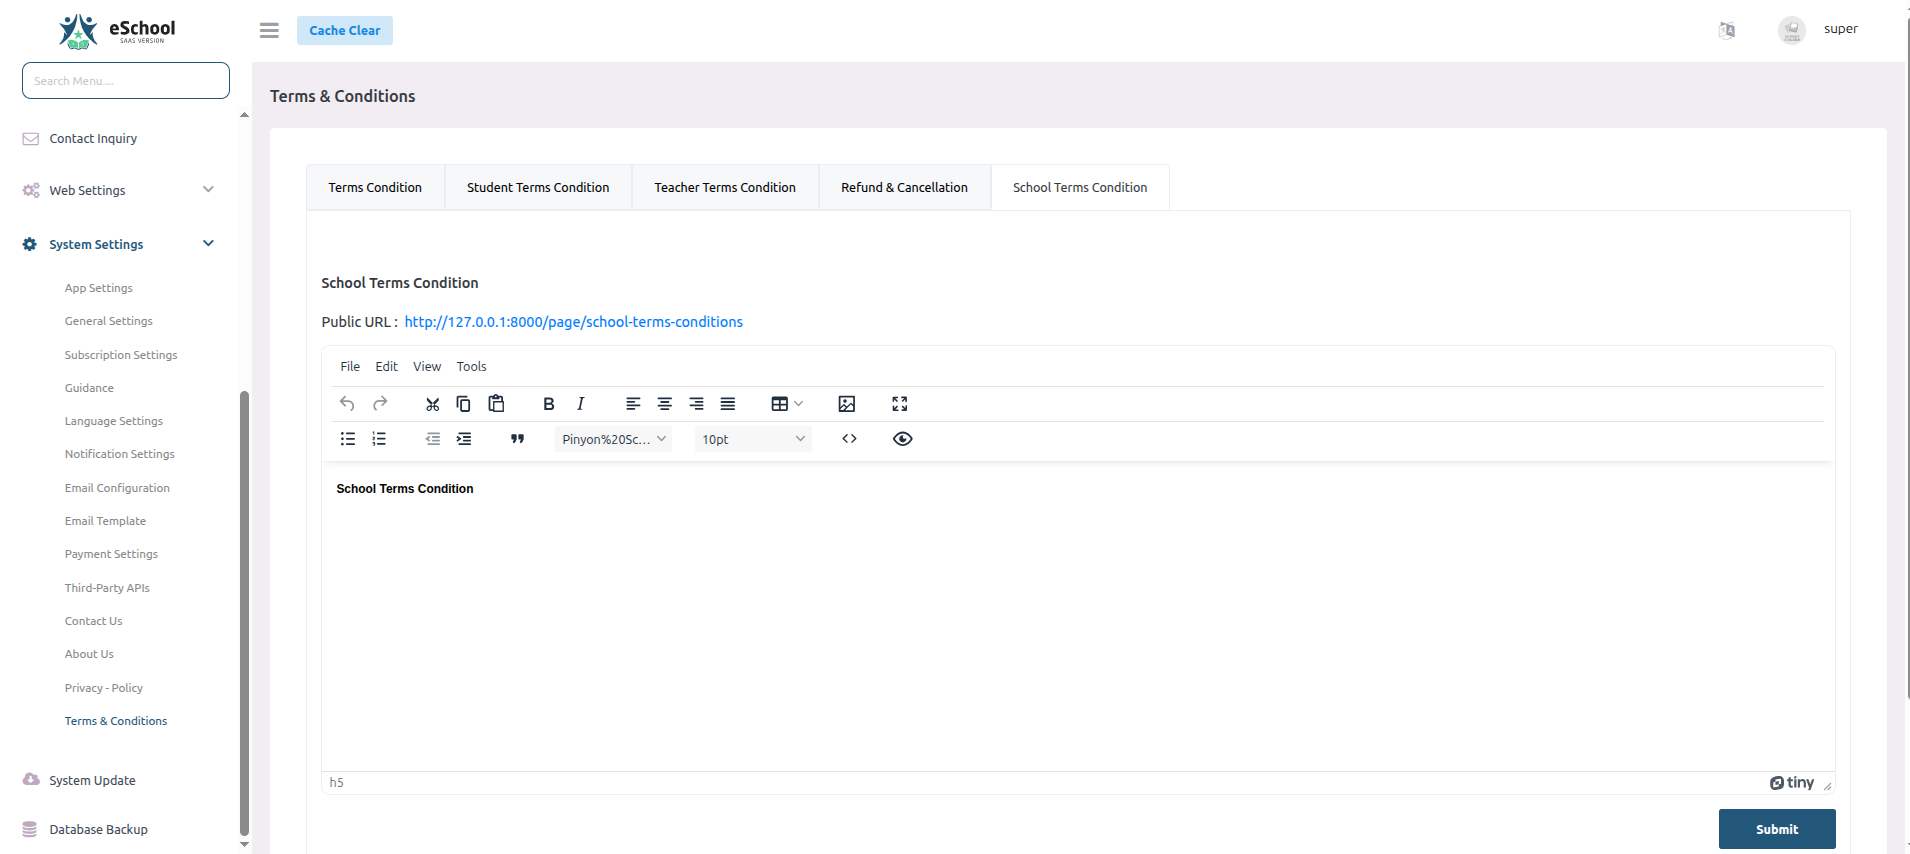
🏫 School Terms & Conditions
Set specific terms for school administration:
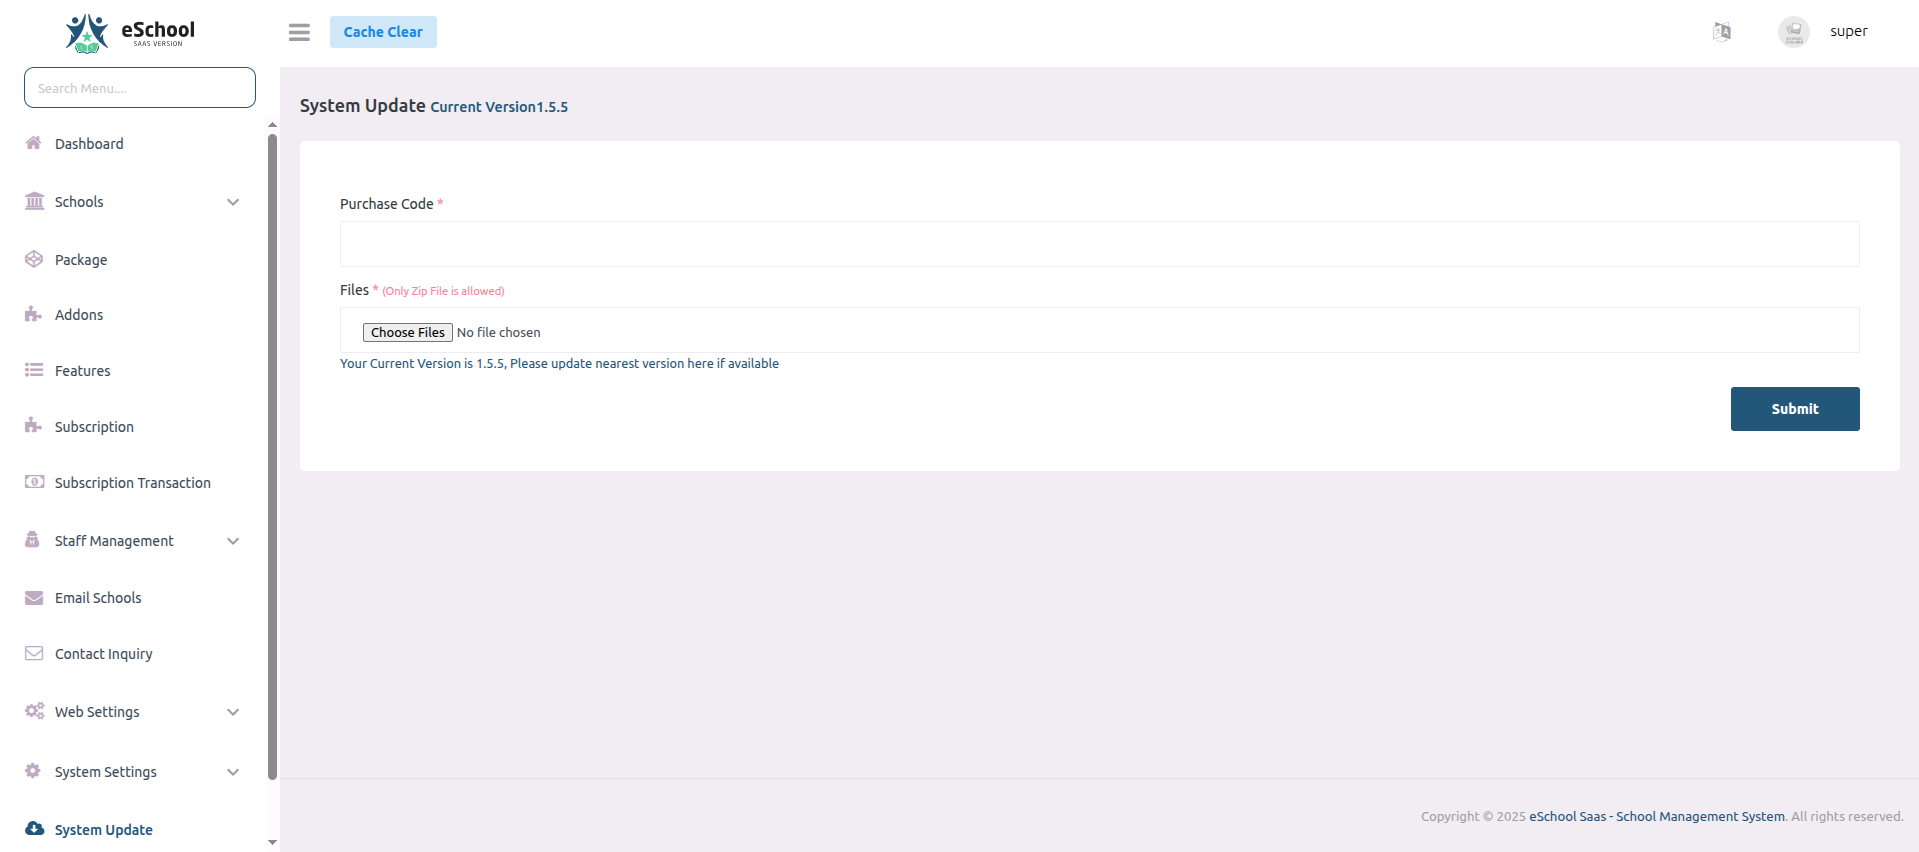
1️⃣4️⃣ System Updates
Keep your e-School SaaS installation up to date with the latest features and security patches.
📦 Update Process
- Download the latest update package from Envato
- Navigate to the System Updates section
- Provide your purchase code and upload the update file:
⚠️ Important Notes:
- Only super admin can access the database backup and update features
- Take a full database backup before updating
- Only upload the official update ZIP file from Envato marketplace
- Ensure your purchase code matches your installation
- Update to the nearest available version incrementally (e.g. v1.0 -> v1.1 -> v1.2)
- Check system requirements before updating
- Clear cache and temporary files after update
- Test core functionality after each update
- Keep track of update history and changelog
- Contact support if you encounter any issues during update
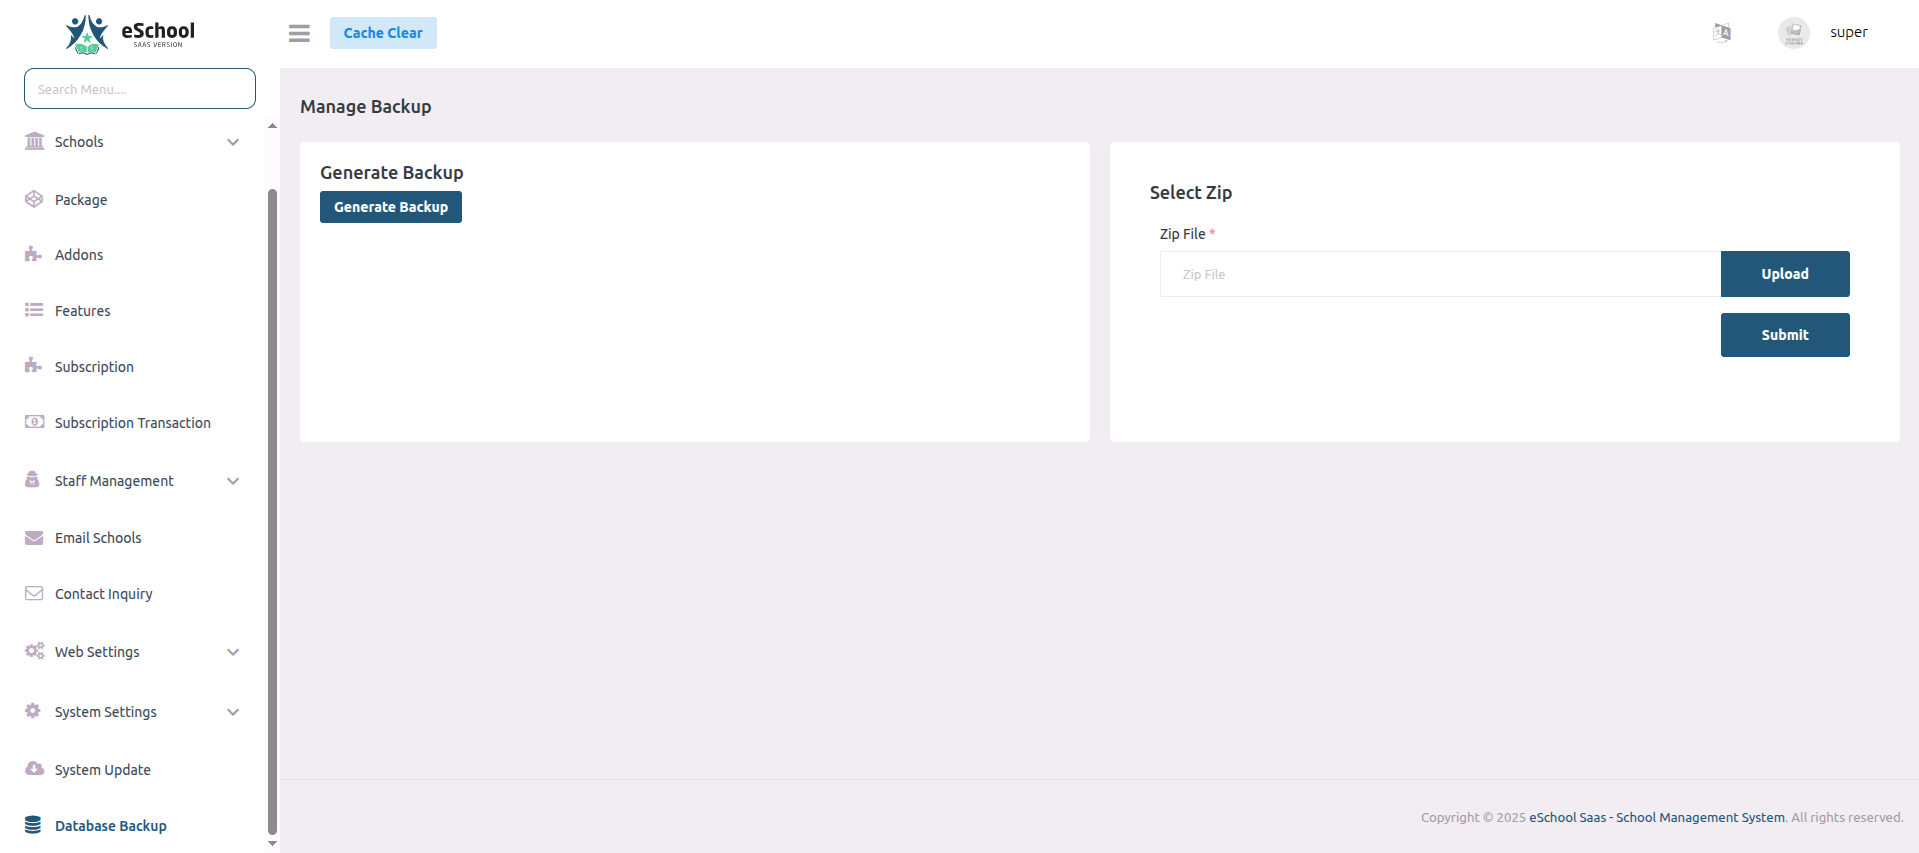
1️⃣5️⃣ Database Backup Management
Maintain regular backups of your system data for disaster recovery and data protection.
📥 Generate Database Backup
- Navigate to the Database Backup section in admin panel
- Click on "Generate Backup" to create a new backup file:
📦 Download & Restore Backups
- Download generated backup files for safekeeping
- Upload and restore backups when needed:
⚠️ Important Notes:
- Only super admin can manage database backups
- Store backup files securely offline
- Regularly schedule automated backups
- Test backup restoration periodically
- Keep multiple backup versions
🎉 Congratulations!
Your e-School SaaS system is now fully configured and ready to use! 🚀