Authentication Setup
This guide provides instructions for integrating Firebase Authentication into your App.
Before proceeding, ensure you have completed the initial Common Firebase Configuration.
Prerequisites
- You should have already changed your app’s package name.
- If you want to go with Option 1 for setup, you must have Firebase CLI installed and you must be logged in to your account.
Option 1: Automated Setup with FlutterFire CLI
The FlutterFire CLI offers the quickest method for configuring Firebase in your project. It relies on the underlying Firebase CLI for its operations.
1. Install FlutterFire CLI
If you have not already installed the CLI, run the following command in your terminal:
dart pub global activate flutterfire_cli
2. Configure Your Project
To link your Flutter application with your Firebase project, run the command below. Replace <your-project-id> with the actual Project ID from your Firebase project settings.
flutterfire --configure project=<your-project-id>
Follow the interactive prompts in your terminal to select the target platforms and complete the configuration.
Option 2: Manual Firebase Configuration
If you prefer to configure your project manually, follow the platform-specific instructions below.
Android Configuration
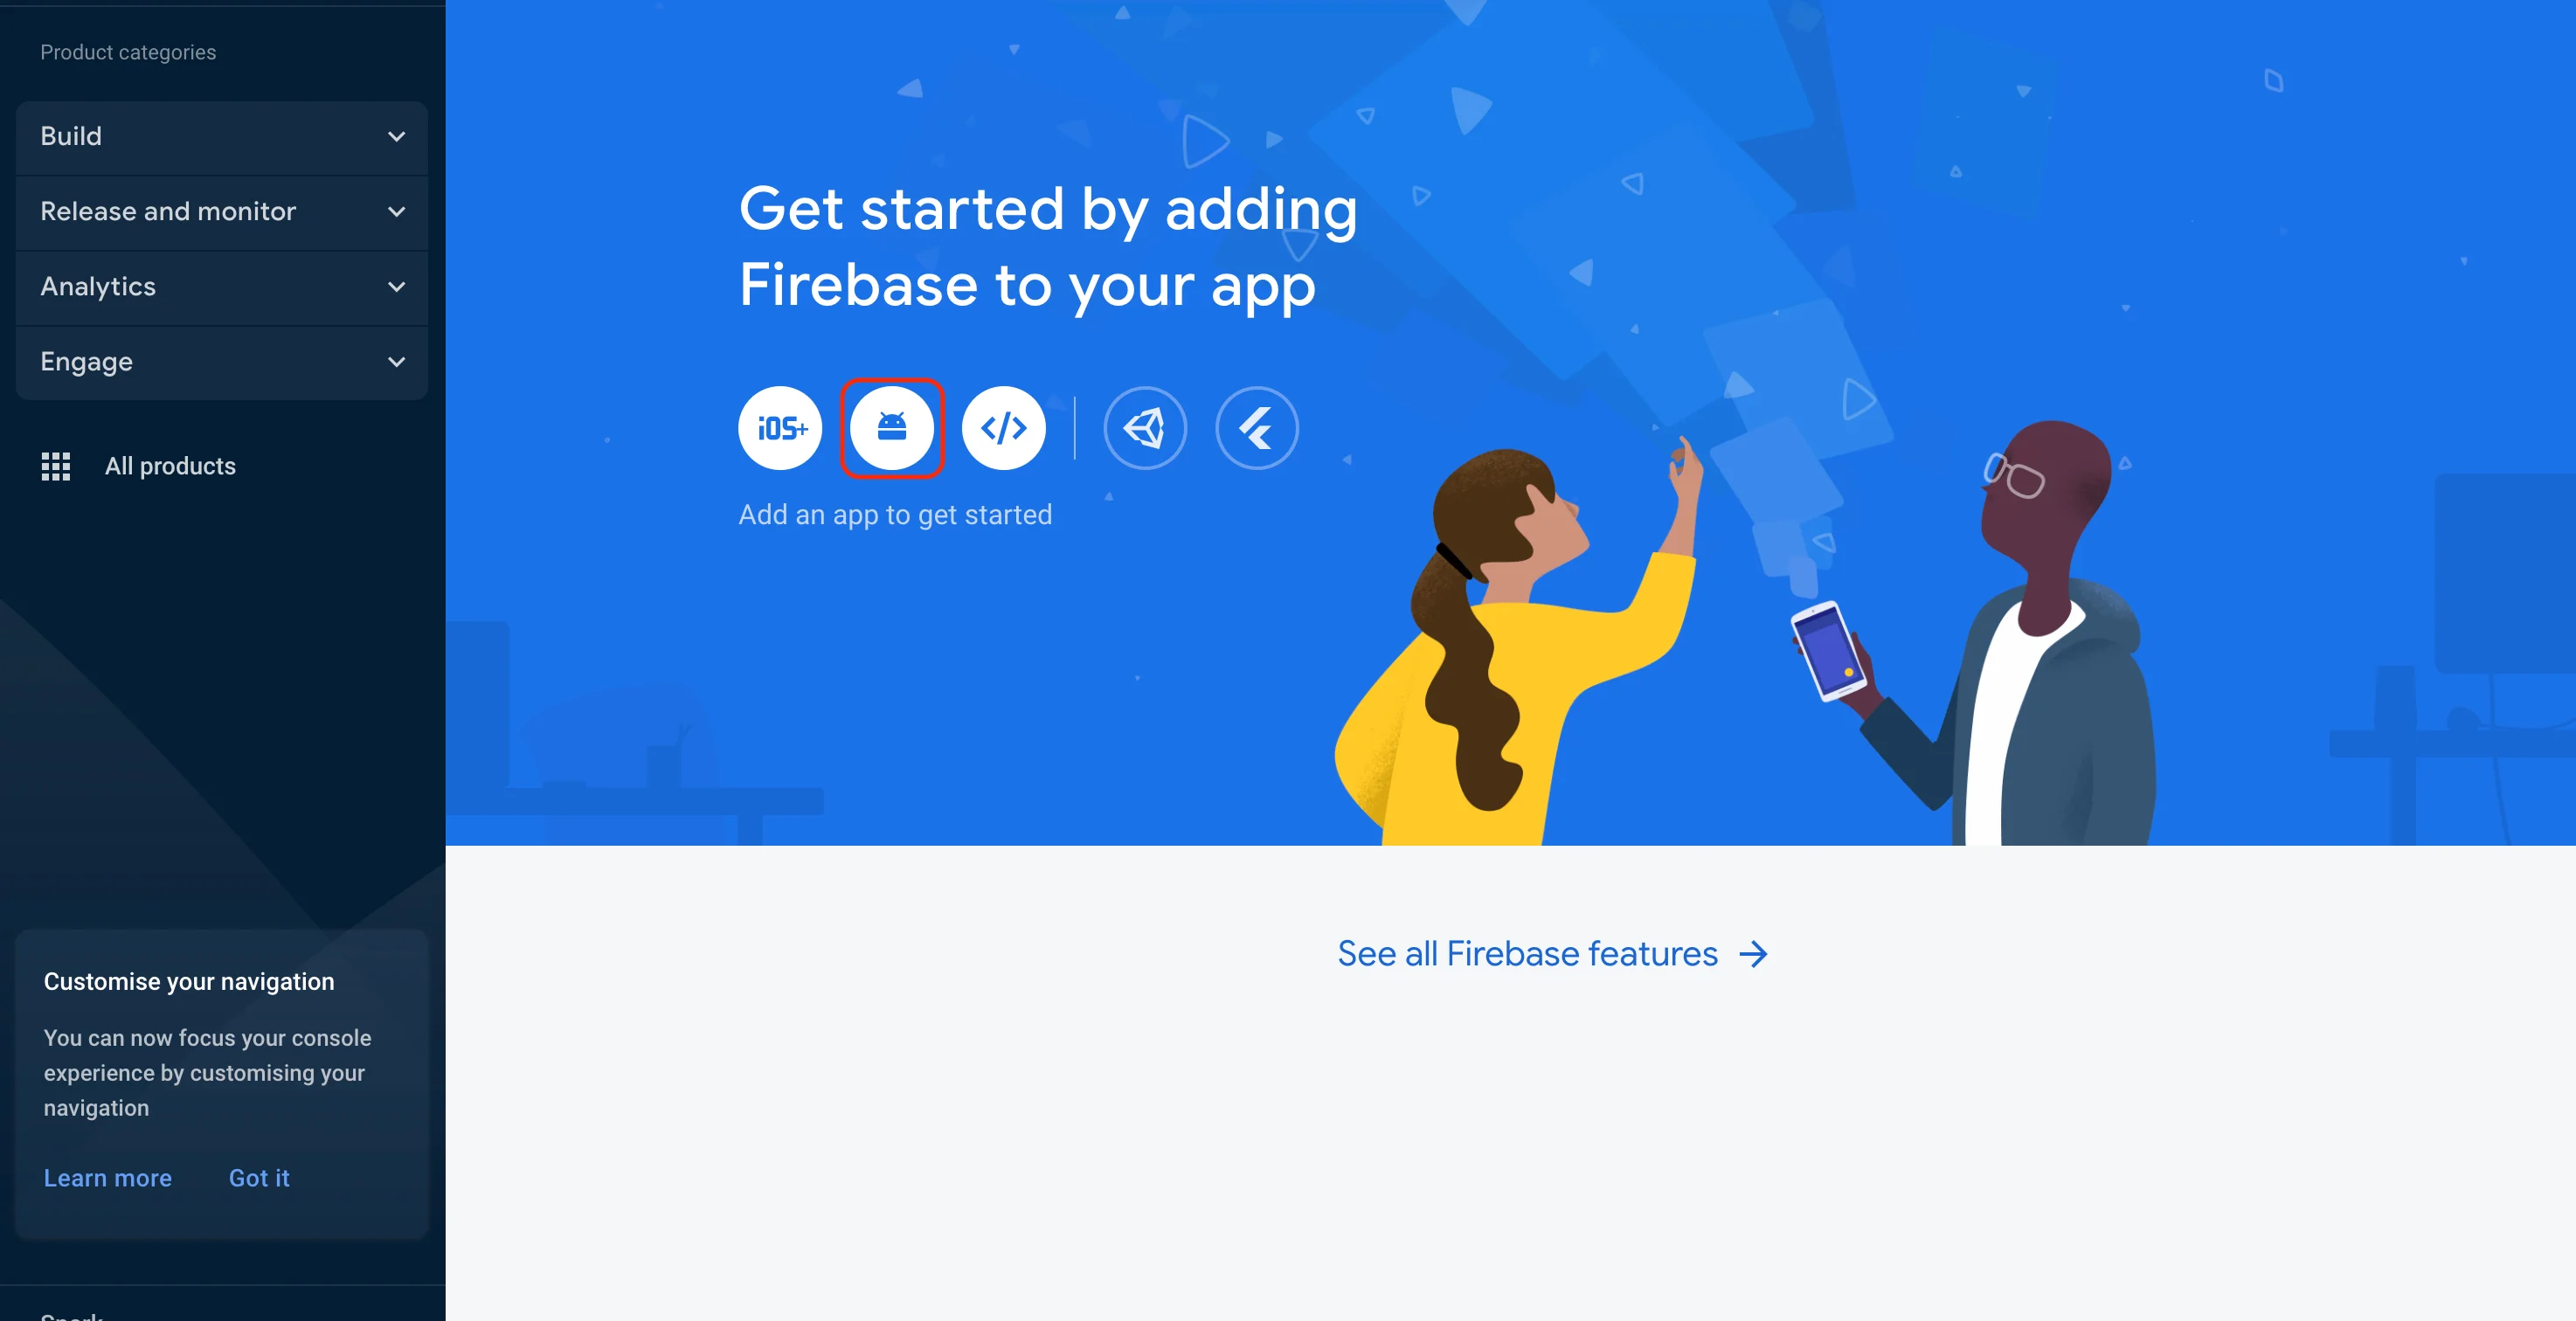
- Navigate to the Project Overview in the Firebase console and click the Android icon to launch the setup workflow.
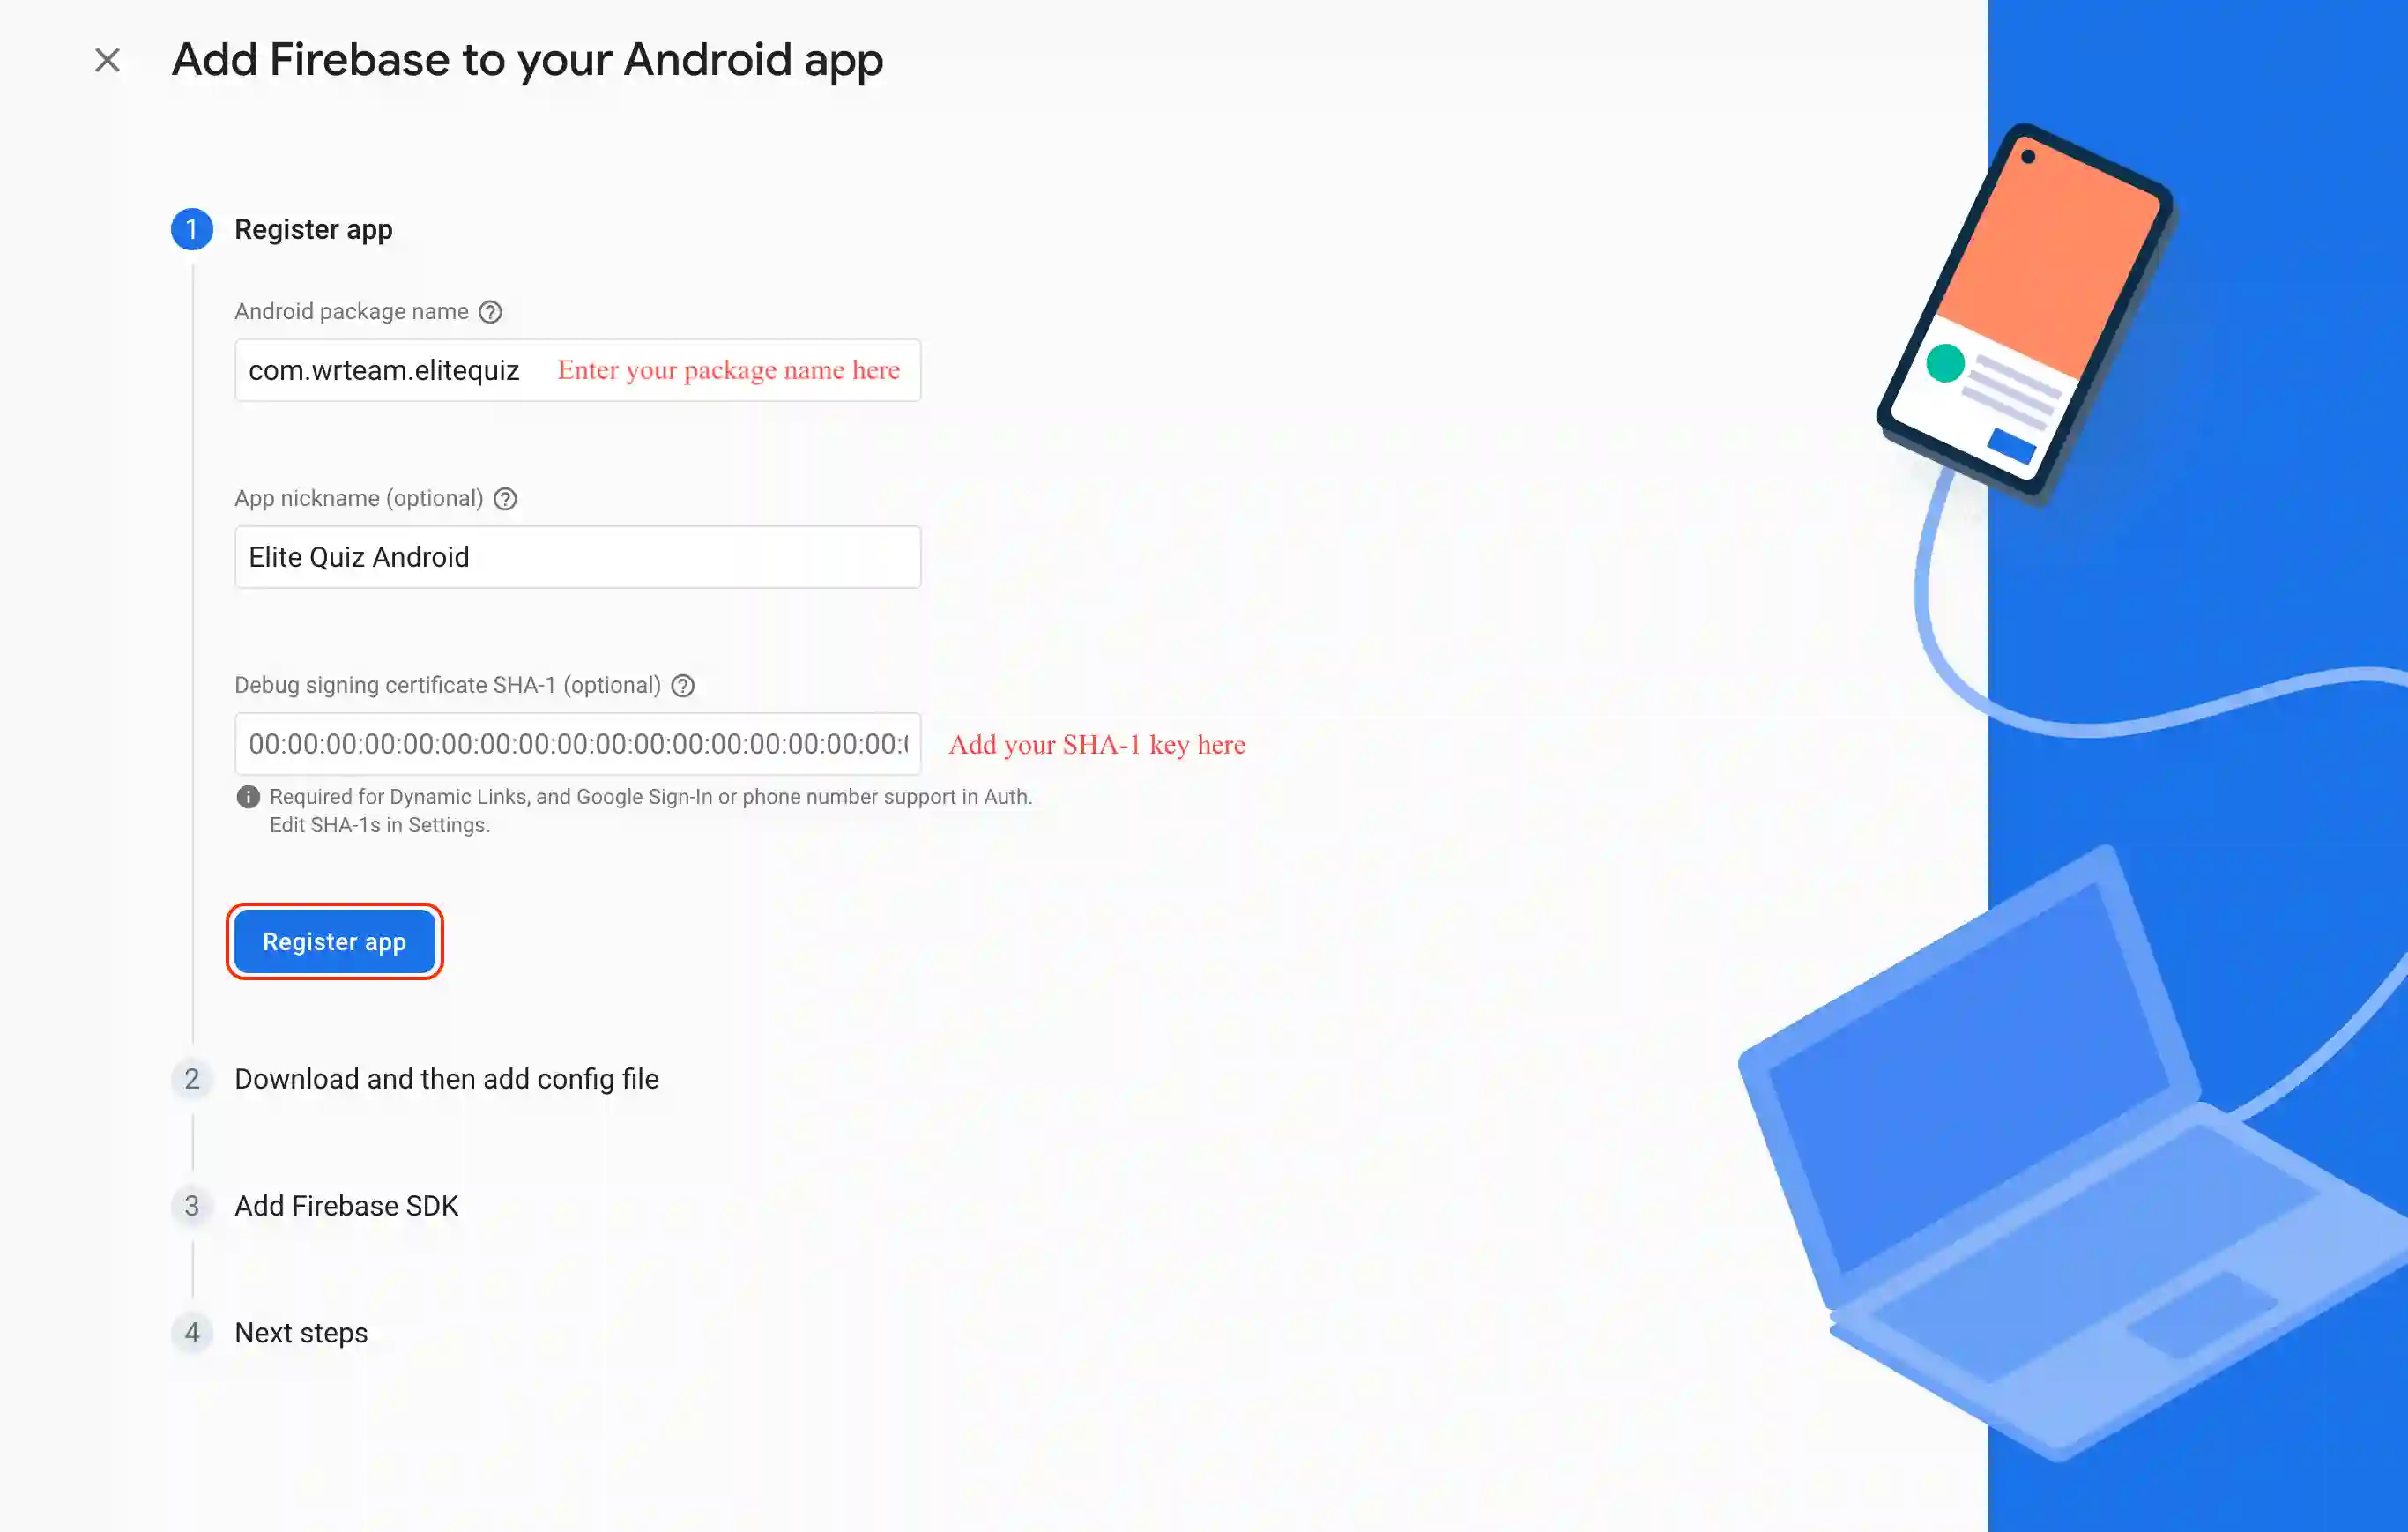
- In the Package name field, enter your application's package name.
- Optionally, provide an App nickname.
- Click Register app.
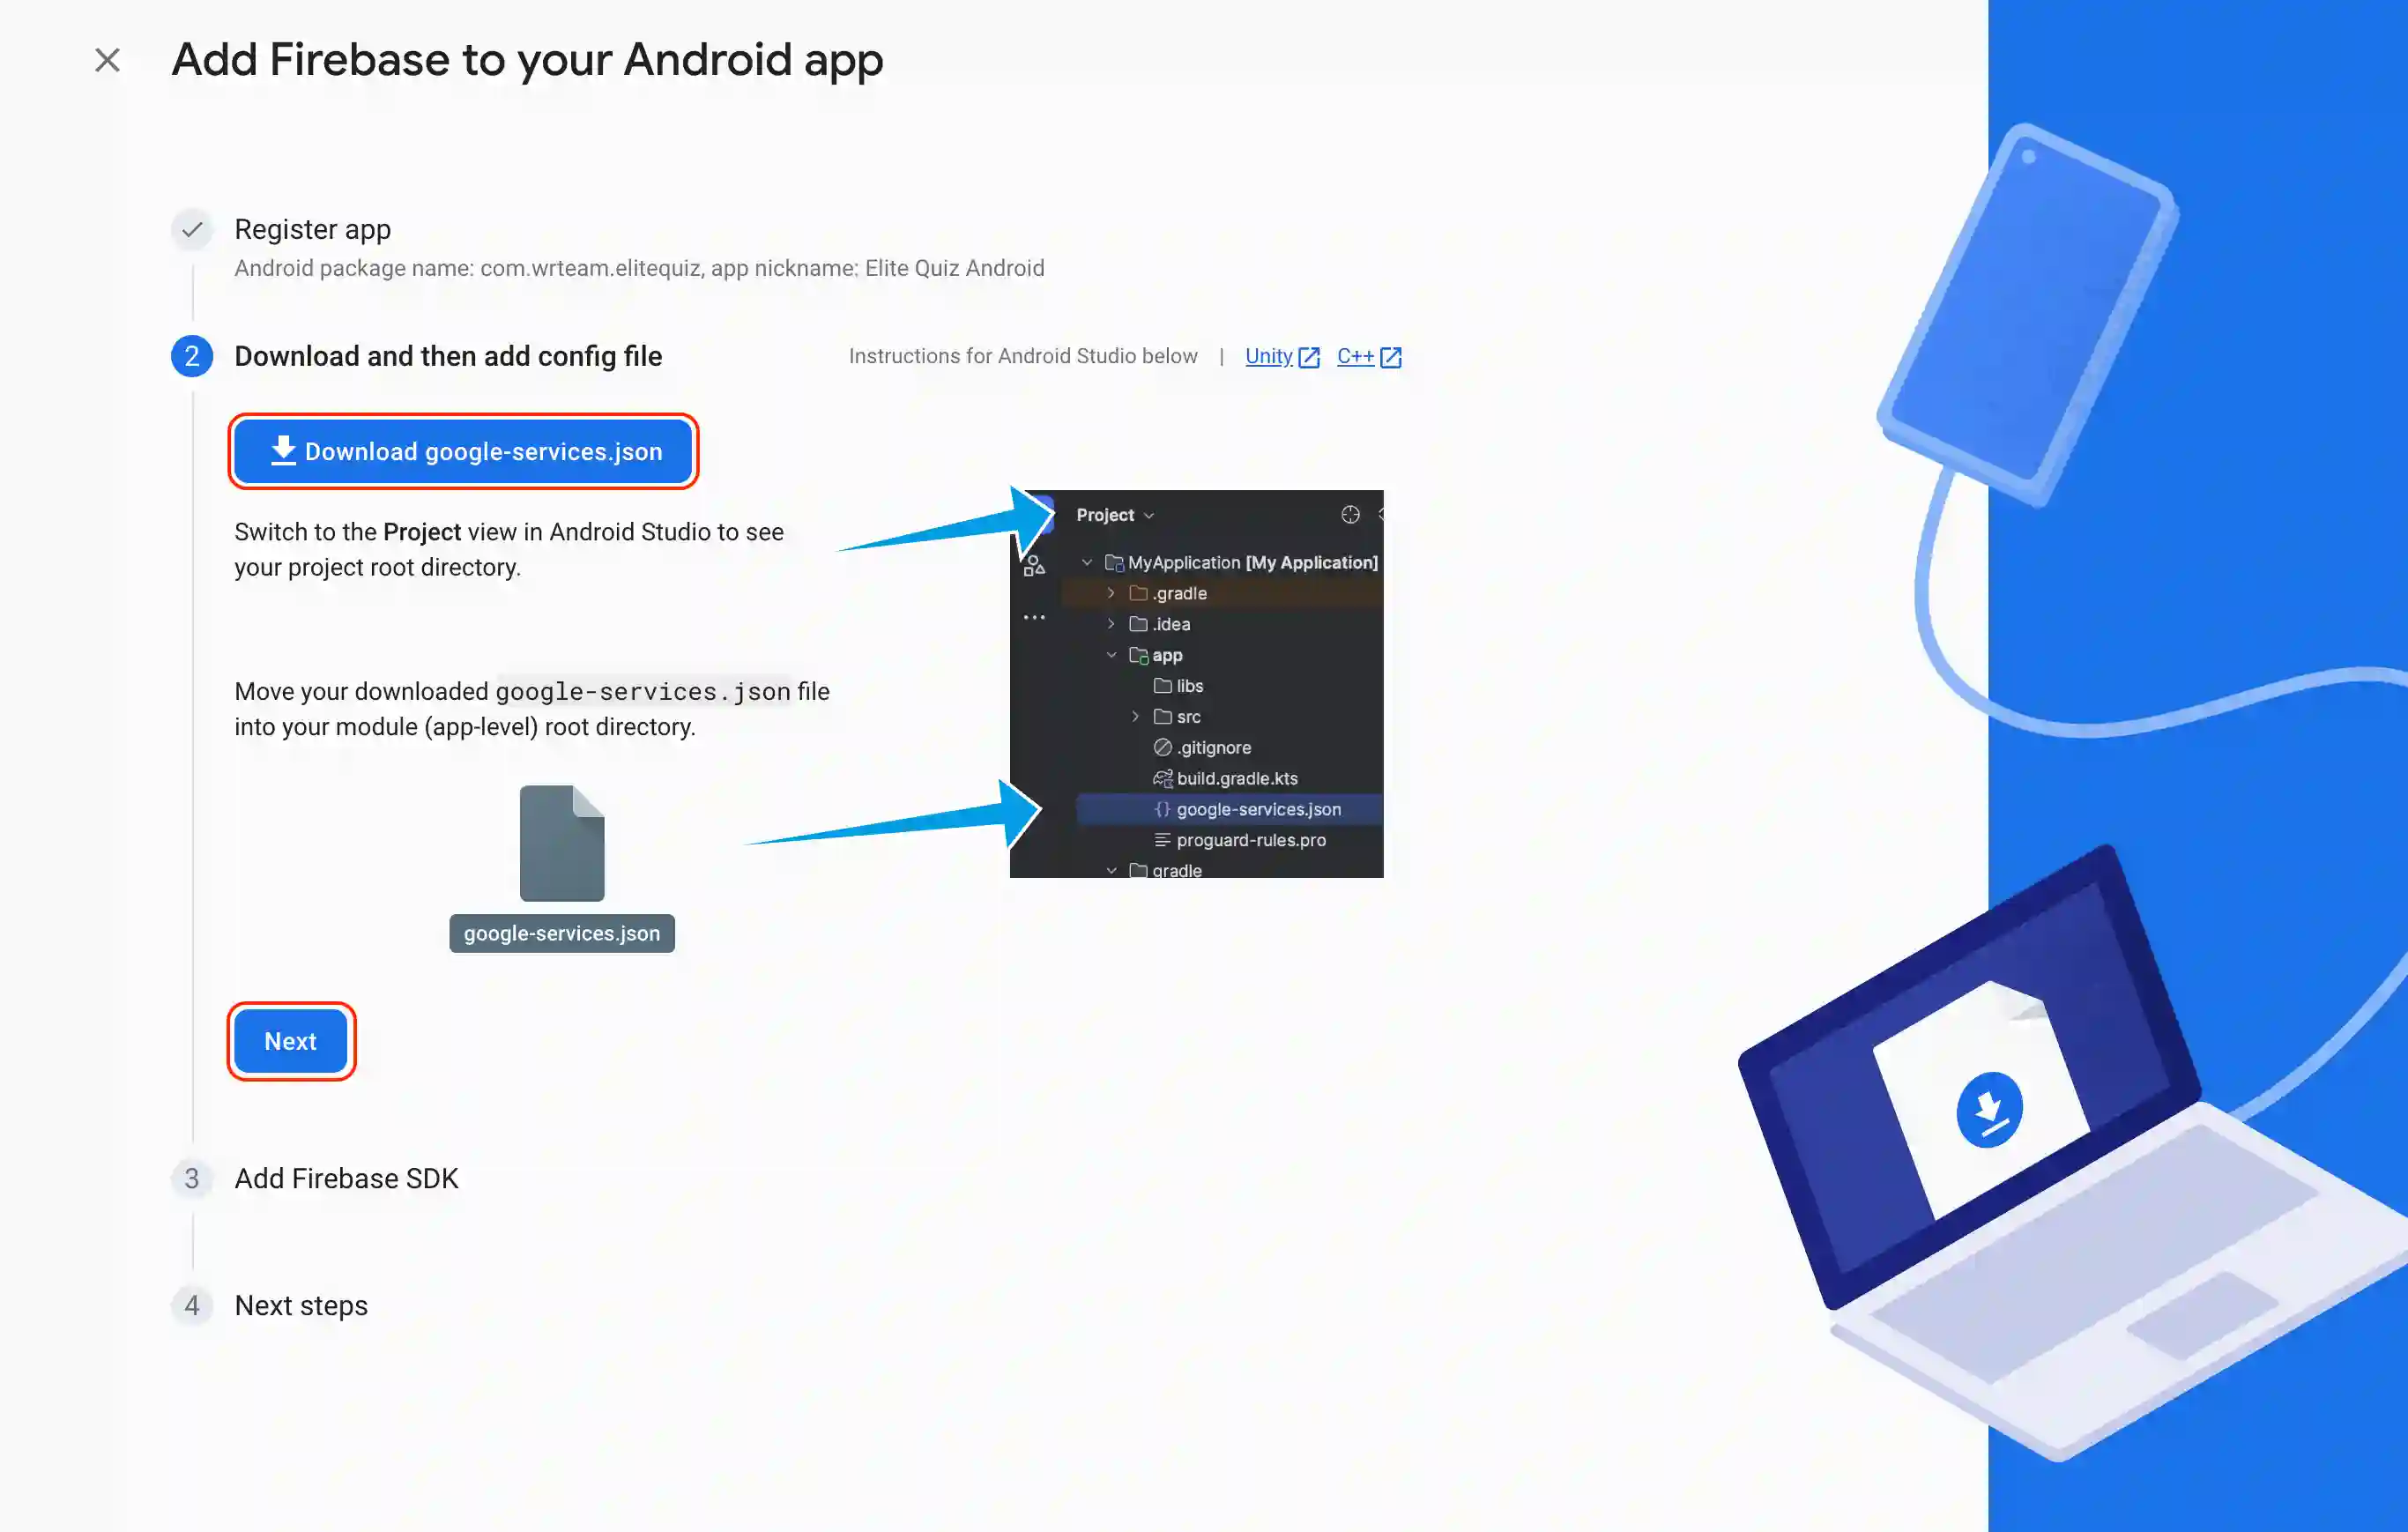
- Download the generated
google-services.jsonfile. - Move the
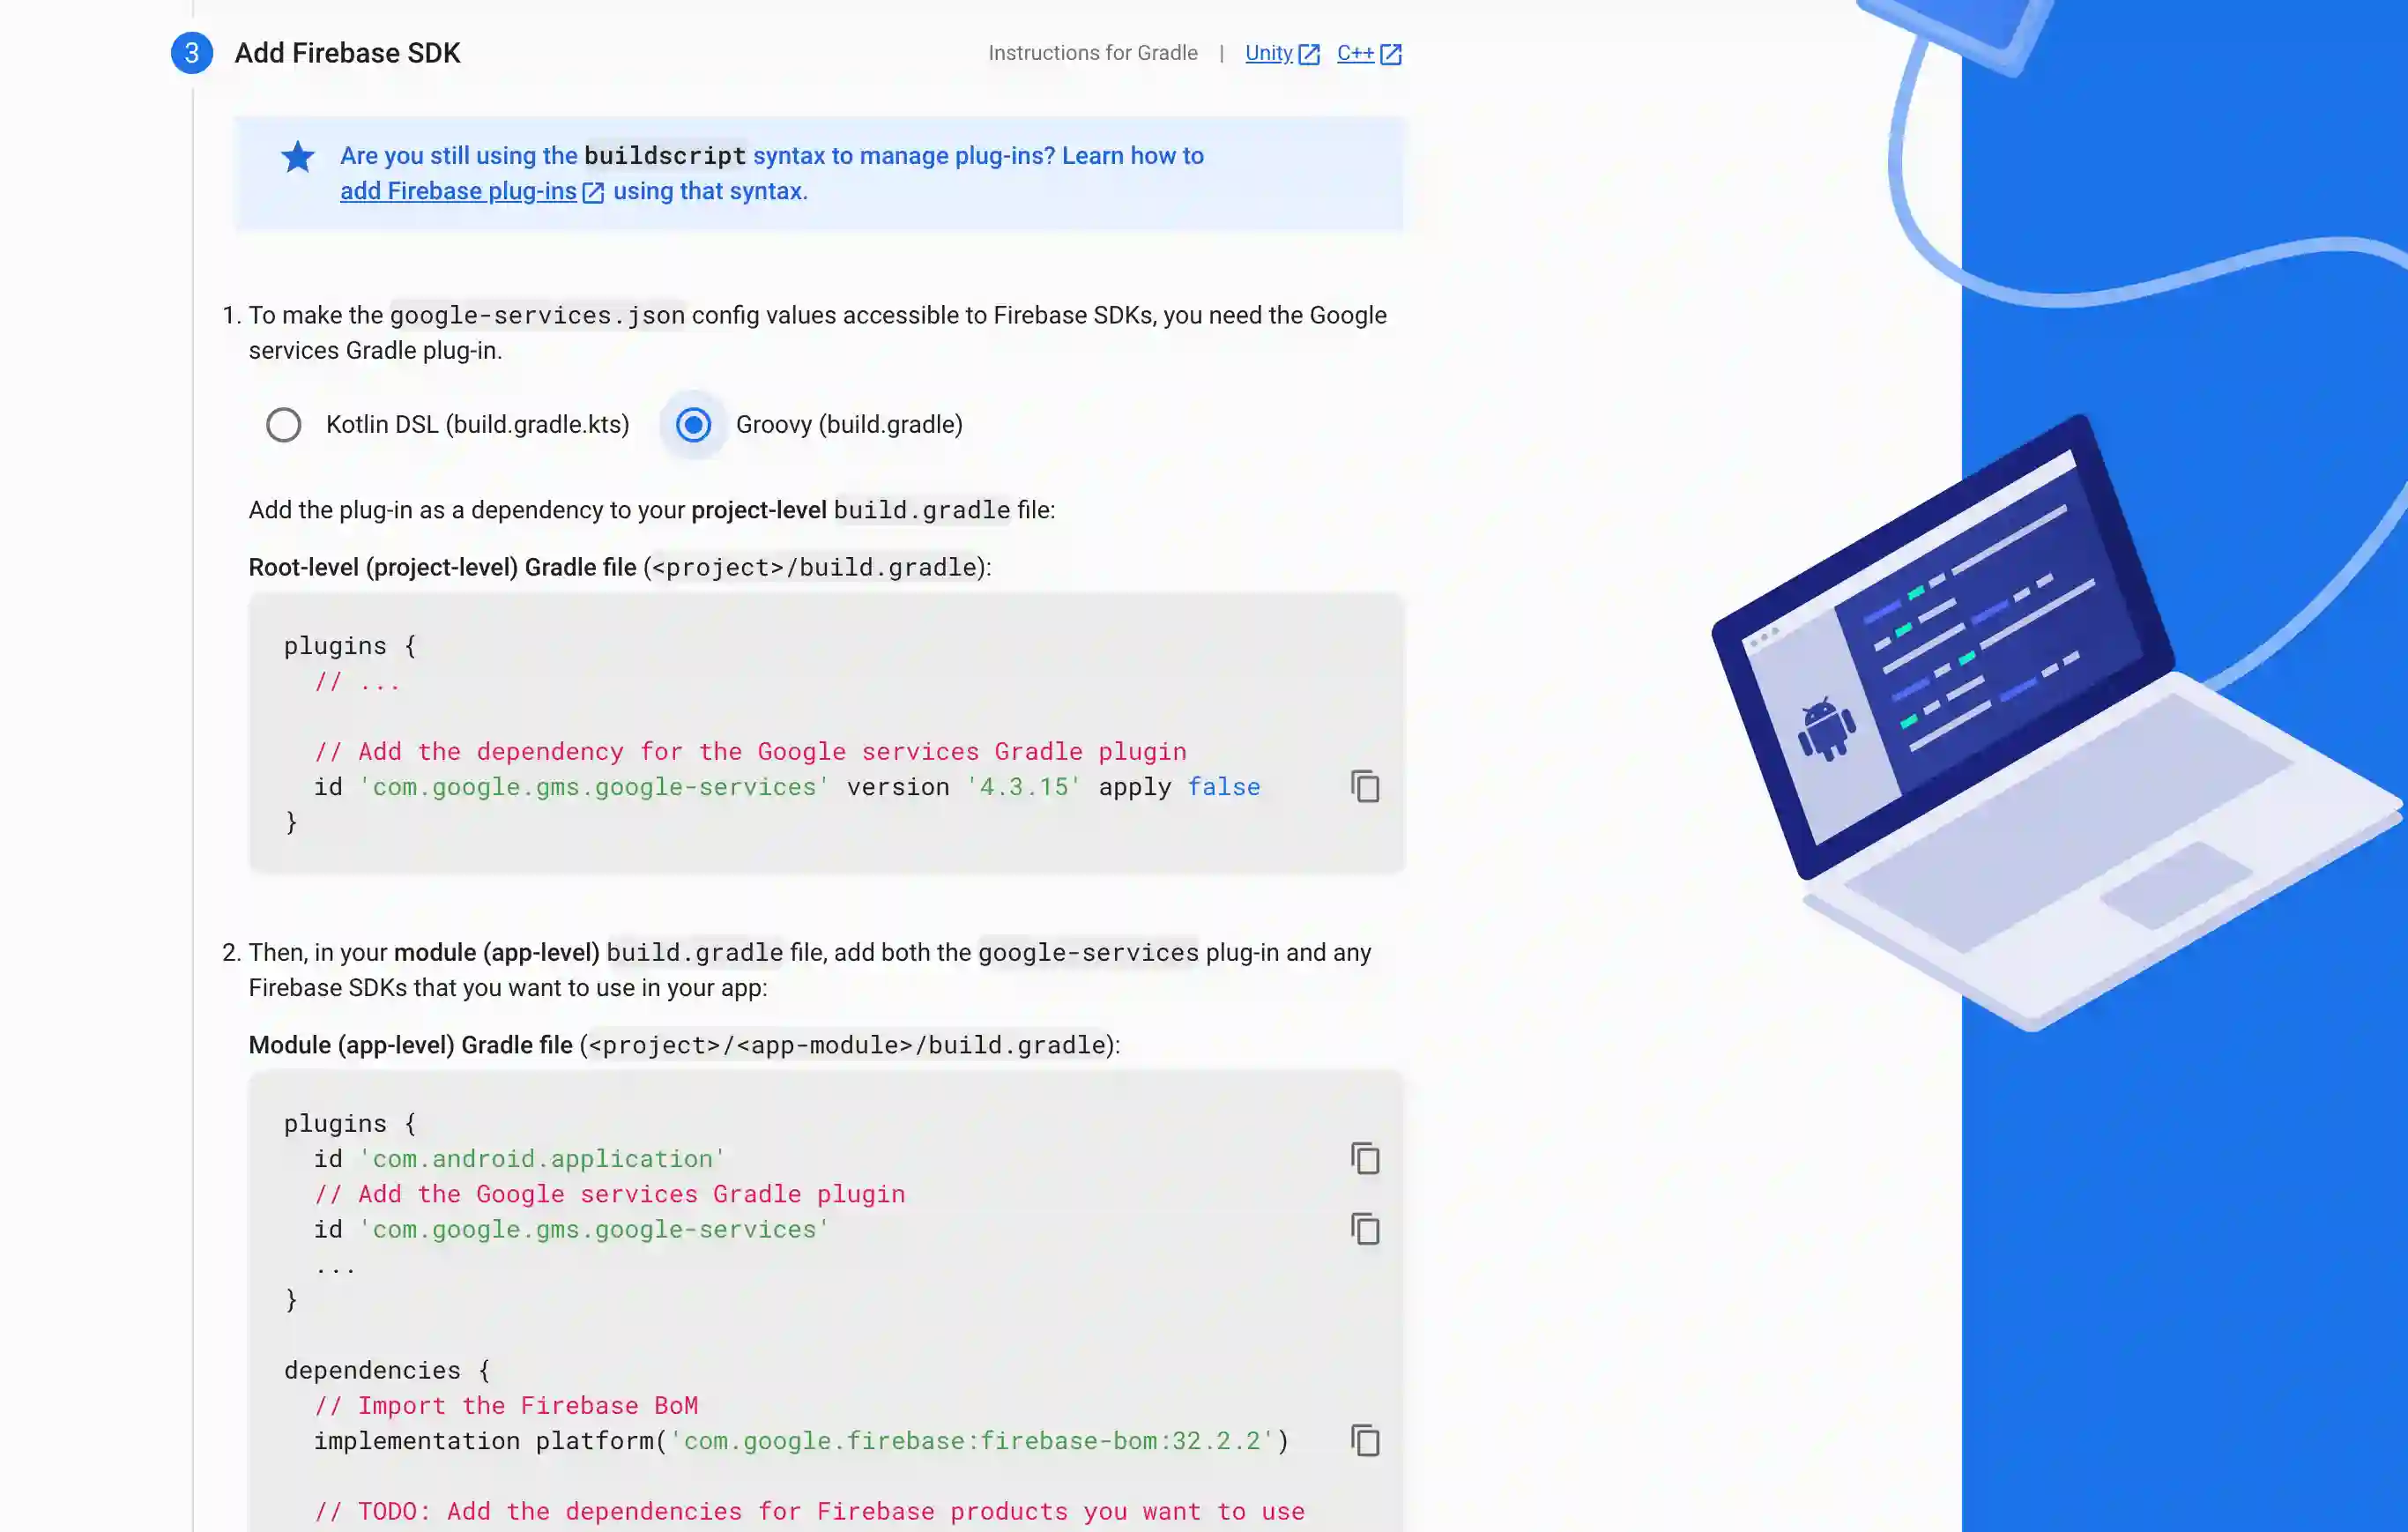
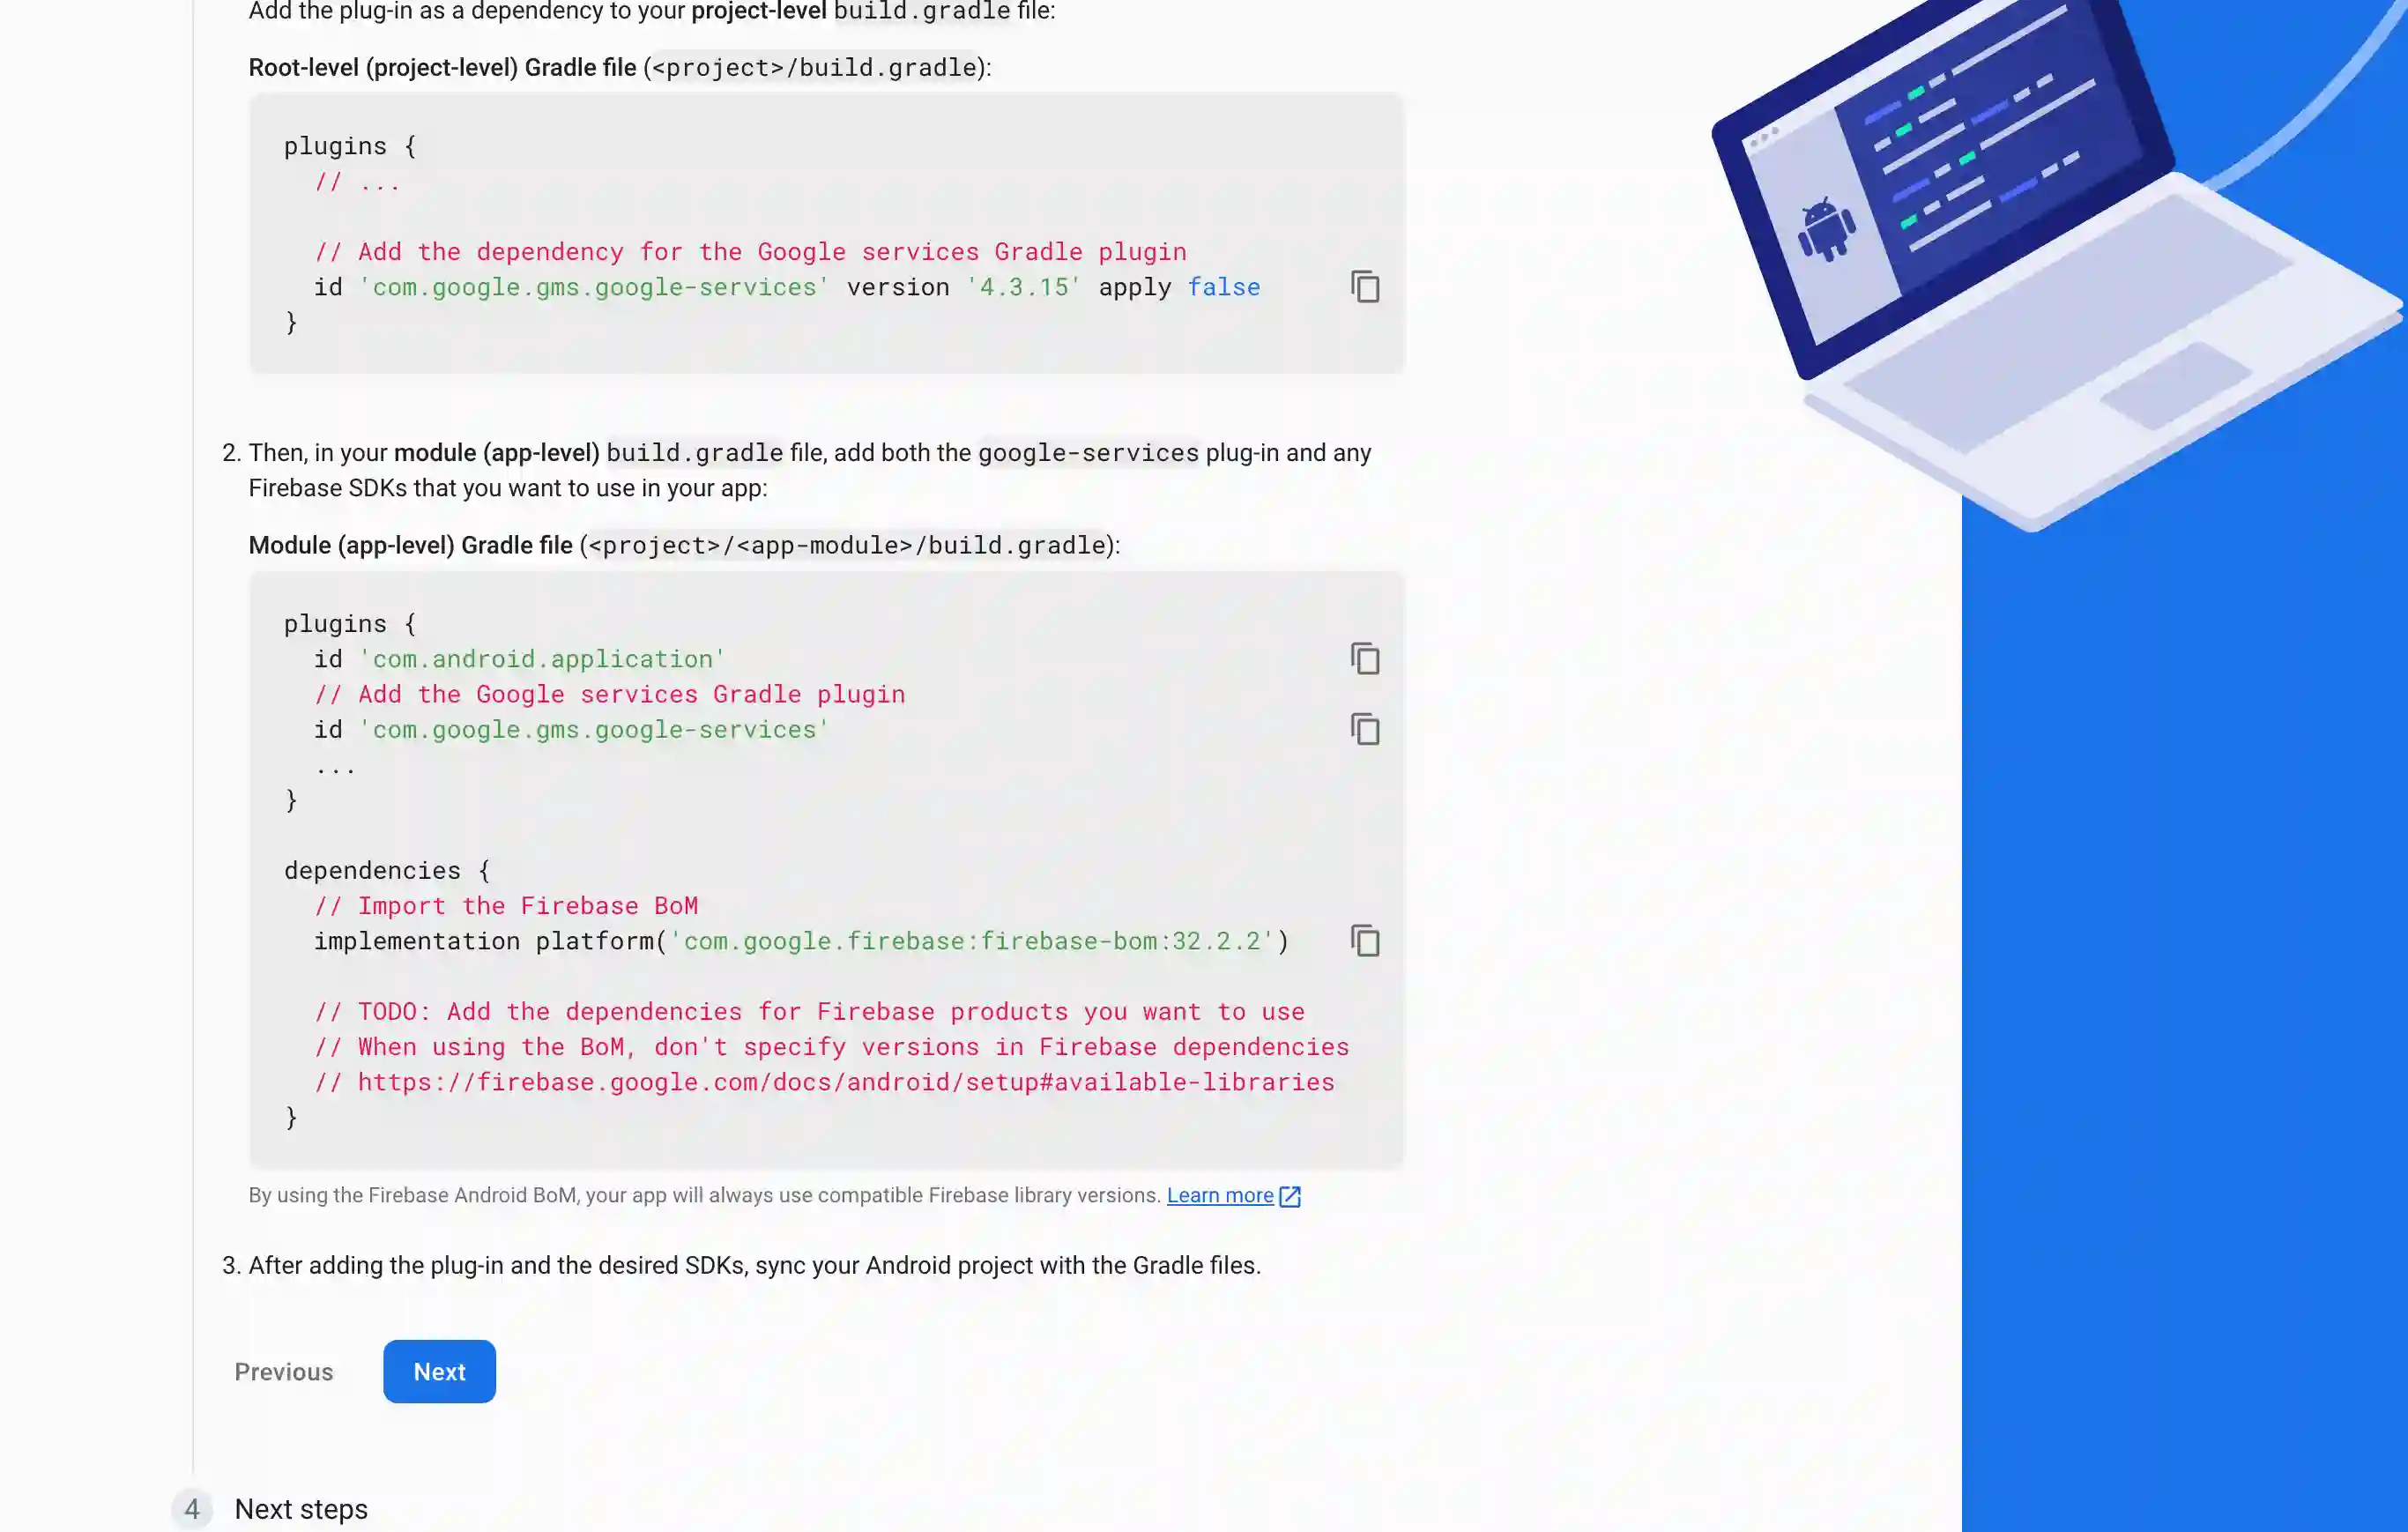
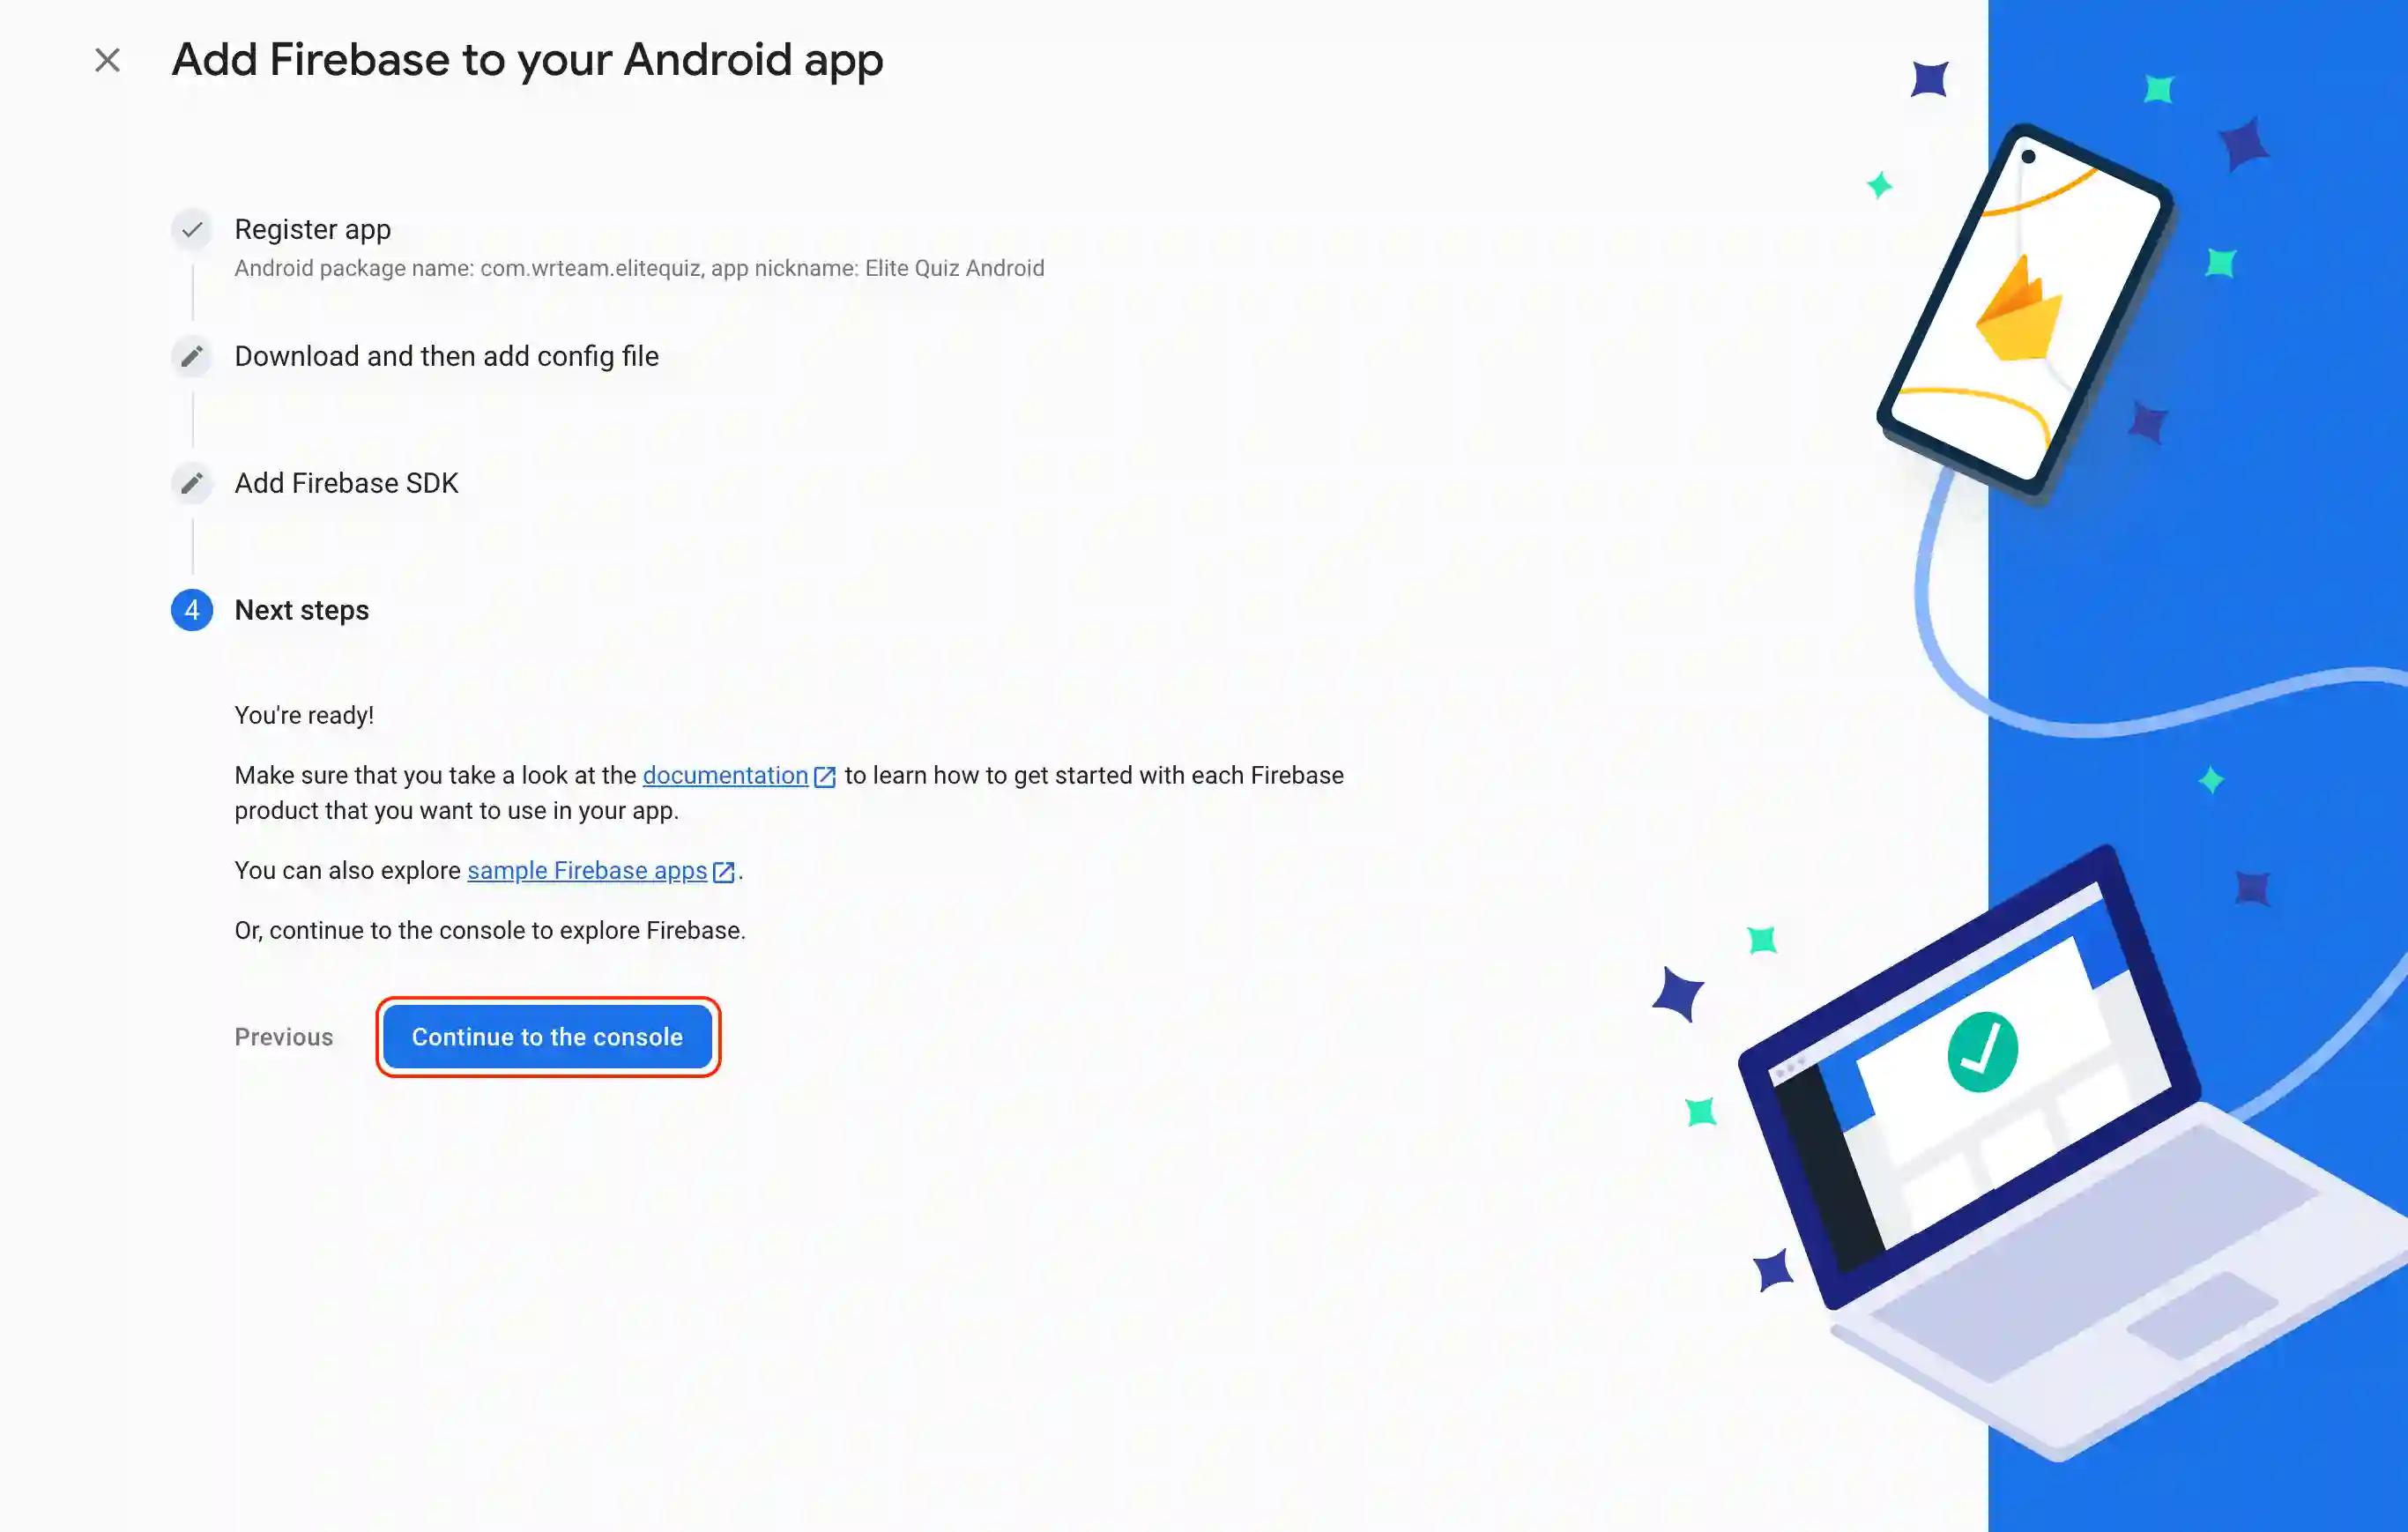
google-services.jsonfile into theandroid/app/directory of your Flutter project. - Click Next on the remaining on-screen instructions in the Firebase console to complete the setup.
Click to view Android Setup Screenshots
iOS Configuration
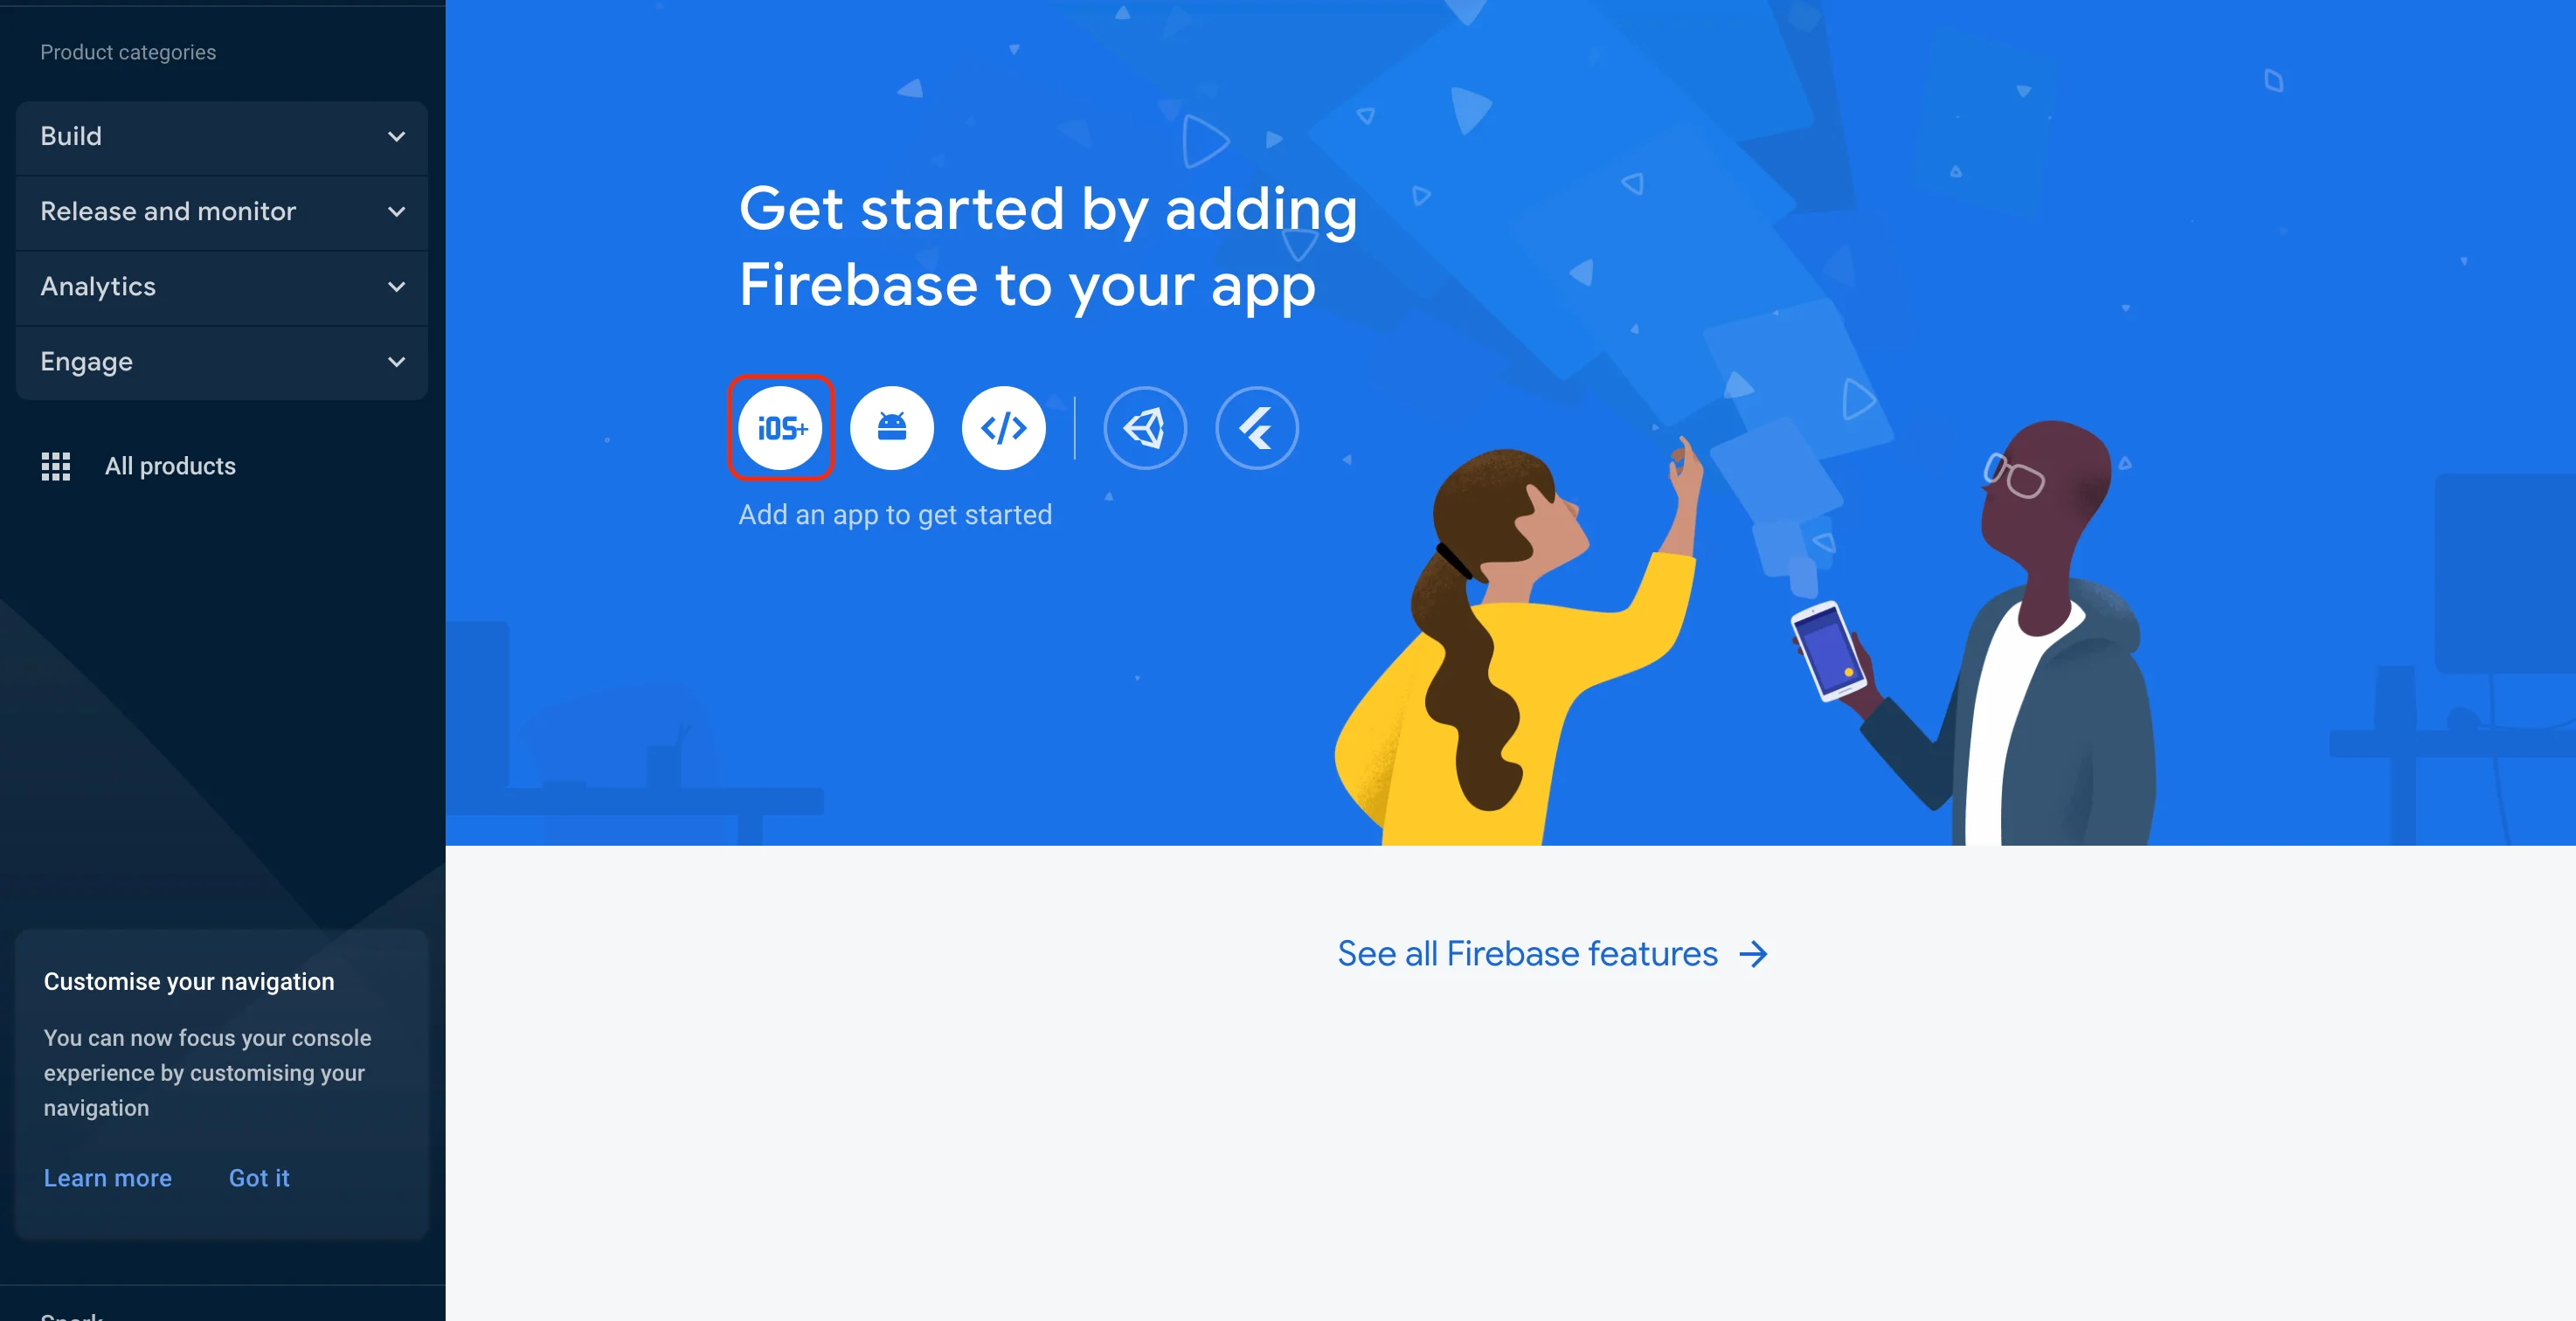
- Navigate to the Project Overview in the Firebase console and click the iOS icon to launch the setup workflow.
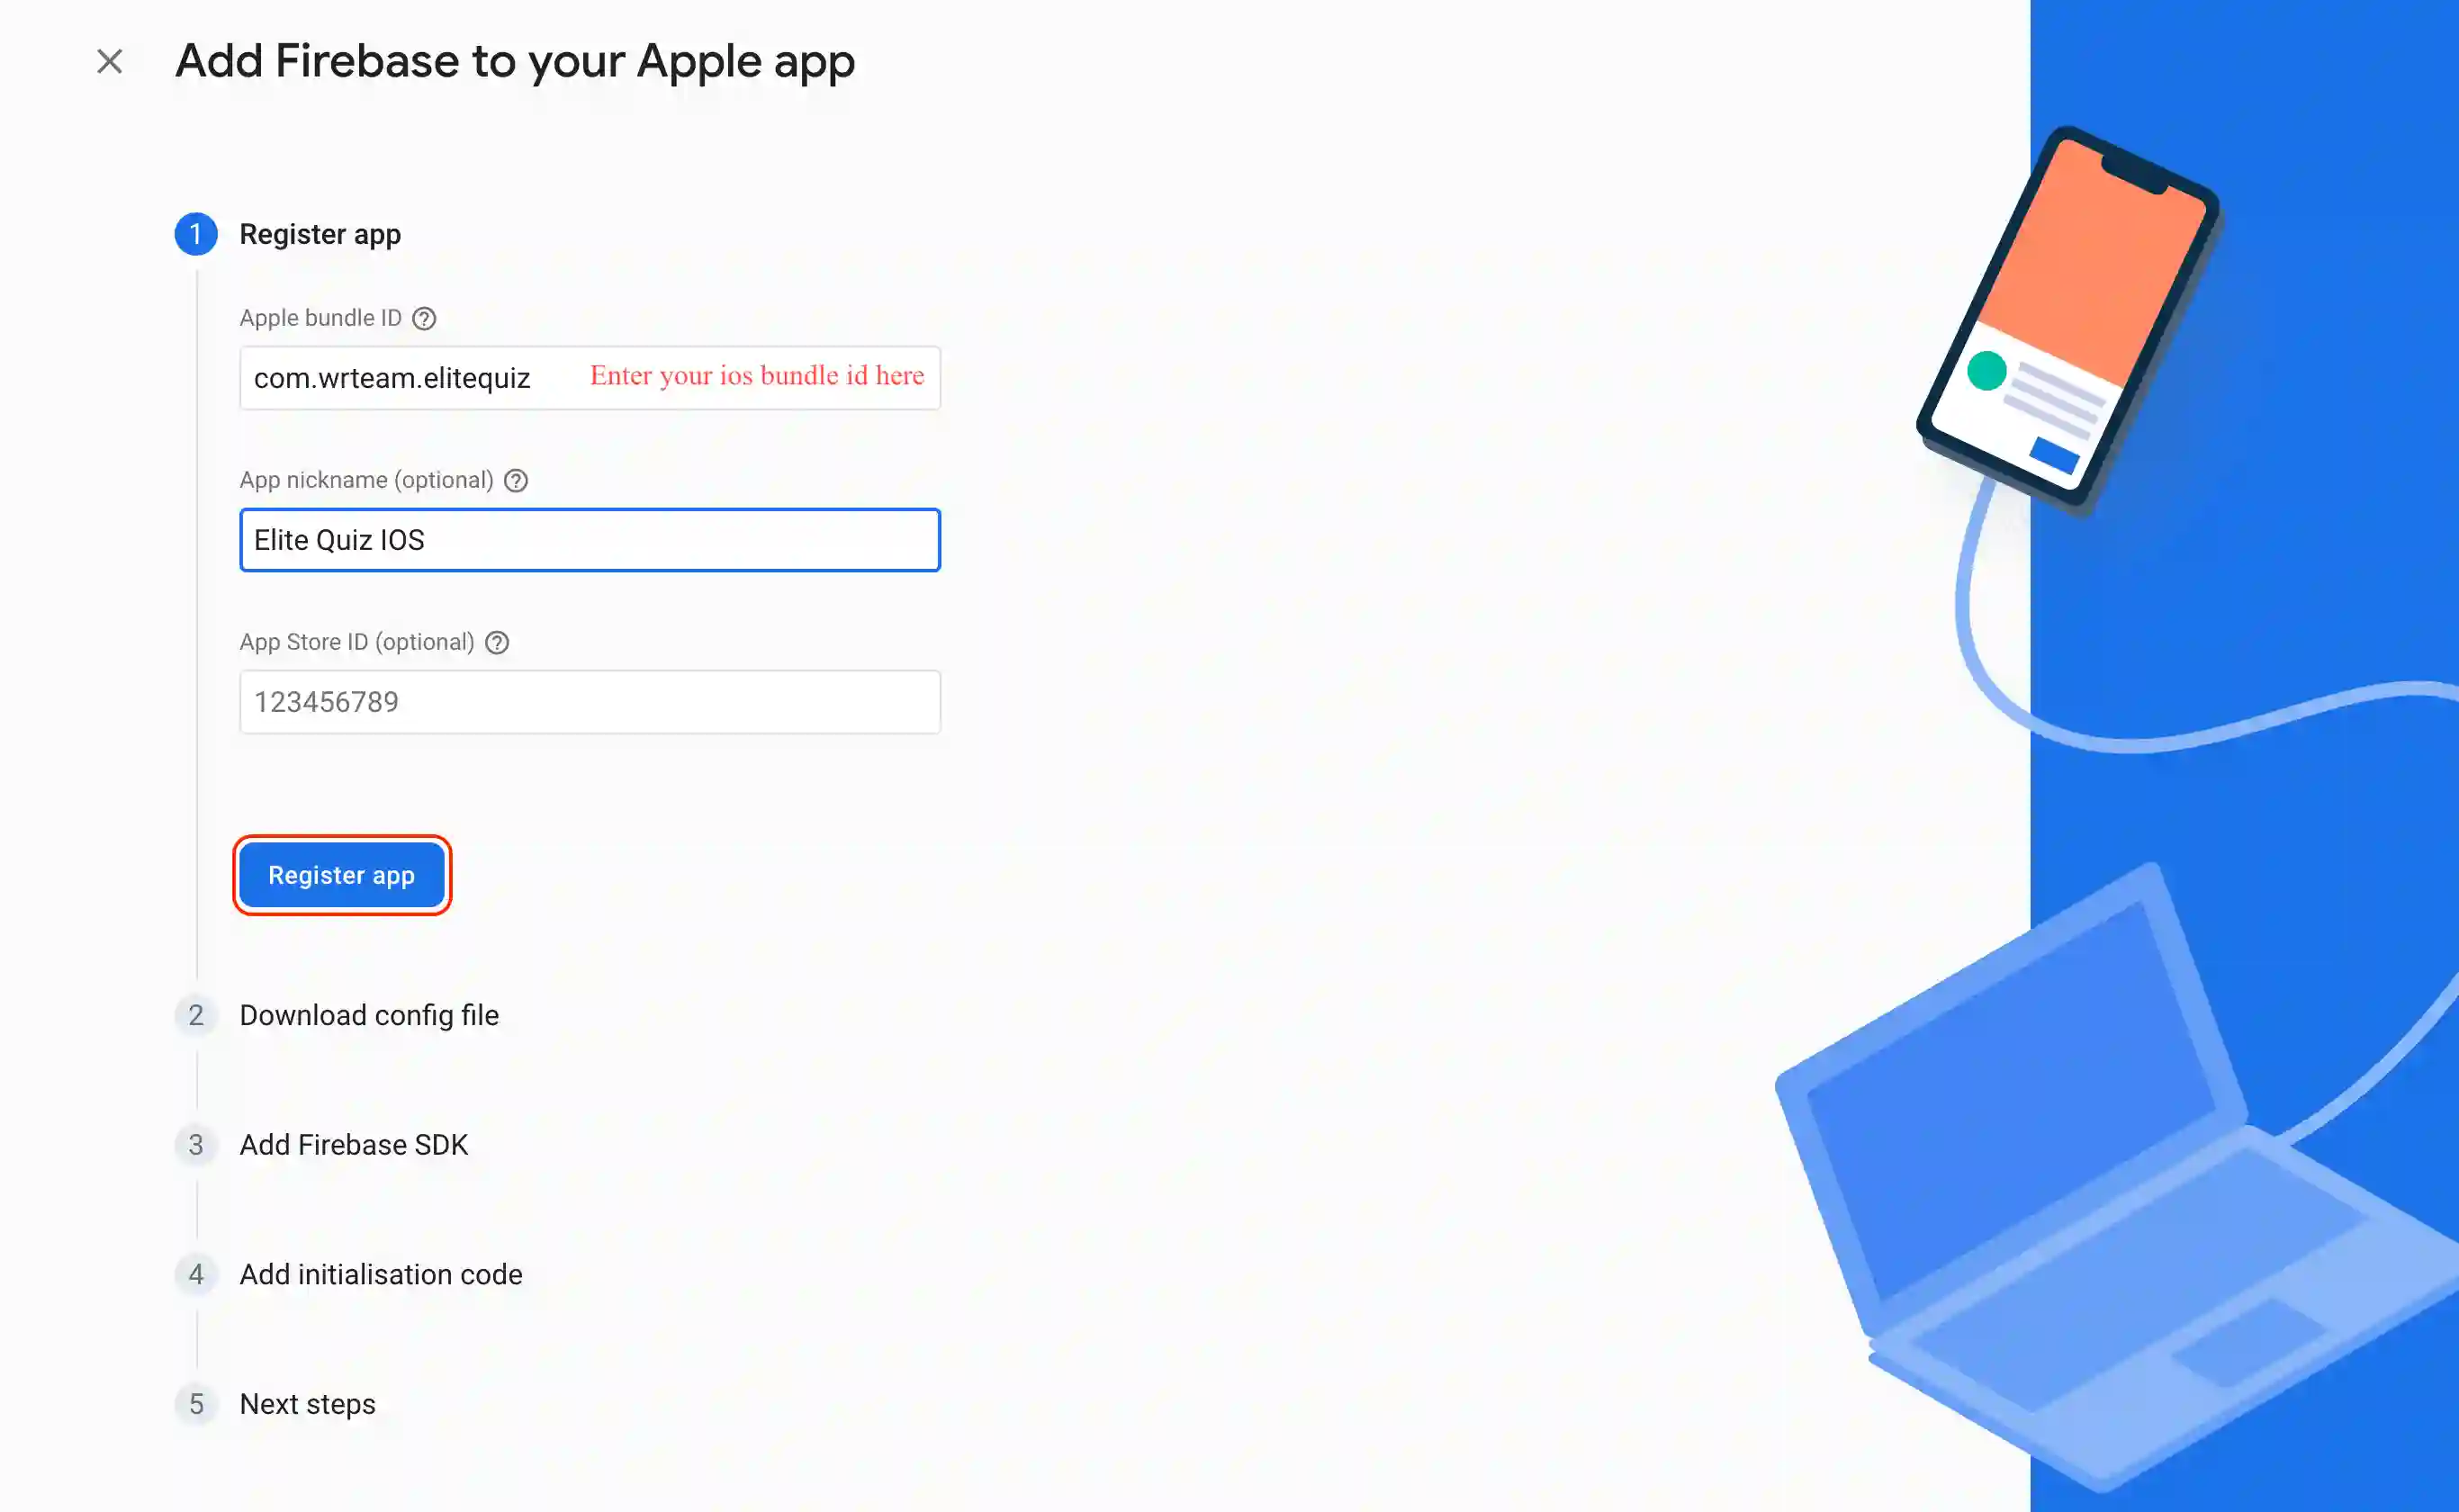
- In the Apple bundle ID field, enter your app's Bundle ID. You can find this in your Xcode project under
ios/Runner.xcodeproj/project.pbxproj. - Optionally, provide an App nickname and App Store ID.
- Click Register app.
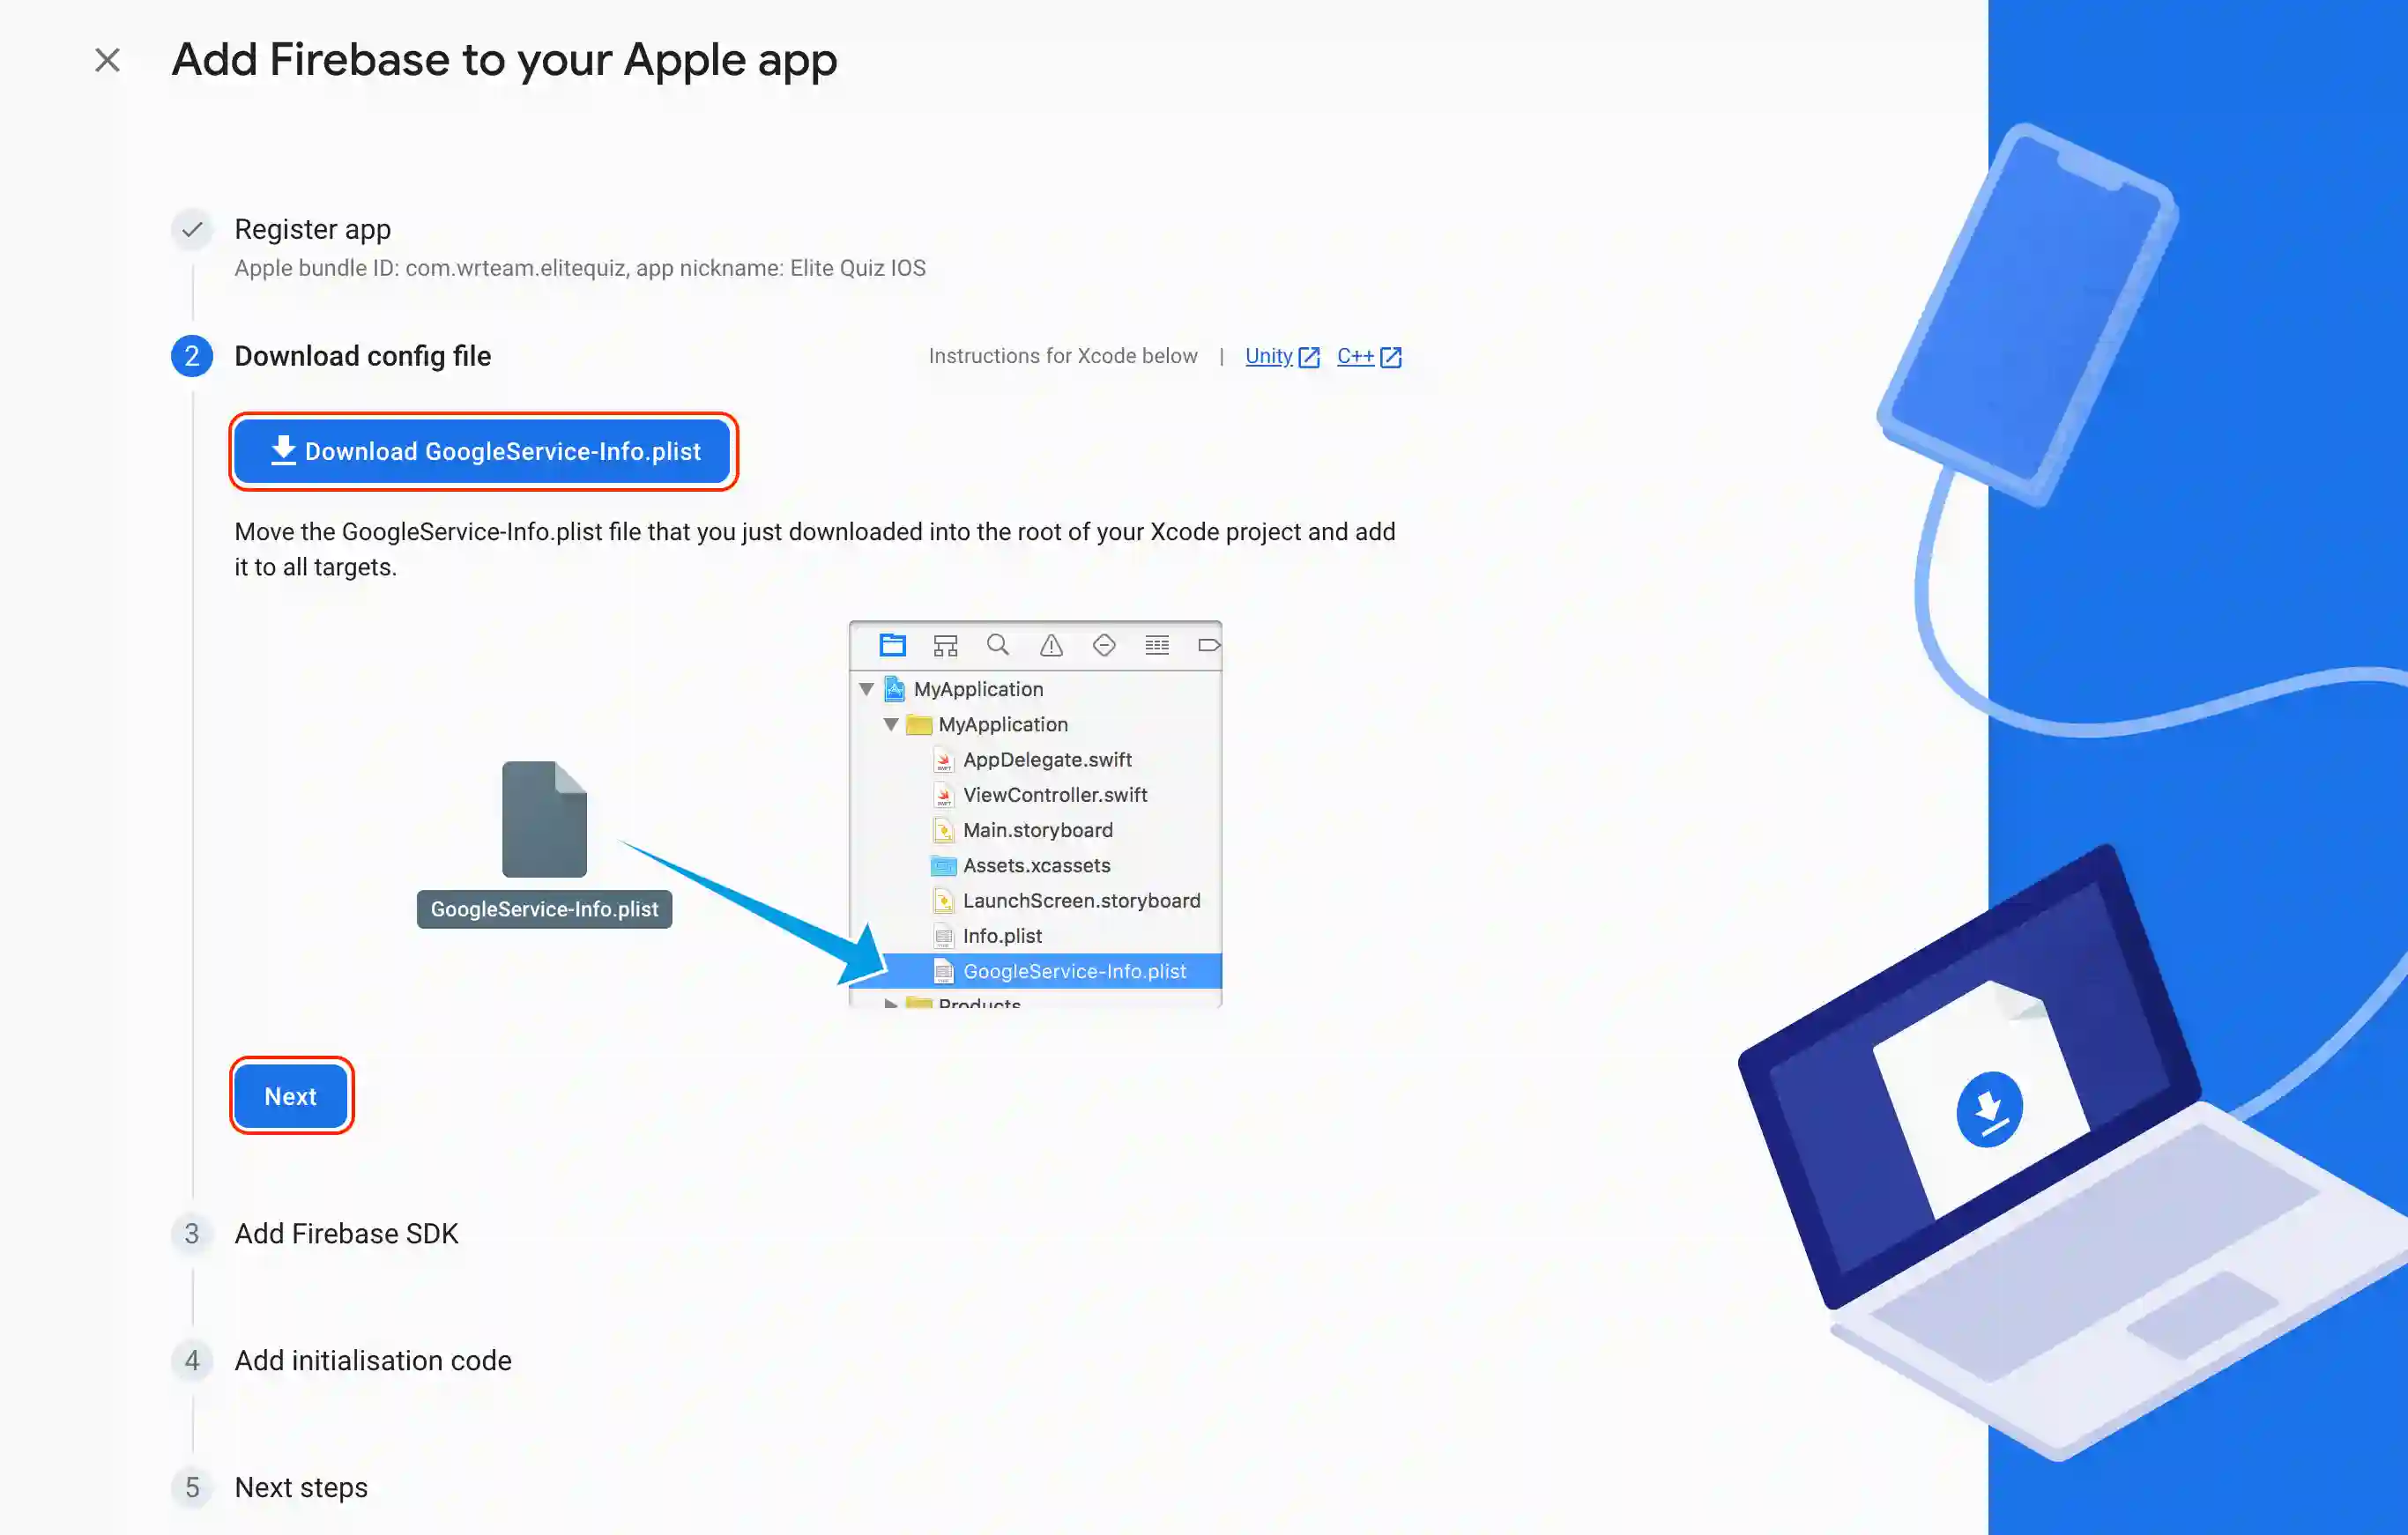
- Download the generated
GoogleService-Info.plistfile. - Move the
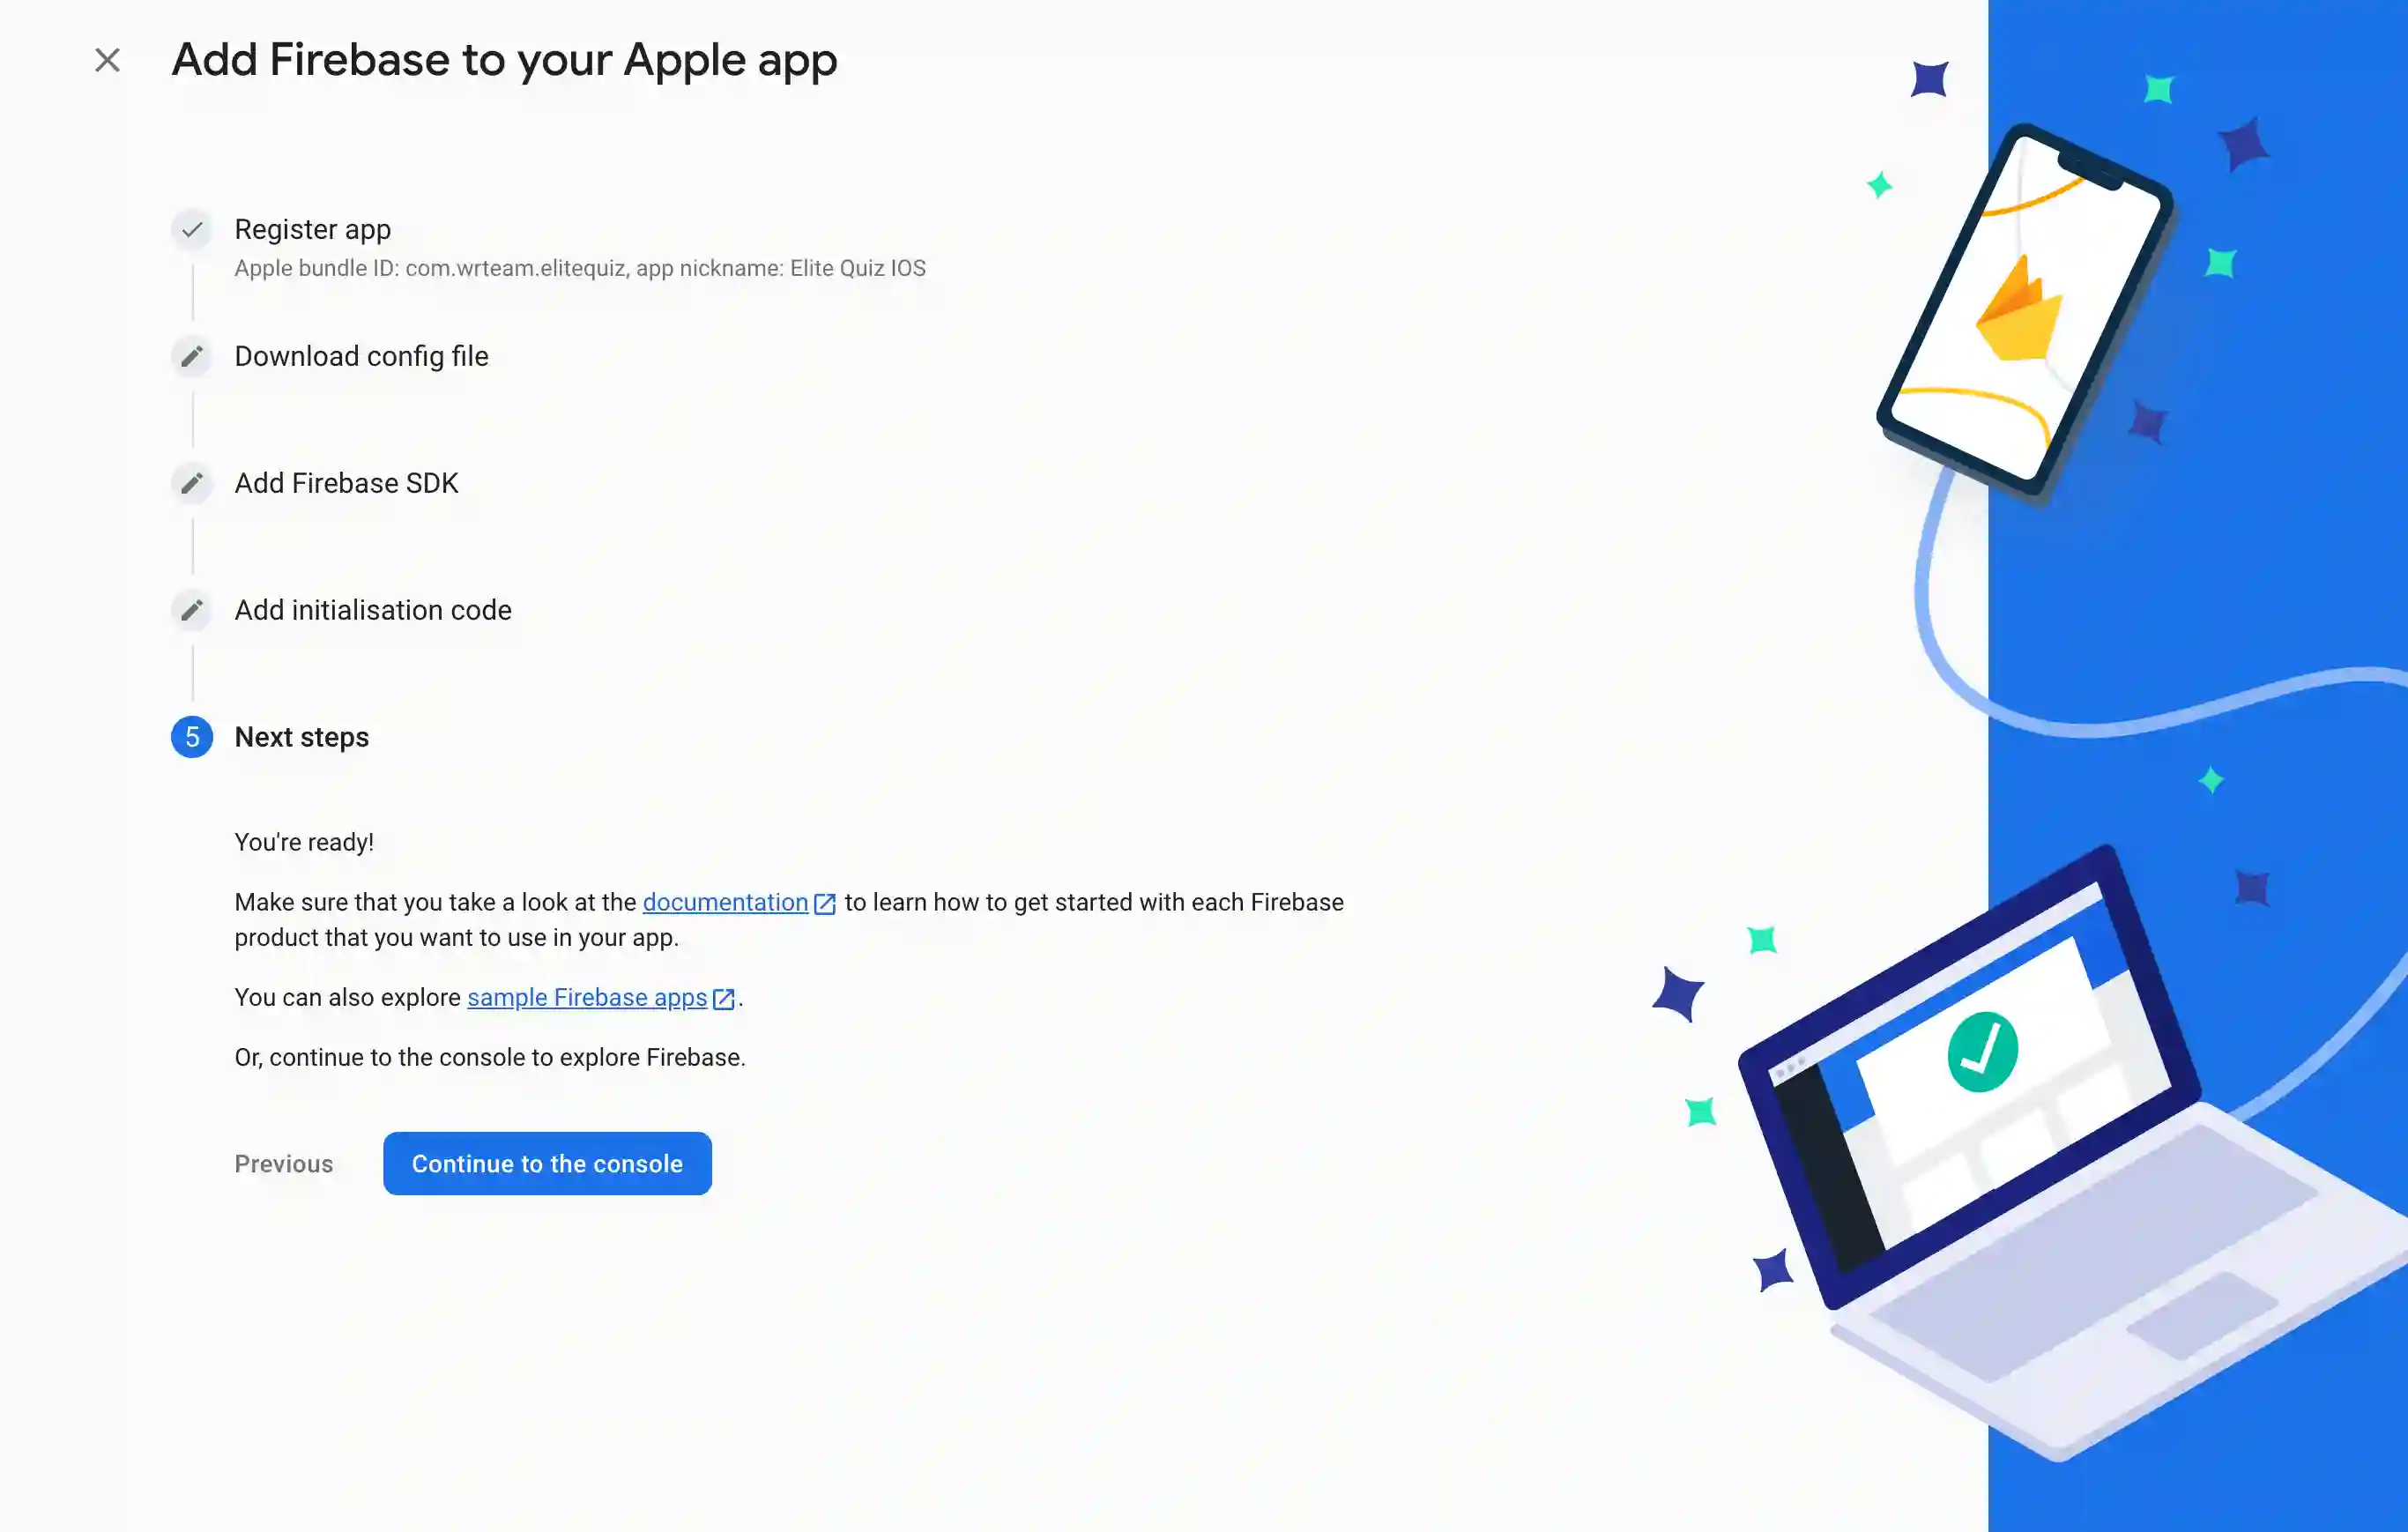
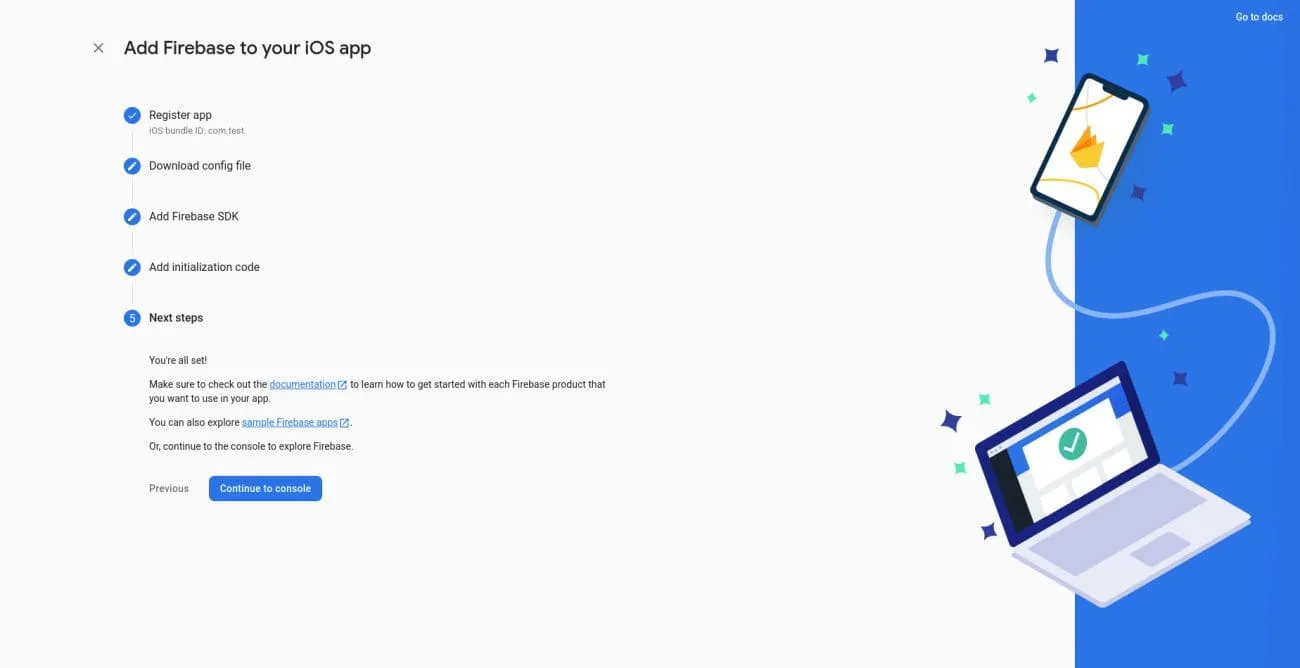
GoogleService-Info.plistfile into theios/Runner/directory of your Flutter project. - Click Next on the remaining on-screen instructions in the Firebase console to complete the setup.
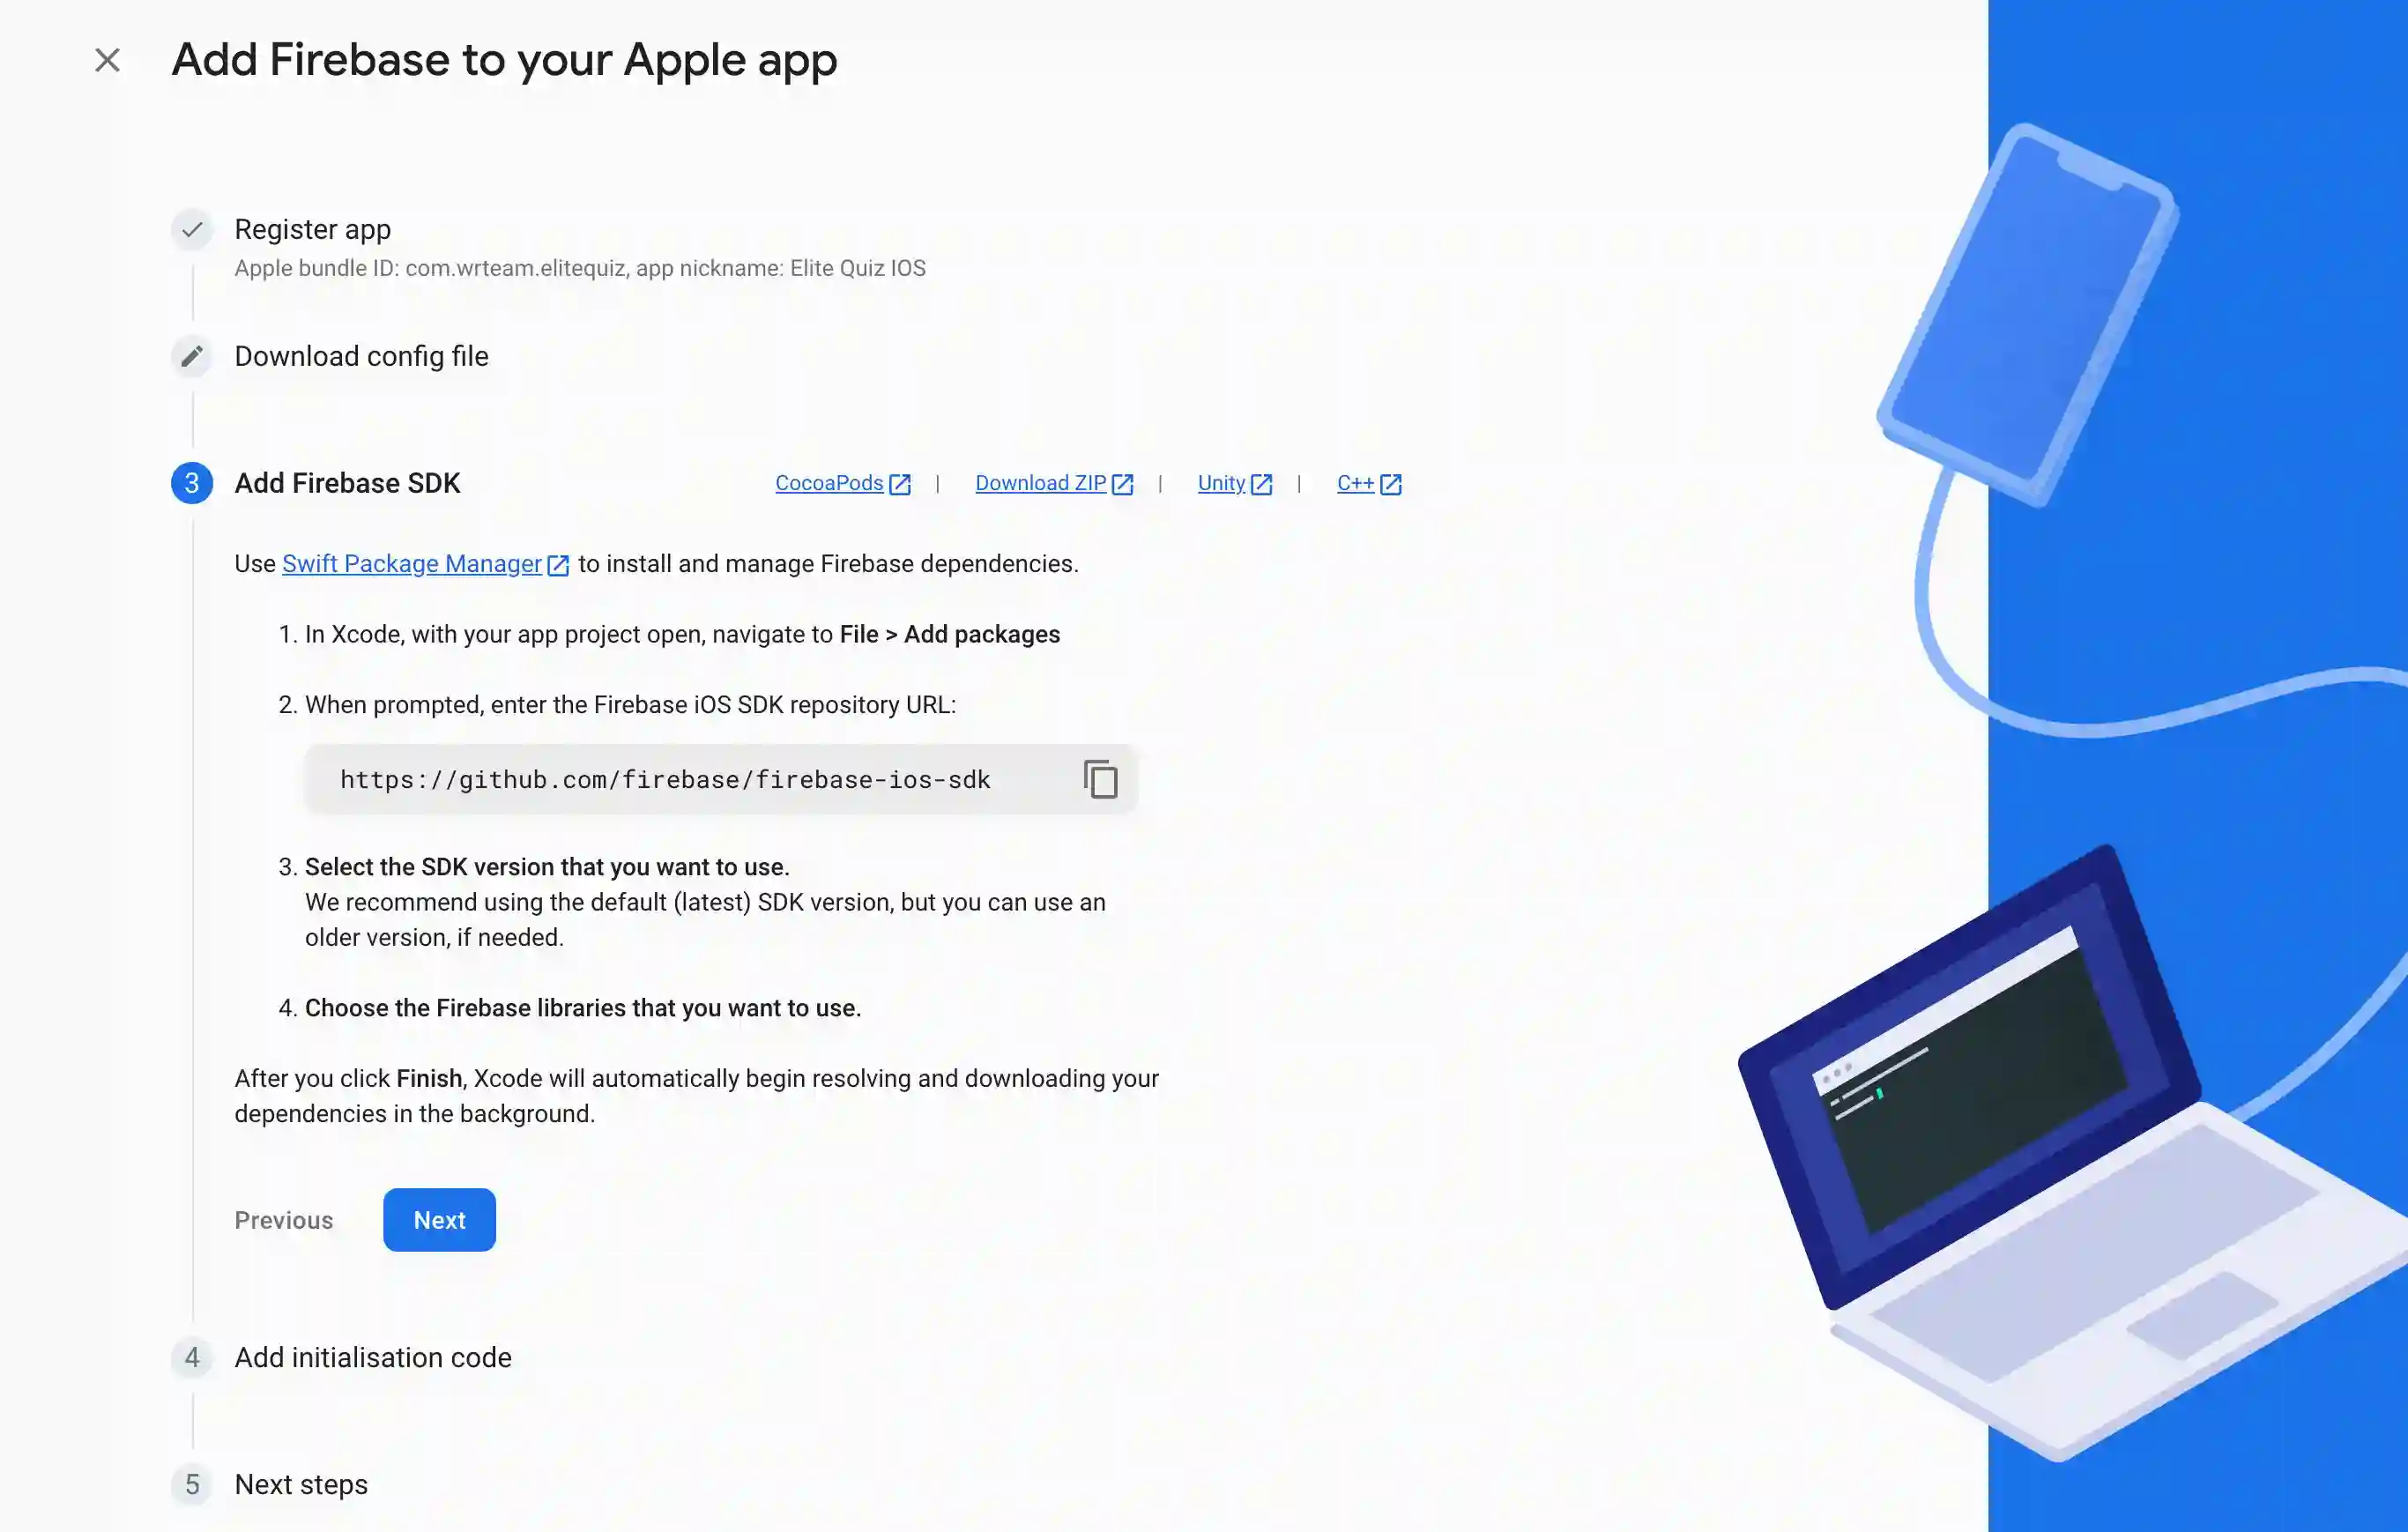
Click to view iOS Setup Screenshots
Post-Setup Configuration
After the initial setup, additional platform-specific steps are required for authentication services to function correctly.
1. Android: Add SHA Fingerprints
For Google Sign-In and other authentication methods to work securely, you must add your app's SHA certificate fingerprints to your Firebase project.
-
Generate the SHA-1 and SHA-256 fingerprints for both your debug and release keystores.
-
Navigate to your Firebase project's Project Settings > General.
-
Scroll down to the Your apps card, select your Android app, and add the fingerprints under SHA certificate fingerprints.
Important: You must add fingerprints for all build and distribution scenarios. This typically includes:
- Two SHA keys from your debug keystore for development.
- Two SHA keys from your release keystore for publishing.
- Two SHA keys from the Google Play Console after your app is published (closed/open testing, production).
A total of six SHA fingerprints are required for authentication to work in all the scenarios.
-
After adding the fingerprints, re-download the
google-services.jsonfile and replace the existing one in yourandroid/app/directory.
2. iOS: Configure a URL Scheme
To handle authentication callbacks from services like Google Sign-In, you must configure a custom URL scheme for your iOS app.
-
Open the
ios/Runner/GoogleService-Info.plistfile and locate theREVERSED_CLIENT_IDkey. Copy its string value. -
In Editor, open
ios/Runner/Info.plist. -
Replace
YOUR_REVERSED_CLIENT_IDwith the value you copied within the main<dict>.<key>CFBundleURLTypes</key>
<array>
<dict>
<key>CFBundleTypeRole</key>
<string>Editor</string>
<key>CFBundleURLSchemes</key>
<array>
<string>YOUR_REVERSED_CLIENT_ID</string>
</array>
</dict>
</array>
3. Admin Panel: Connect Firebase Account
To allow the admin panel to communicate with Firebase, you must provide it with a private service account key
- In your Firebase project, go to Project Settings > Service accounts.
- Click Generate new private key and download the file.
- In your Admin Panel, go to Settings > Firebase Configurations and upload the downloaded key file.
Verifying the Integration
To confirm that Firebase has been configured correctly, restart your application and test the following functionalities:
- User Registration: Ensure new users can successfully create an account.
- User Login: Verify that existing users can sign in.
- Social Authentication: Test sign-in with external providers like Google or Apple.
Troubleshooting
If you encounter issues, review your application logs and the Firebase console for specific error messages. Most problems can be resolved by carefully verifying that:
- All configuration files (
google-services.json,GoogleService-Info.plist) are correctly placed. - The necessary SHA fingerprints and URL schemes have been correctly added.
- The service account key has been updated in the Admin Panel.
Revisiting the setup steps and ensuring each one was completed accurately will often resolve common integration issues.