Add Languages
Adding support for multiple languages is essential for reaching a global audience with your eBroker application. This guide explains how to add new languages to your app.
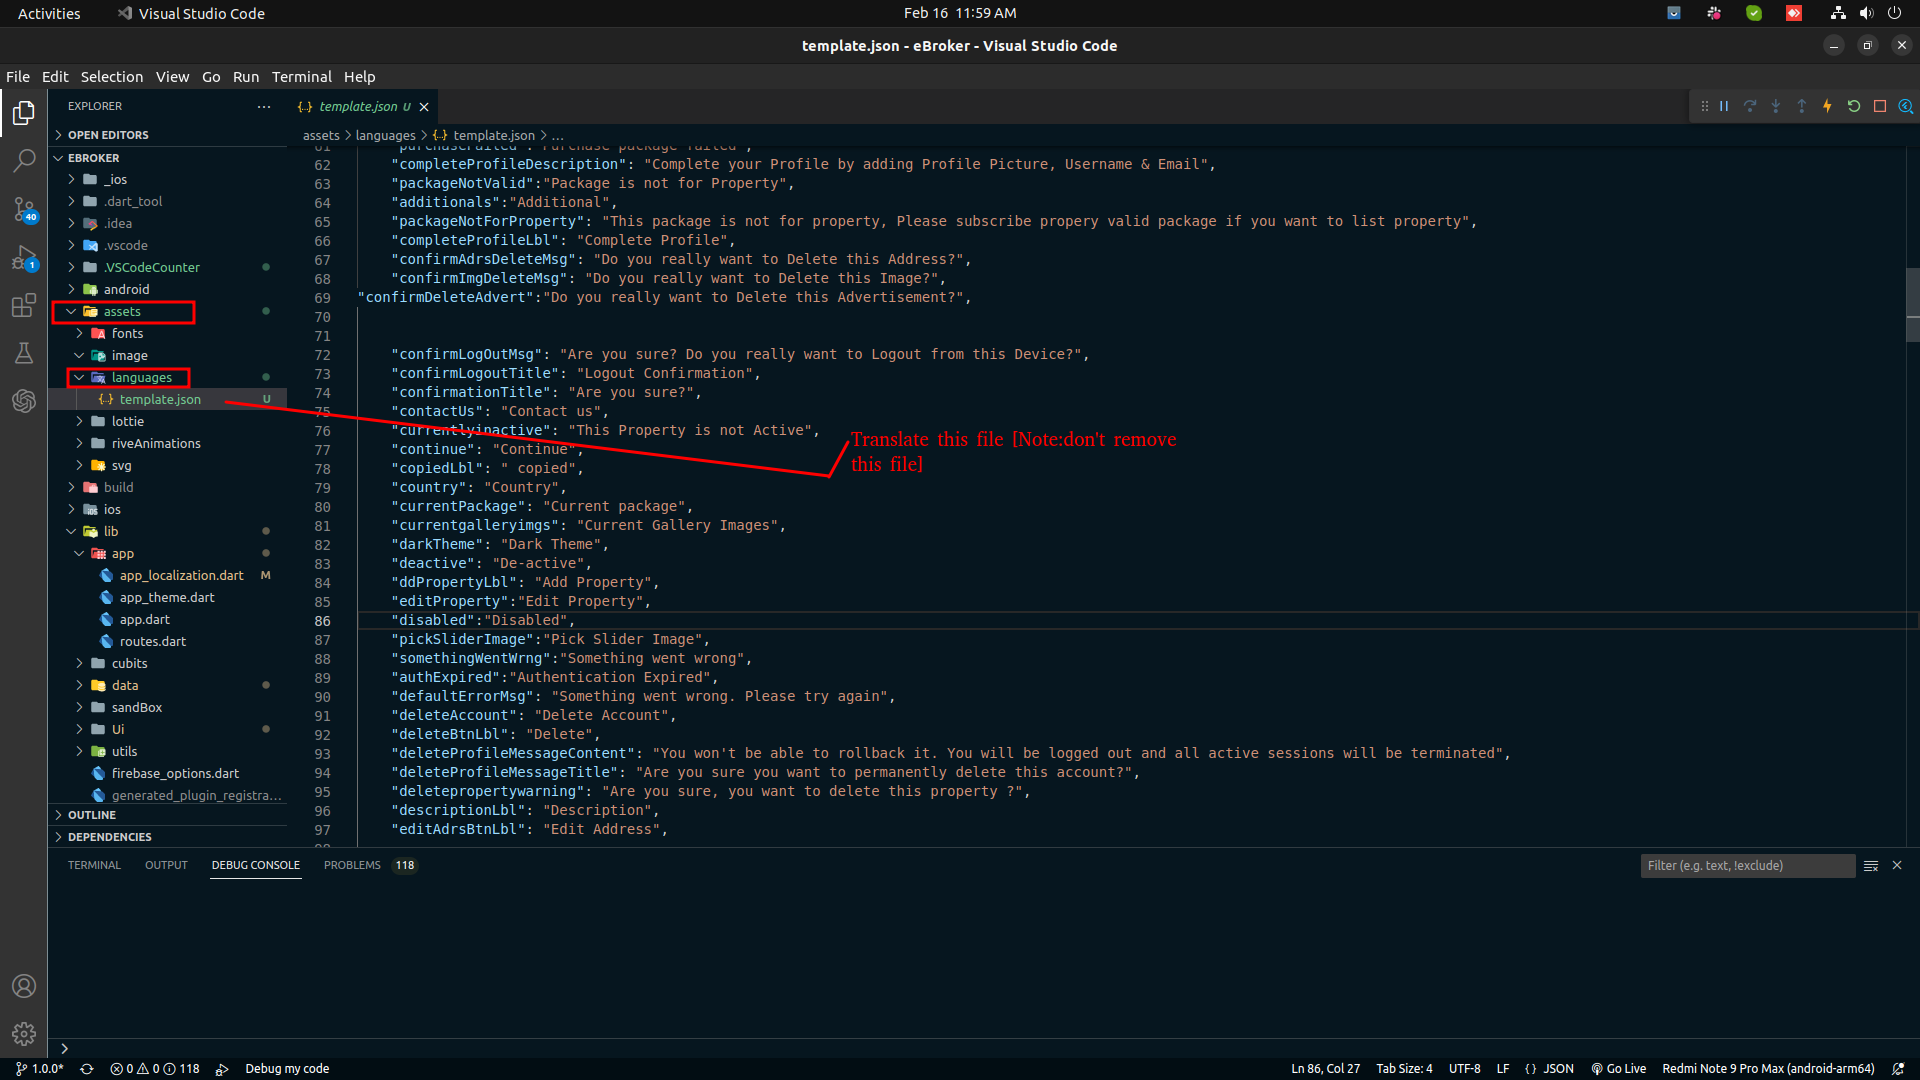
Locating Language Files
- Navigate to the
assets/languages/directory in your project - You'll find template language files that you can use as a starting point
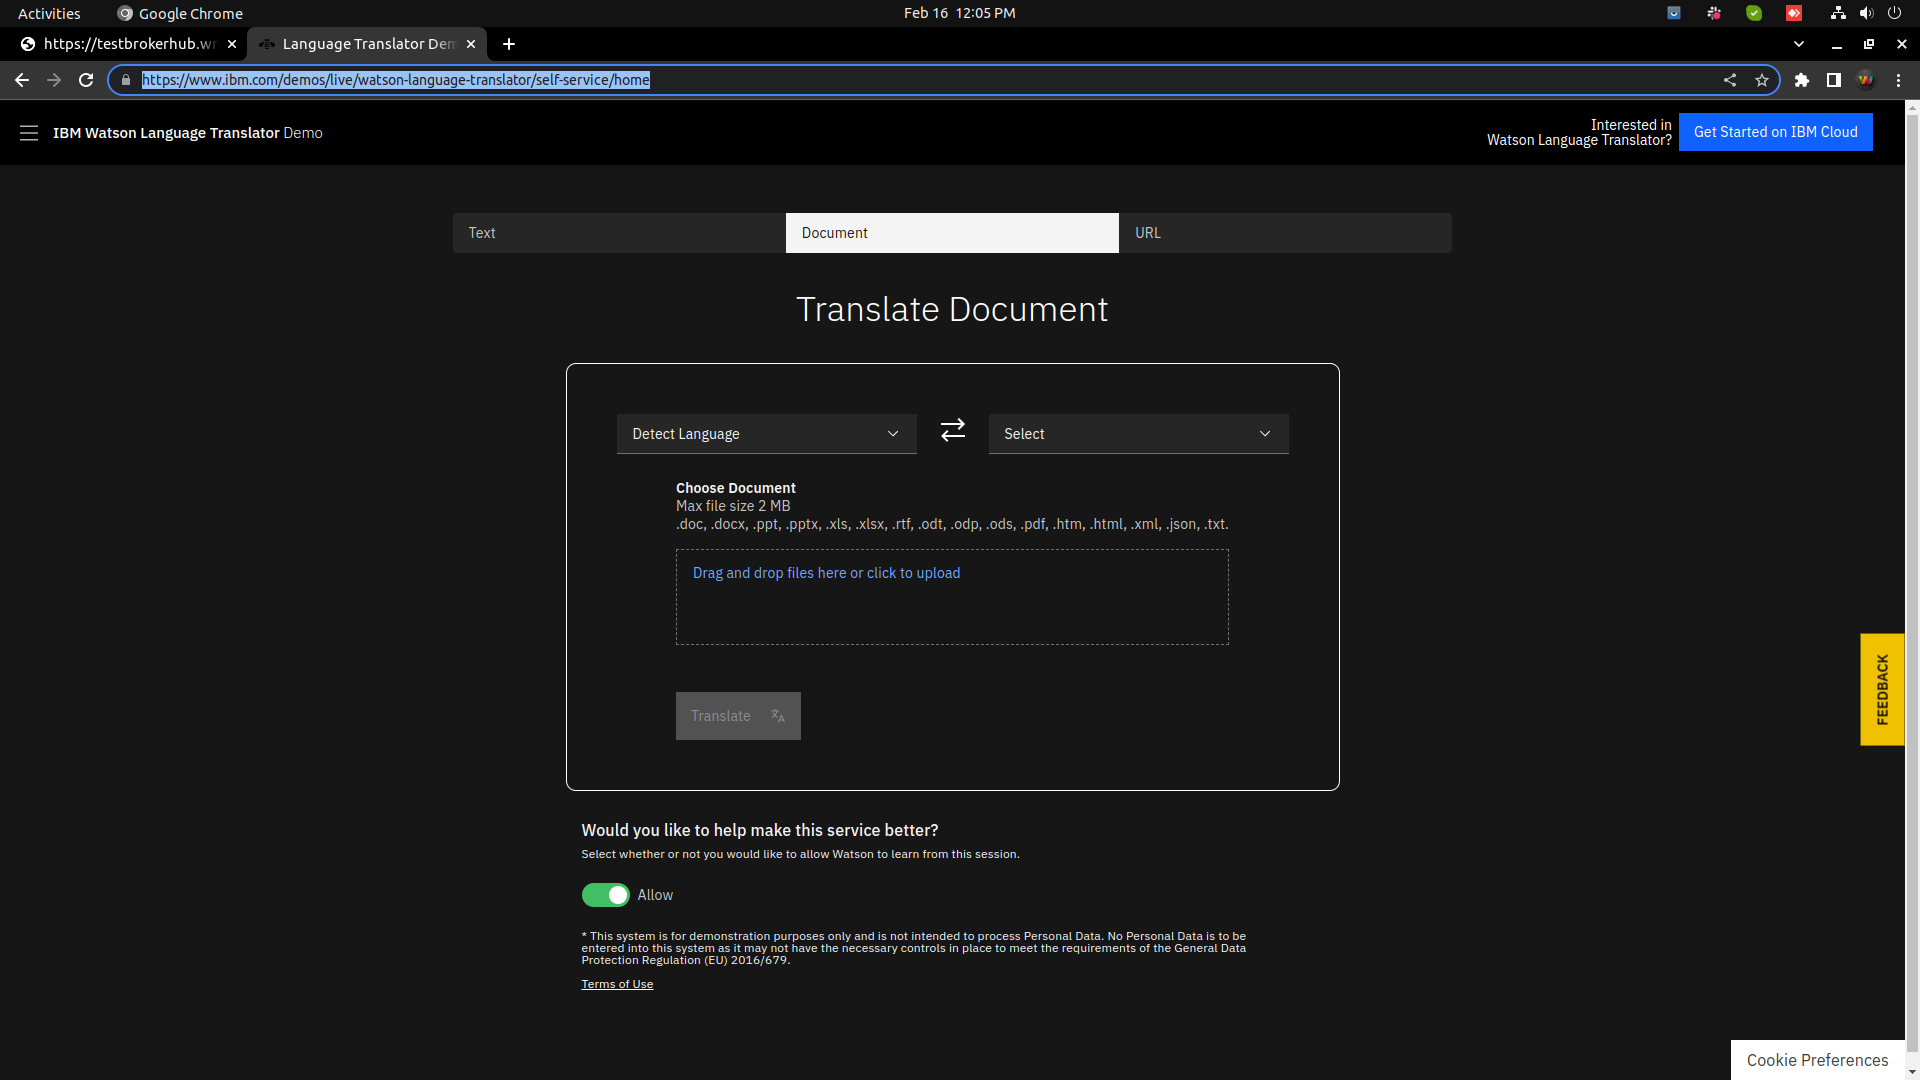
Translation Process
You can use any translation service to create new language files. We recommend:
- Use any online JSON translator for automated translations
- Professional translation services for more accurate results
You'll need to translate three sets of files:
- App language file
- Web language file
- Admin panel language file
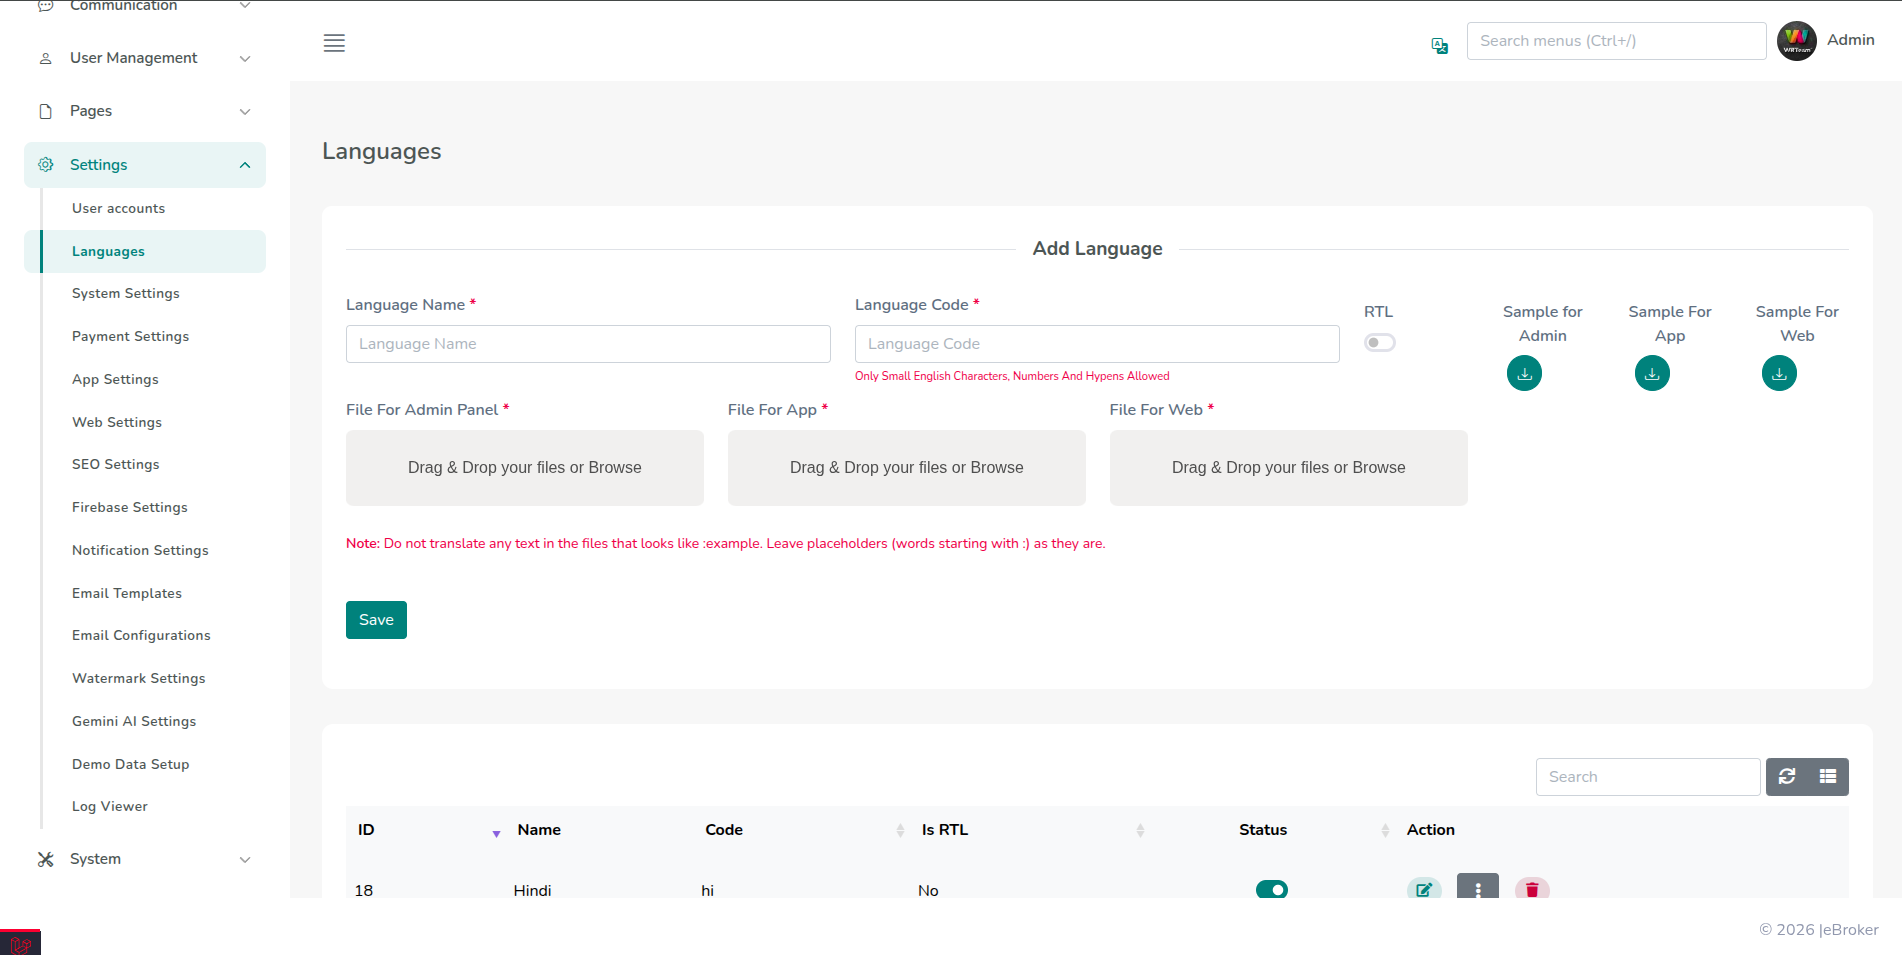
Adding a New Language in Admin Panel
- Go to your admin panel
- Navigate to the Languages tab
- Add your new language:
- Enter the language name
- Provide the language code (e.g., 'en' for English, 'es' for Spanish)
- Enable or disable RTL (Right-to-Left) mode if needed
- Upload your translated files
Language Codes
Common language codes include:
- English:
en - Spanish:
es - French:
fr - Arabic:
ar(RTL language) - Hindi:
hi - Chinese:
zh
Right-to-Left (RTL) Support
For languages that read from right to left (like Arabic, Hebrew, or Persian):
- Enable the RTL option when adding the language
- The app will automatically adjust layouts and text alignment for RTL languages
Testing the Translation
After adding a new language:
- Save all changes in the admin panel
- Restart your app
- Check if the new language appears in the language selection menu
- Switch to the new language and verify that all text elements are correctly translated
- For RTL languages, verify that the layout adjusts properly
Updating a Language
If you need to make changes to an existing language:
- Go to the Languages tab in the admin panel
- Use the edit button to update the language files
- Save your changes and restart the app to see the updates