Web Customization
Elite Quiz allows for extensive customization of the user interface and branding elements.
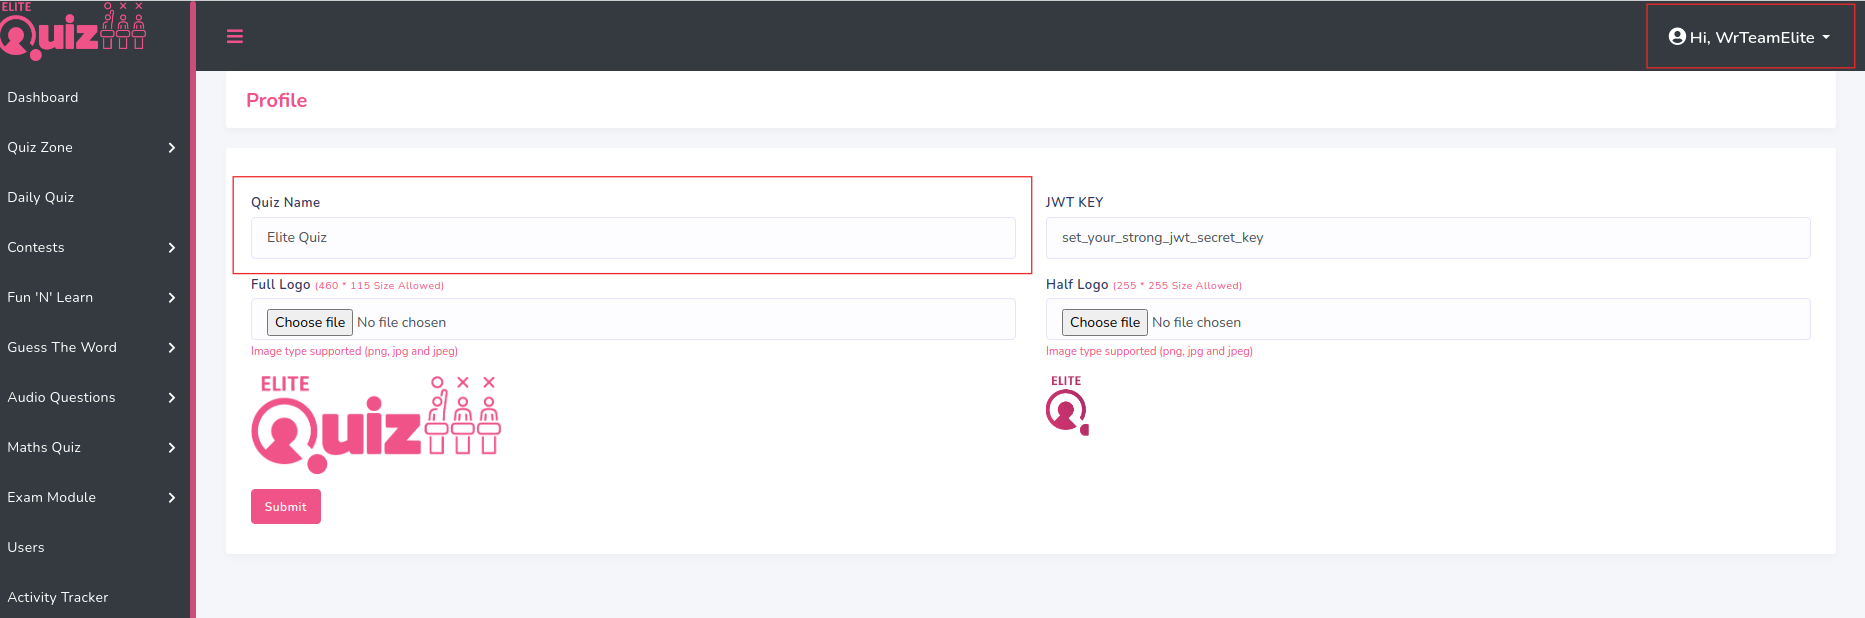
Changing Name
To change the name:
- Go to Admin Panel > Profile and change the value of appName
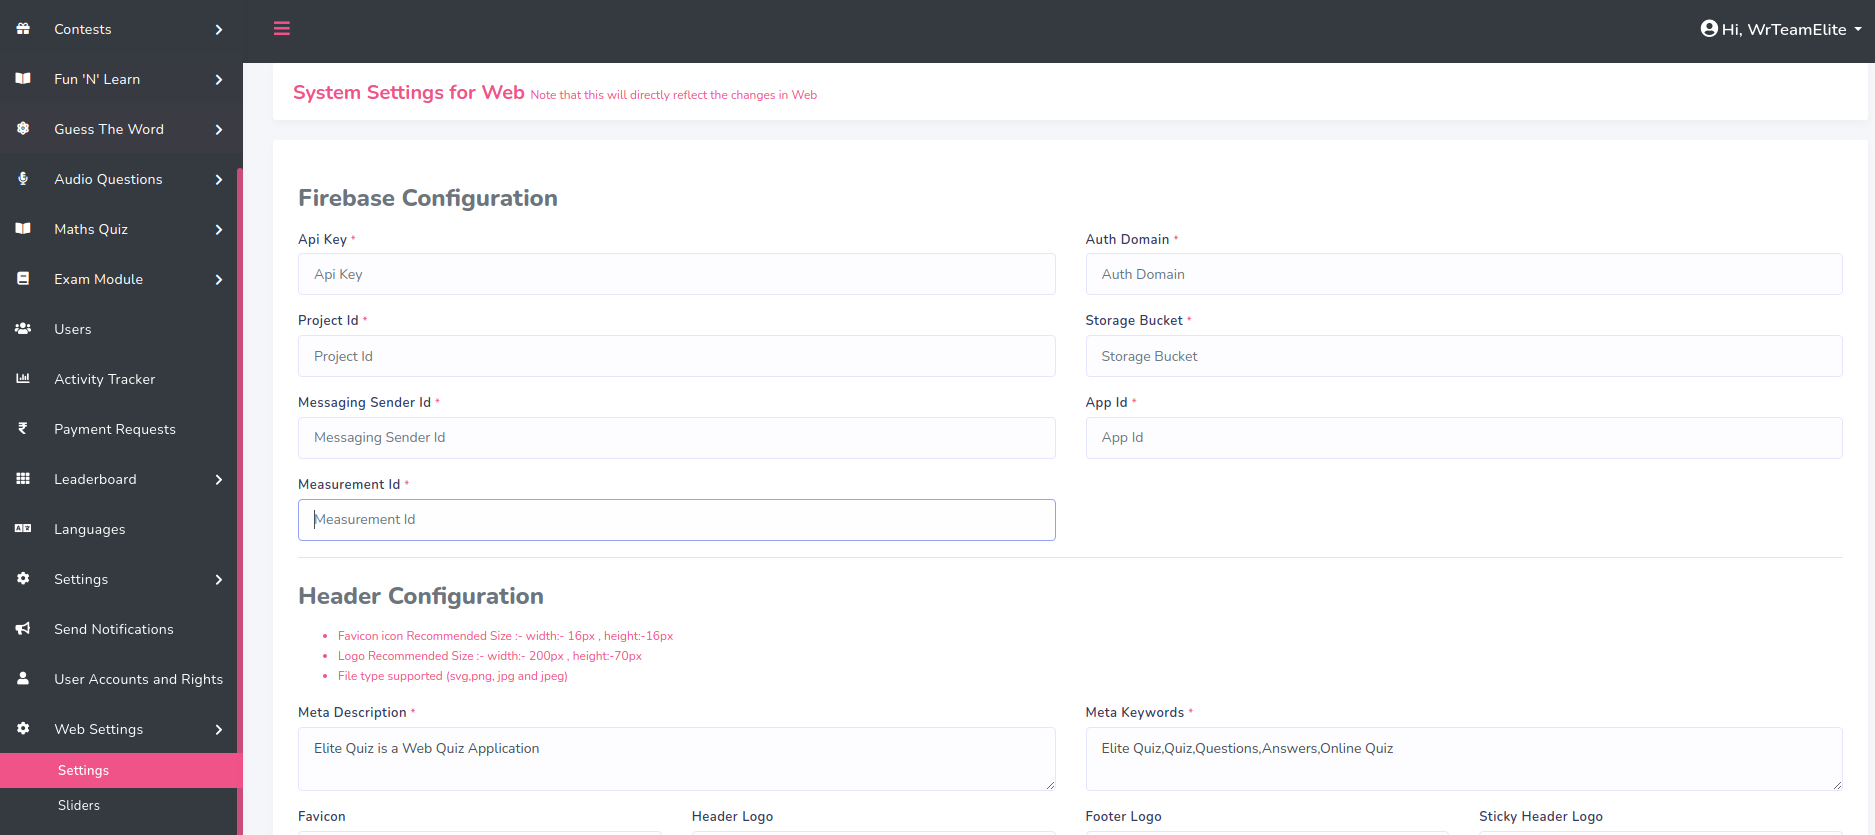
Changing Logo
To change logo, favicon, Firebase, footer data, quizplay images, etc:
- Go to Admin Panel -> Web Settings -> Settings
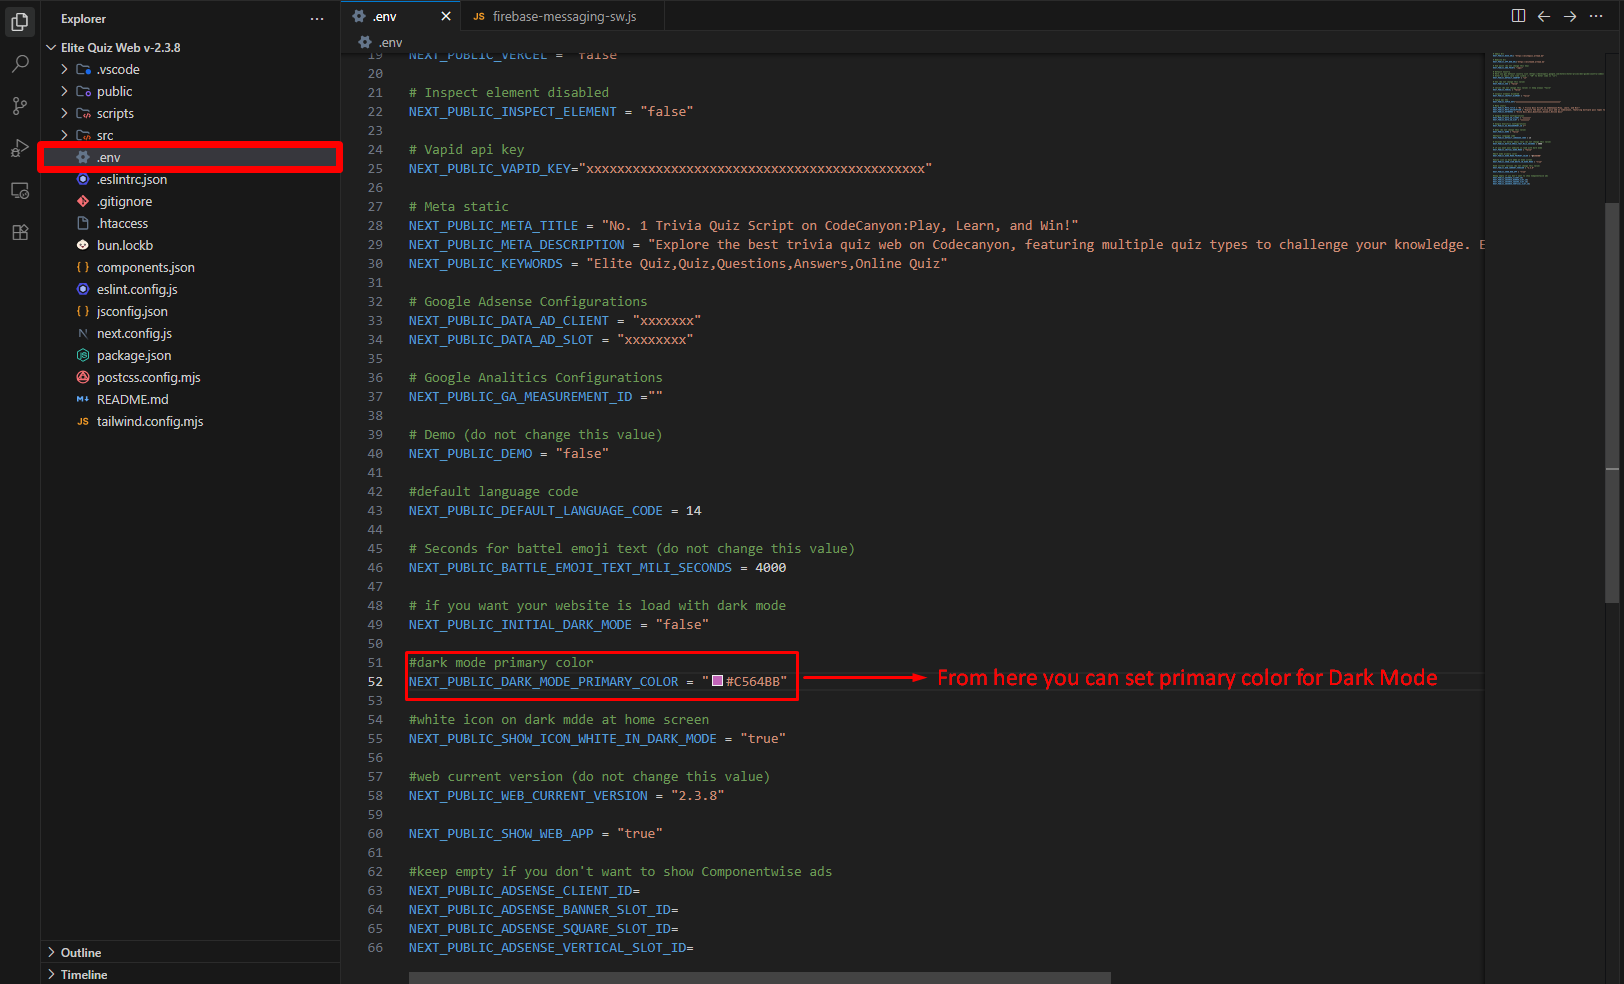
Setting SEO Meta Tags
- Go to .env file to configure SEO meta tags

Changing Favicon Icon
Note: Please set your favicon icon as favicon.ico name and format is only ico set. You can use this tool to convert image to ico: Favicon Generator
- Go to public folder -> favicon.ico

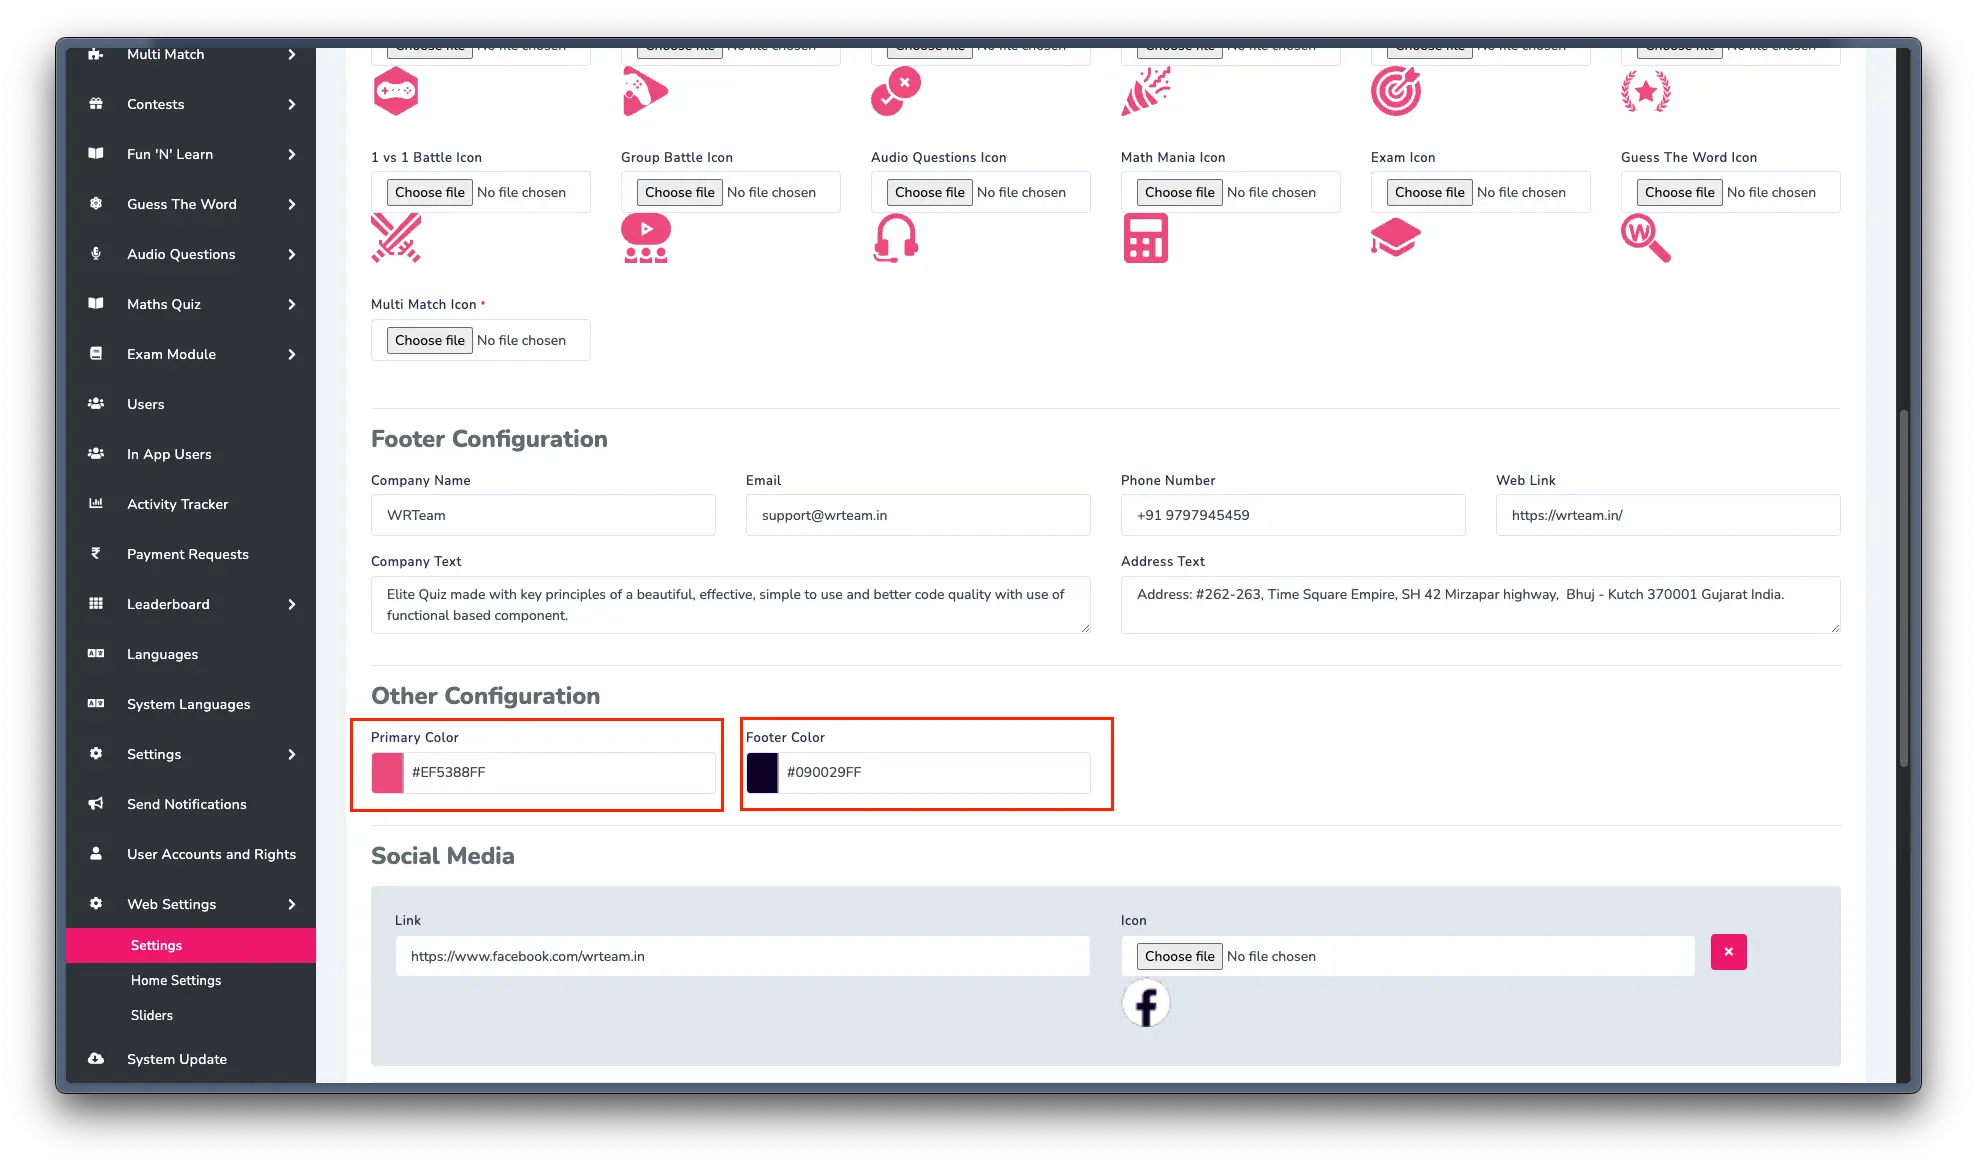
Changing Application Colors
To change the application colors:
- Add your colors in Admin Panel -> Web Settings -> Settings
- To change dark mode primary color
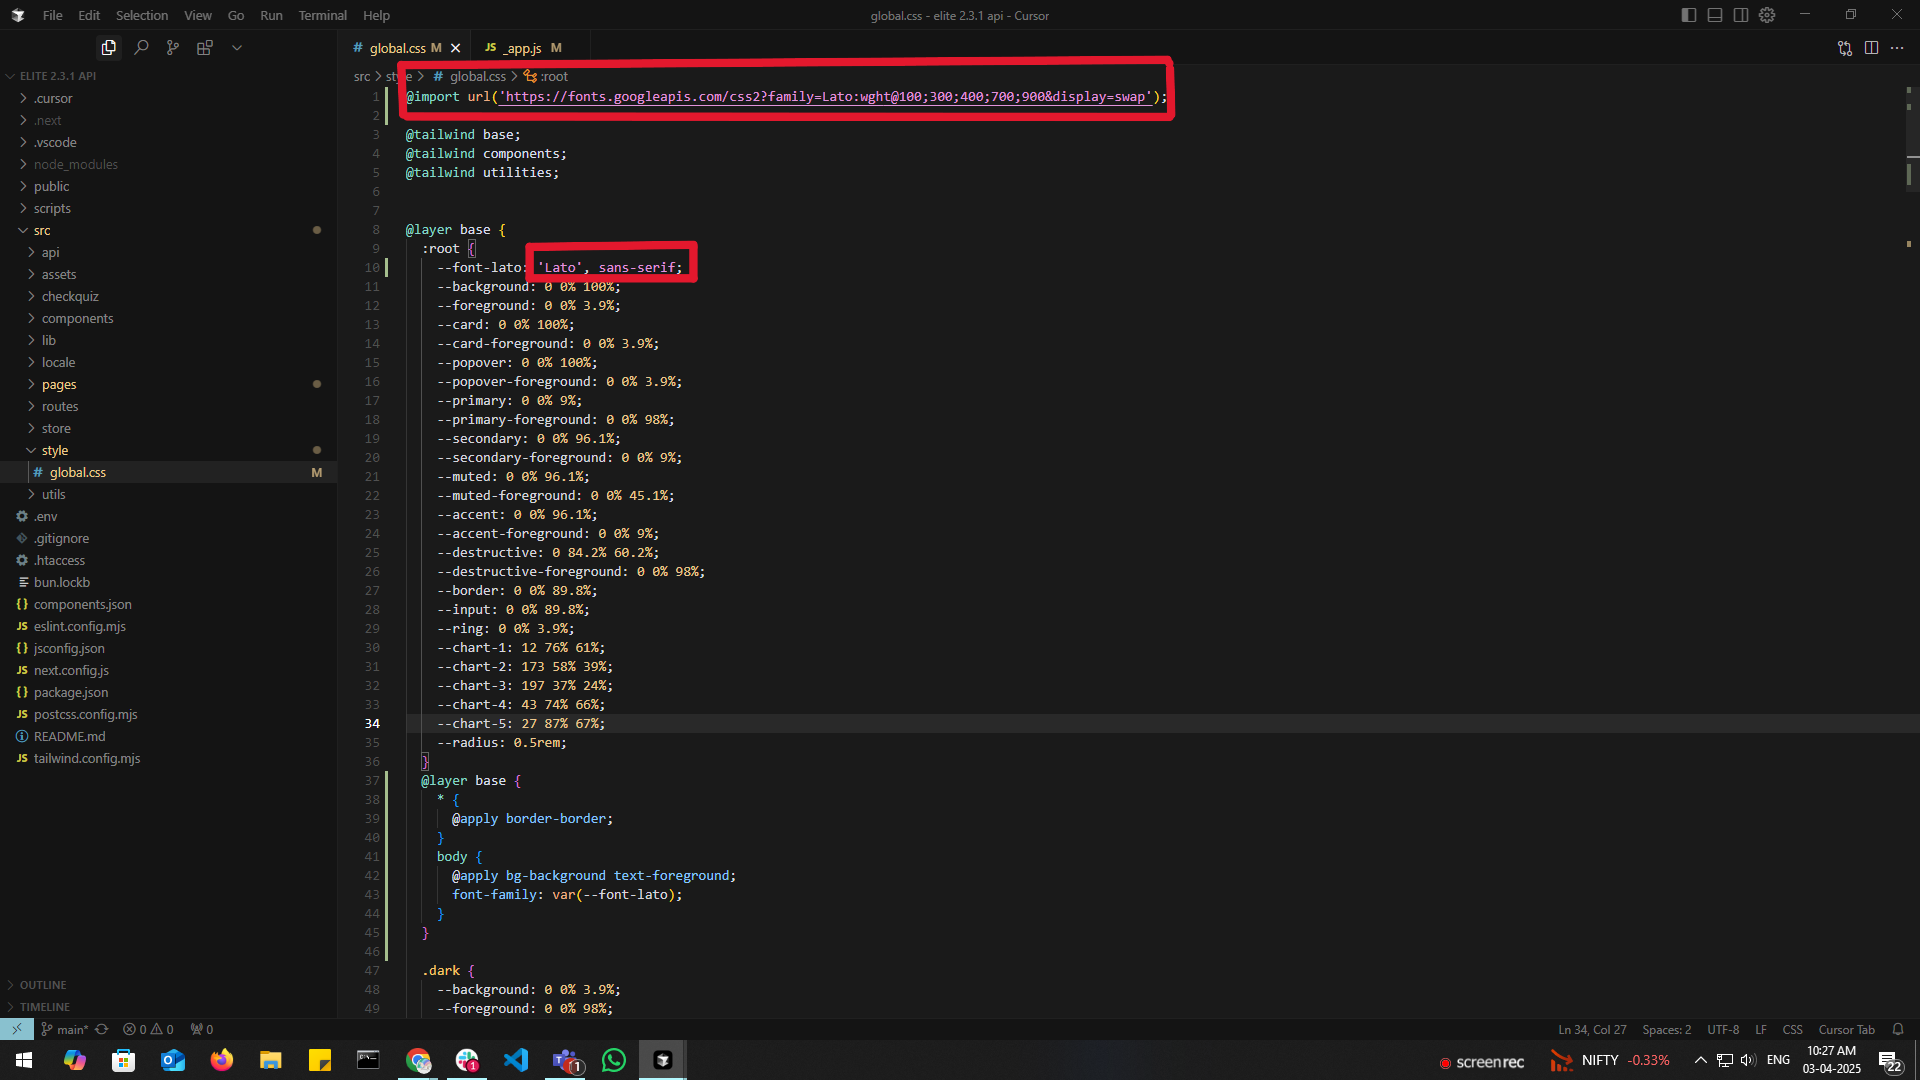
Changing Application Font
To change the application font:
- Go to YOUR_APP_FOLDER/src/style/global.css and add your font as shown in the image
- You can get fonts from Google Fonts
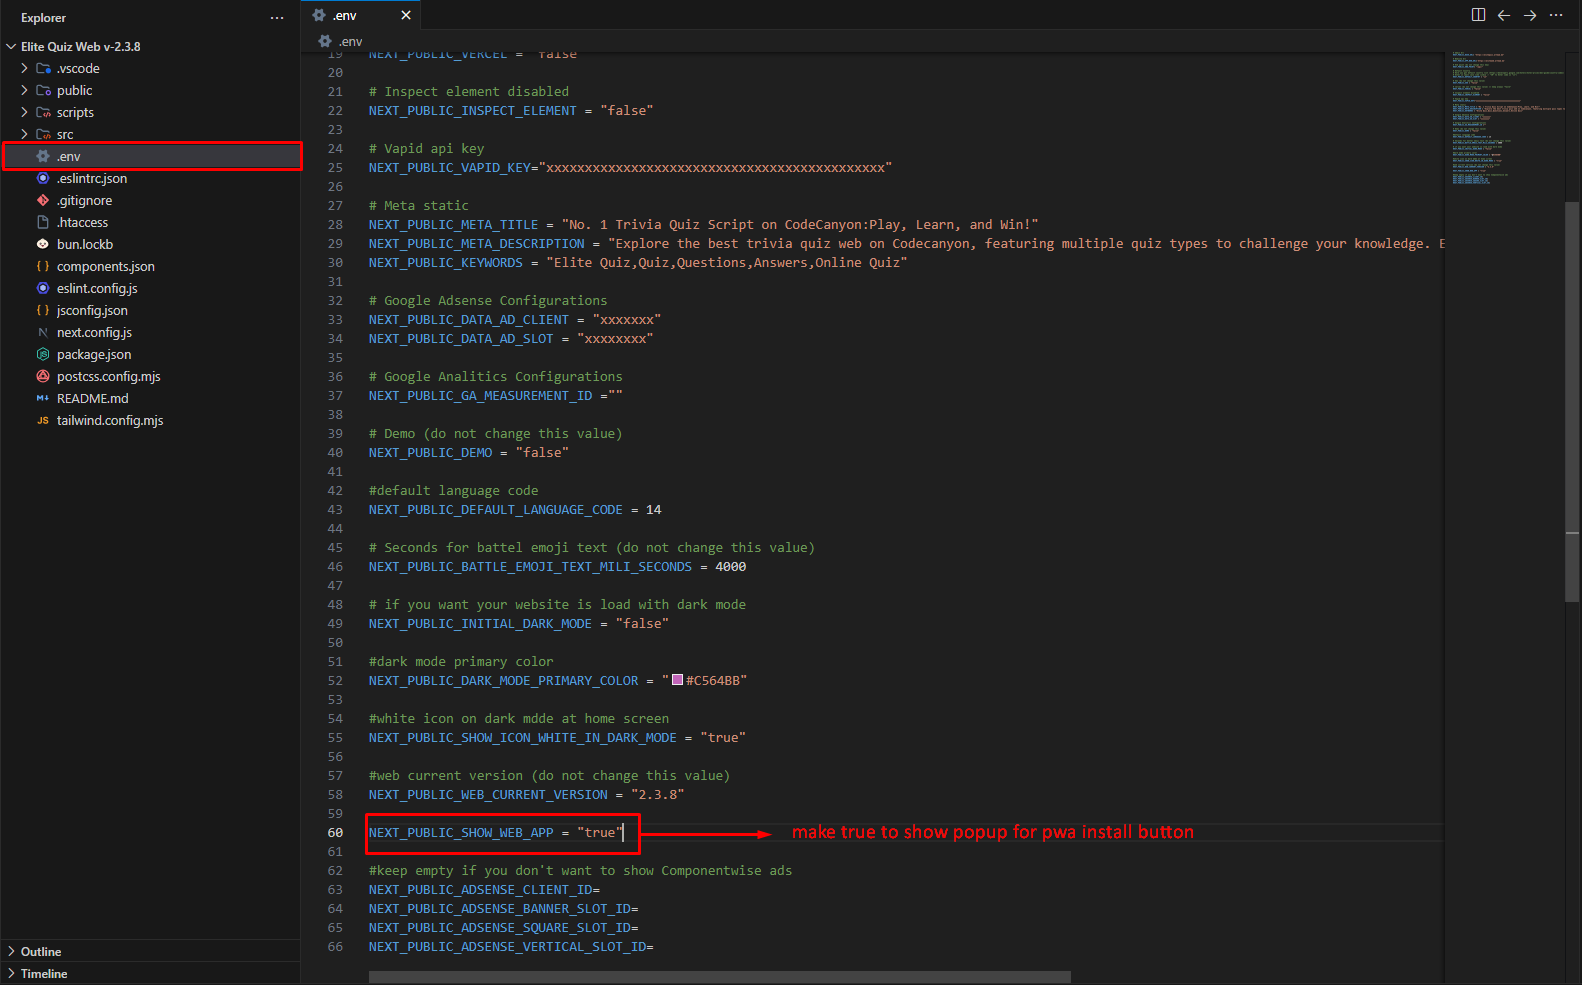
PWA Settings
PWA is use for user can install your website as a app in mobile device or computer
- To change the PWA settings: Go to .env file
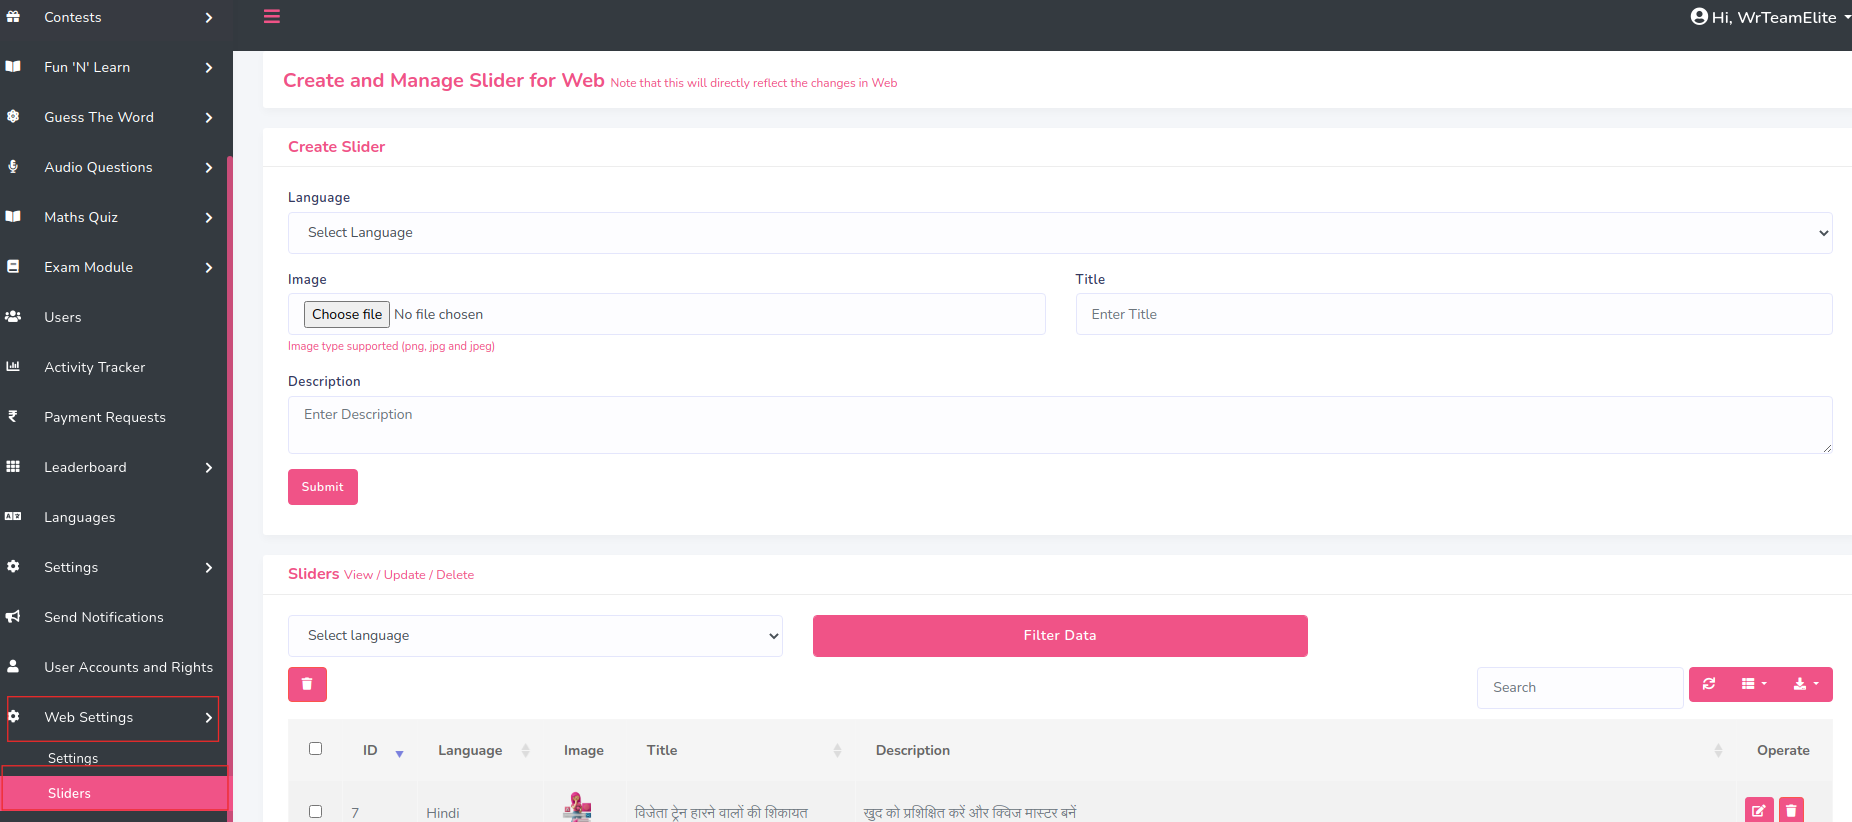
Adding Slider on Homepage
To add or modify sliders on the homepage:
- Go to admin panel -> web settings -> slider
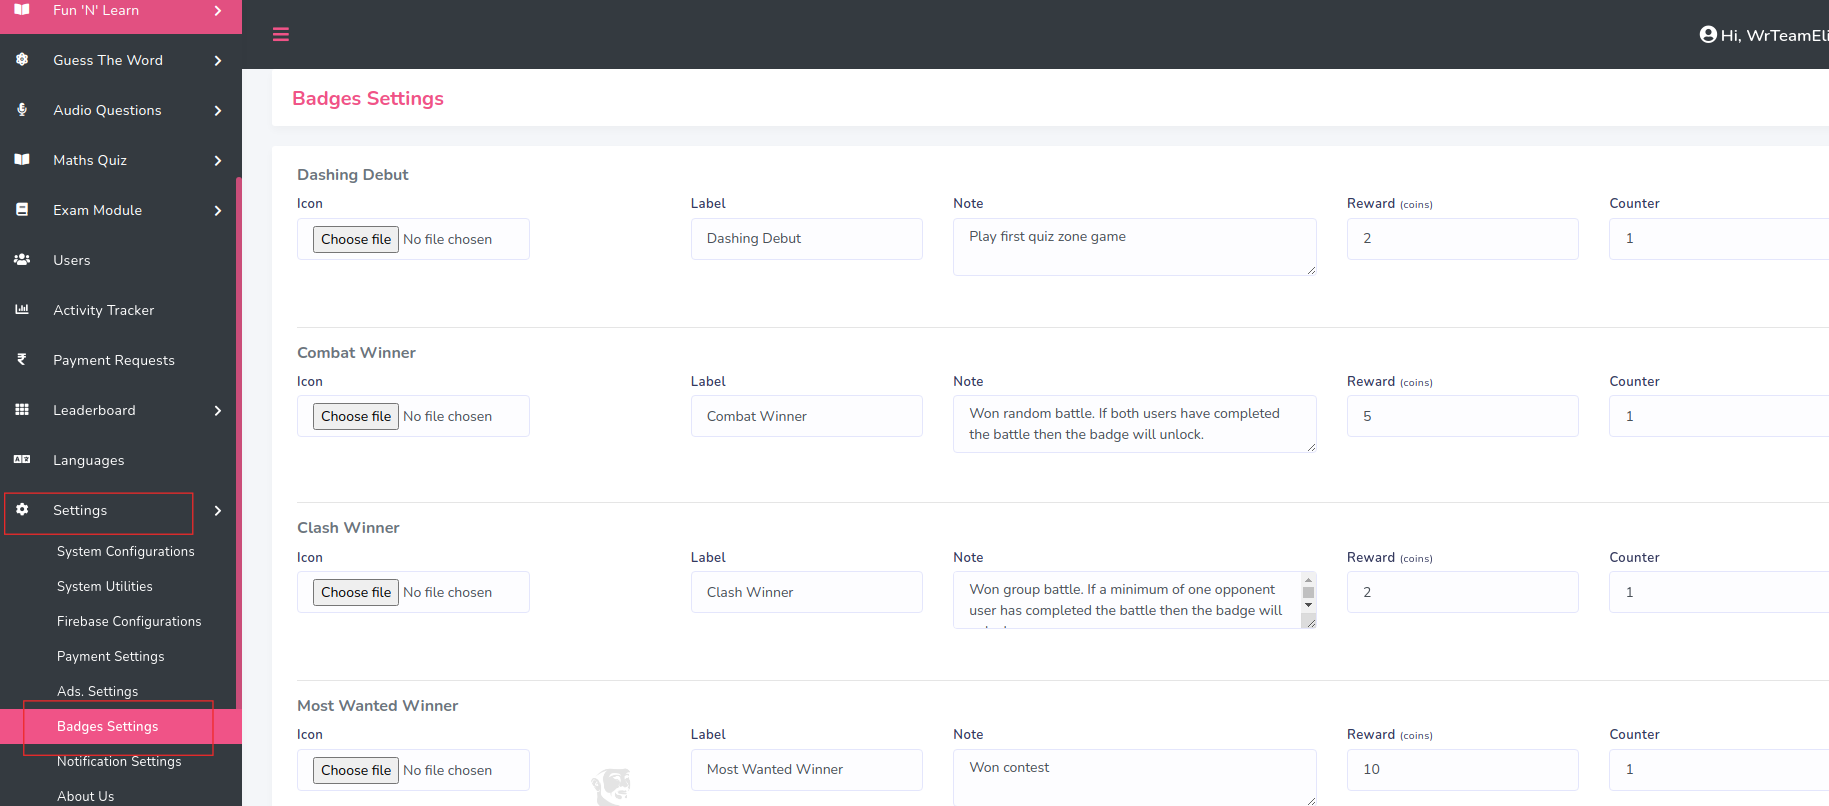
Adding Badge Images
To add or modify badge images:
- Go to admin panel -> Settings -> Badges Settings
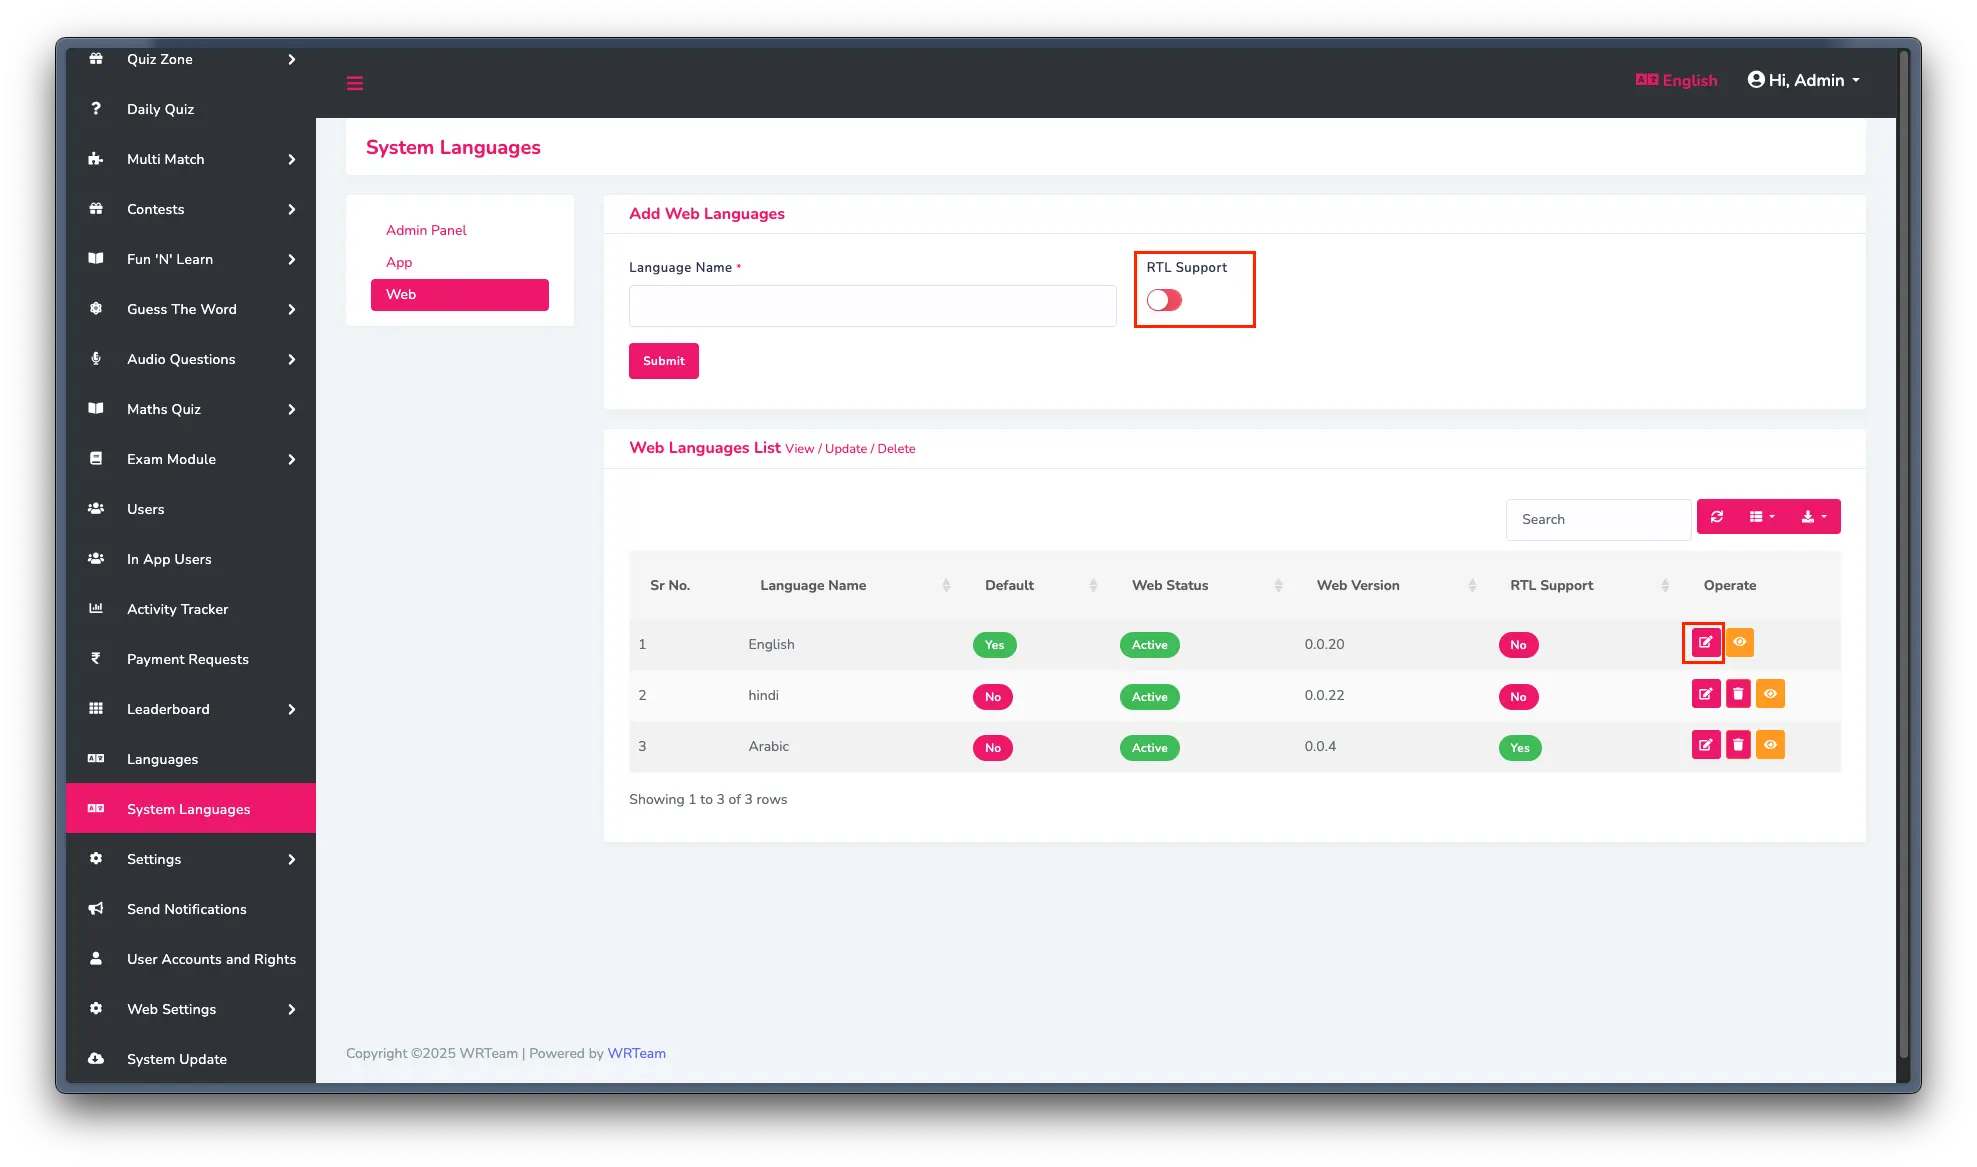
RTL Support (Right-to-Left)
To enable RTL support for languages like Arabic or Hebrew:
- Go to Admin Panel -> System Languages
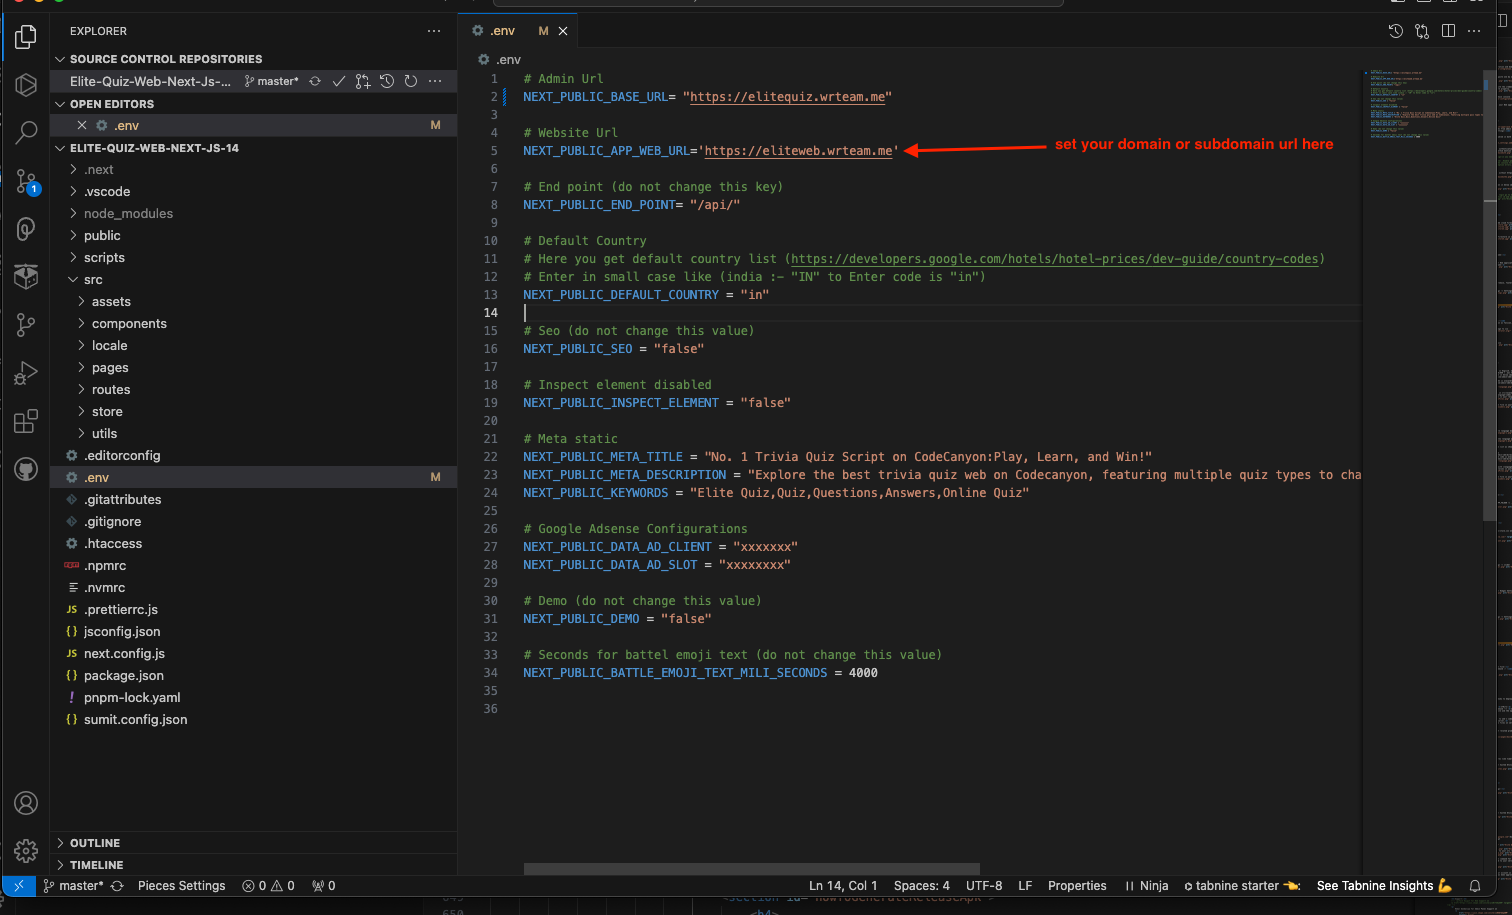
Setting Domain URL
To set the Domain URL:
- Go to .env file
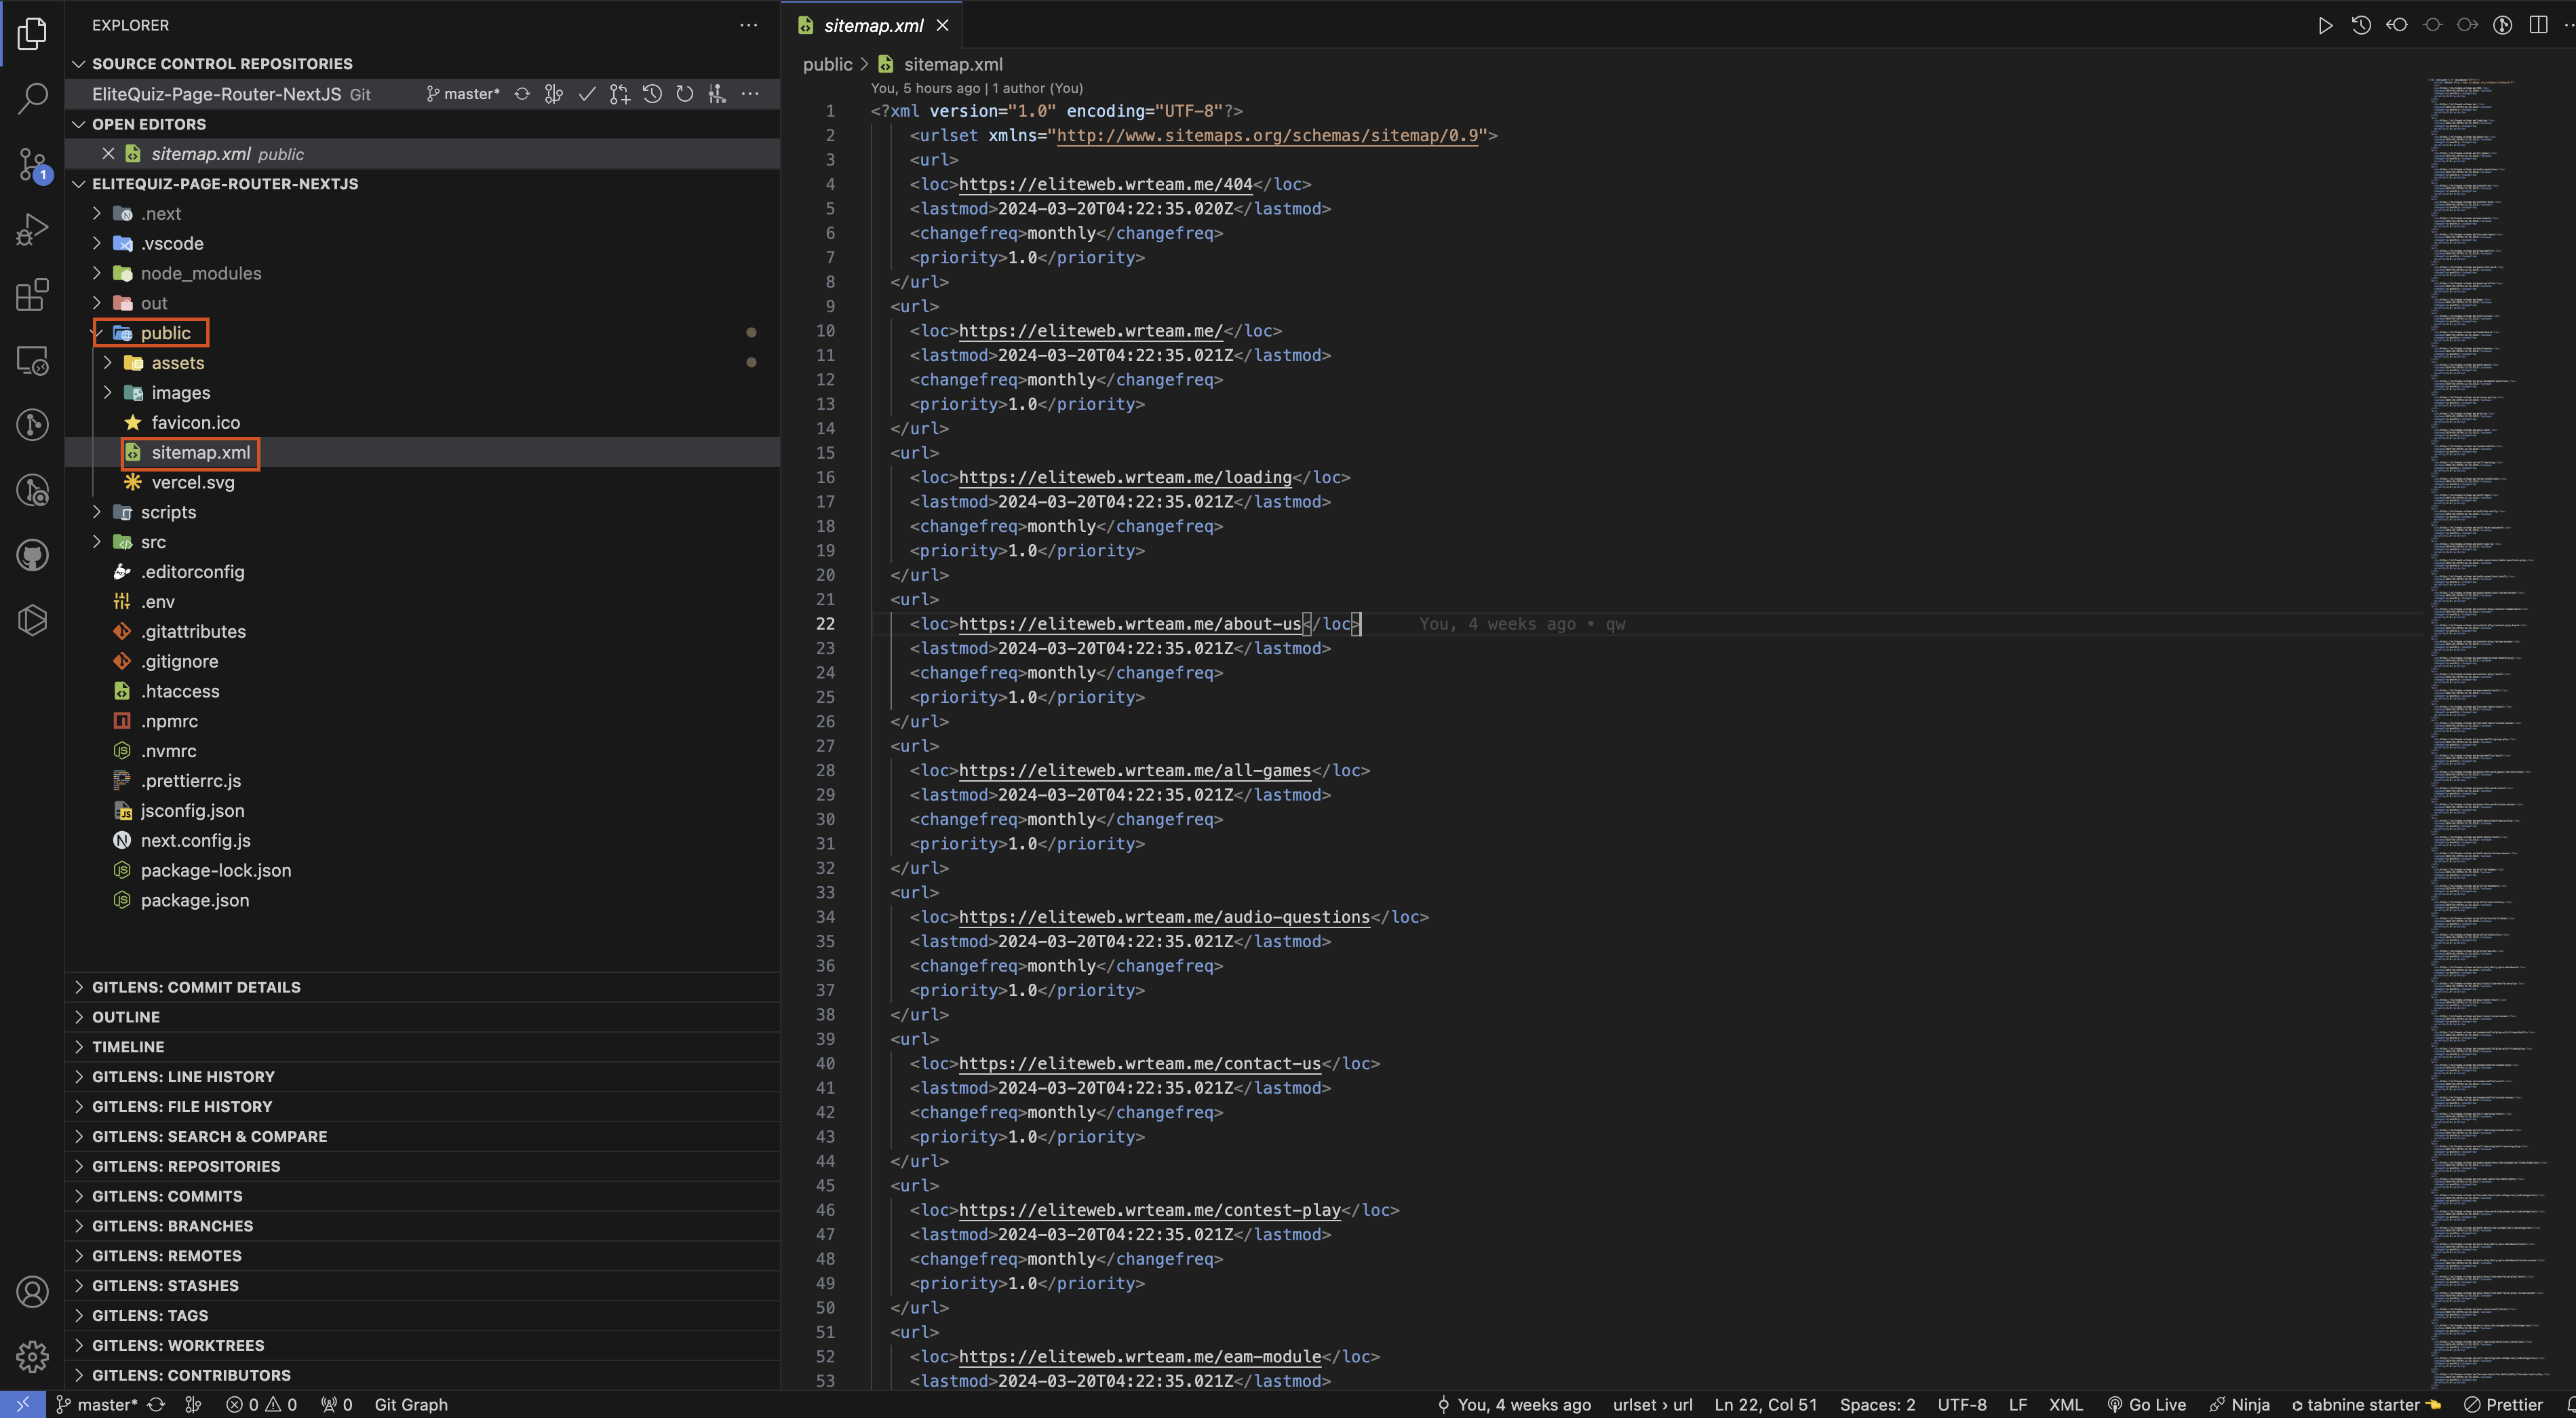
Configuring Sitemap
To configure the sitemap for better SEO:
-
First set domain web url in .env file
-
Second open terminal and run command:
- npm
- bun
npm run devbun run dev -
Go to public -> sitemap.xml
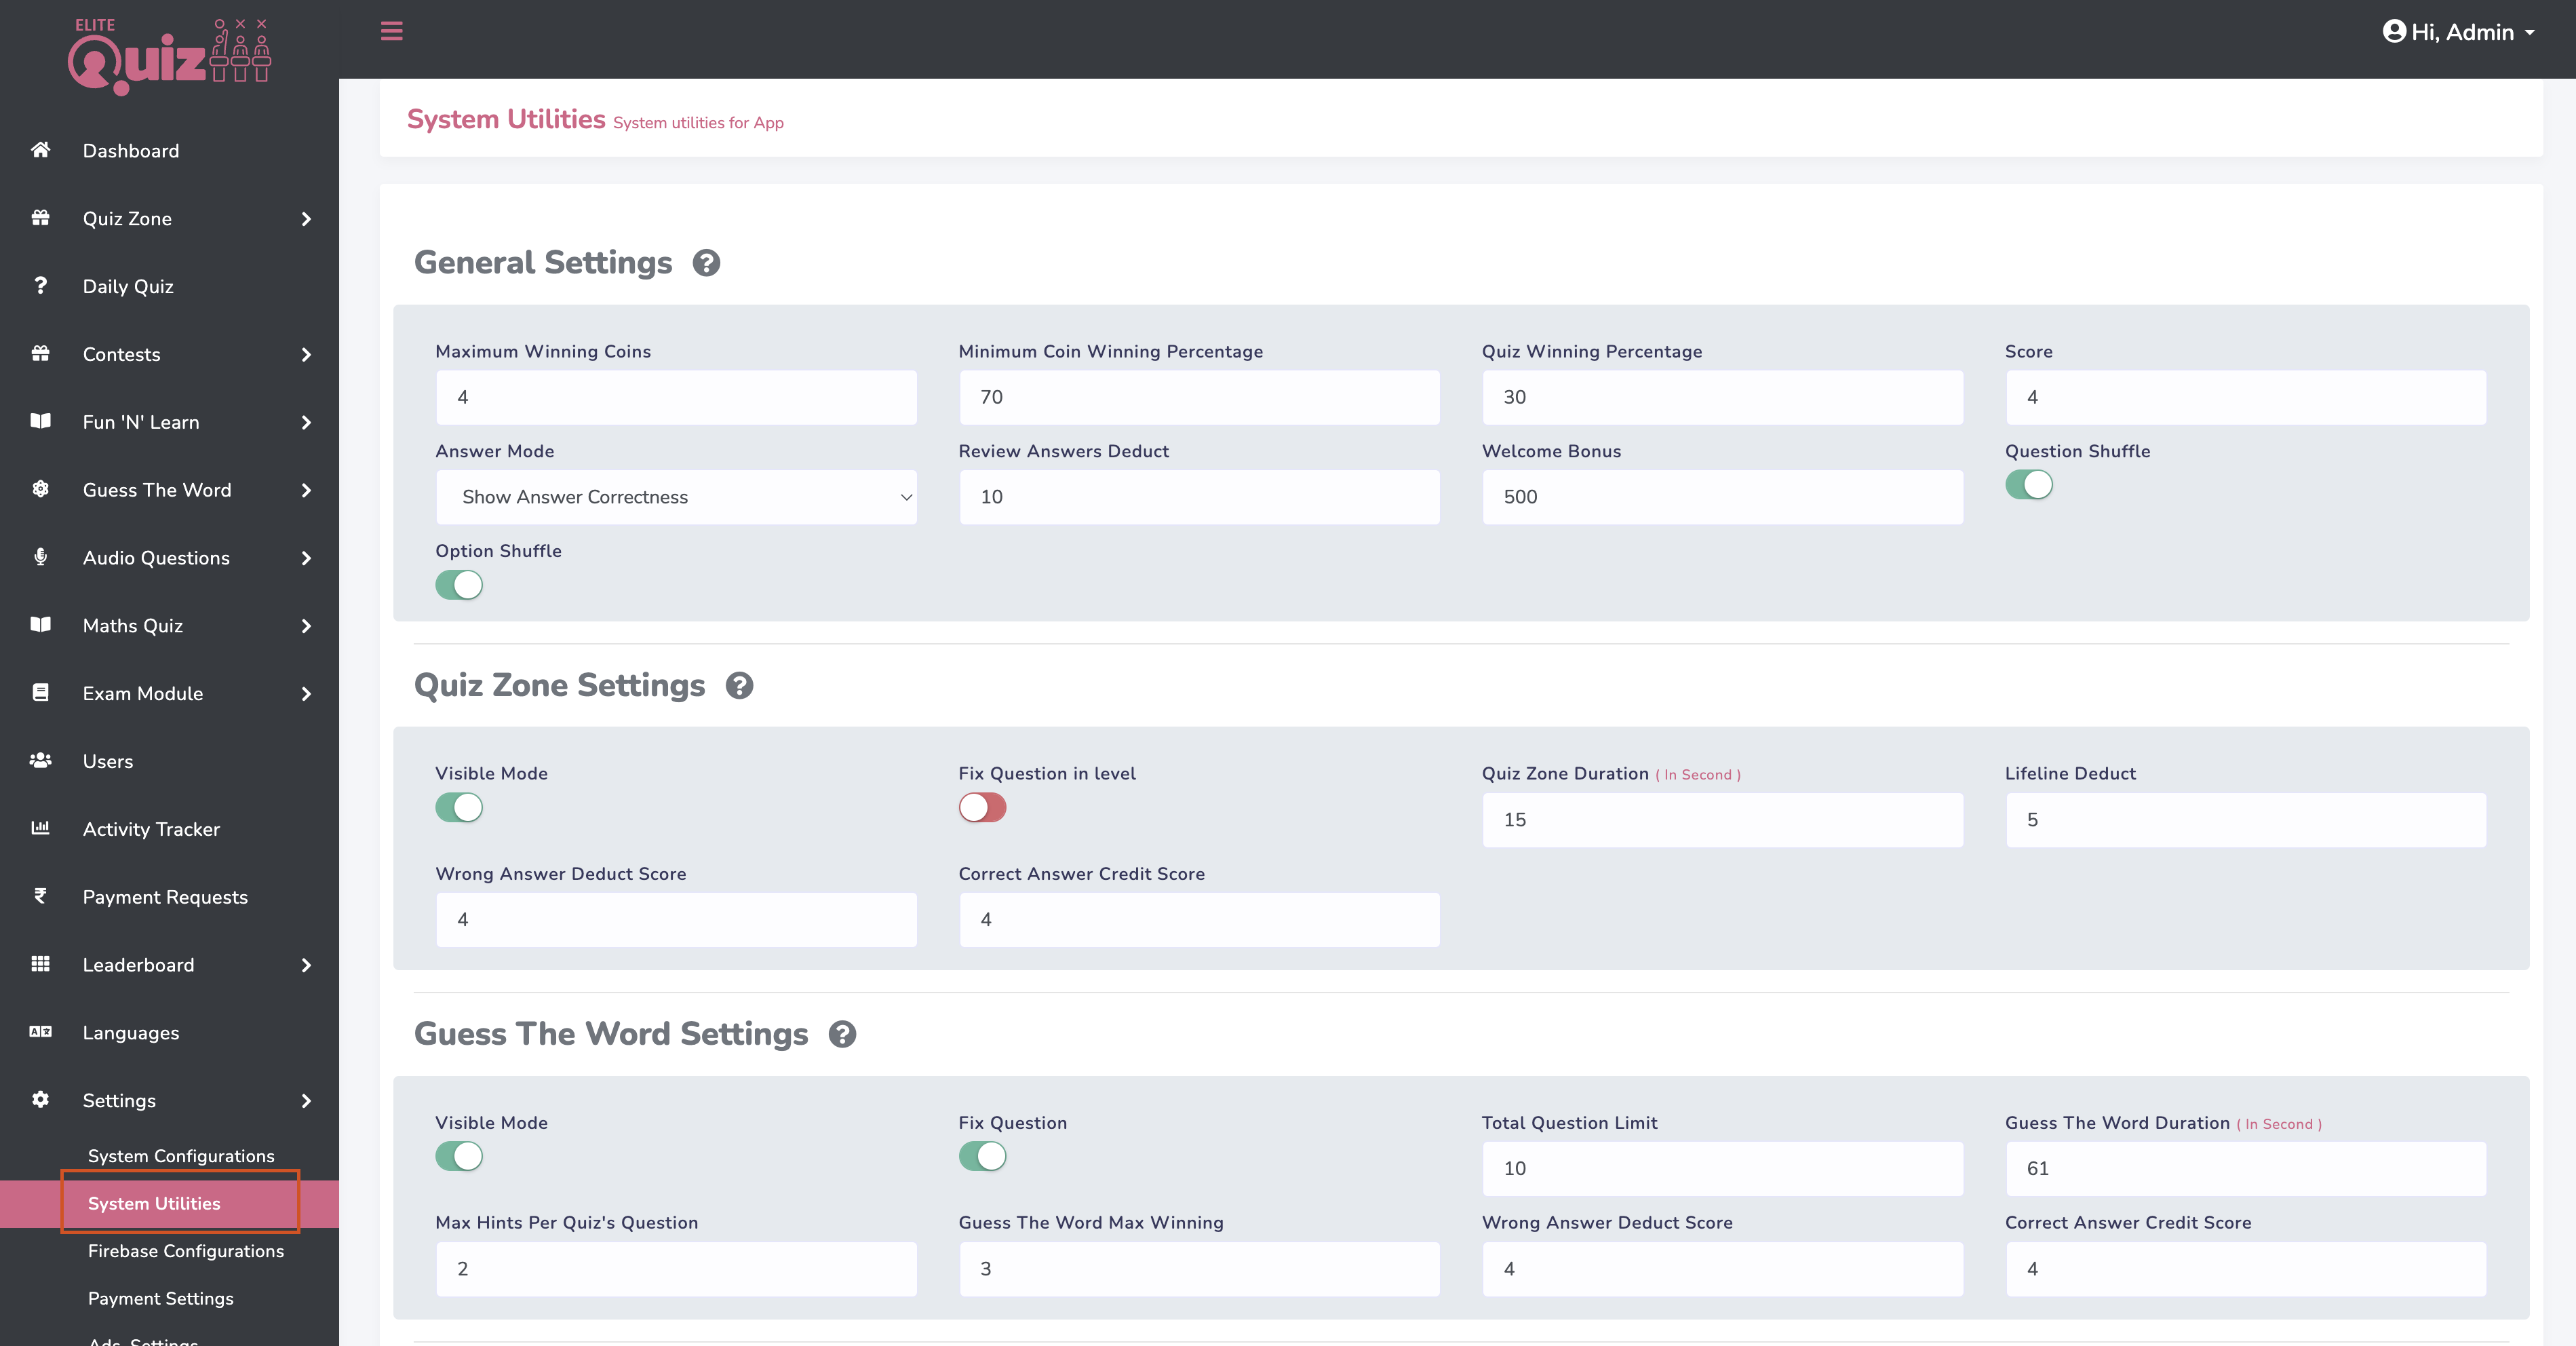
Changing Timer Settings
To adjust the timer and other features settings:
- Go to Admin Panel -> Settings -> System Utilities
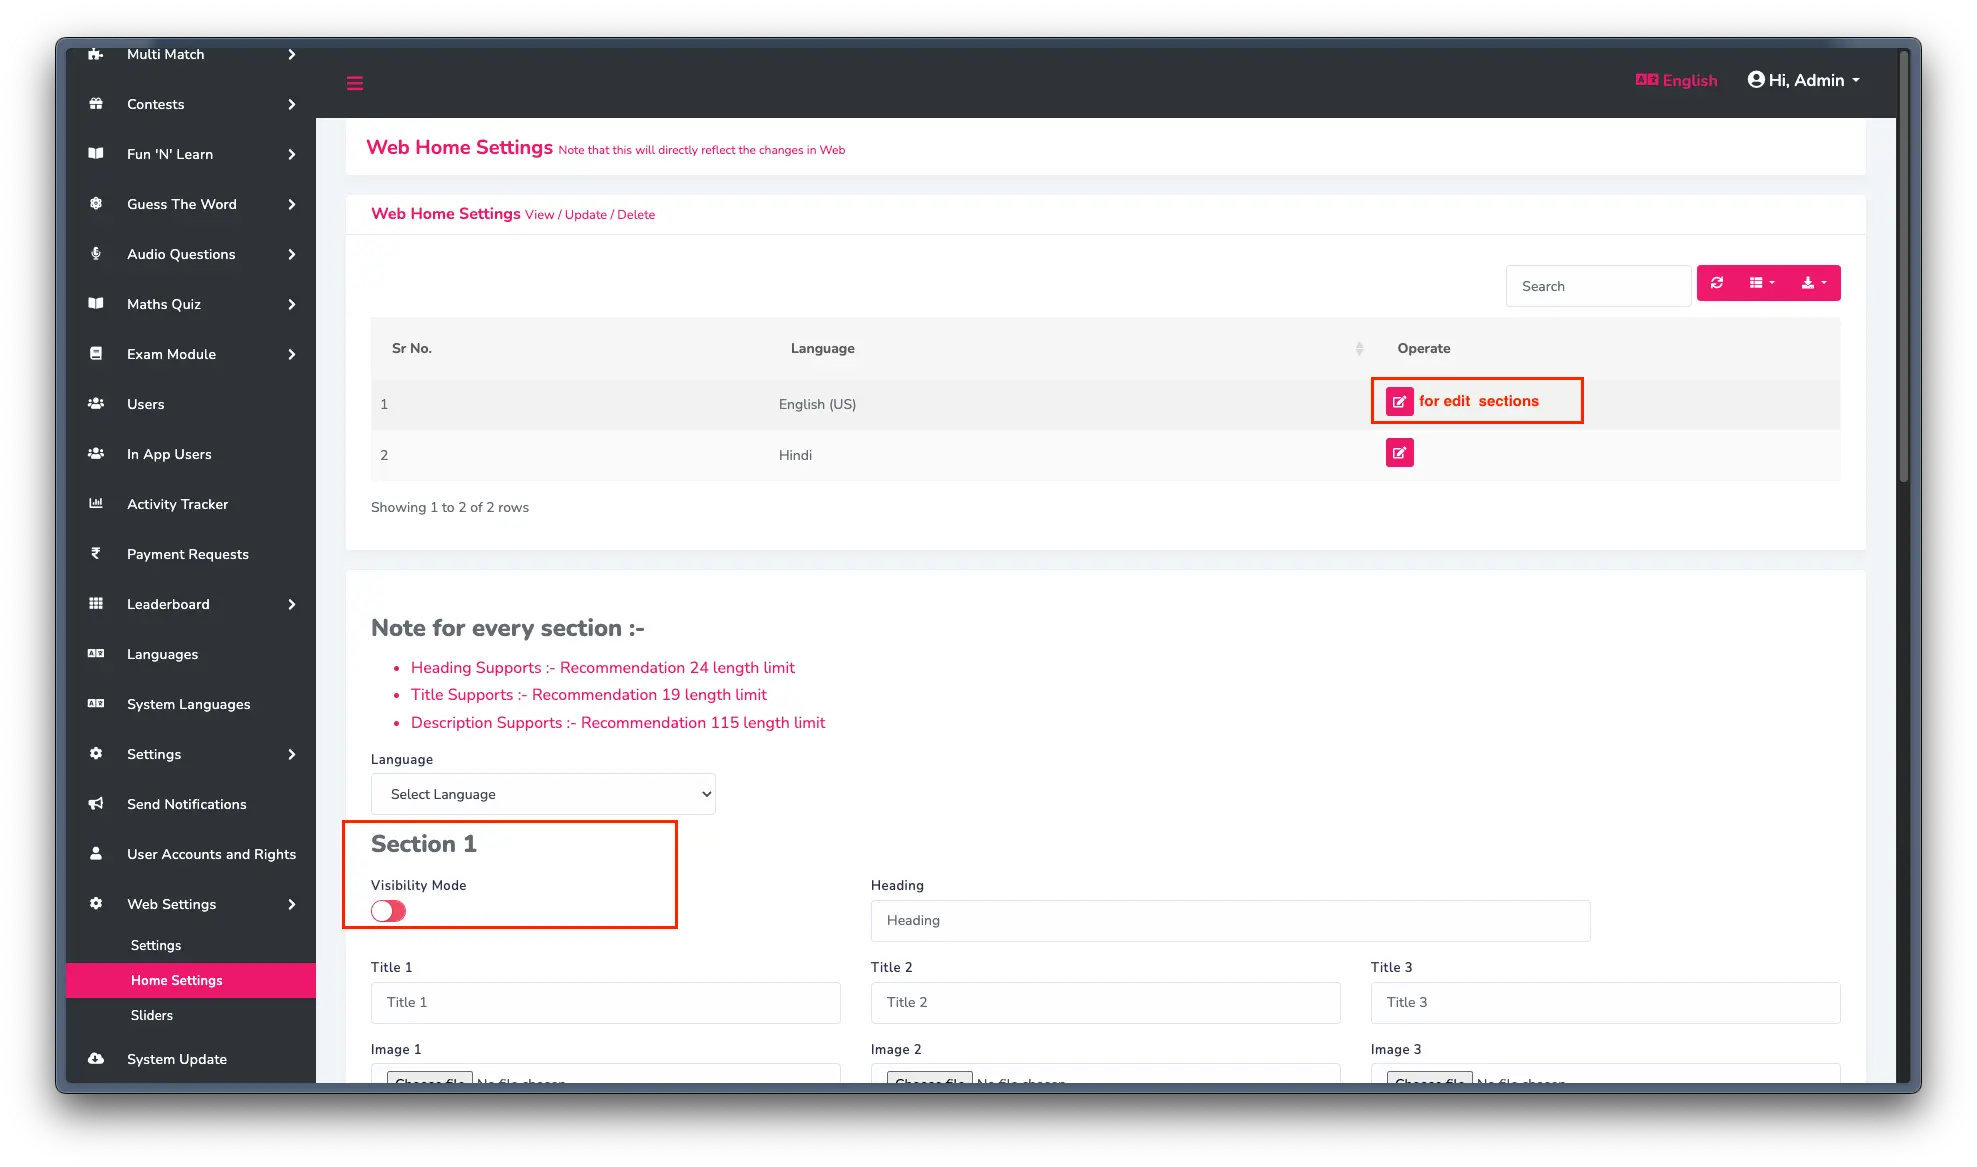
Disabling Home Sections
To disable specific sections on the homepage:
- Go to Admin Panel -> Web Settings -> Home Settings
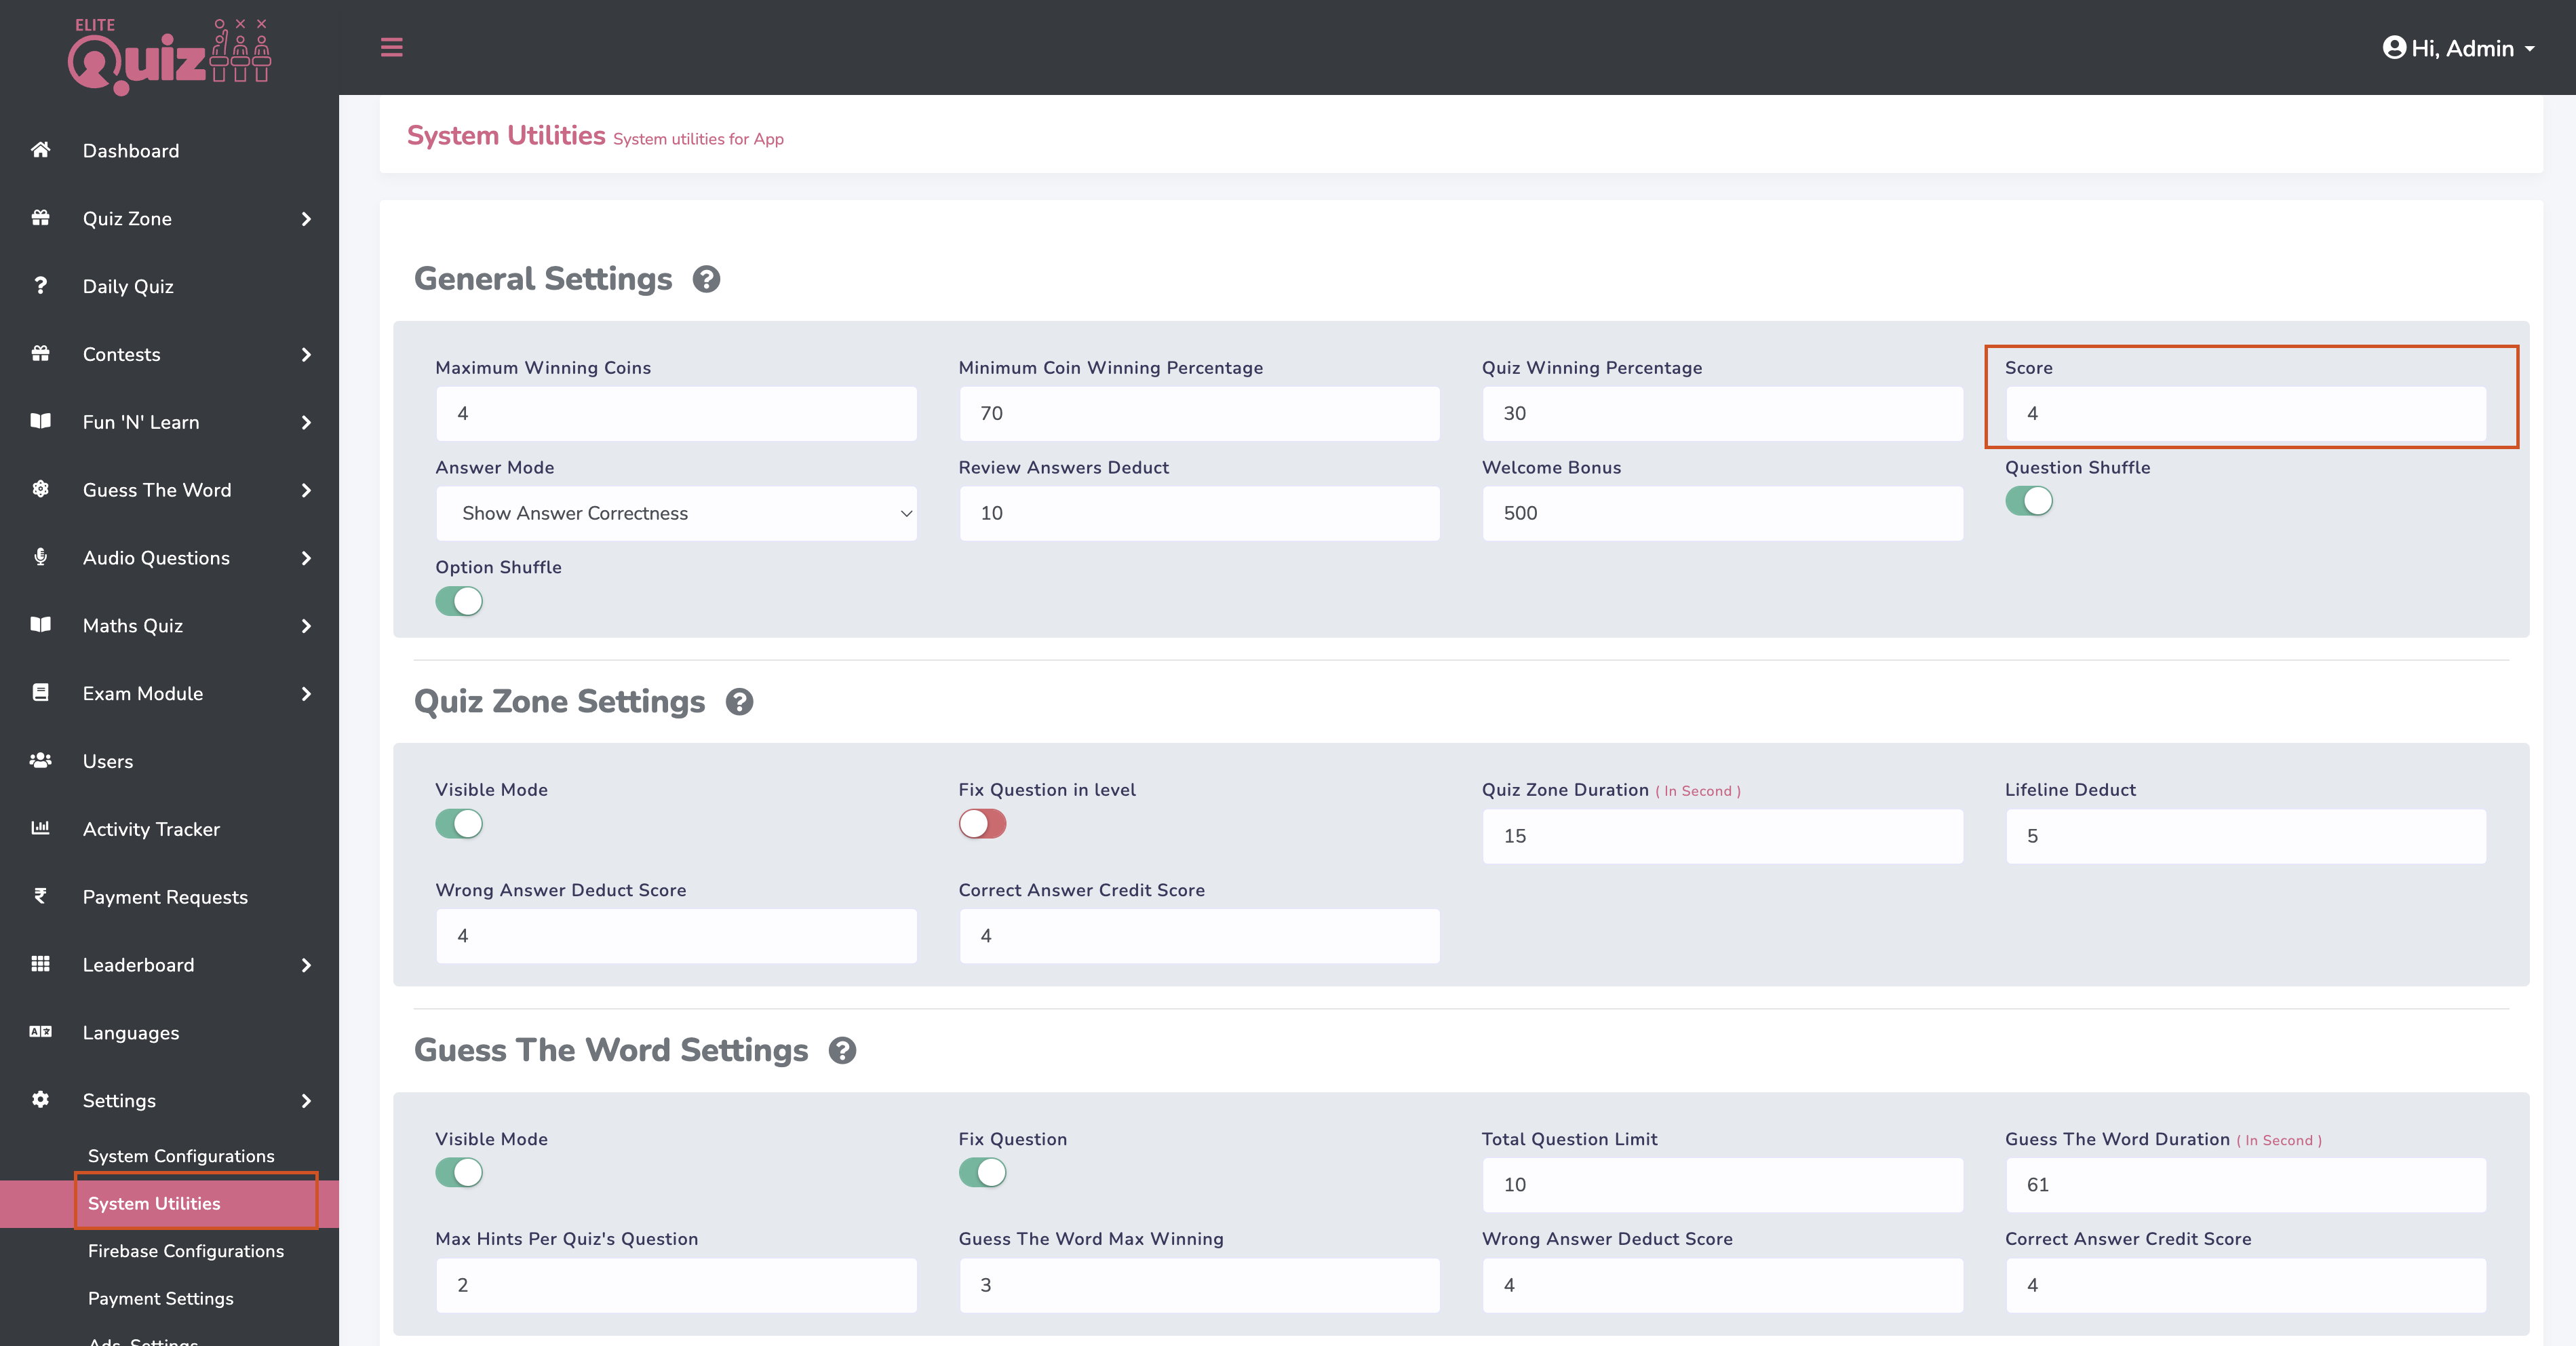
Score Configuration
To configure scoring:
- Go to Admin Panel -> Settings -> System Utilities
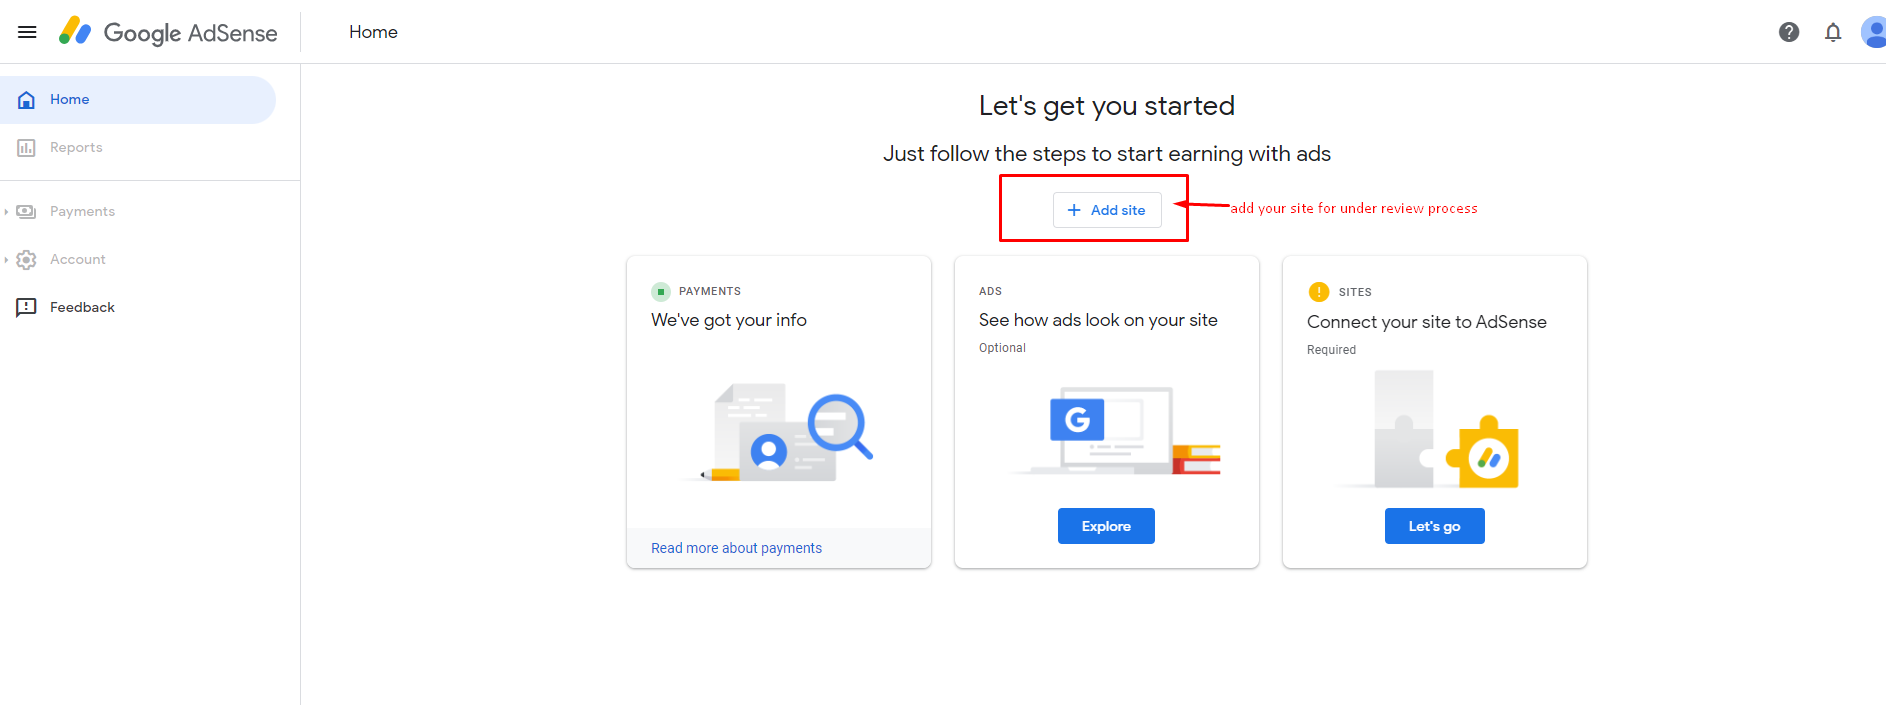
Adding Google AdSense
To add Google AdSense to your application:
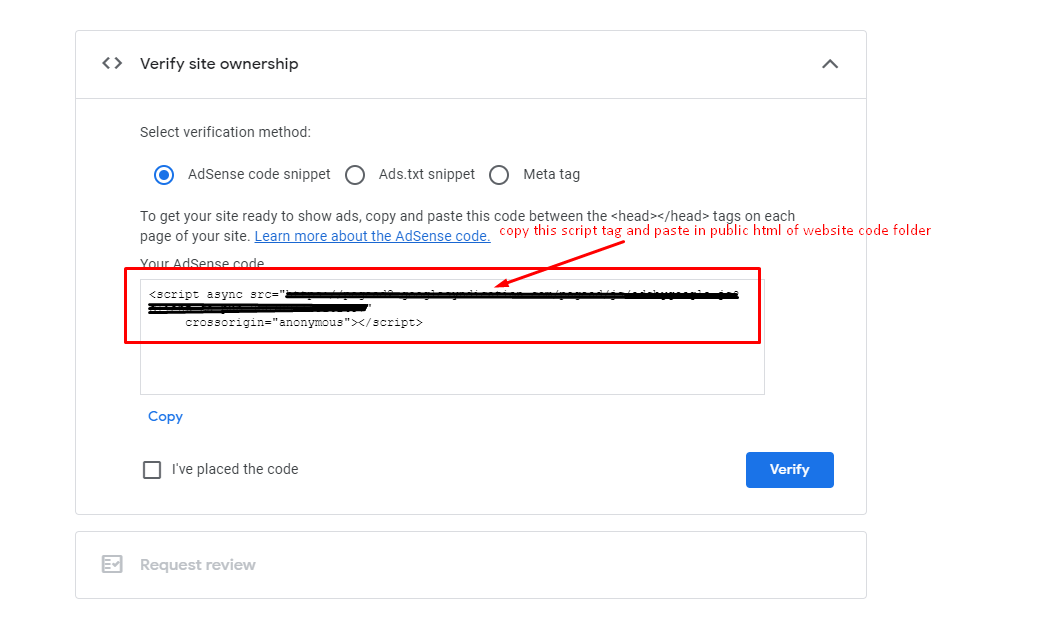
- Go to Google AdSense and sign in to your account
- Add your site as shown in the image
- Click on "Let's Go" button
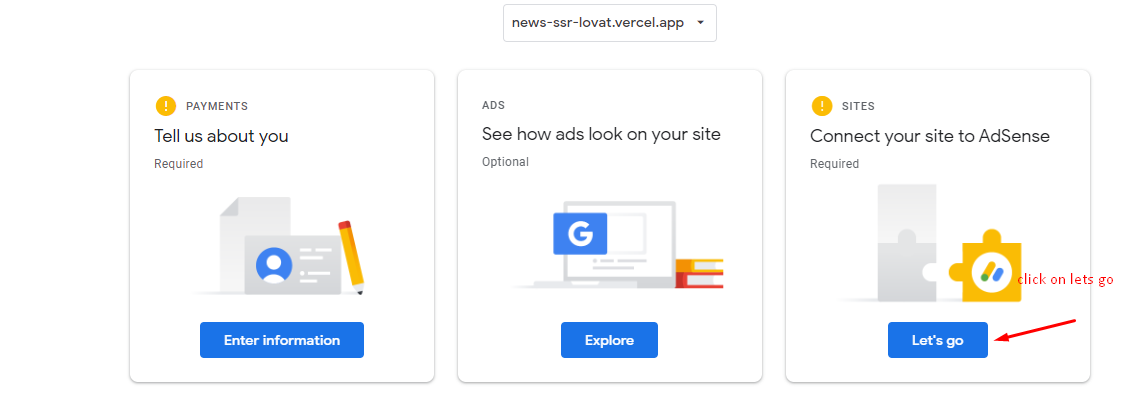
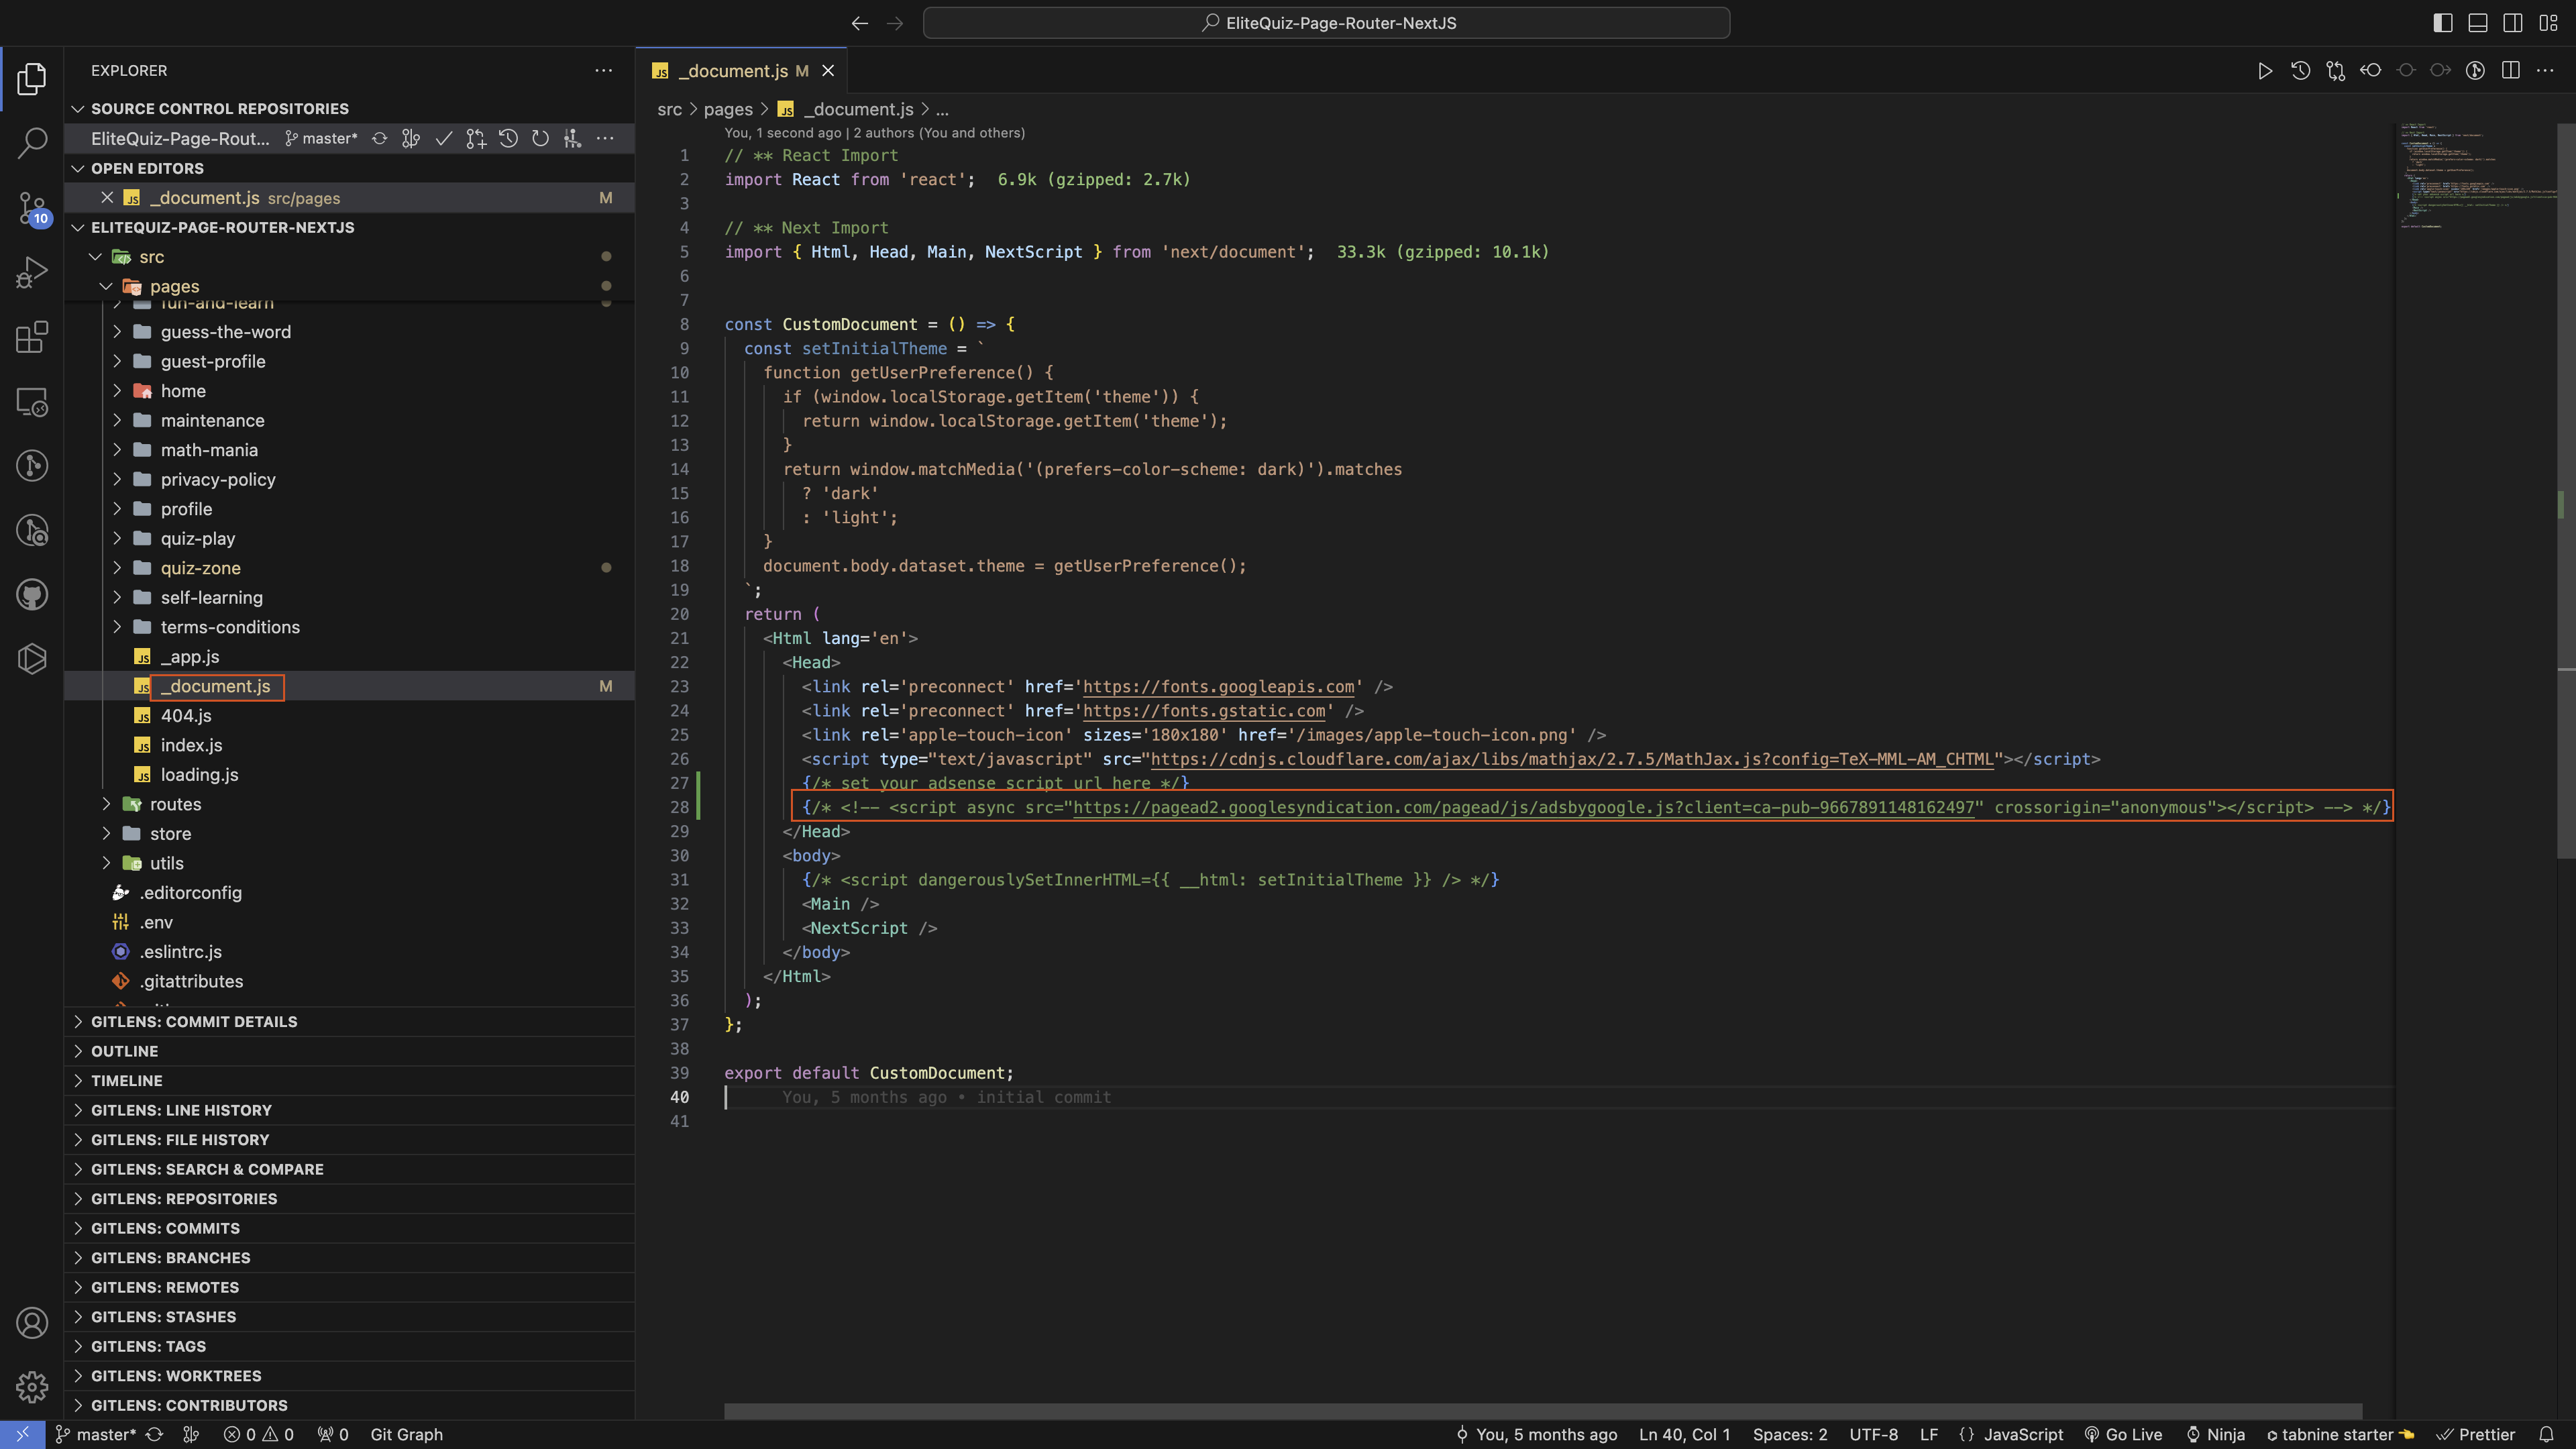
- Copy the script code and paste it to your src -> pages -> _document.js
-
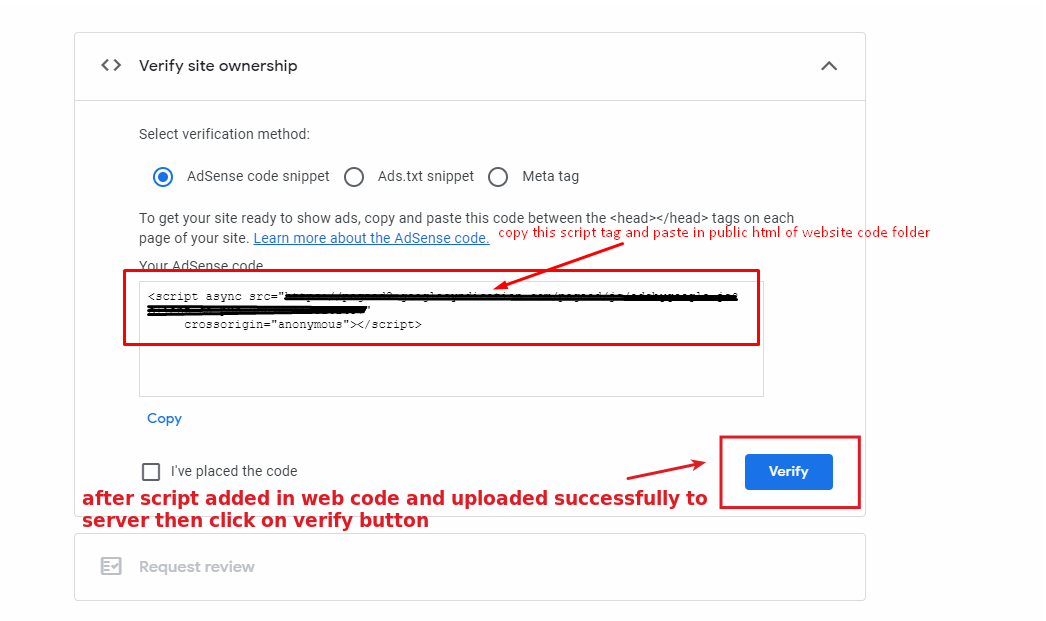
After adding the script, run the command for build folder:
- npm
- bun
npm run exportbun run export...and upload to your server
-
After uploading, click on verify button in Google AdSense
- If it says "Getting ready…," your account is still under review and your site will not display ads until it has been approved
