Basic Settings
Most basic settings of your Web application are managed from the admin panel. This page shows where to find each one.
| What you want to change | Where to find it |
|---|---|
| App name, maintenance mode, timezone, schema | Settings → System → General |
| Favicon, vertical logo, login banner, placeholder image | Settings → System → Branding |
| Contact details | Settings → System → Contact |
| Social media links and icons | Settings → System → Social Media |
| Web logo, website URL, announcement bar, footer description, copyright | Settings → Web |
| Theme color | Settings → Theme Settings |
| System currency | Settings → Payment Gateway → Currency |
Change App Name
- Go to admin panel Settings → System → General
- Update Platform Name and click Submit.
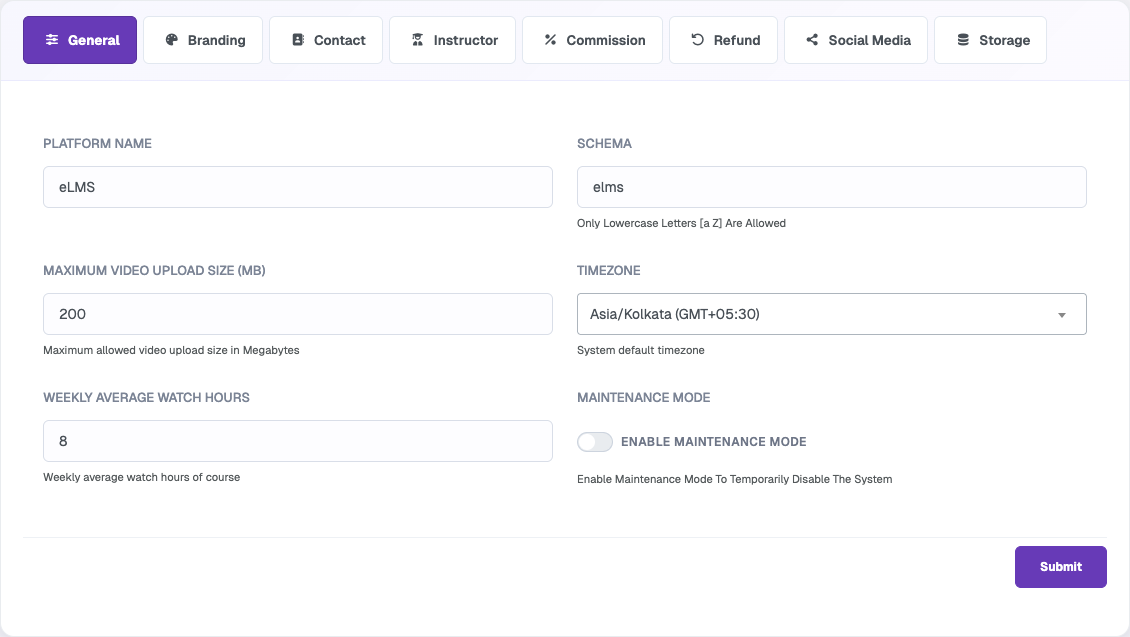
Other settings on this tab: Schema, Maximum Video Upload Size, Timezone, Weekly Average Watch Hours and Maintenance Mode. See Toggle Maintenance Mode for details.
Set Favicon Icon
A favicon is a small icon that appears in browser tabs and bookmarks for your website.
- You can generate favicon icons from this site: Favicon Generator
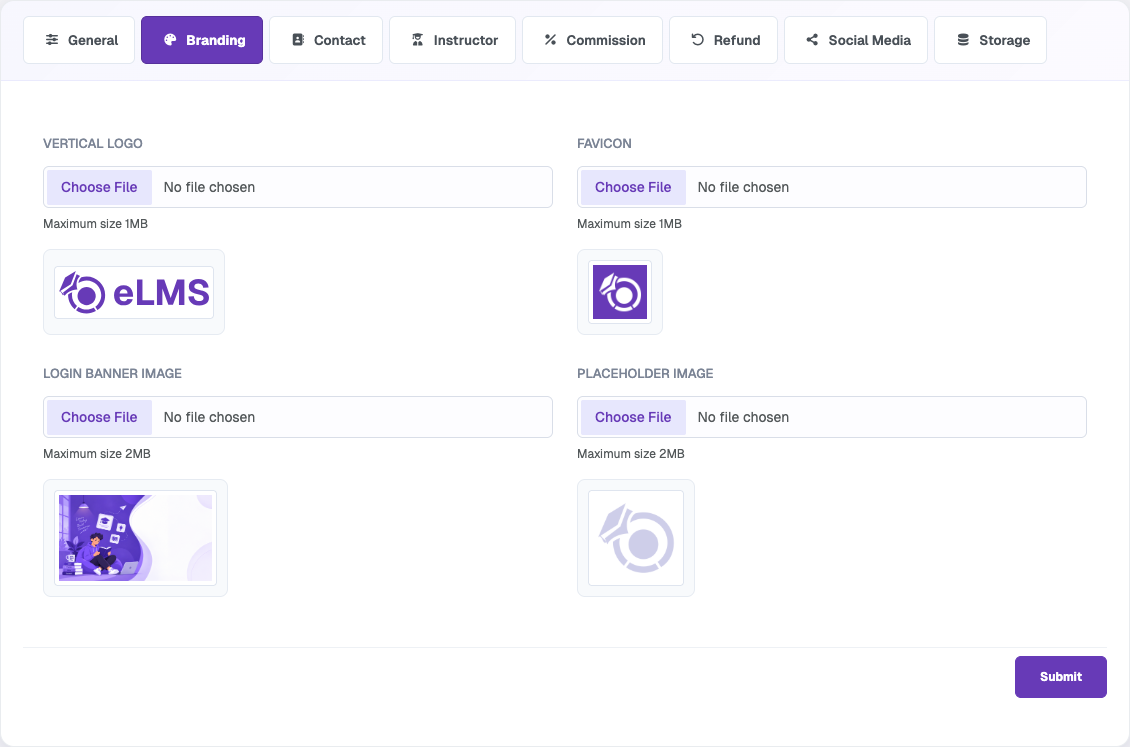
- Go to admin panel Settings → System → Branding
- Upload your icon in Favicon (maximum size 1MB) and click Submit.
Change Logo, Footer Description and Announcement Bar
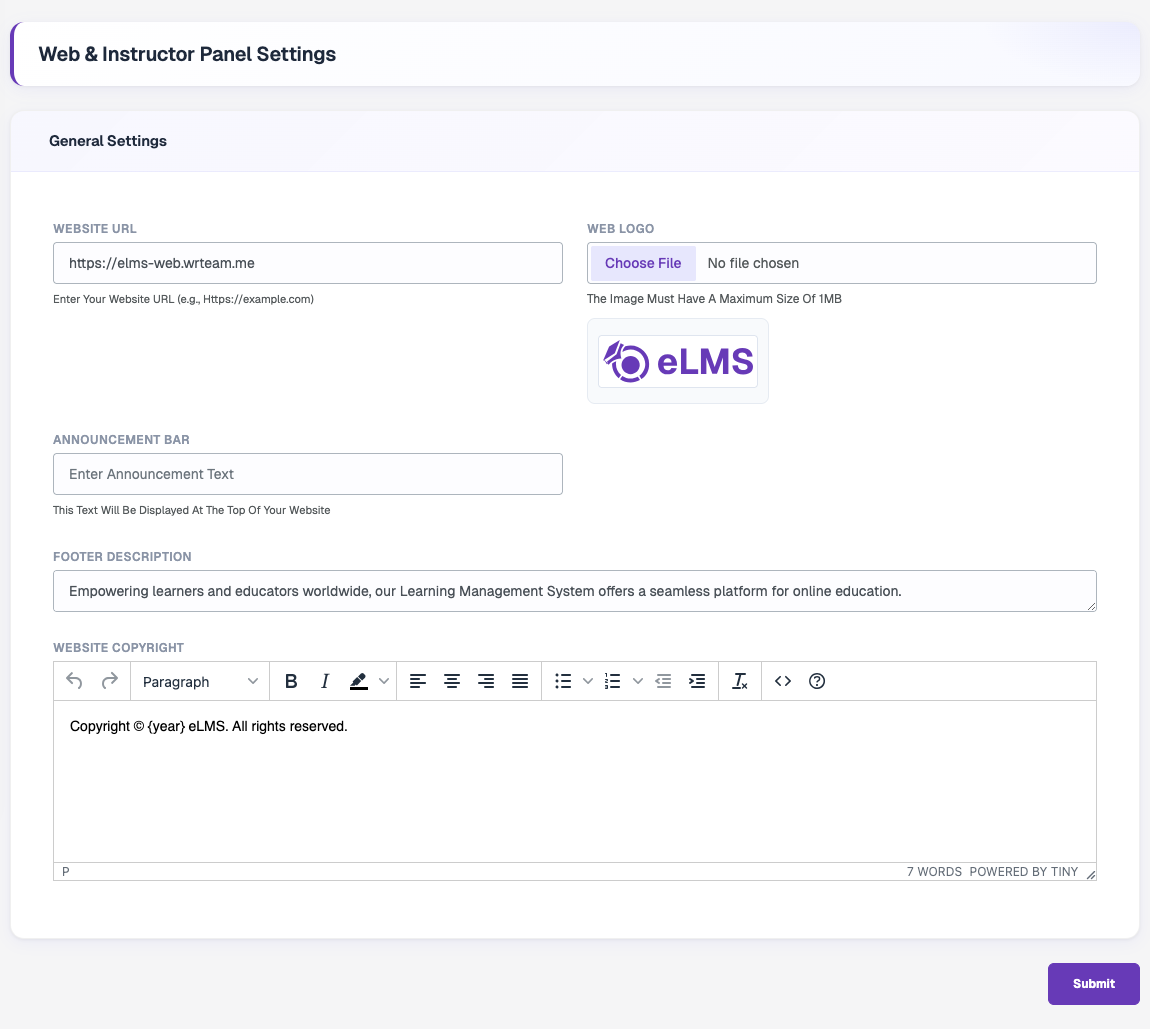
- Go to admin panel Settings → Web
- Upload your Web Logo (maximum size 1MB).
- Update Website URL, Announcement Bar, Footer Description and Website Copyright as needed.
- Click Submit.
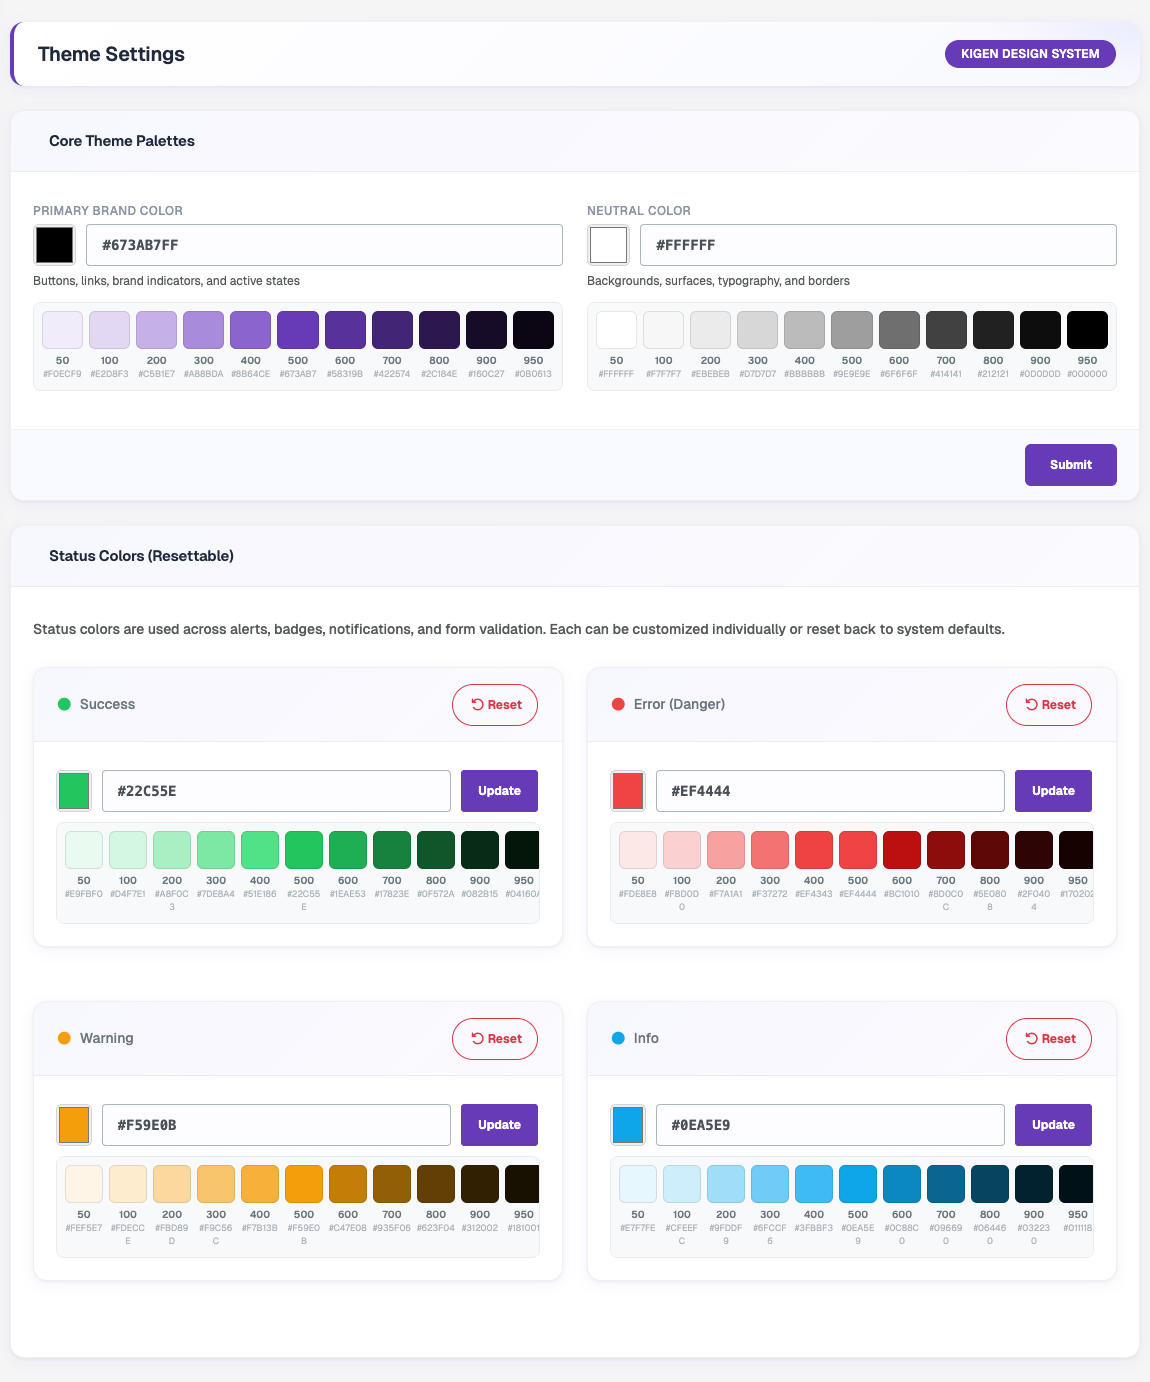
Change Theme Color
- Go to admin panel Settings → Theme Settings
- Change the Primary Brand Color and Neutral Color, then click Submit.
- Status colors (Success, Error, Warning and Info) can be updated or reset individually.
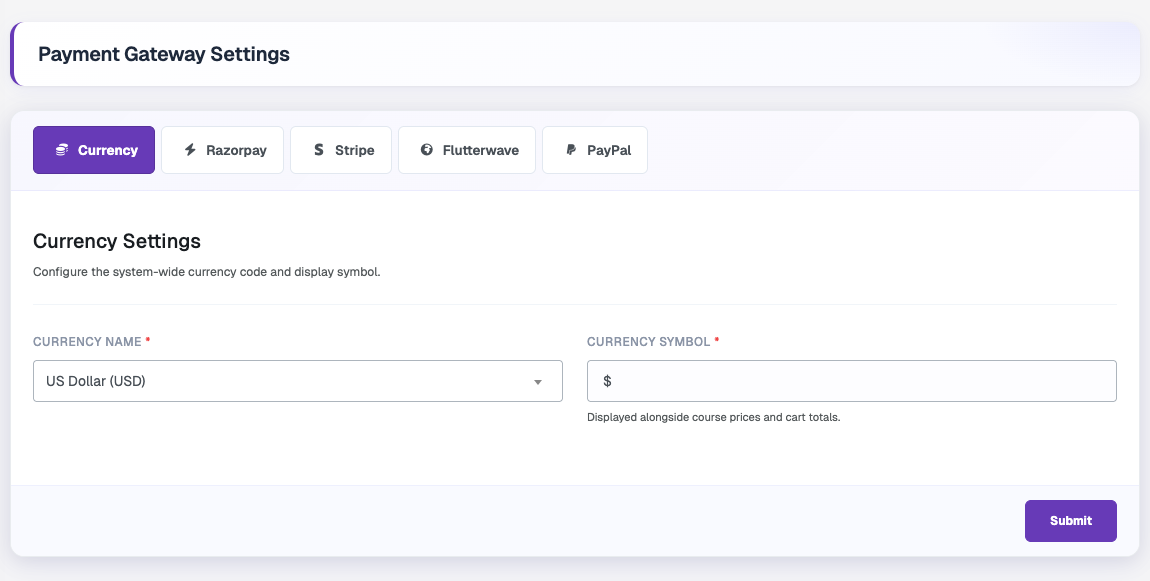
Change System Currency
- Go to admin panel Settings → Payment Gateway → Currency
- Select the currency and click Submit.
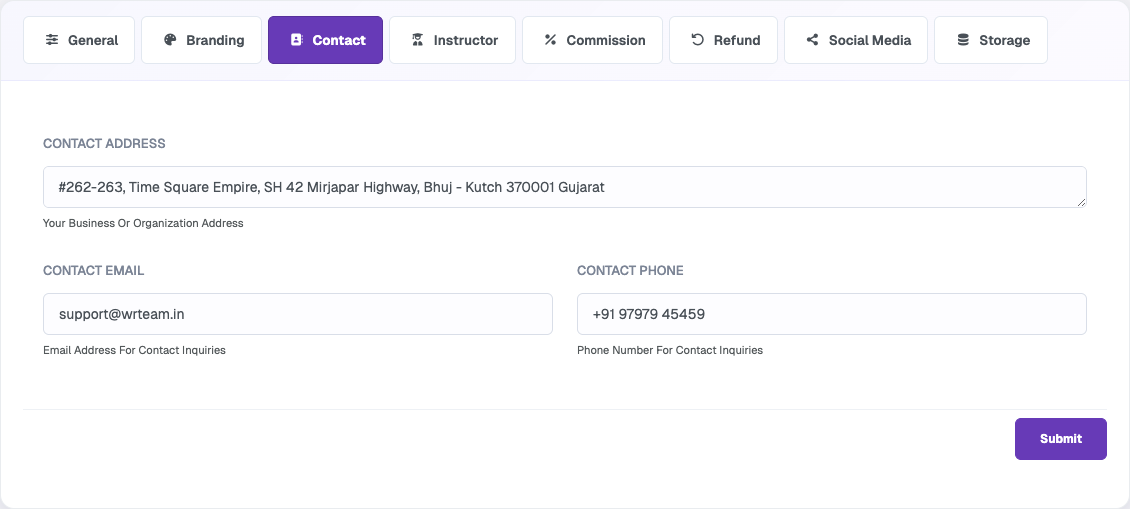
Change Contact Details
- Go to admin panel Settings → System → Contact
- Update the address, email and phone number and click Submit.
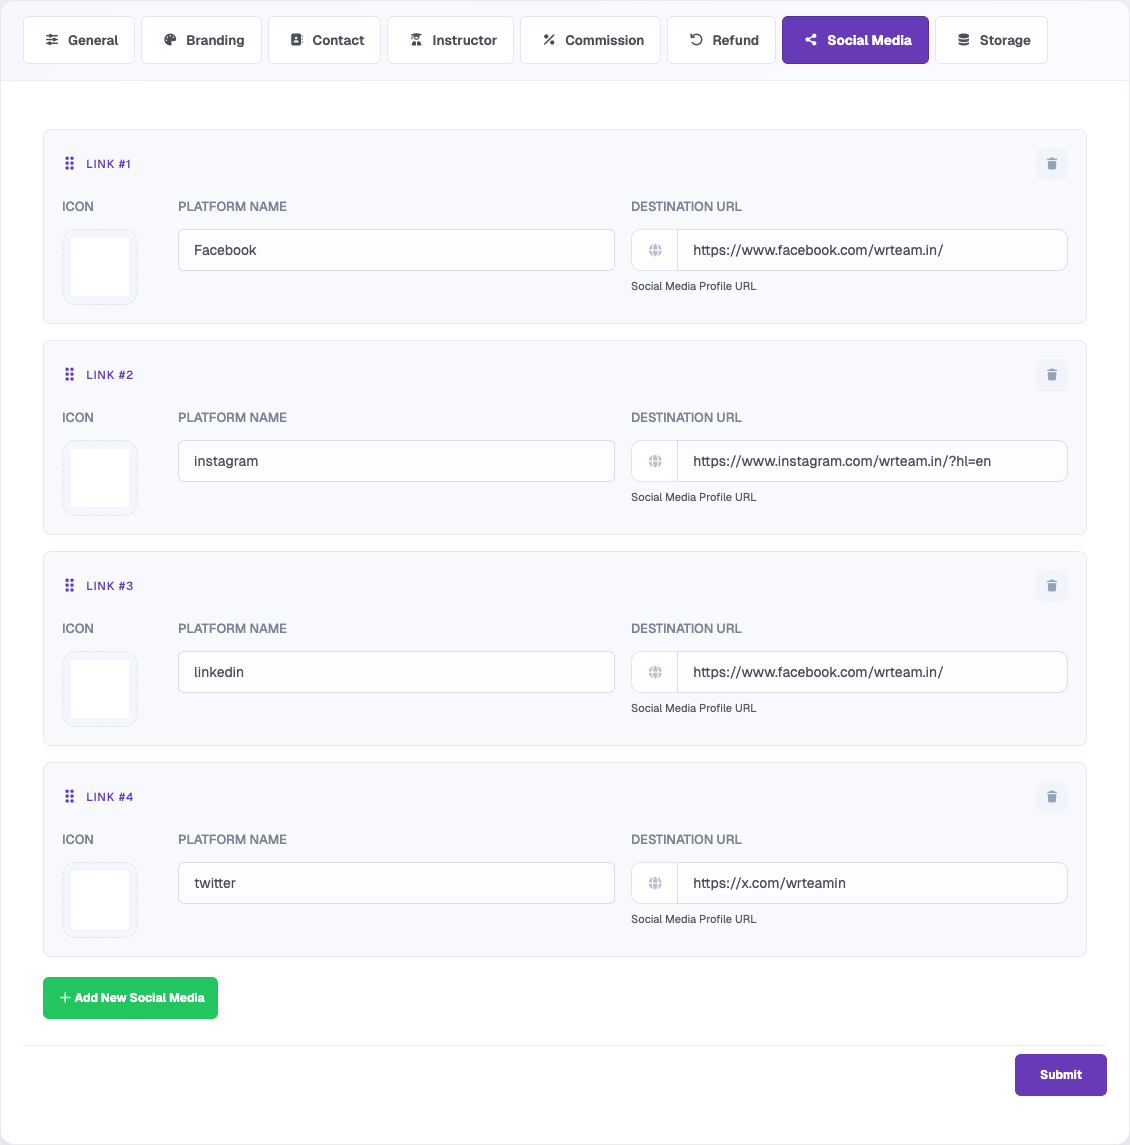
Add Social Media Link and its Icon
- Go to admin panel Settings → System → Social Media
- Click Add New Social Media, then add the icon, platform name and destination URL.
- Click Submit.