Firebase Integration for Web
Integrate Firebase with your eBroker web application to enable features like authentication, real-time data, and more. This guide walks you through the setup process.
If you have already configured Firebase for the eBroker Mobile App using the same project, you can skip Step 1 and proceed directly to Step 2 (Add Web App to Project). Ensure you use the same Firebase project for both web and app for seamless integration.
Step 1: Create a Firebase Project
If you don't already have a Firebase project for eBroker:
-
Navigate to Firebase Console: Go to https://console.firebase.google.com/.
-
Add Project: Click on "Add project".
-
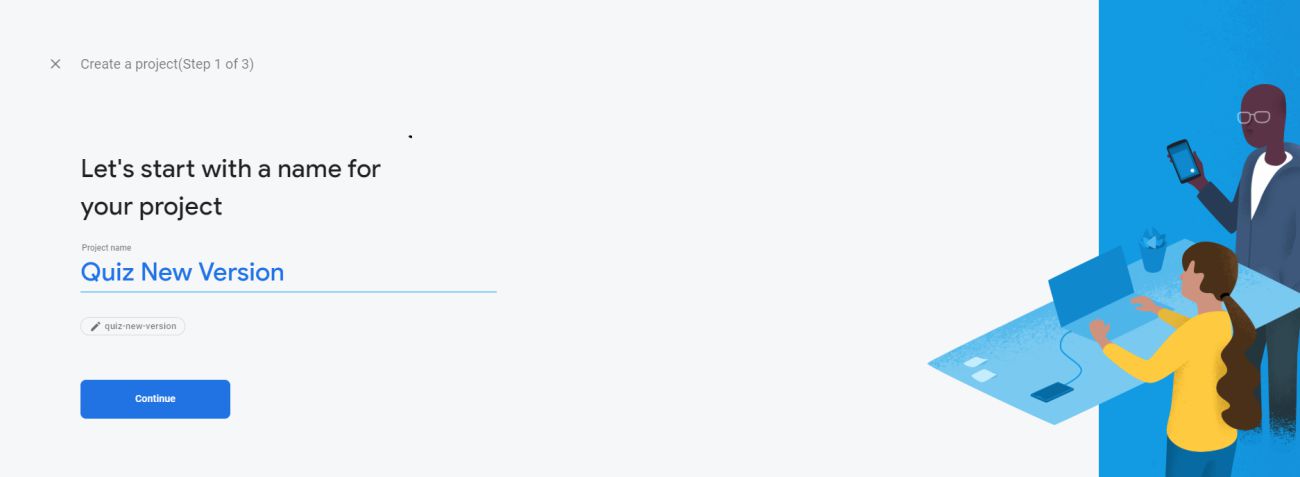
Project Name: Enter a suitable name (e.g., "eBroker Platform").
-
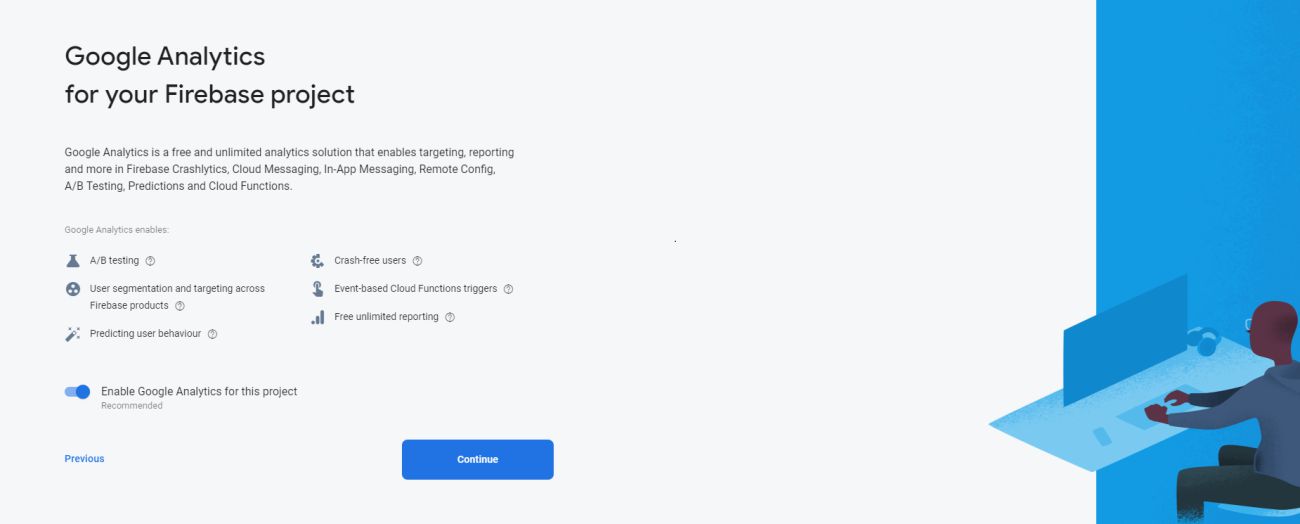
Google Analytics (Optional): Decide whether to enable Google Analytics for this project.
-
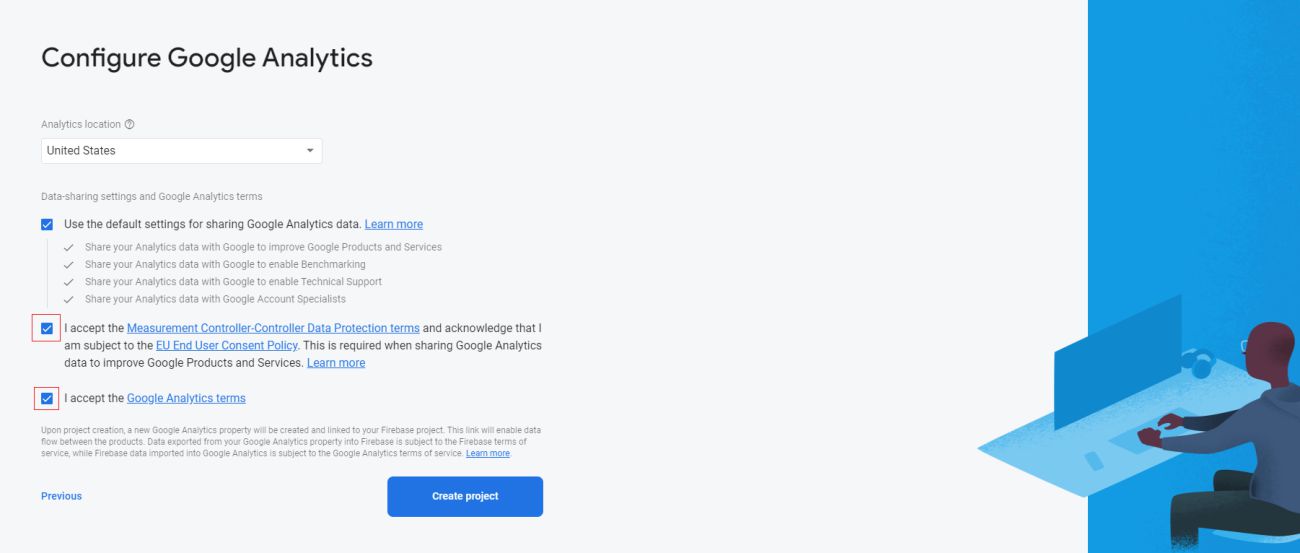
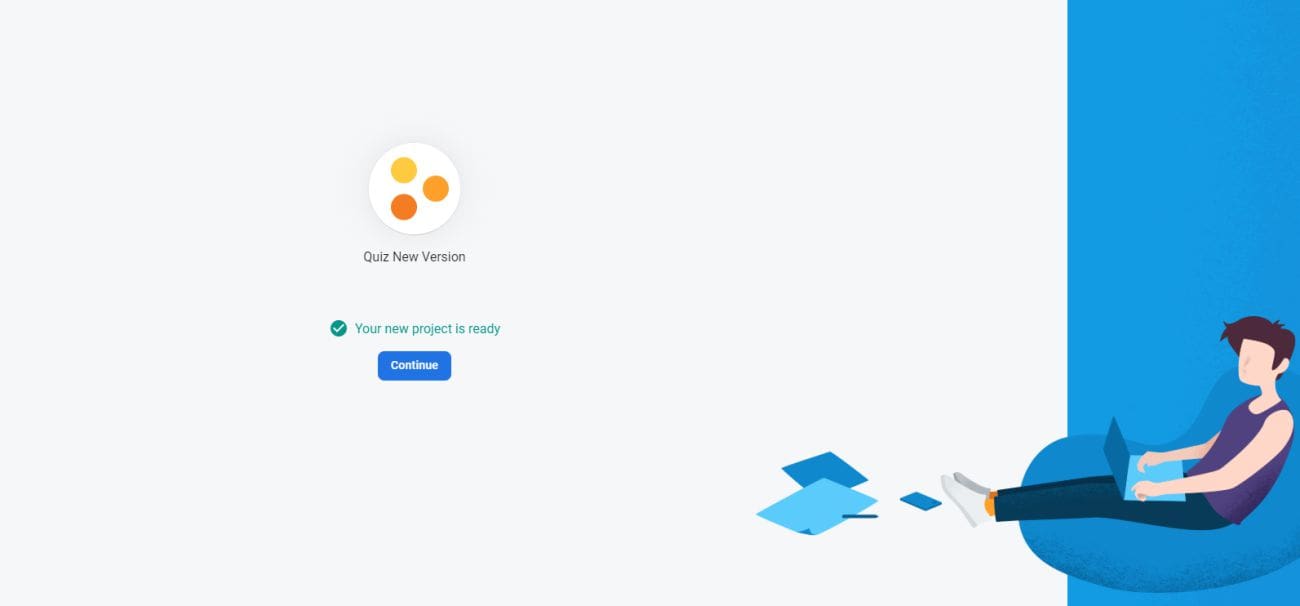
Create: Click "Create project" and wait for it to provision.
Screenshots showing the project creation flow.
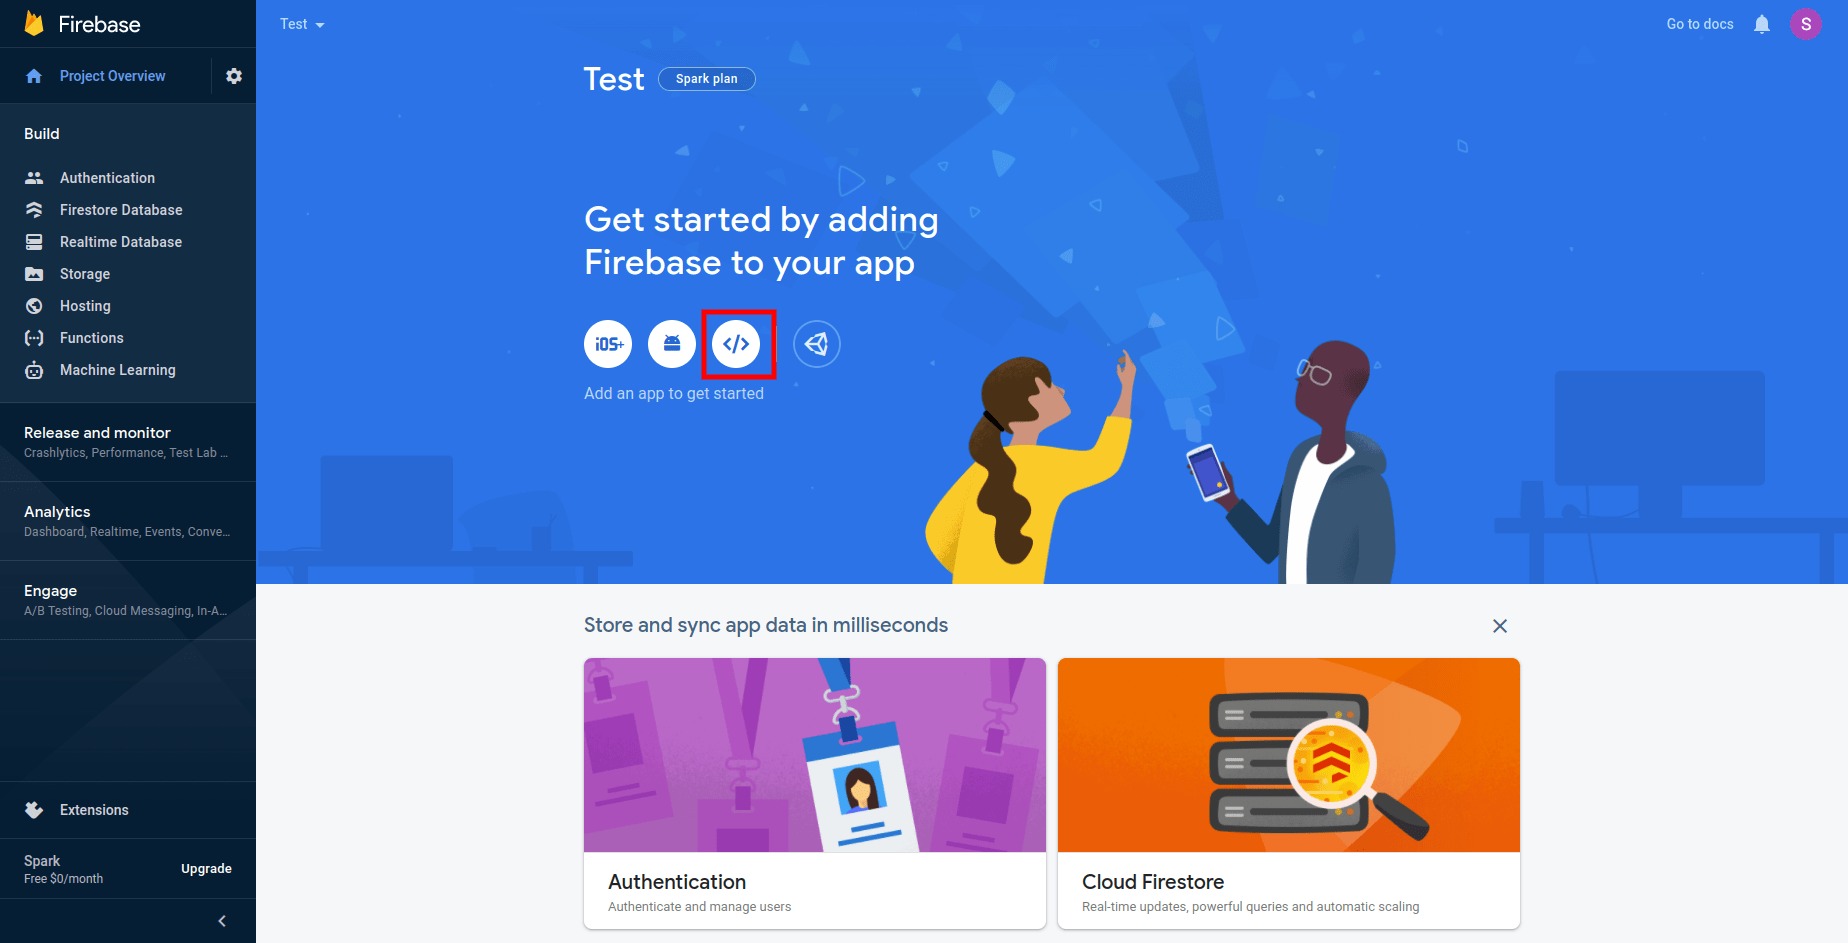
Step 2: Add Web App to Project
Once your project is ready, you need to register your web application:
- Go to Project Settings: In your Firebase project dashboard, click the gear icon next to "Project Overview" and select "Project settings".
- Add App: Scroll down to the "Your apps" section and click the Web icon (
</>).
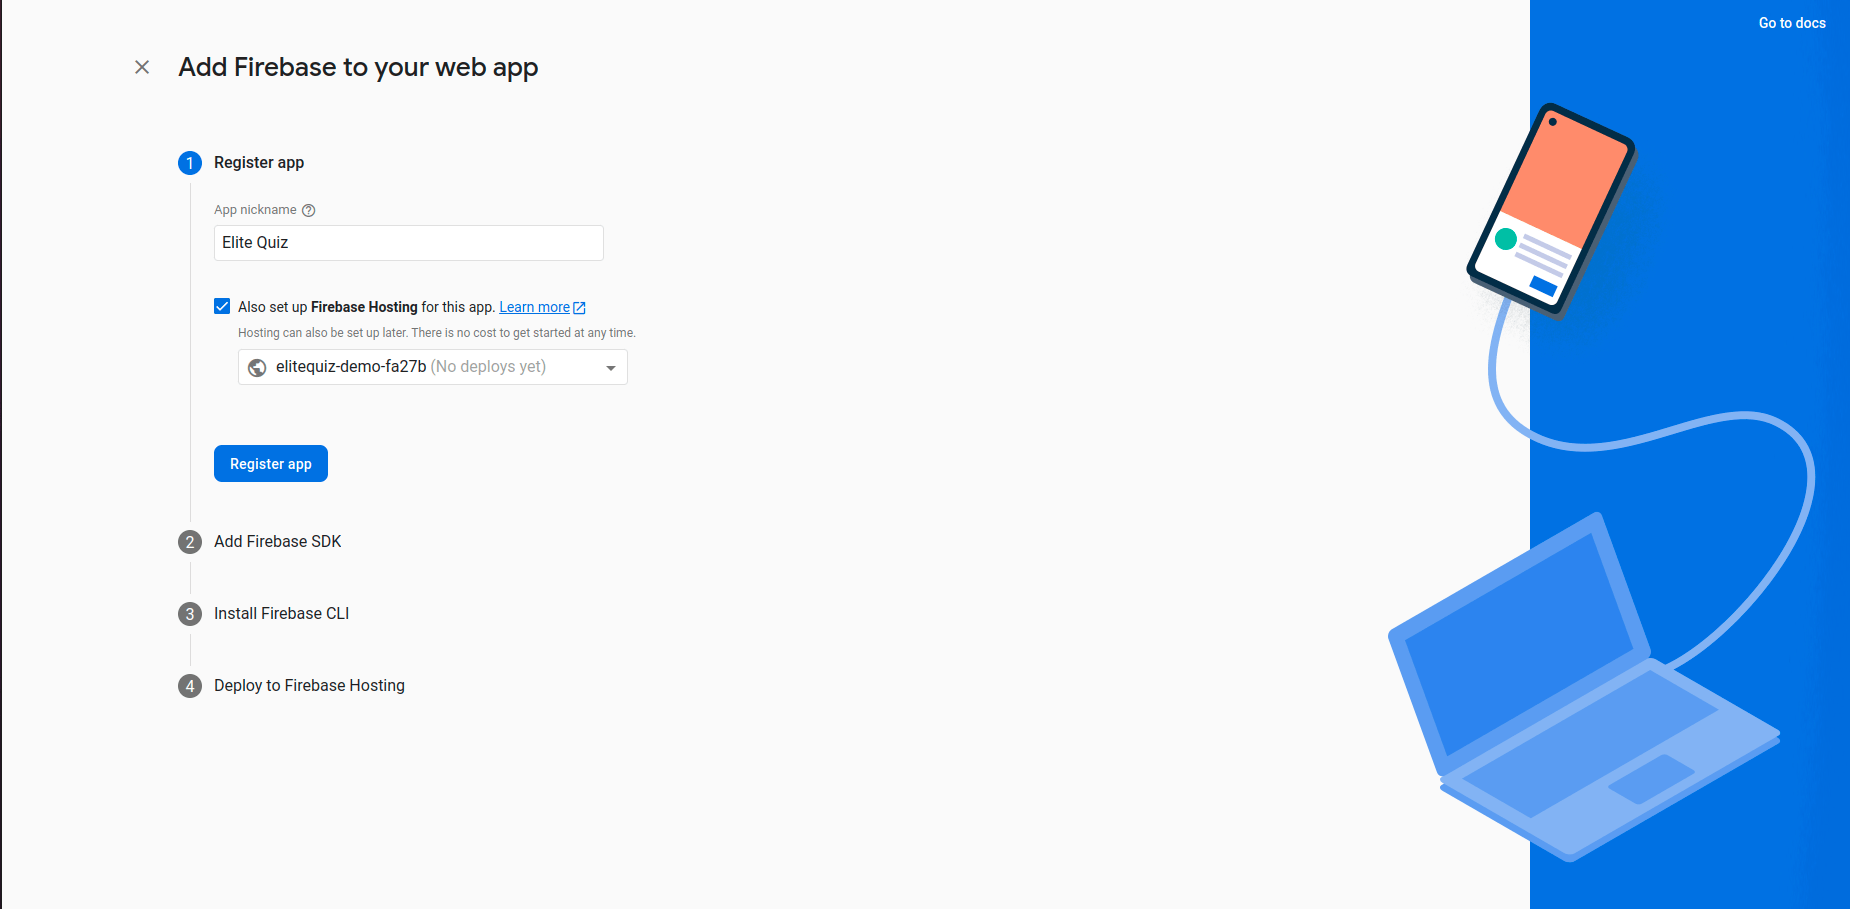
- Register App:
- Enter an "App nickname" (e.g., "eBroker Web").
- Optional: Set up Firebase Hosting if you plan to deploy directly through Firebase.
- Click "Register app".
Step 3: Configure Firebase Credentials
After registering, Firebase provides the necessary configuration details. You need to add these to your web application's .env file.
-
Copy Firebase Config: Firebase will display the configuration object (SDK setup). Copy the values for
apiKey,authDomain,projectId,storageBucket,messagingSenderId, andappId.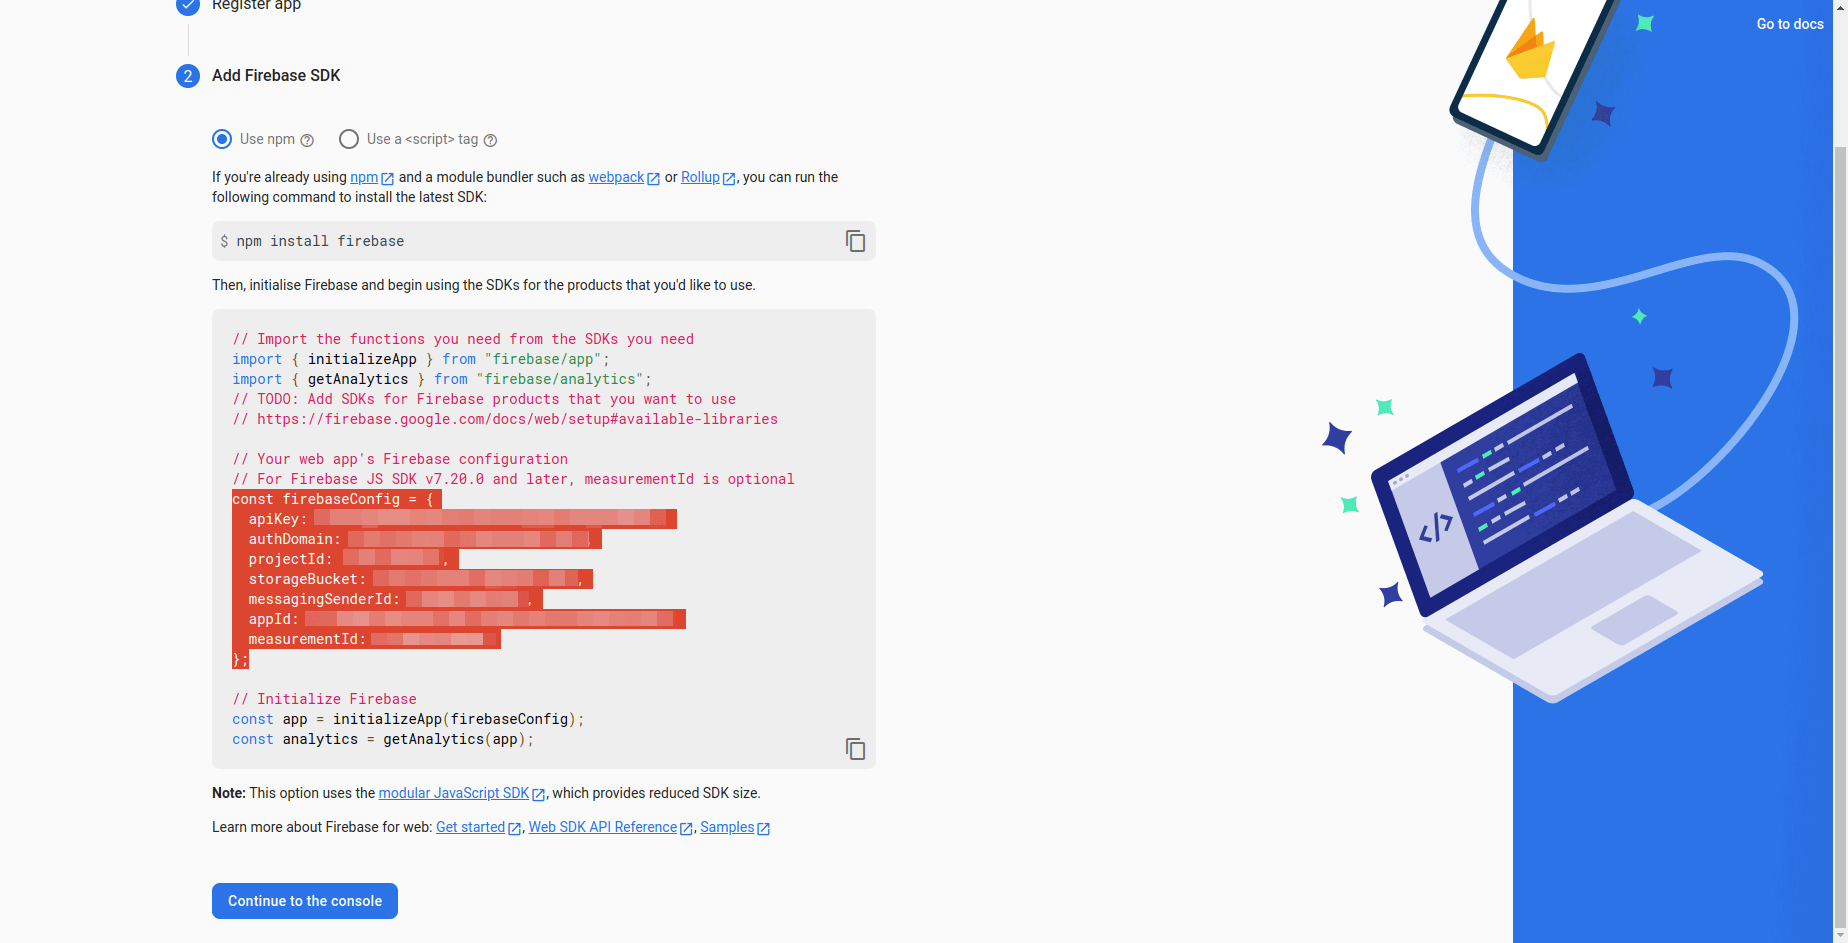
-
Update
.envFile:- Open the
.envfile in the root of your eBroker web project.
- Paste the corresponding values you copied from the Firebase console.
NEXT_PUBLIC_API_KEY=YOUR_API_KEY
NEXT_PUBLIC_AUTH_DOMAIN=YOUR_AUTH_DOMAIN
NEXT_PUBLIC_PROJECT_ID=YOUR_PROJECT_ID
NEXT_PUBLIC_STORAGE_BUCKET=YOUR_STORAGE_BUCKET
NEXT_PUBLIC_MESSAGING_SENDER_ID=YOUR_MESSAGING_SENDER_ID
NEXT_PUBLIC_APP_ID=YOUR_APP_ID
NEXT_PUBLIC_MEASUREMENT_ID=YOUR_MEASUREMENT_ID # Optional, if available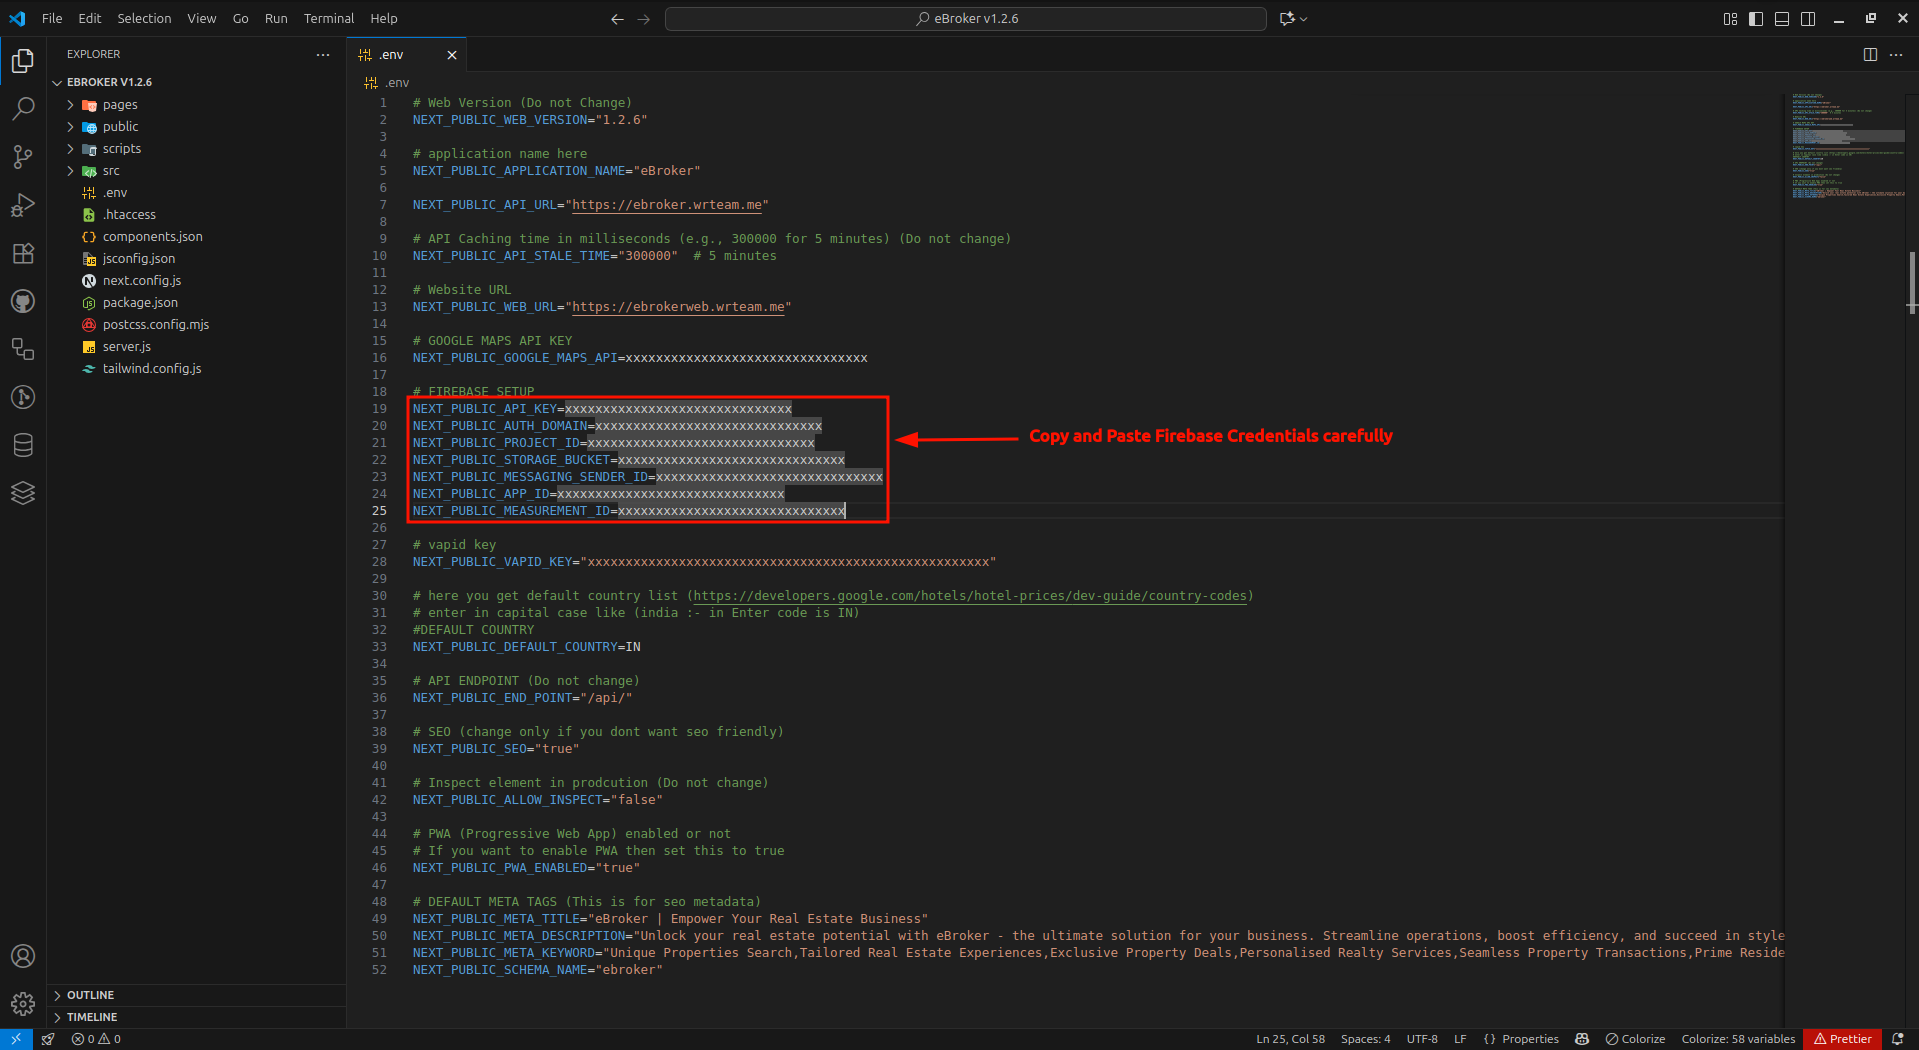
- Open the
Step 4: Add Authorized Domain for Authentication
To allow users to sign in using Firebase Authentication from your website, you must add your website's domain to the list of authorized domains.
- Navigate to Authentication: In the Firebase Console, go to the "Build" section in the left sidebar and click on "Authentication".
- Go to Settings: Click the "Settings" tab.
- Authorized Domains: Select the "Authorized domains" sub-tab.
- Add Domain: Click "Add domain" and enter the domain where your eBroker web app is hosted (e.g.,
yourdomain.com). For local development, you might need to addlocalhost.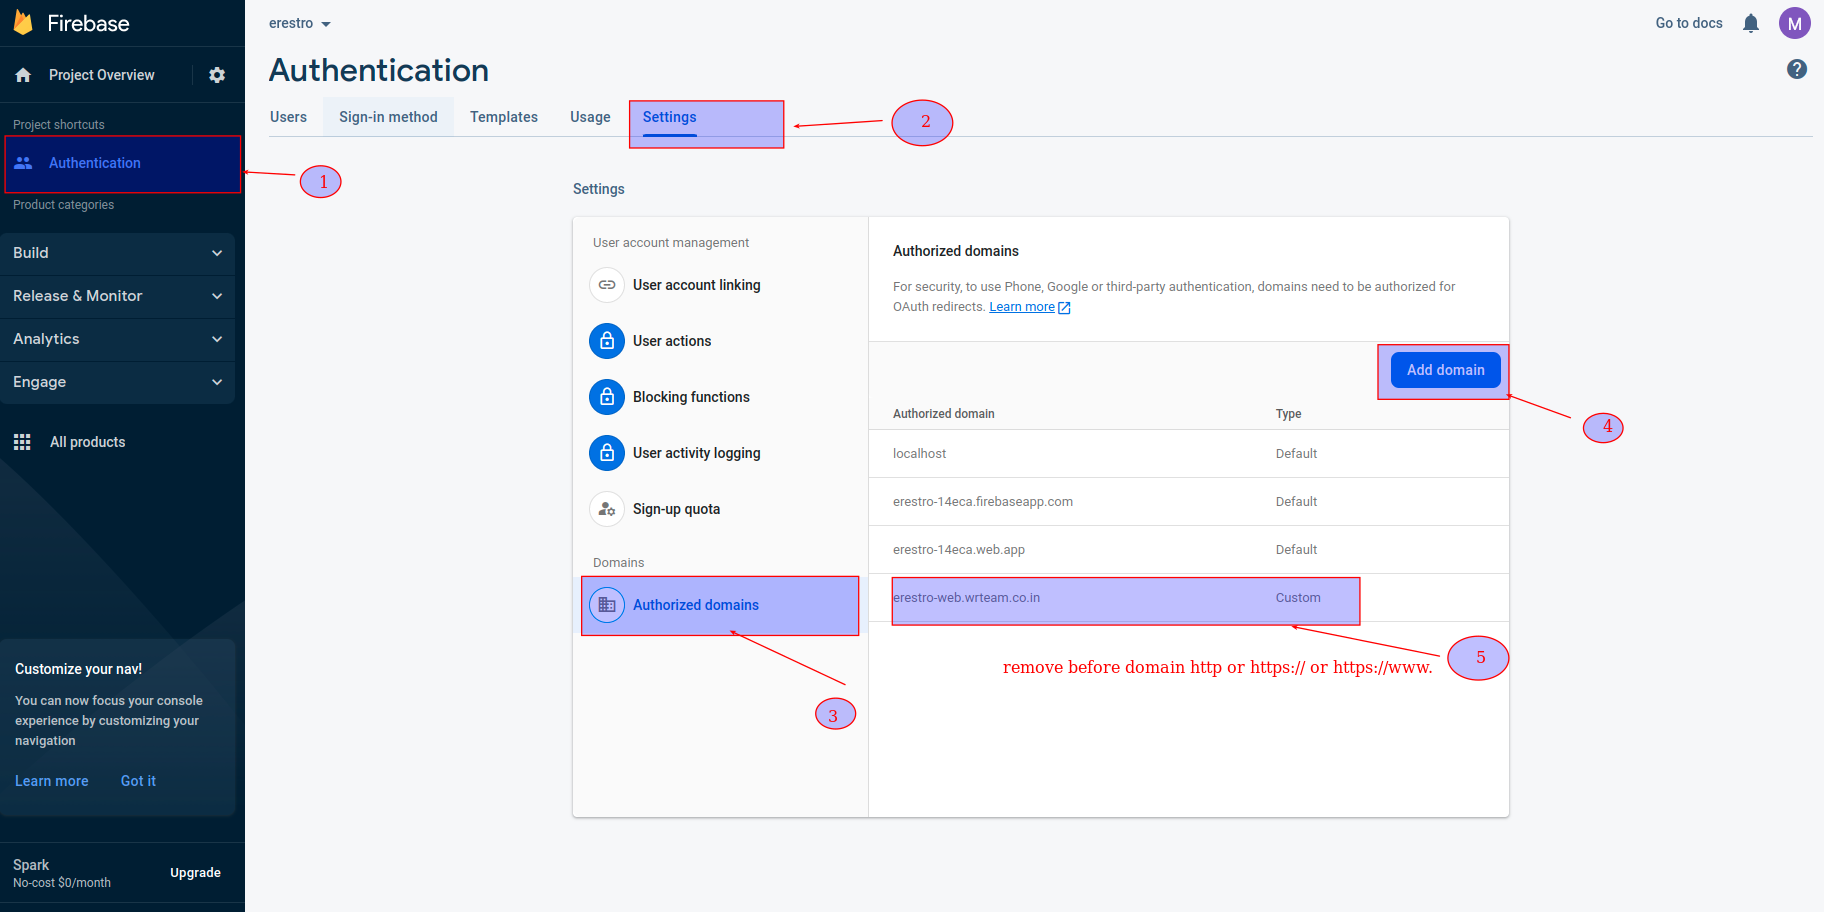
Completion
You have now successfully integrated Firebase with your eBroker web application! Firebase services like Authentication should now function correctly, provided the credentials match between your .env file and the Admin Panel.