In-App Purchase Configuration
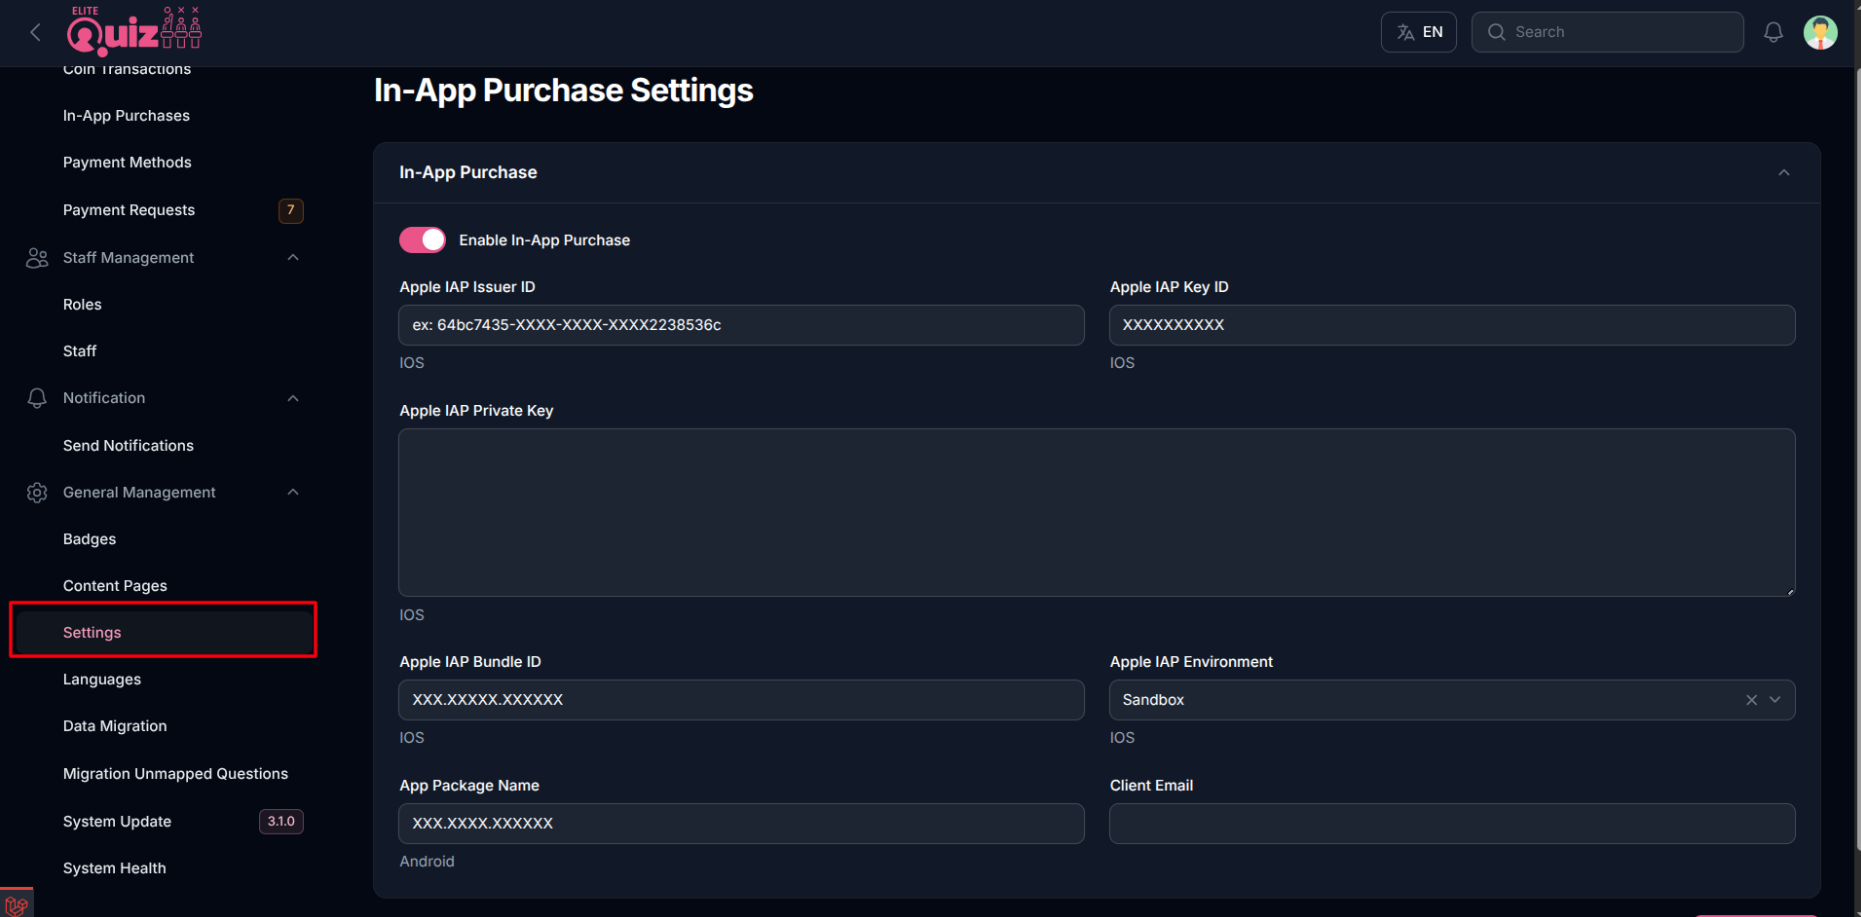
Elite Quiz verifies coin and Remove Ads purchases directly with Apple and Google before crediting them to a user, so the Admin Panel needs valid store credentials configured. This guide covers setting up store credentials in your Admin Panel for both Android (Google Play) and App Store (iOS).
- An active Google Play Developer Account (for Android)
- An active Apple Developer Program membership ($99/year) and Admin access to App Store Connect (for iOS)
Android (Google Play) Configuration
Configure the following settings so the Admin Panel can verify Android purchases:
1. App Package Name
- Go to Admin Panel > Settings > In-App Settings.
- Enter your Android app's package name in the App Package Name field (e.g.,
com.yourcompany.elitequiz). - Ensure this package name matches your Flutter app's
applicationIdinandroid/app/build.gradle.
2. Connect Firebase / Service Account to Play Console
This allows the Admin Panel to verify purchases with Google Play.
-
Go to Admin Panel > Settings > In-App Settings.
-
Copy the Firebase Client Email (shown in the settings).
-
Open Google Play Console.
-
Go to Users and permissions and click Invite new users.
-
Paste the Firebase Client Email you copied.
-
In the Permissions section, click Add App under the App permissions tab.
-
Select your app and click Apply.
-
Select Admin (all permissions) and click Apply.
-
Click Invite user.
Watch the video guide:
⏱️ Important: Wait Time Required
Google Play needs time to process these permission changes. This is normal.
- Minimum wait: 2-4 hours before testing Android purchases.
App Store (iOS) Configuration
Configure the following items so the Admin Panel can verify iOS purchases and receive real-time purchase notifications from Apple.
1. Issuer ID, Key ID, and Private Key (.p8)
Where: App Store Connect → Users and Access → Integrations → App Store Connect API
Link: App Store Connect API
Steps:
- Log in to App Store Connect with an Admin or Account Holder role.
- Go to Users and Access → Integrations → App Store Connect API.
- Click the Keys tab — make sure you're on In-App Purchase keys, not Team Keys.
- Click + to generate a new key.
- Give it a name (e.g.,
IAP Server Key) and select the In-App Purchase key type. - Click Generate.
- Copy the Key ID shown in the table.
- Download the
.p8file — you can only download it once, so save it securely. - Copy the Issuer ID shown at the top of the page.
- Open the
.p8file in a text editor and paste the full contents — including the-----BEGIN PRIVATE KEY-----and-----END PRIVATE KEY-----lines — into the Private Key field in the Admin Panel.
Apple only lets you download the private key file once. If you lose it, you'll need to revoke the key and generate a new one.
2. Bundle ID
Where: App Store Connect → Apps → [Your App] → General → App Information
Links: App Store Connect Apps · Apple Developer Portal – Identifiers
Enter your iOS app's bundle identifier, e.g., com.yourcompany.elitequiz.
3. Environment Selection
Choose which Apple environment the Admin Panel should verify purchases against:
- Sandbox (Testing): Use this during development and testing.
- Production: Switch to this once your app is live on the App Store.
Important Security Notes
- The API key must be of type In-App Purchase — App Store Connect team keys of other types will not work for purchase verification.
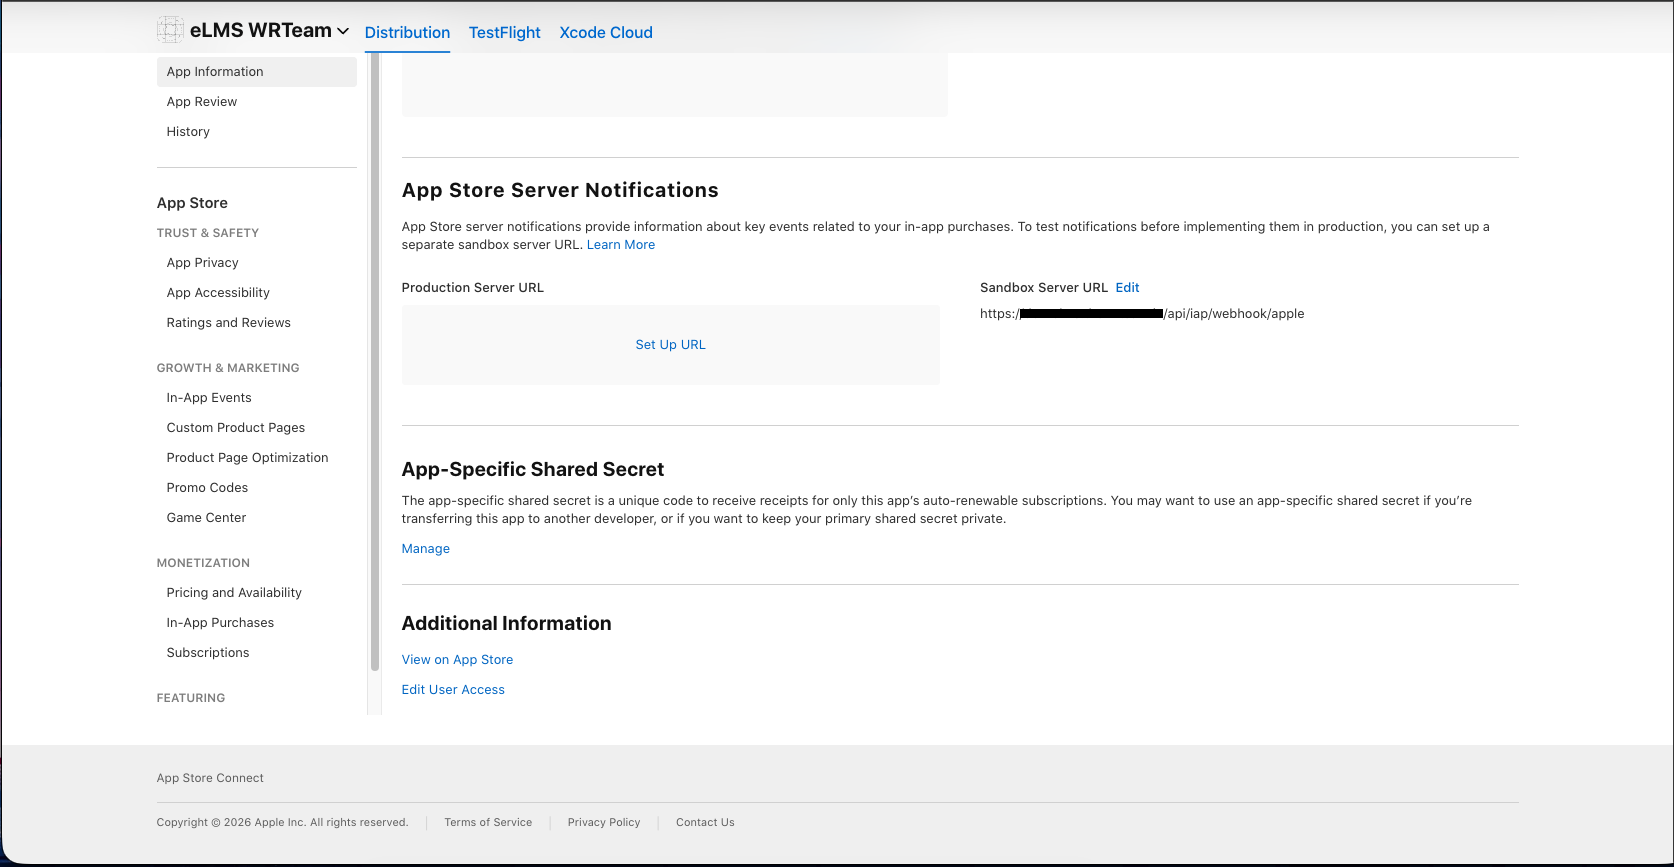
- For production, your server URL must be HTTPS on a public domain —
127.0.0.1and local IP addresses cannot receive store callbacks.