App Configuration
After setting up Flutter and running the project, you'll need to customize the Elite Quiz App to match your requirements.
Changing Package Name
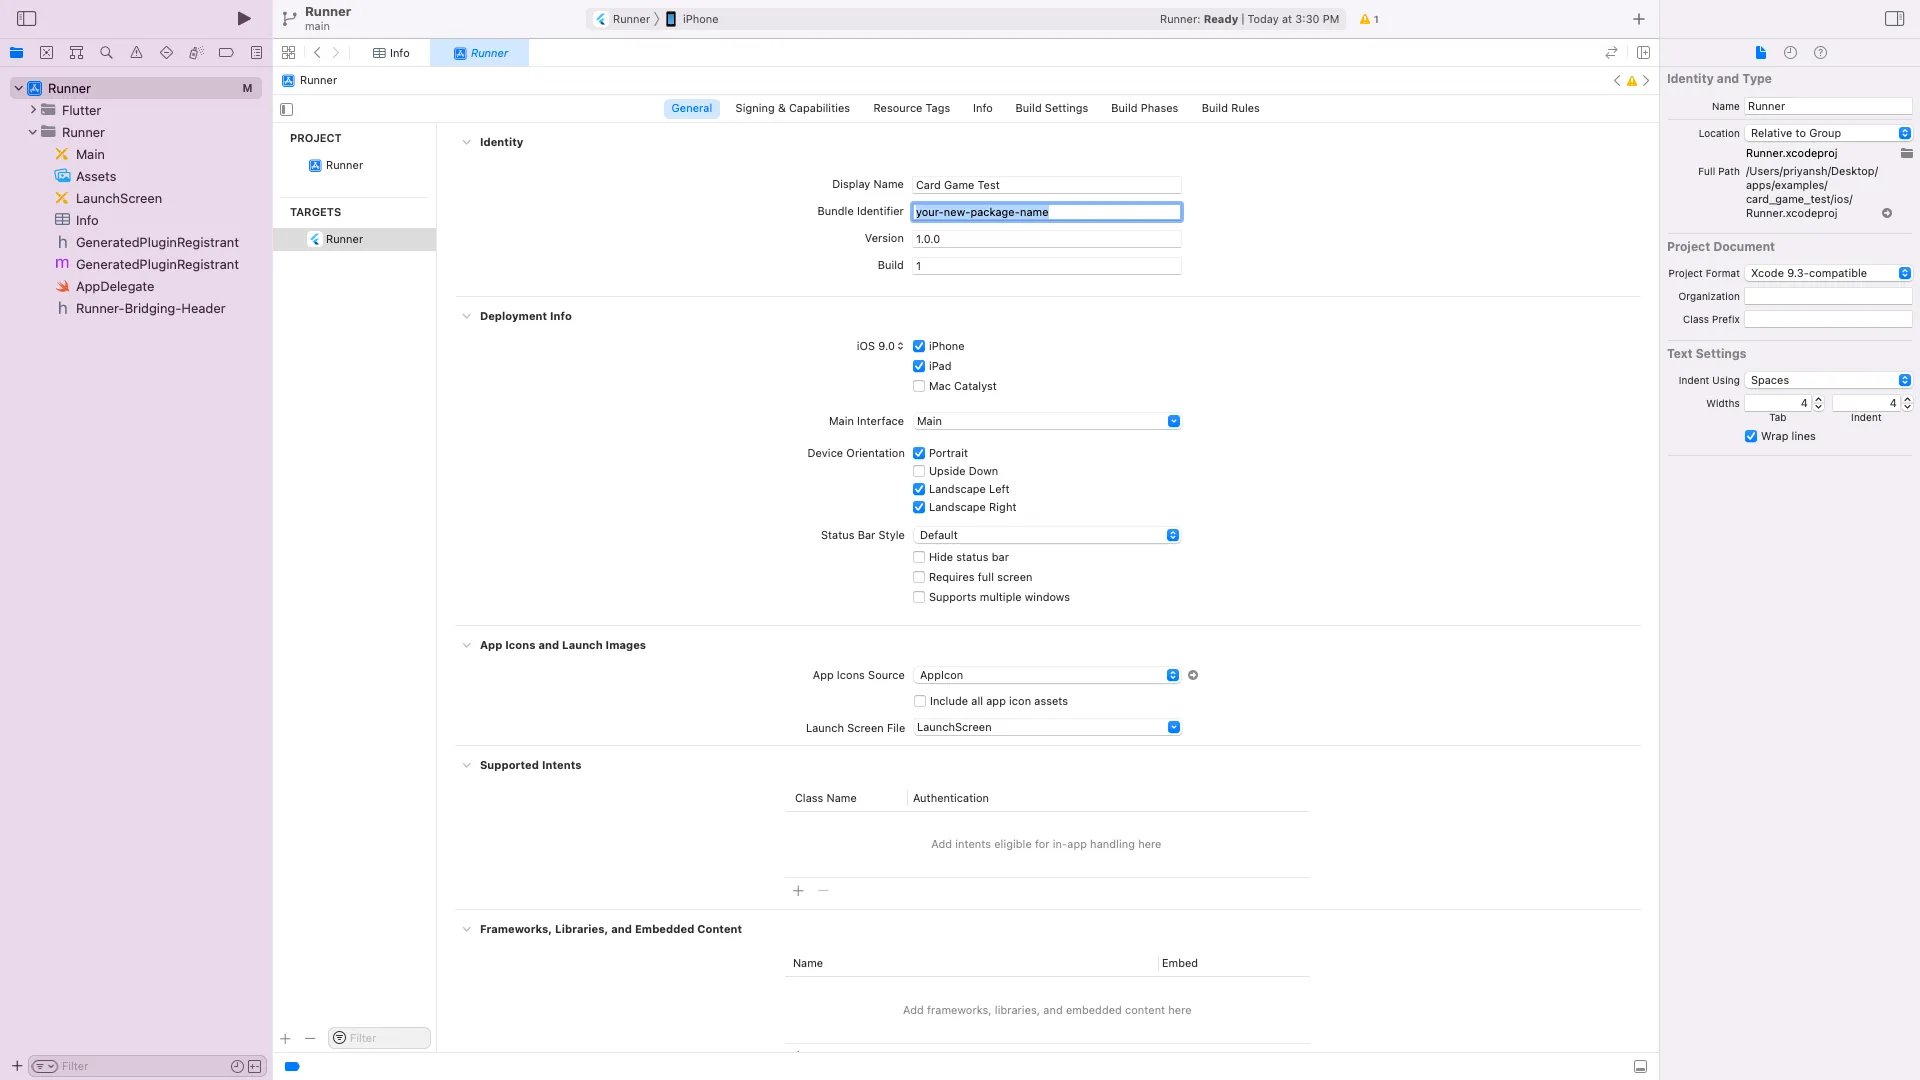
The package name (also known as application ID) uniquely identifies your app on the device and in the Google Play Store. You'll need to change it to your own package name before publishing.
Using Android Studio or IntelliJ IDEA:
- Open the project in Android Studio
- Right-click on the main app package (com.wrteam.elitequiz) in the Project panel
- Select Refactor > Rename
- Select "Rename Package" from the options
- Enter your new package name following the reverse domain name convention (e.g., com.yourcompany.yourappname)
- Click "Refactor" and confirm any prompts
Alternative Method 1:
- Open
android/app/build.gradlefile - Find the
applicationIdproperty - Change its value to your desired package name:
defaultConfig {
    applicationId "com.yourcompany.yourappname"
    // ...
}
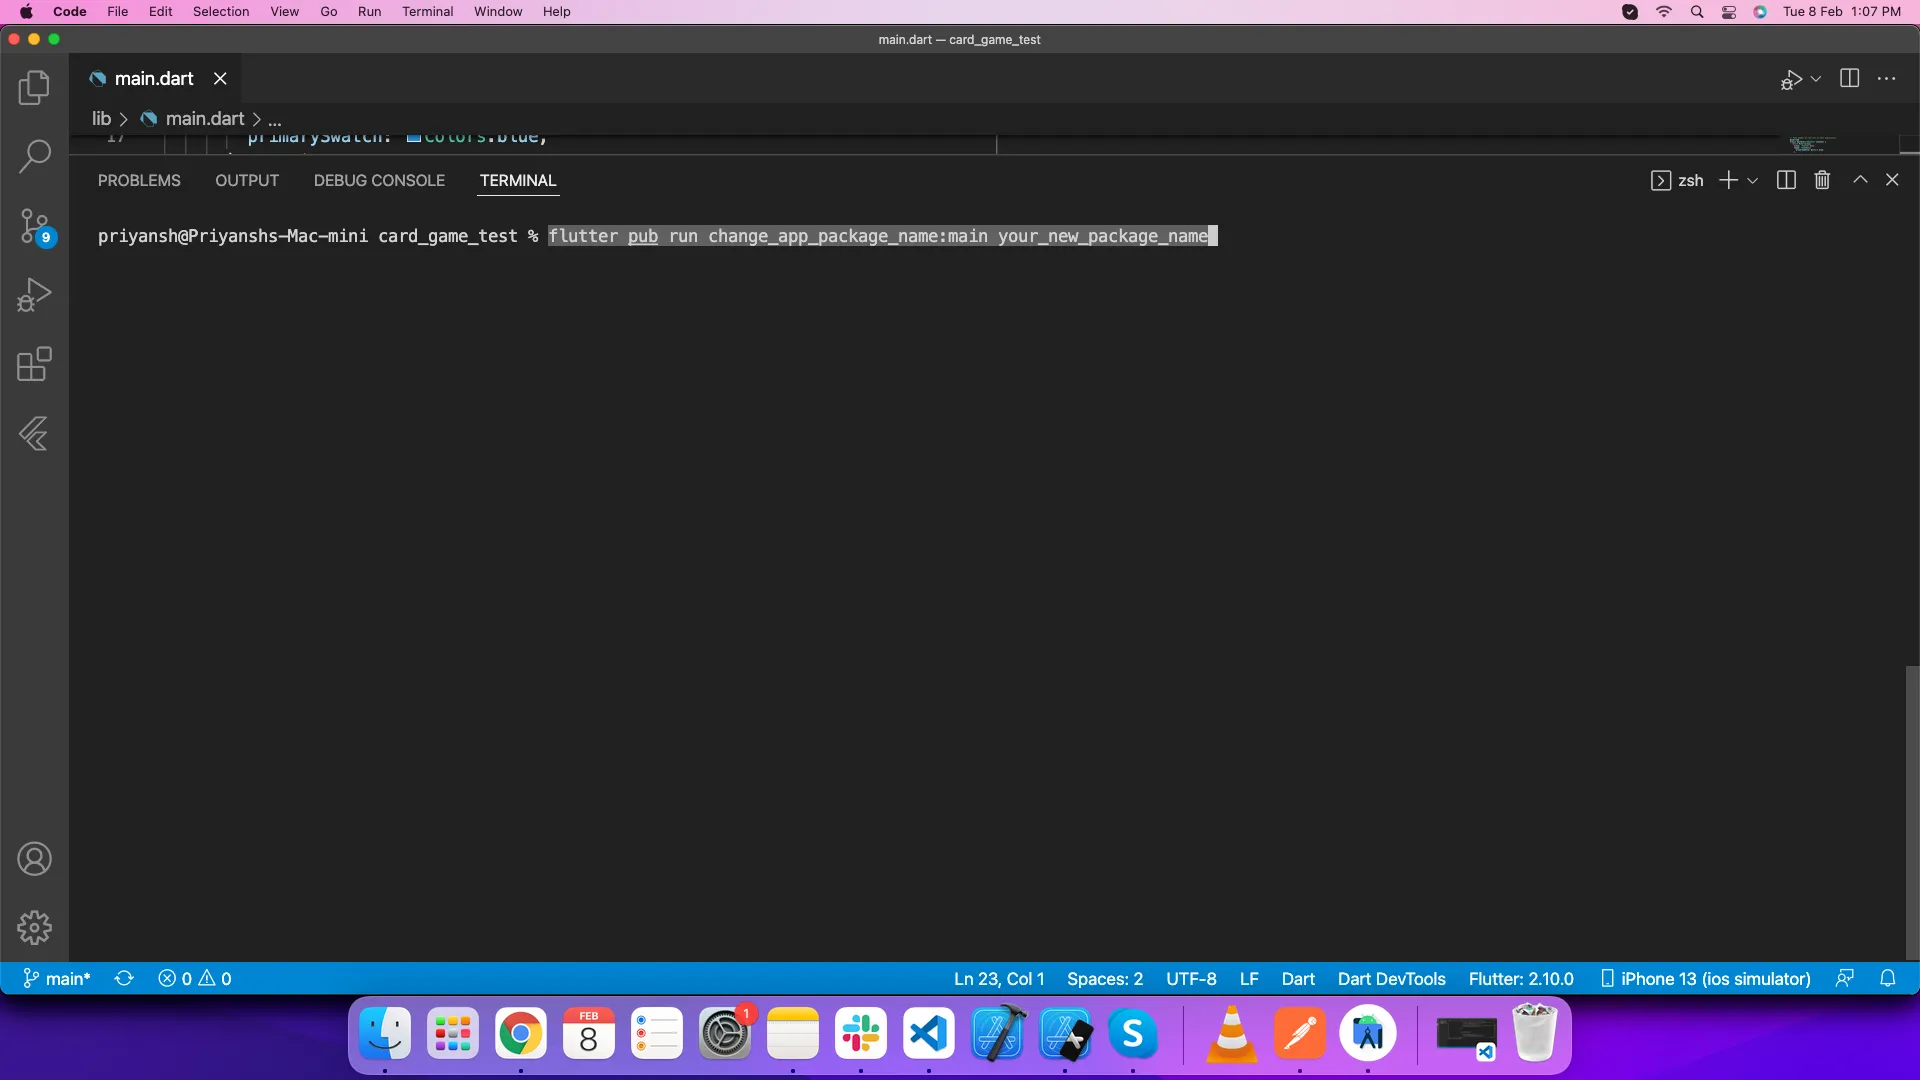
Alternative Method 2 (Manual Replacement):
- Open your project in Android Studio or VS Code
- Use the "Replace in Files" or "Find and Replace" feature
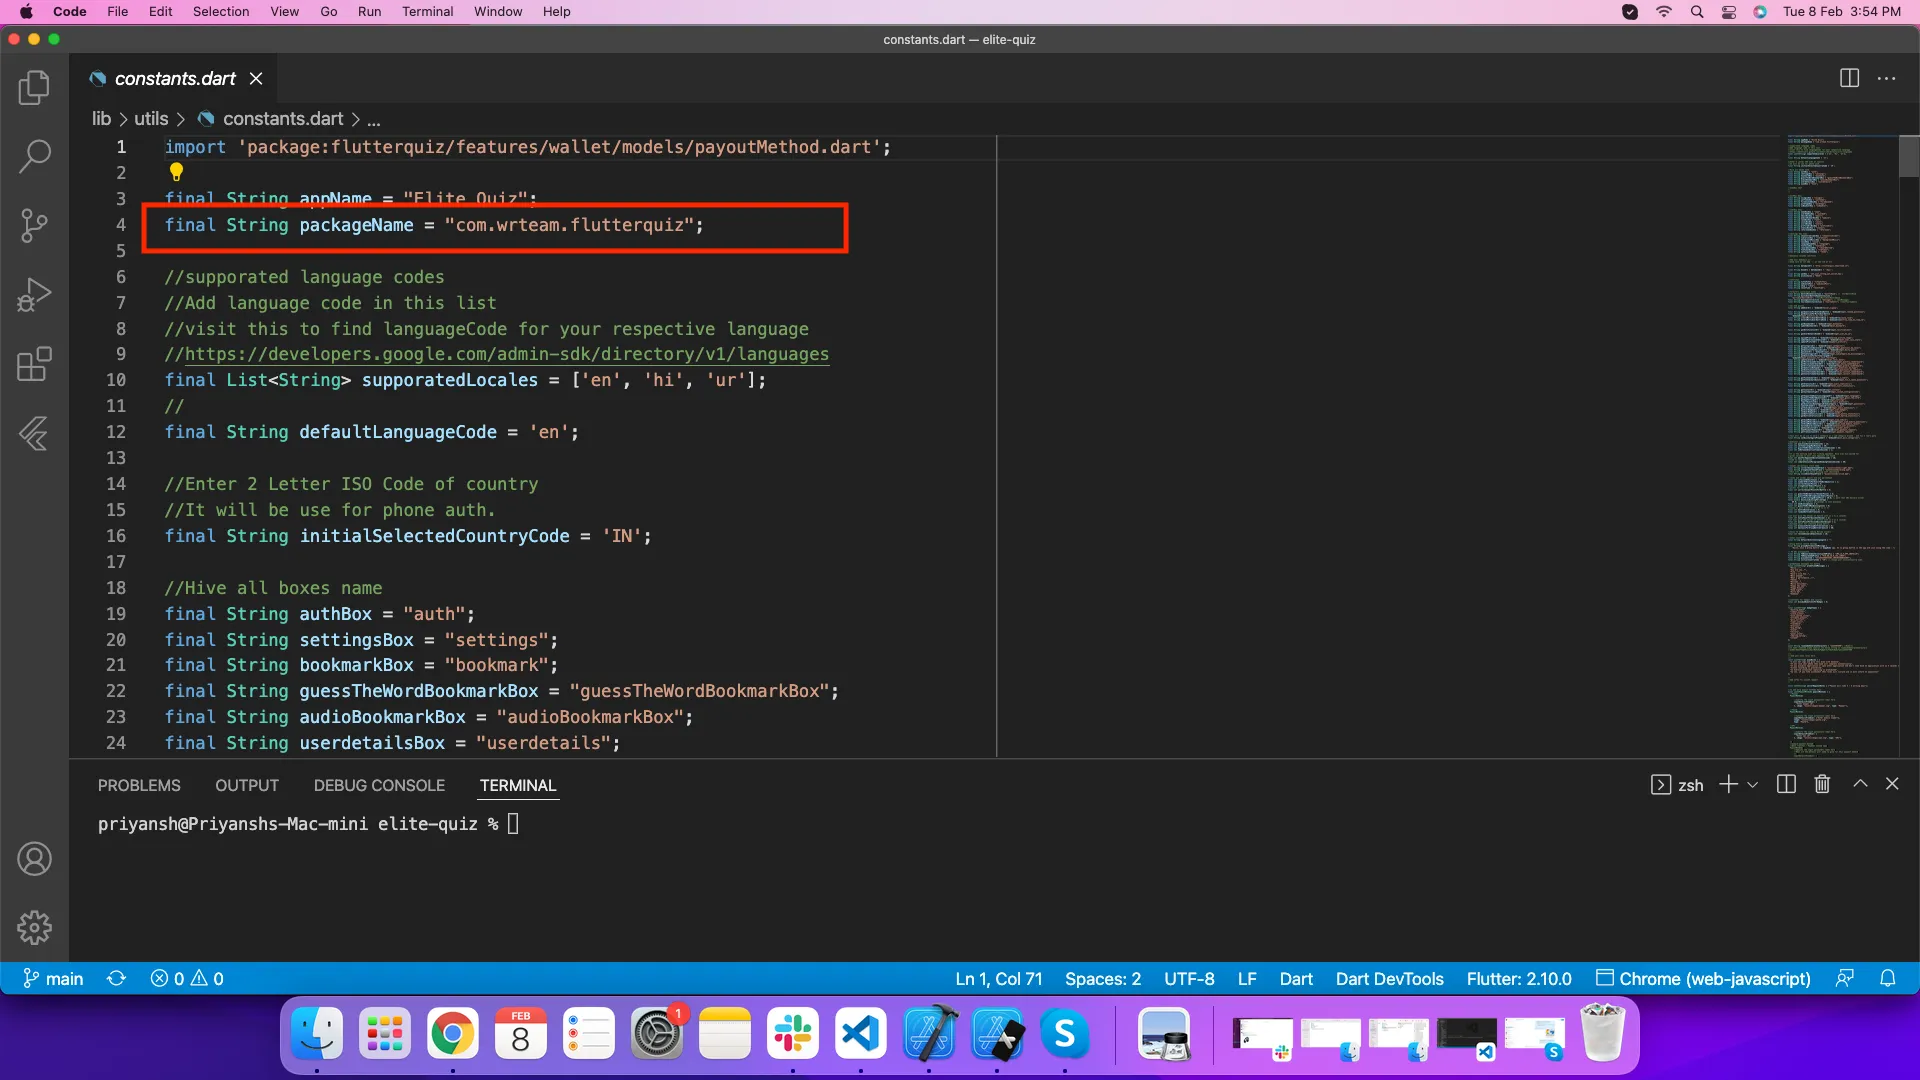
- Find all occurrences of "com.wrteam.elitequiz" and replace with your package name
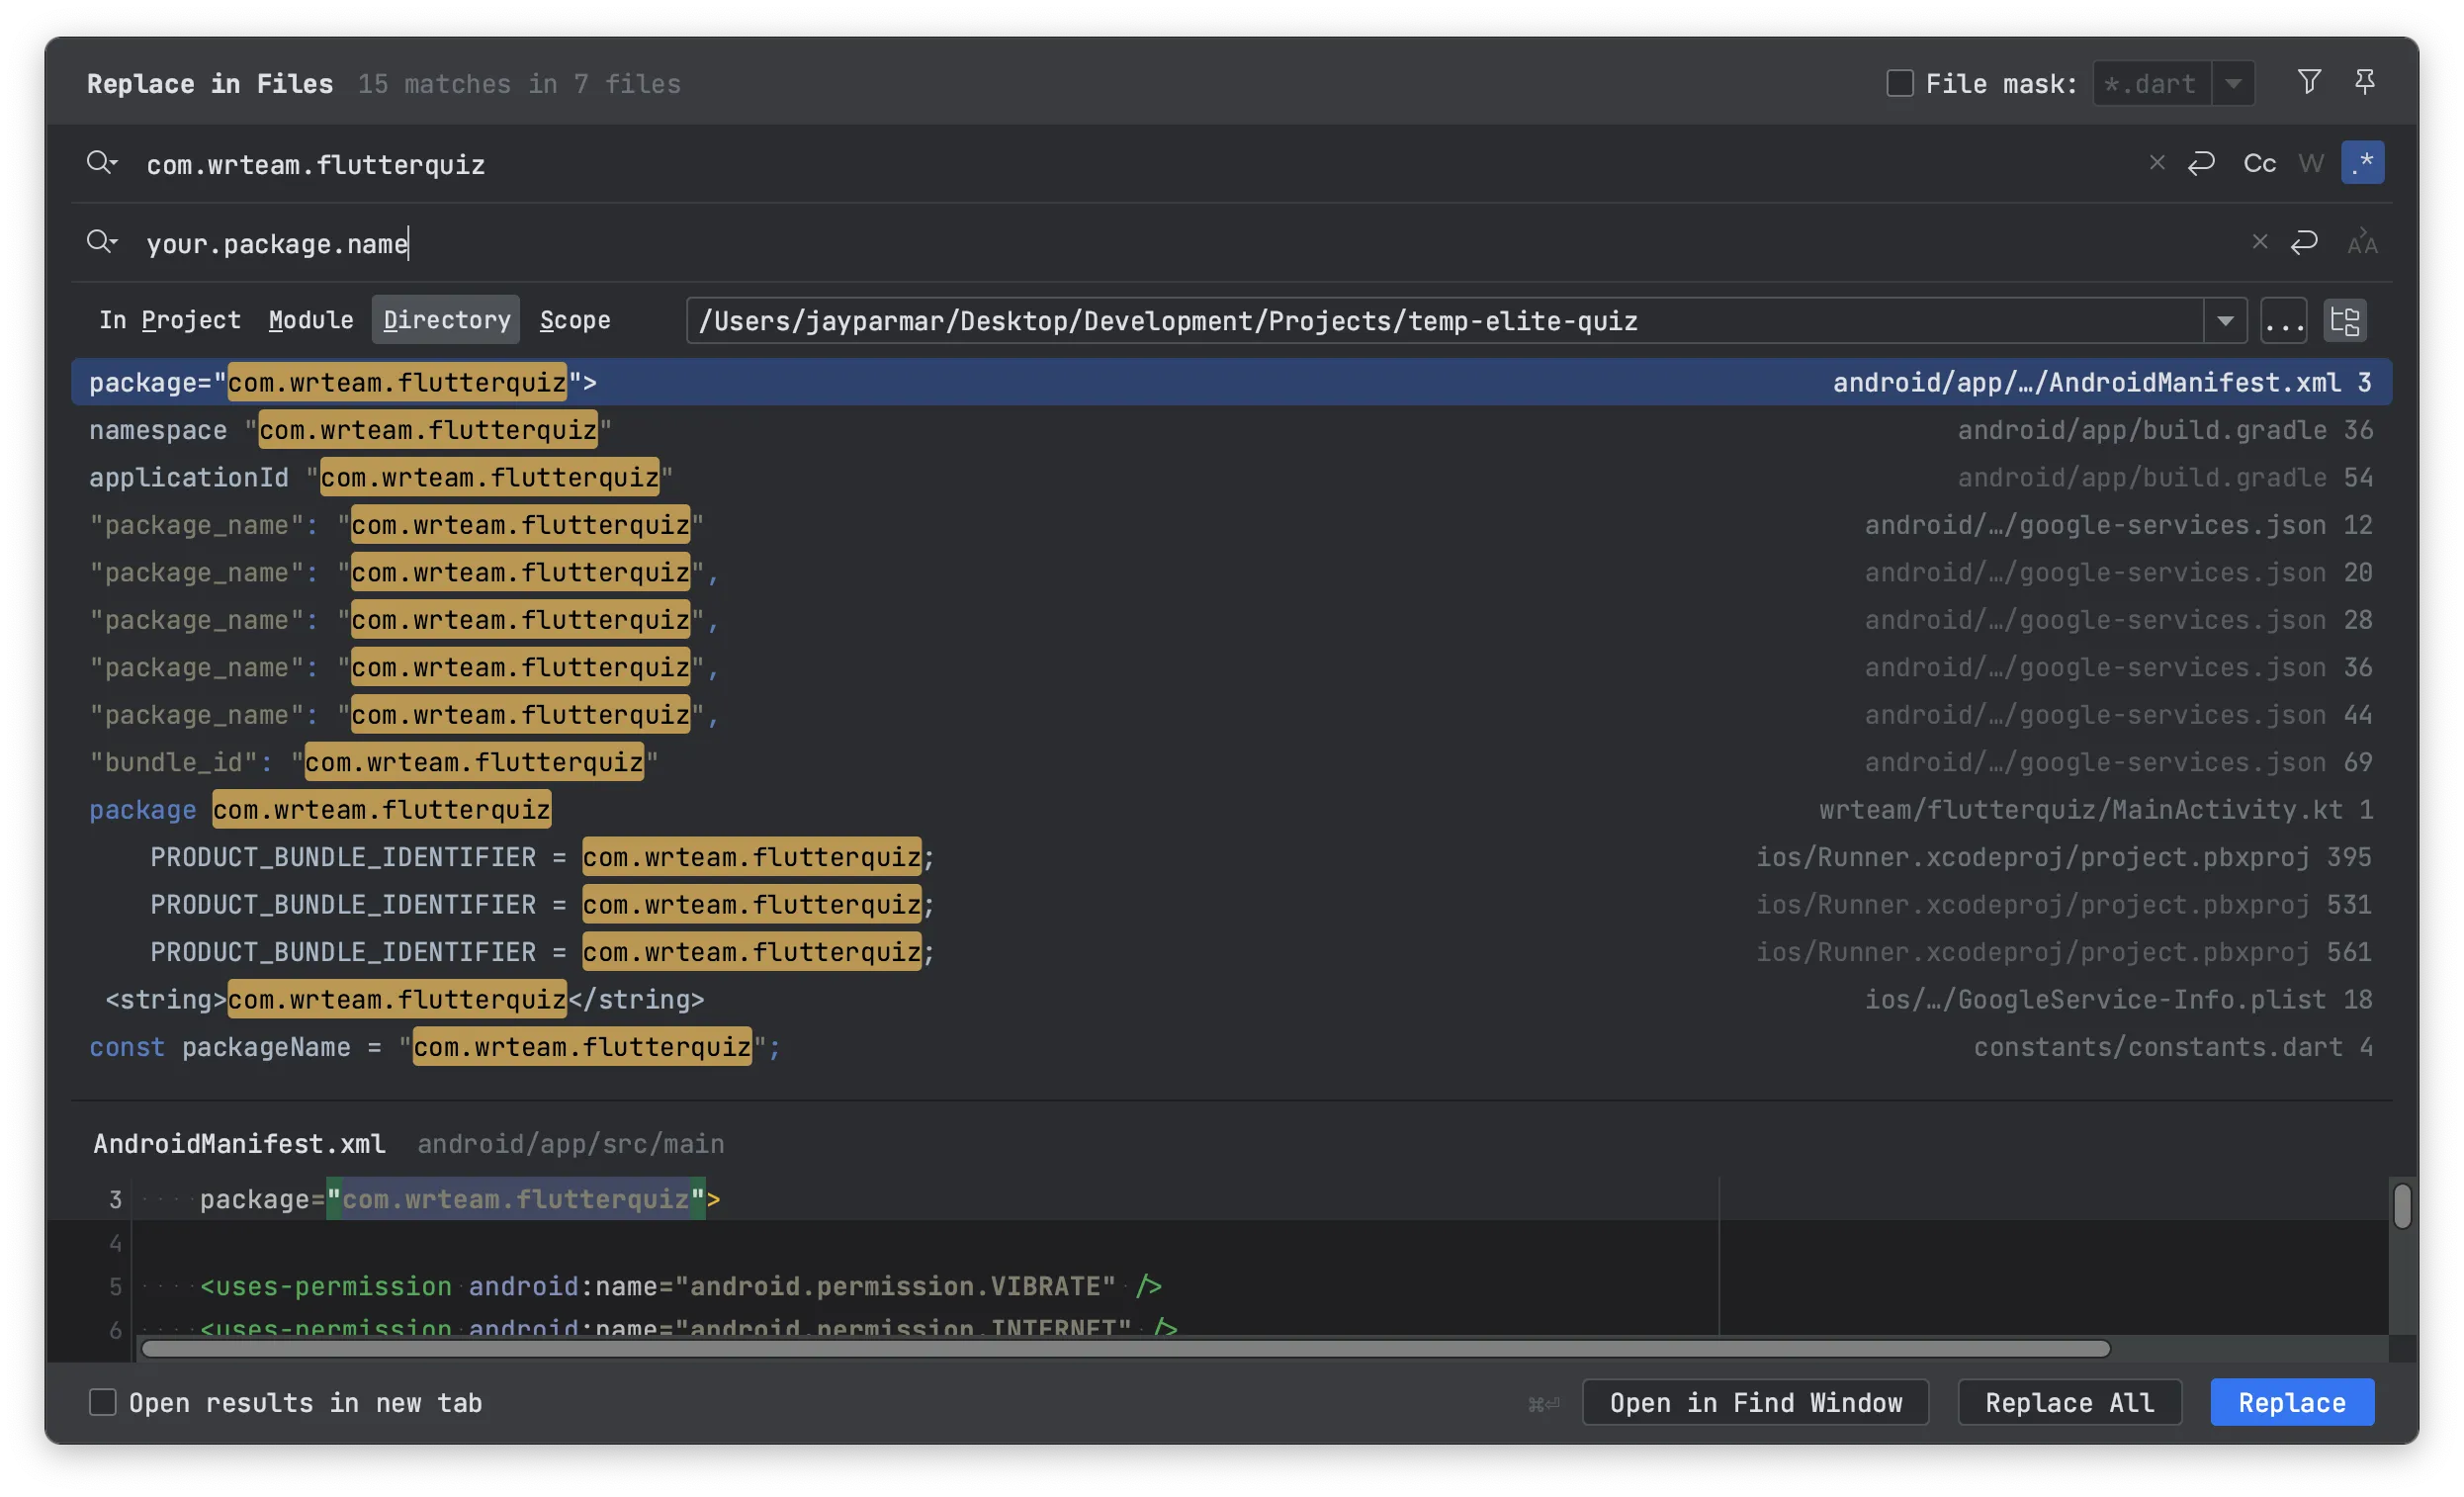
VS Code:

Android Studio:
Changing Application Name
The application name is what users will see on their device under the app icon.
- Open the file
android/app/src/main/AndroidManifest.xml - Find the
android:labelattribute in the application tag - Change its value to your desired app name:
<application
    android:label="Your App Name"
    ...>
- For iOS, open the file
ios/Runner/Info.plist - Find the key
CFBundleNameand change its value:
<key>CFBundleName</key>
<string>Your App Name</string>

Changing App Version
The app version is important for tracking releases and updates.
- Open the file
pubspec.yamlat the root of your project - Find the
versionproperty - Update it to your desired version:
version: 1.0.0+1 # format is version_name+version_code
Where:
- The first part (1.0.0) is the user-visible version name
- The second part (1) is the internal version code used by the Play Store (should be incremented for each release)

Next Steps
After configuring these basic settings, you'll need to:
- Integrate Firebase services
- Connect to your Admin Panel
- Customize the app appearance
- Configure ads and in-app purchases
- Test your app thoroughly
- Generate a release build
These topics are covered in the following sections of the documentation.