Firebase configuration
This page explains how to create a Firebase project and connect it to your eDemand admin panel.
Prerequisites
- Google account: You must be able to log in to Firebase with a Google account.
- eDemand admin access: You need access to the eDemand admin panel
Settings→Firebase Settings.
Step 1: Create your Firebase project
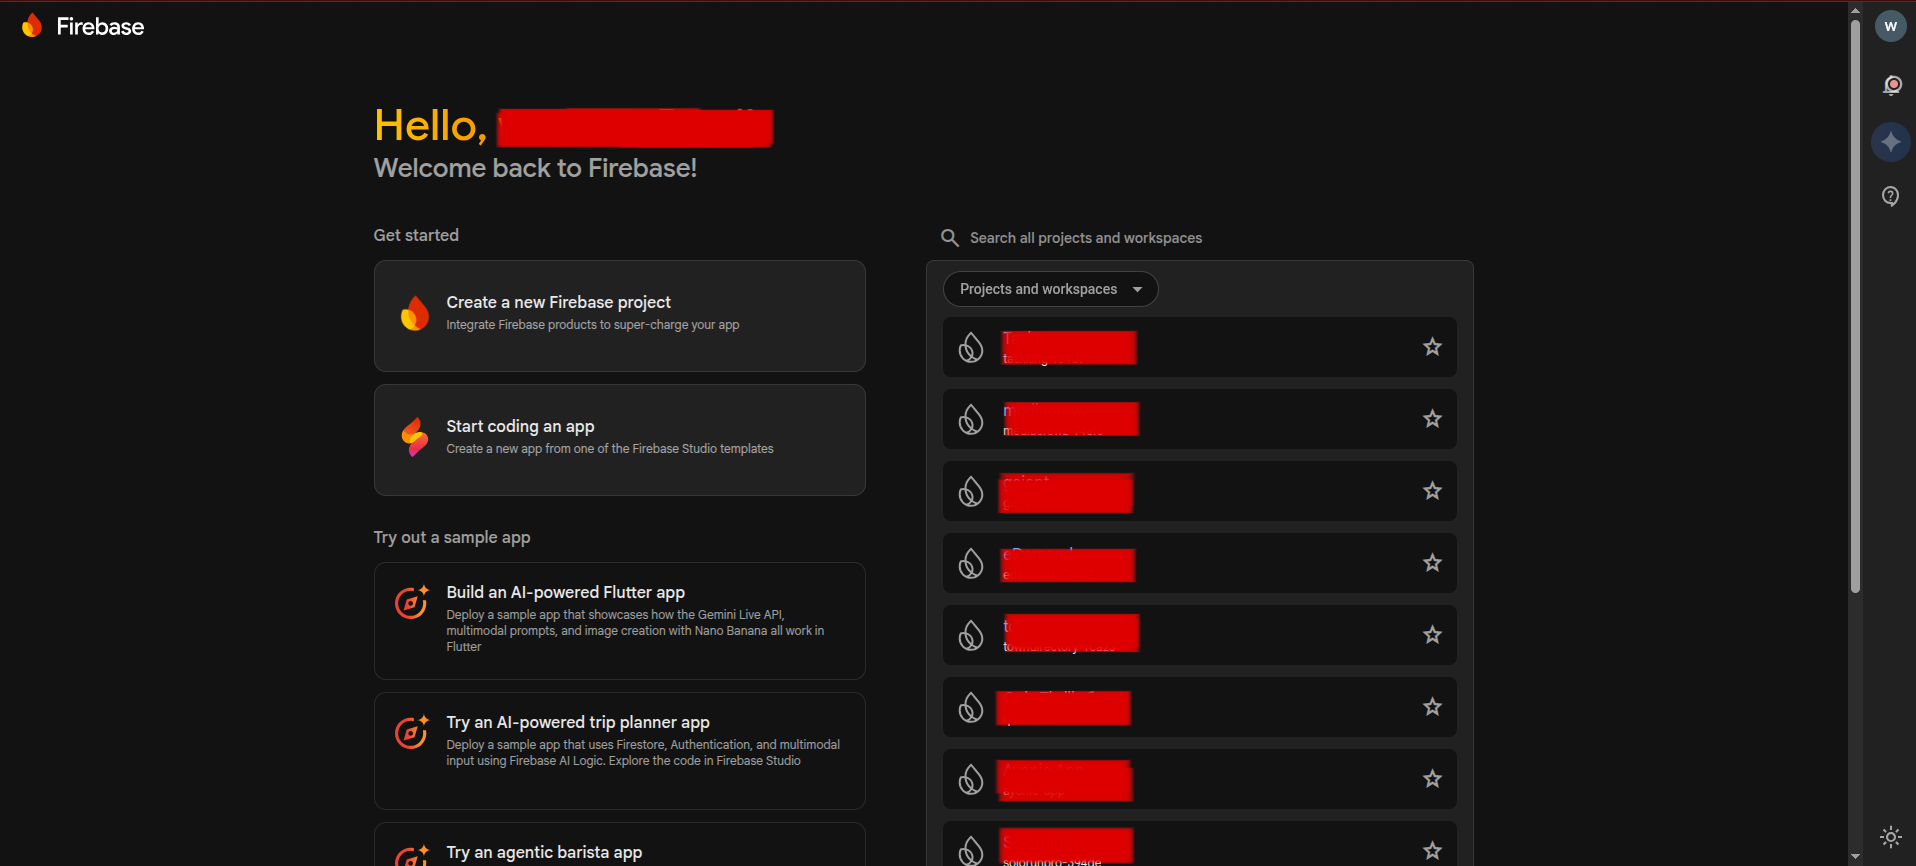
1.1 Sign in to Firebase Console
Go to the Firebase Console and sign in with your Google account.
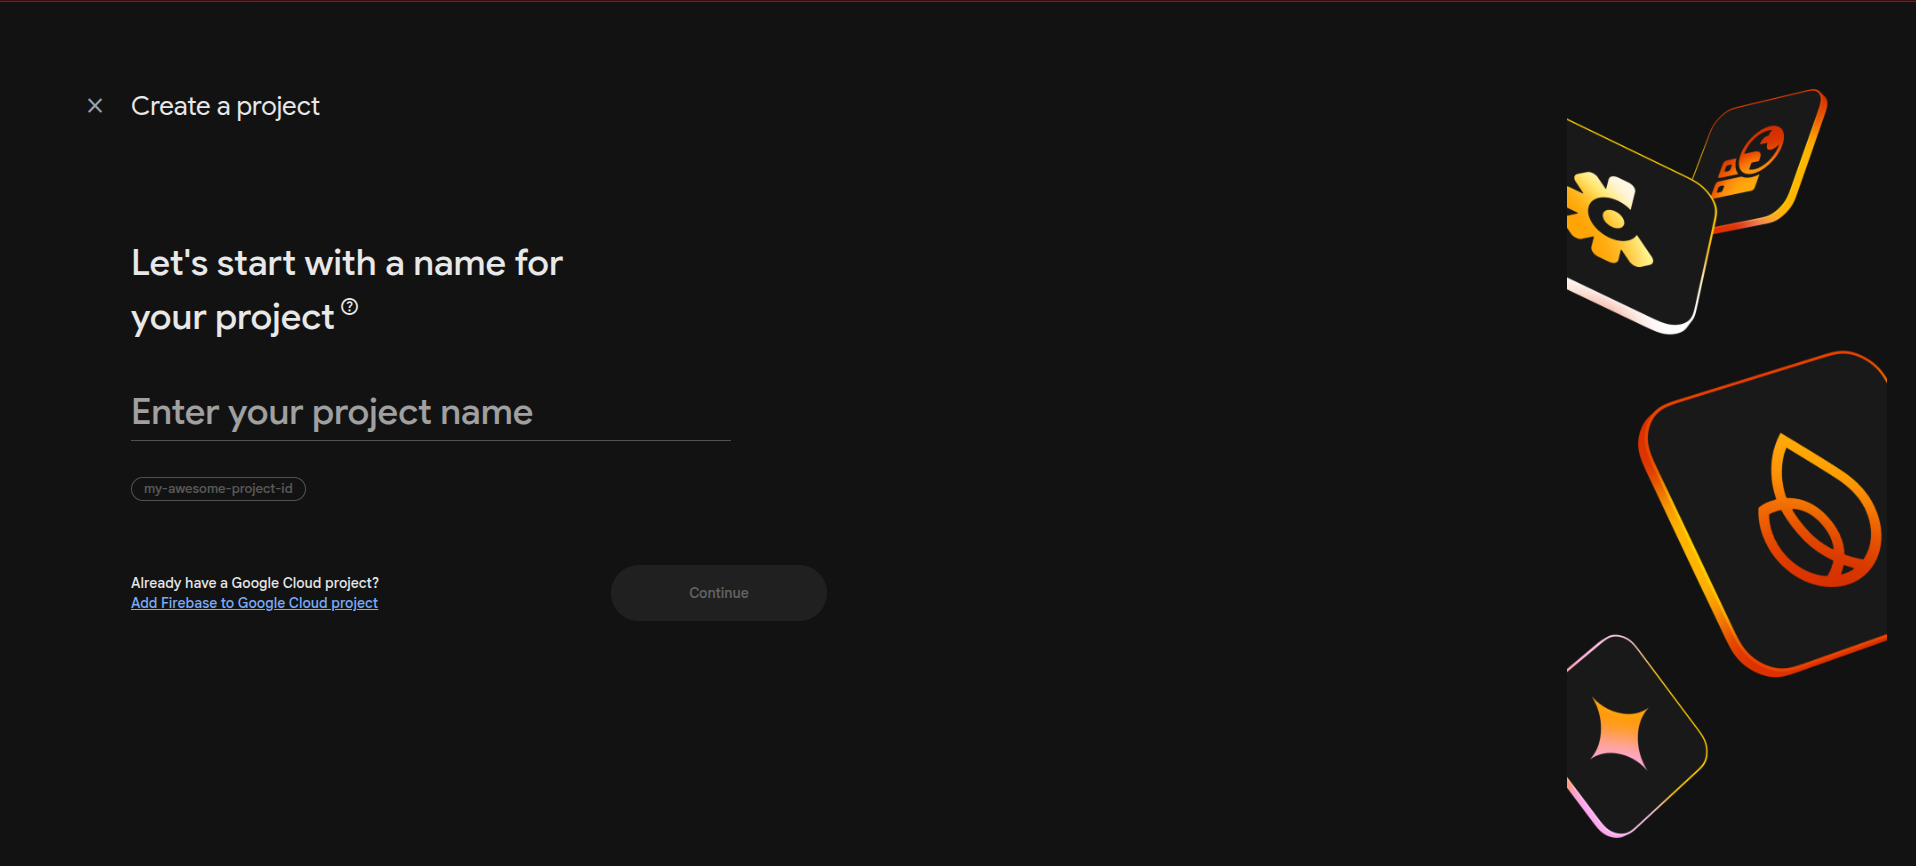
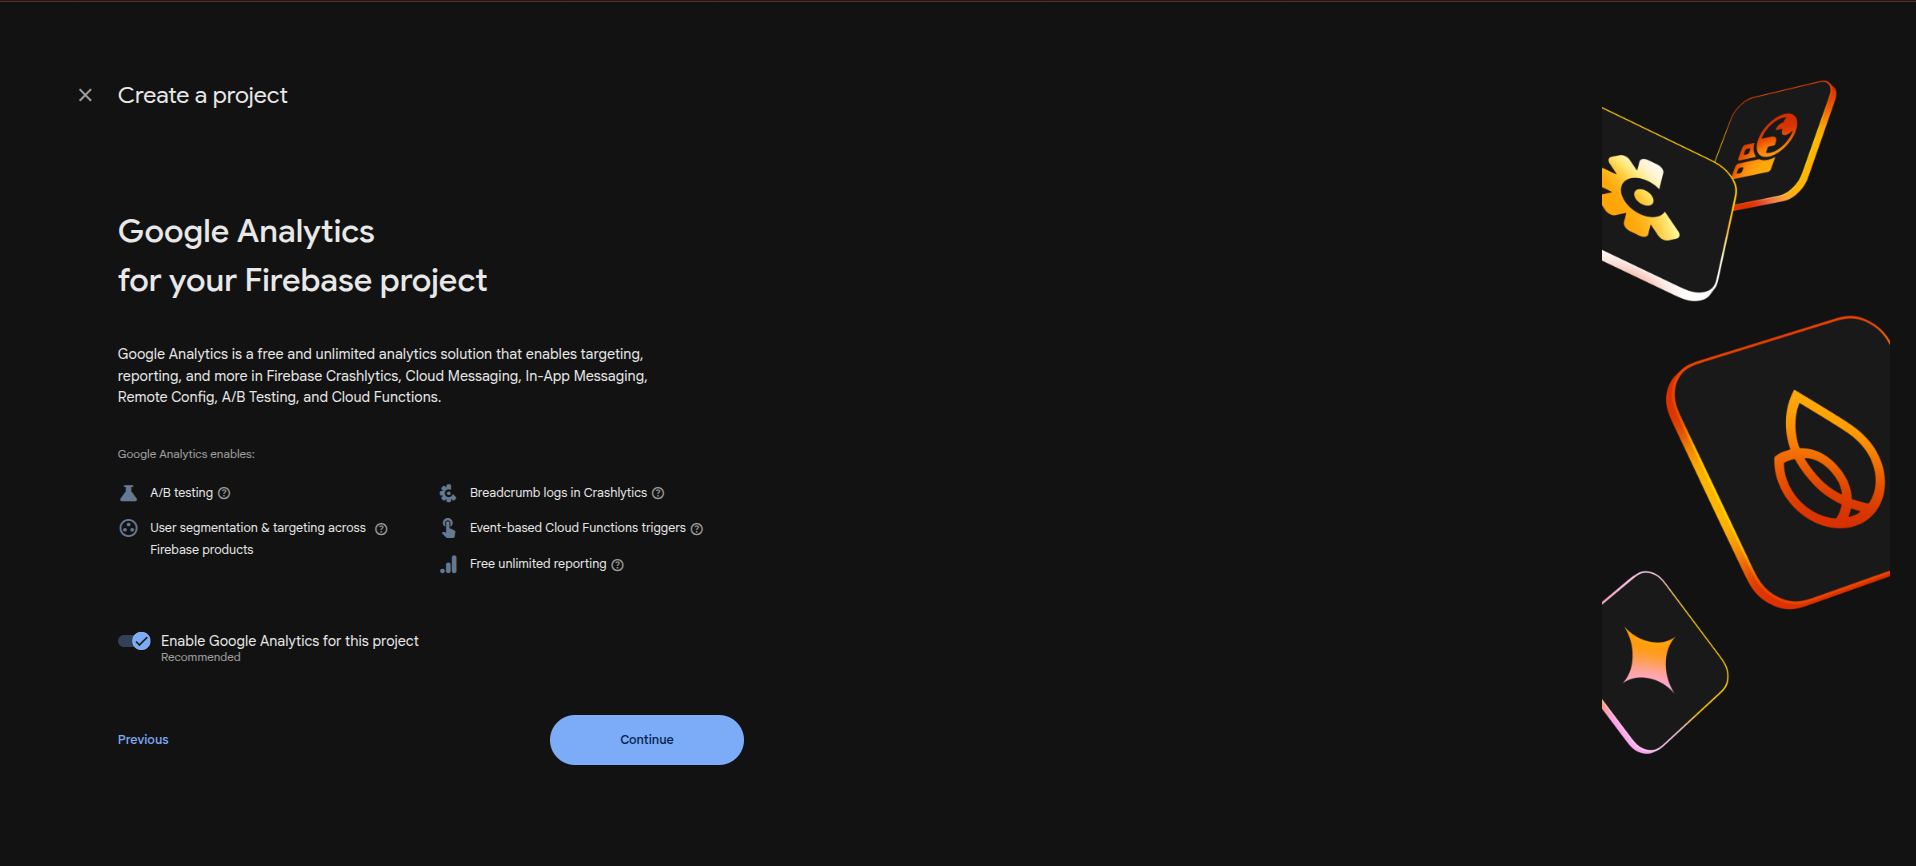
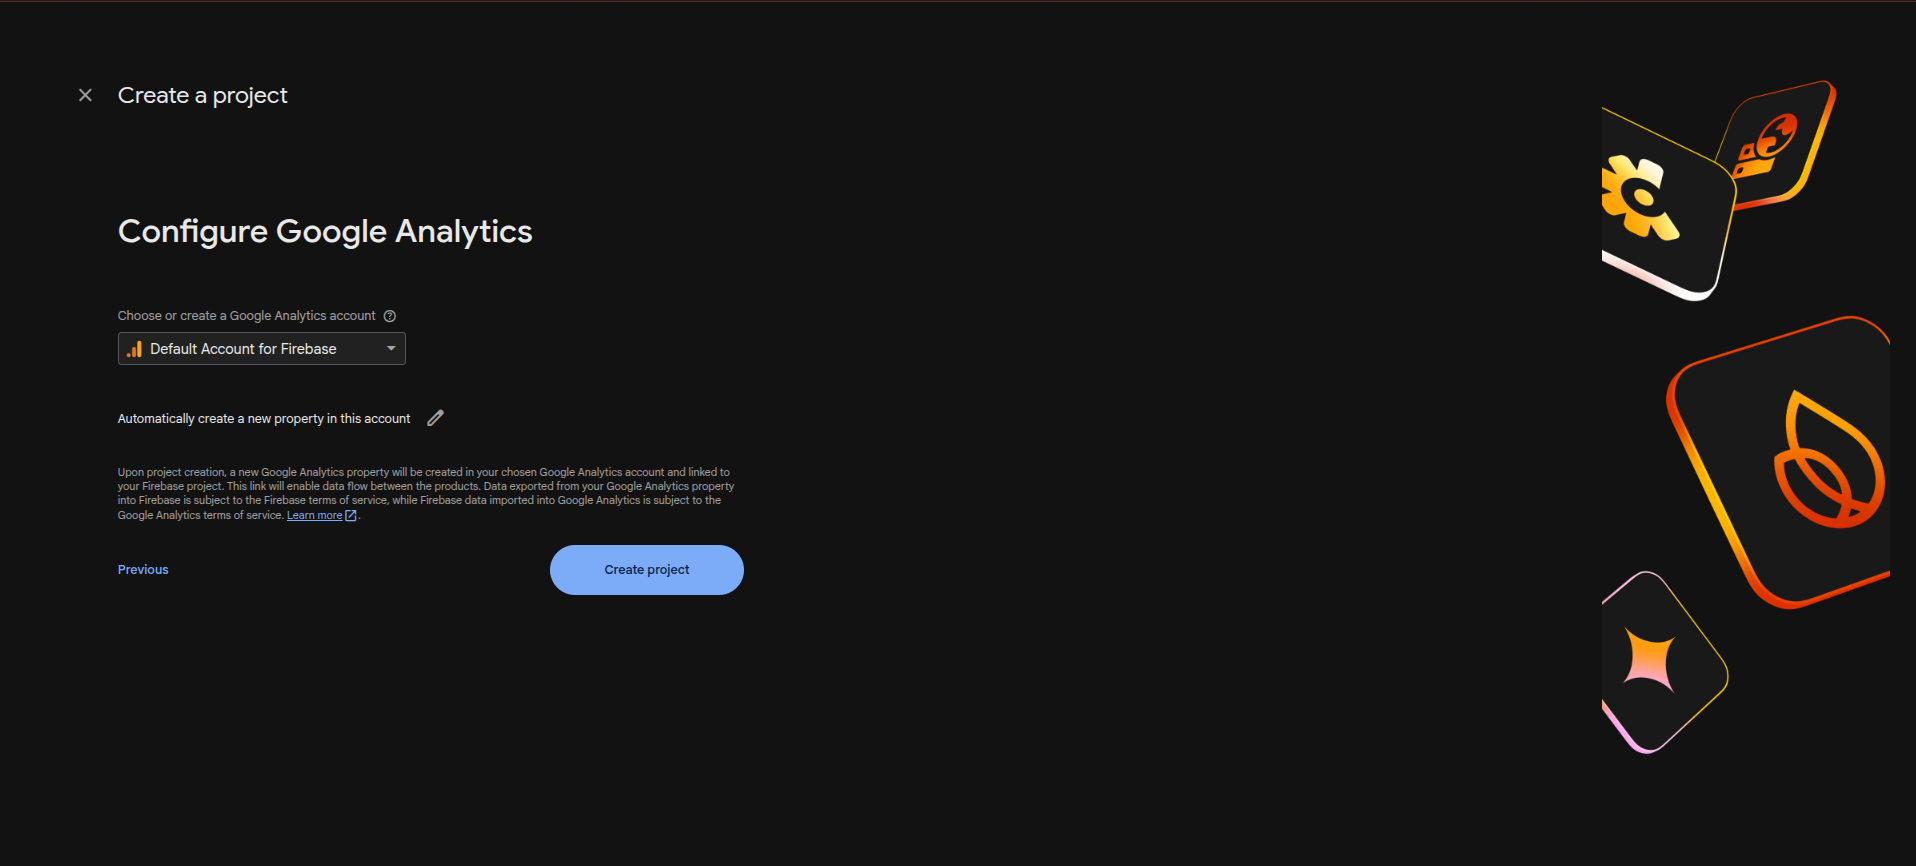
1.2 Create a new project
Click Add project. Provide a Project name, select your Country/region, and click Create project.
1.3 Access the project dashboard
Once created, you will be redirected to the Firebase project dashboard.
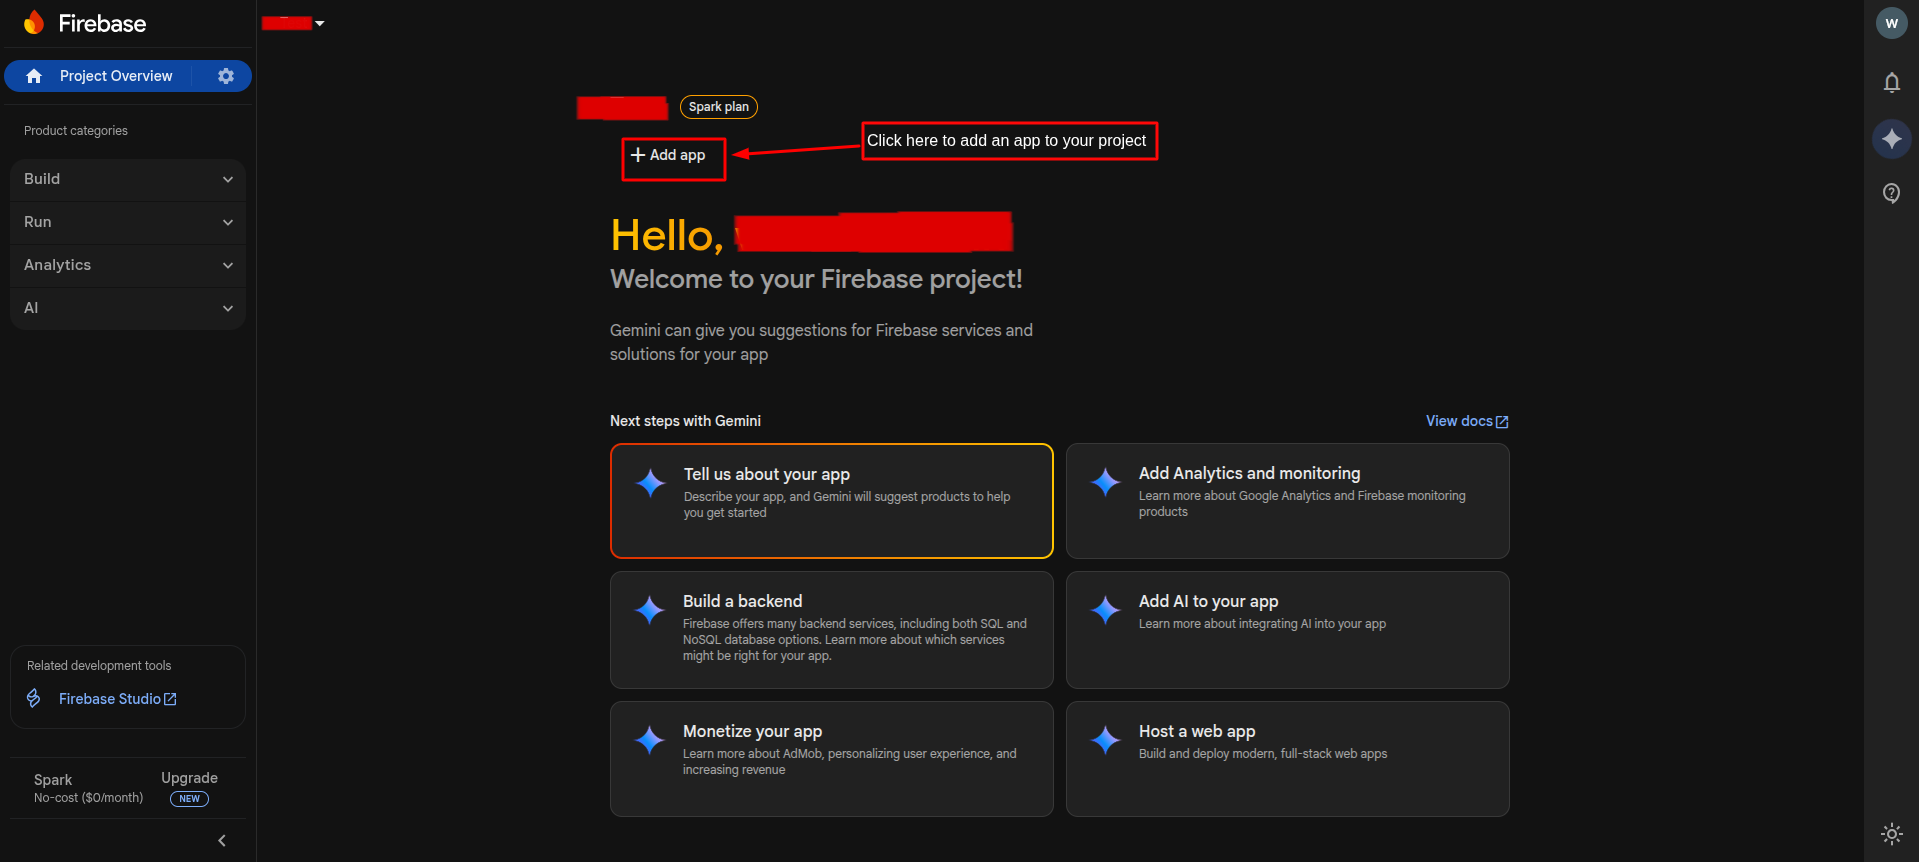
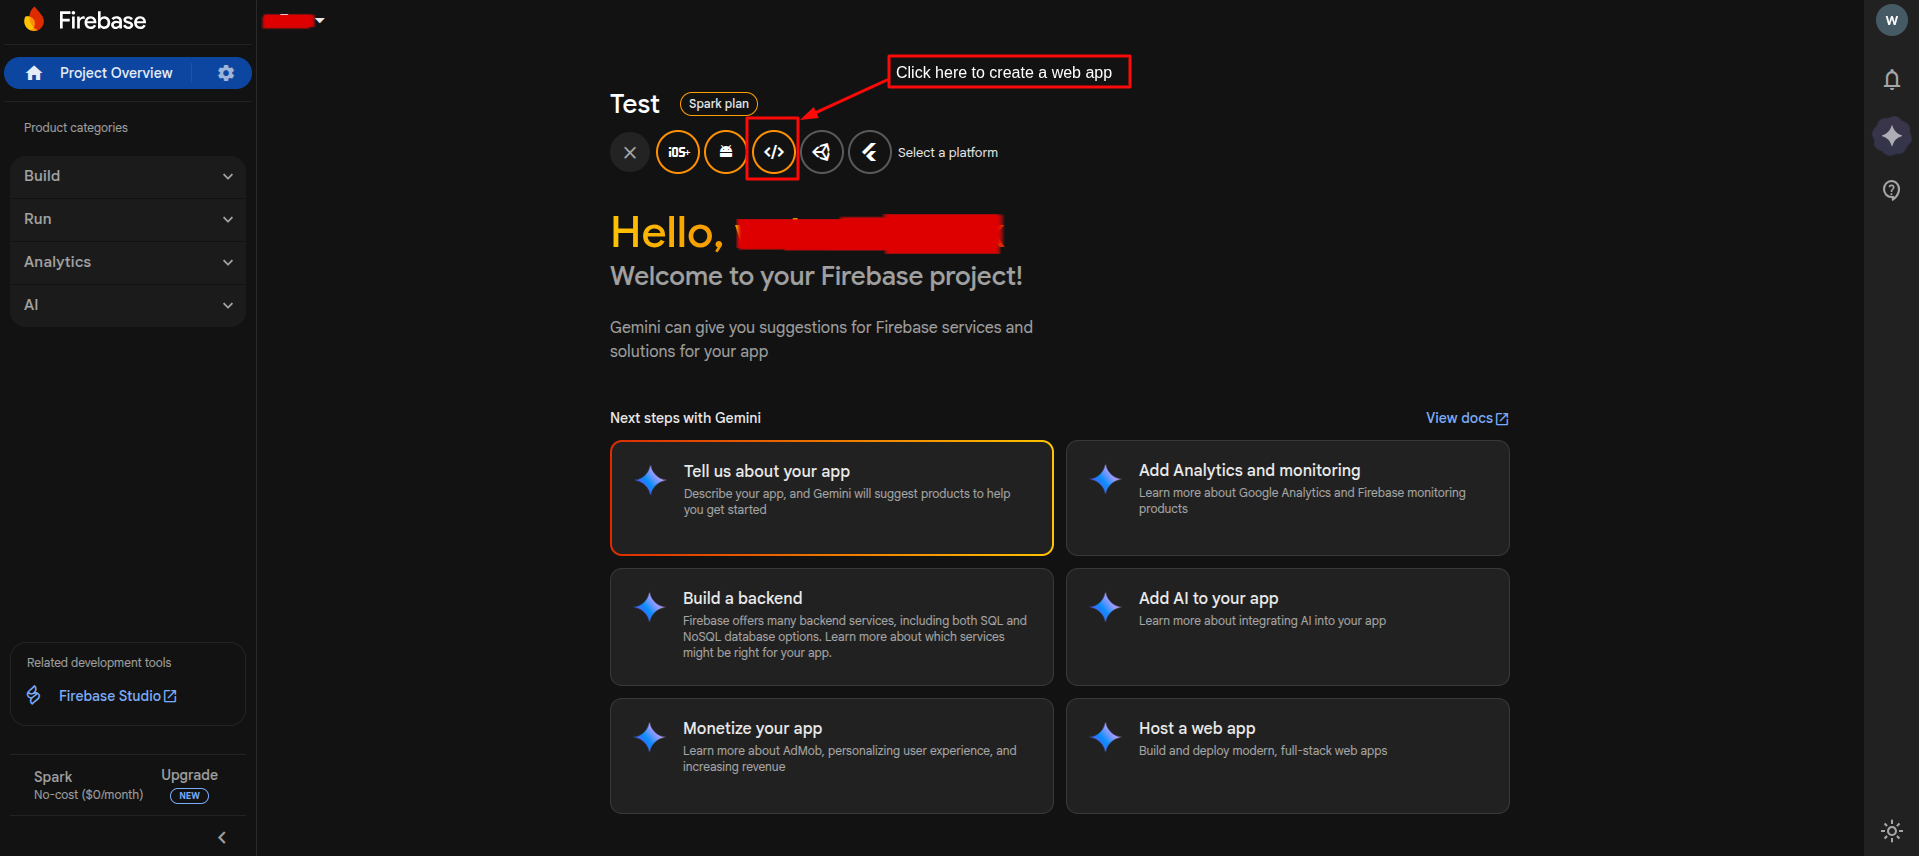
1.4 Add a Web app
Add a new Web app to this project (this connects to eDemand) and follow the steps shown in the Firebase UI.
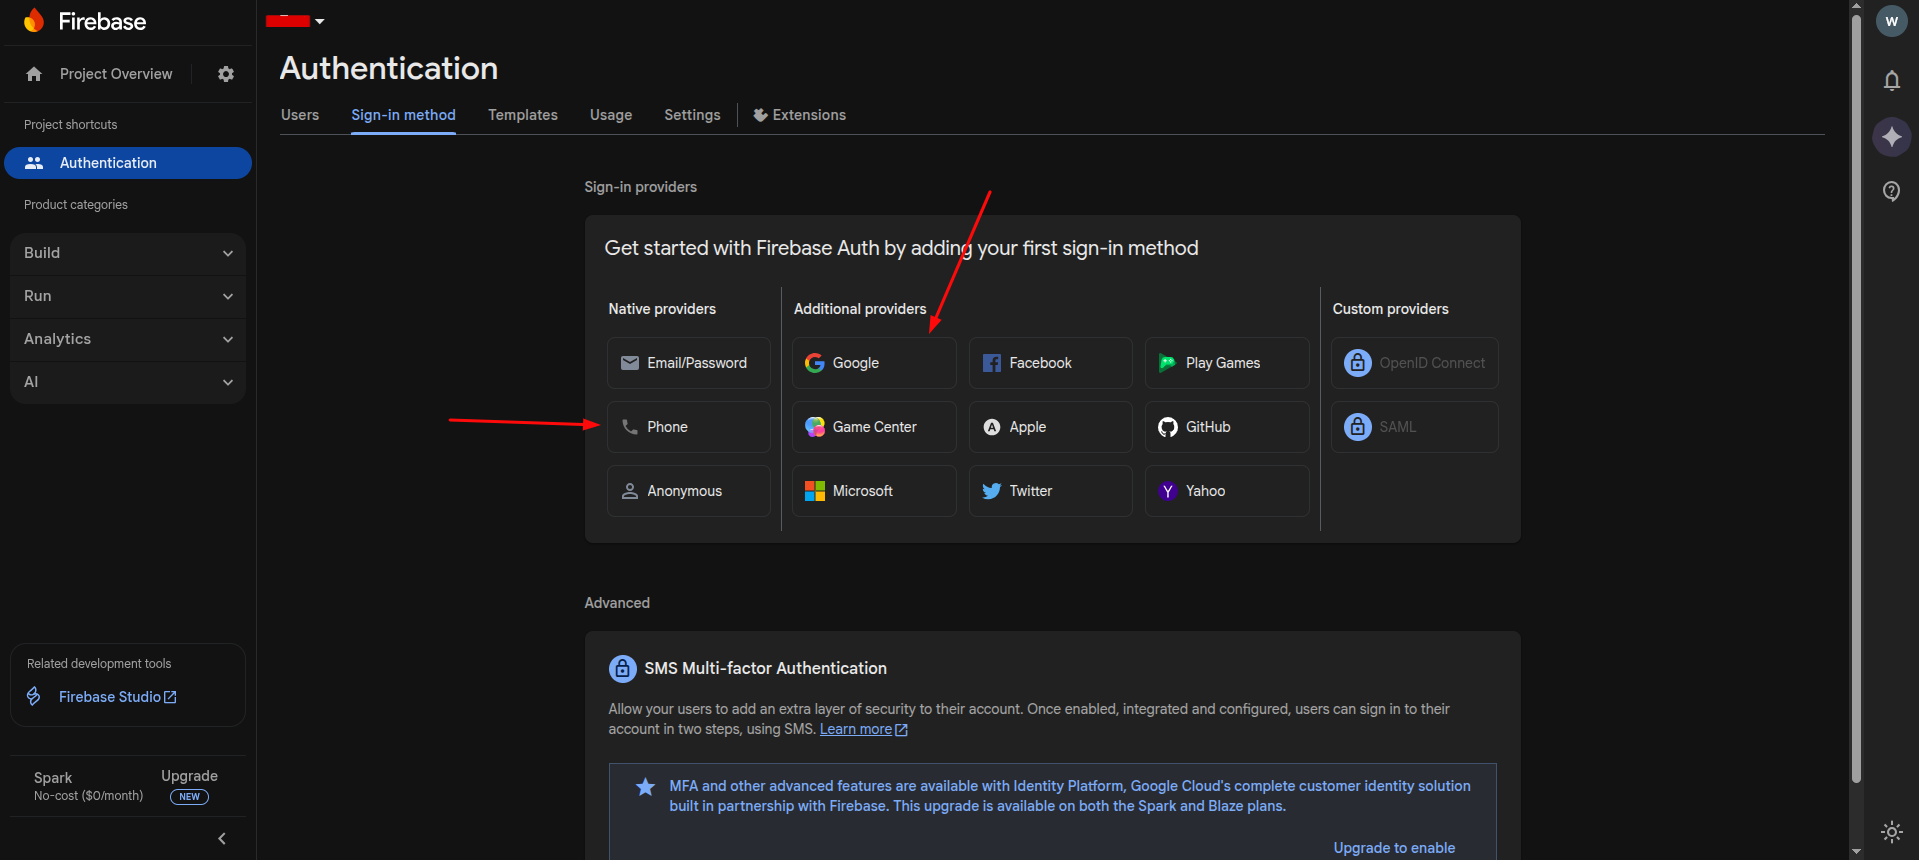
Step 2: Enable authentication providers
2.1 Open Authentication
In the left sidebar, go to Build → Authentication and click Get started.
2.2 Enable sign-in providers
Open the Sign-in method tab and enable at least the Phone and Google sign-in providers.
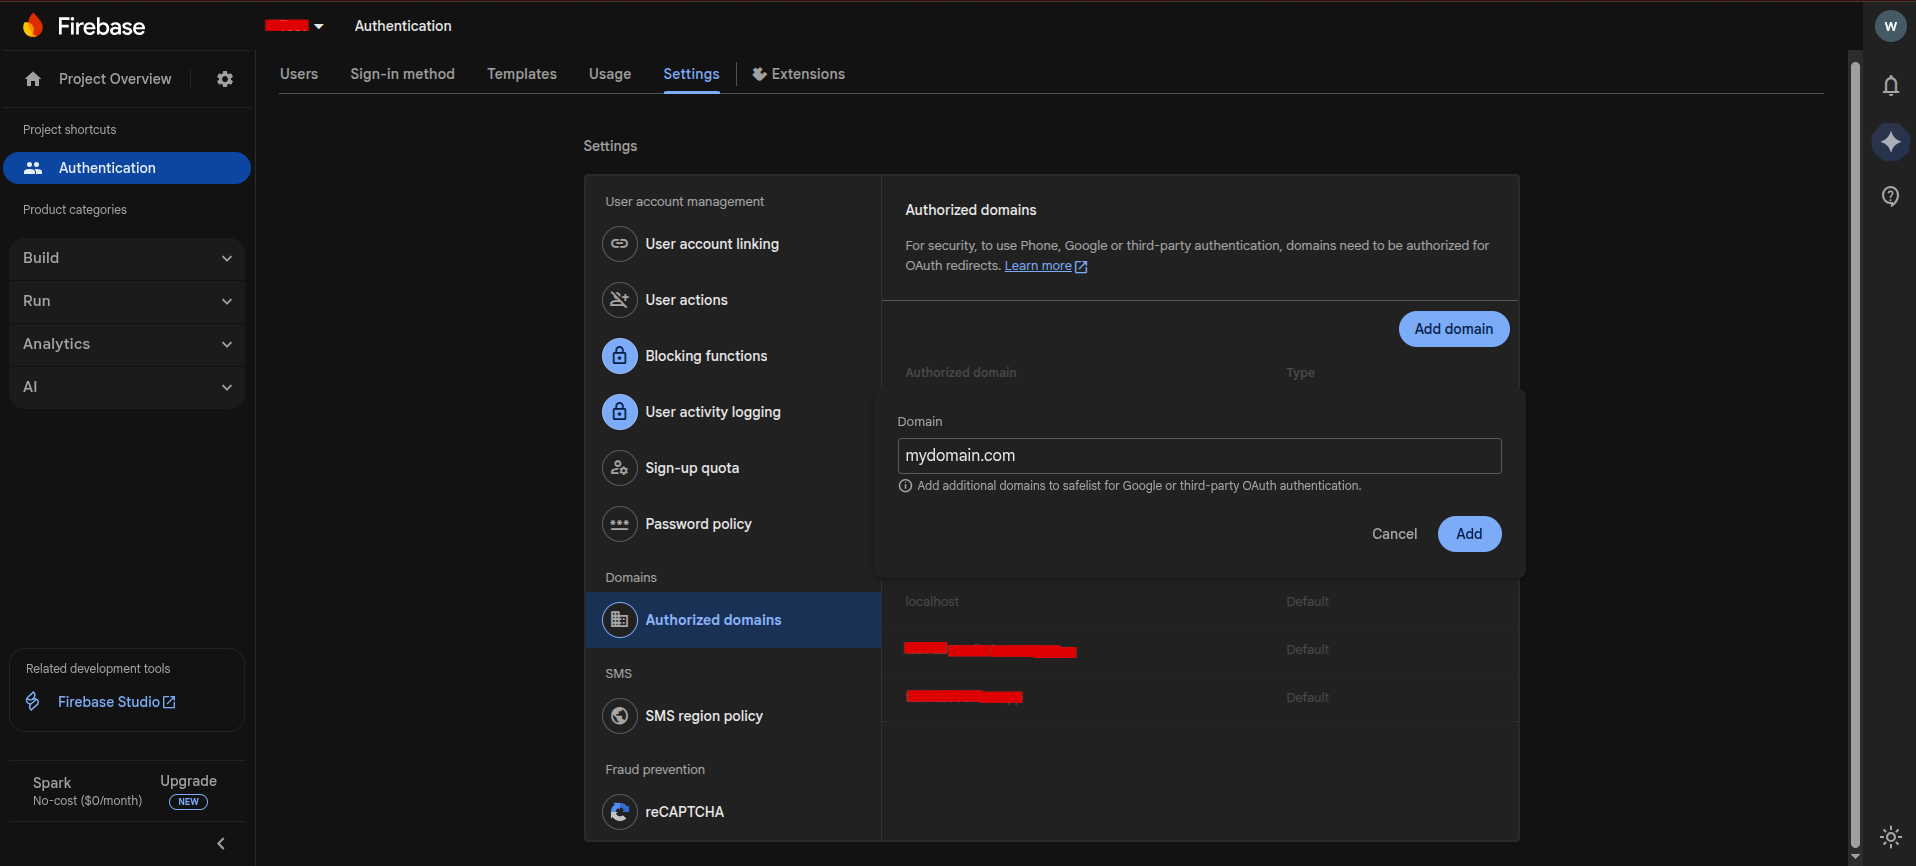
Step 3: Configure authorized domains
3.1 Open Authentication Settings
Still under Authentication, open the Settings tab.
3.2 Add your domain
In the Authorized domains section:
- Confirm
localhostand the Firebase default domain are listed. - Click Add domain and enter your own domain (without
http://orhttps://).
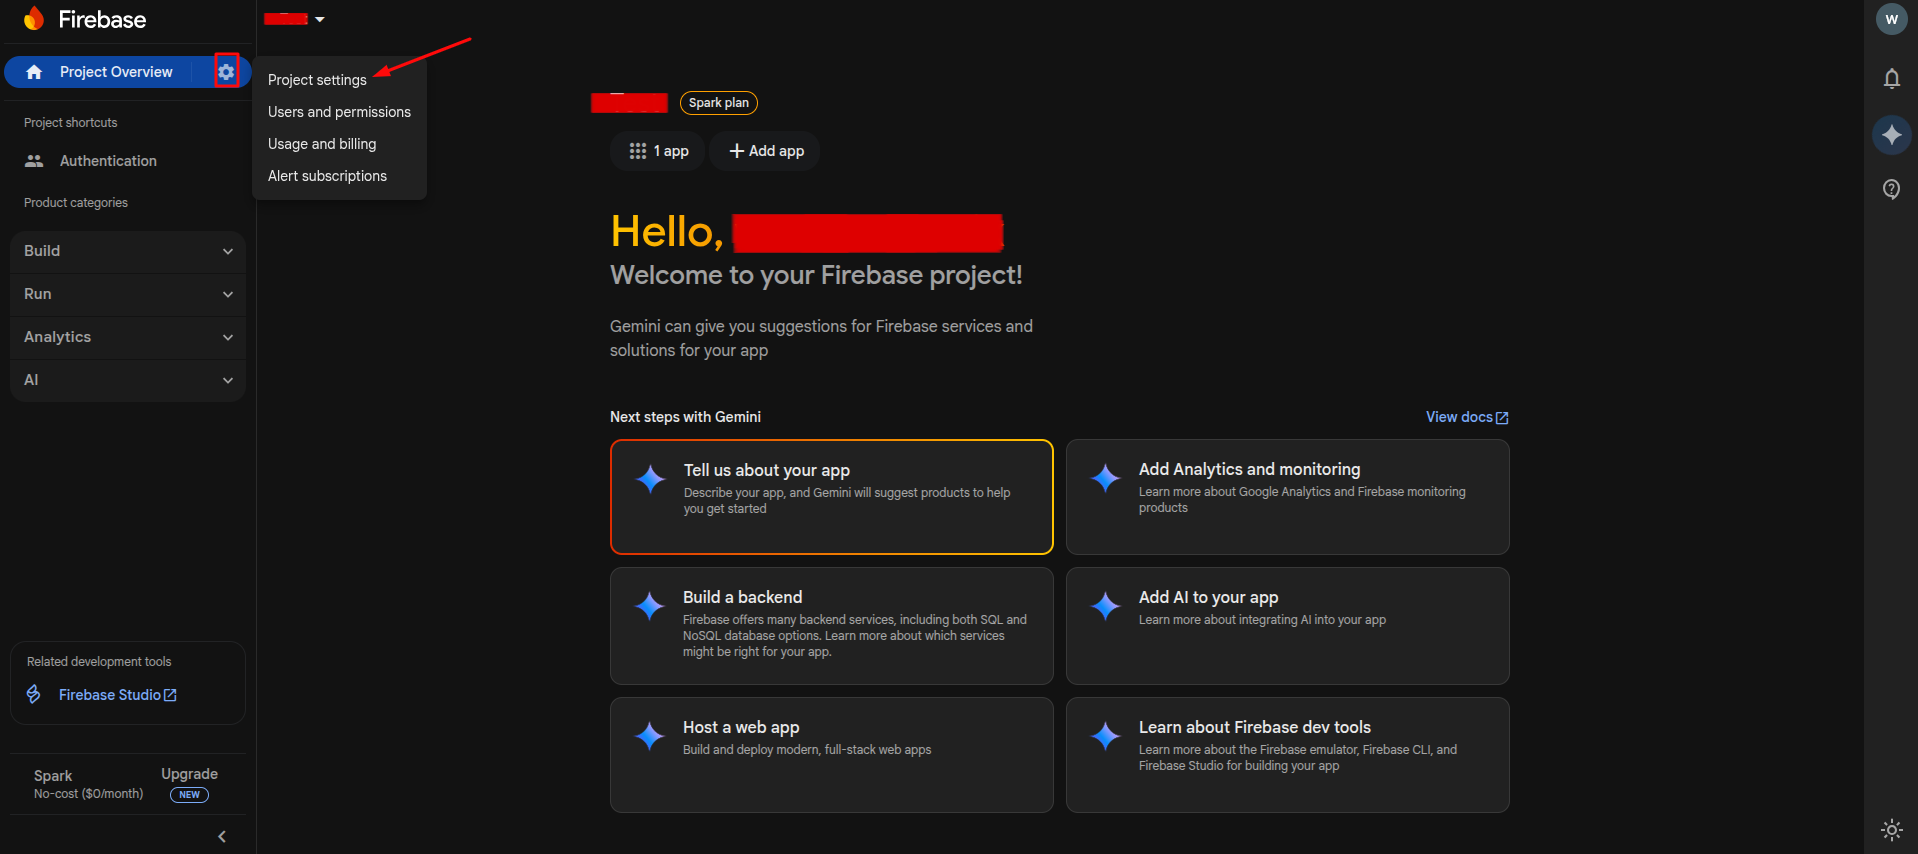
Step 4: Get your web app config
4.1 Open Project Settings
Click the gear icon next to Project overview and select Project settings.
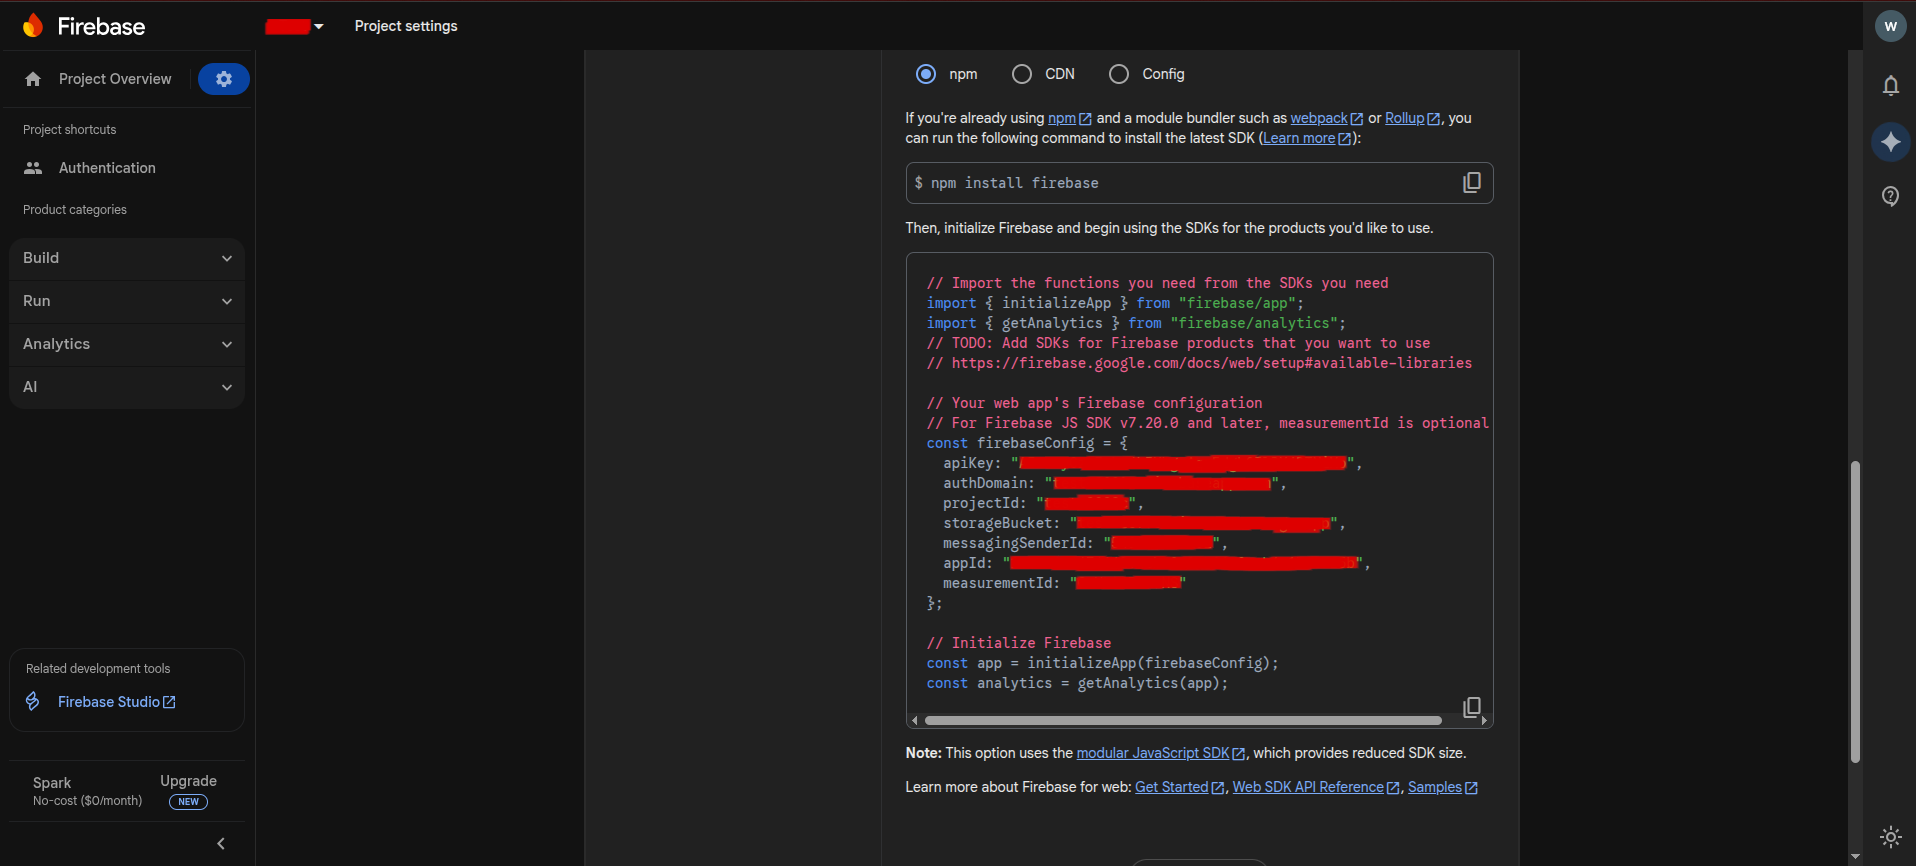
4.2 Copy SDK configuration values
On the General tab, scroll down to Your apps. Find your Web app and copy the Firebase SDK configuration values (API key, project ID, etc.).
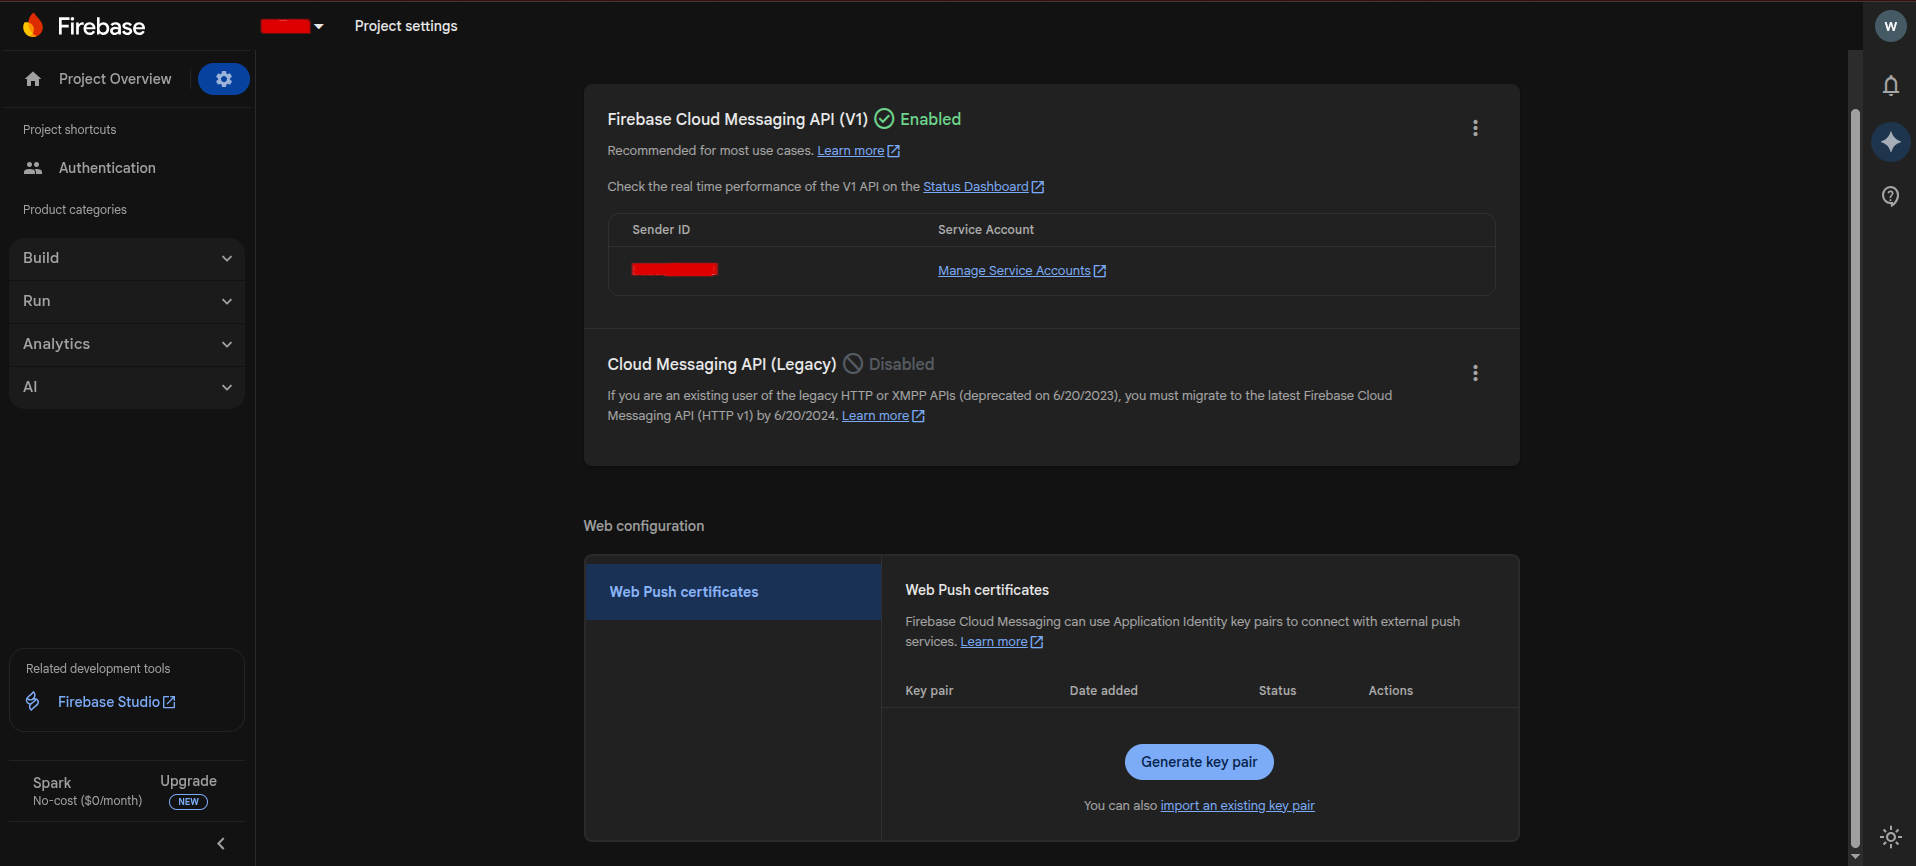
Step 5: Generate Web Push (VAPID) key
5.1 Open Web Push certificates
Open the Cloud Messaging tab and scroll to the Web Push certificates section.
5.2 Generate key pair
Click Generate key pair. The key shown in the table is your VAPID key.
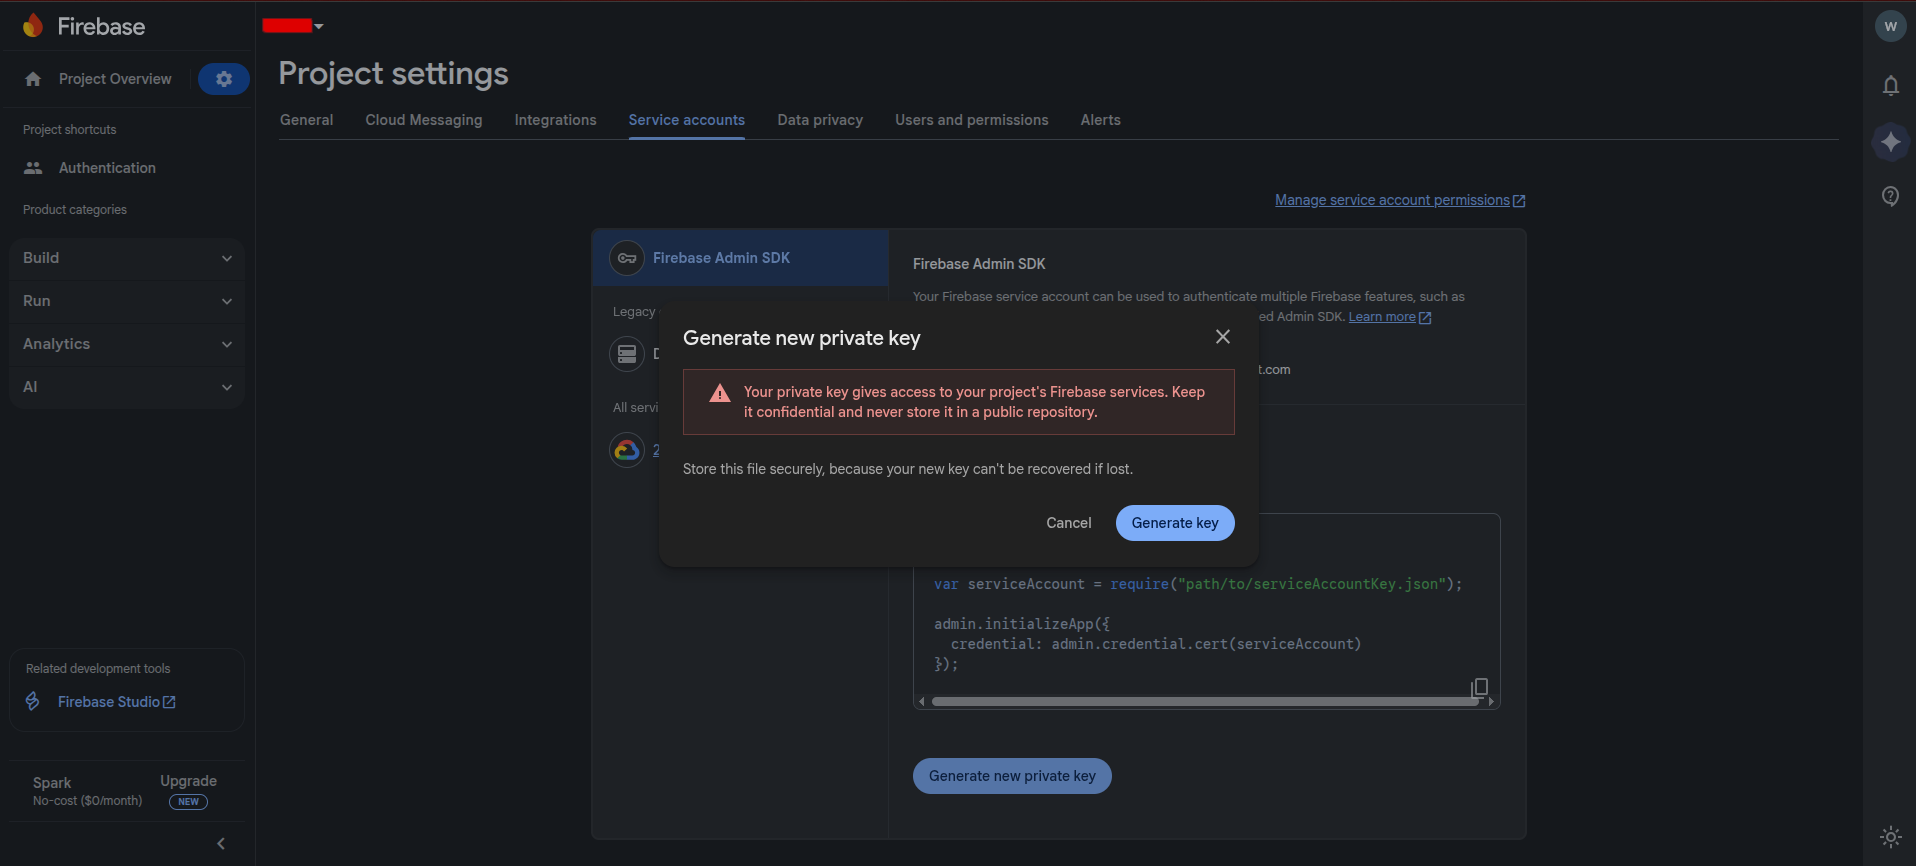
Step 6: Generate service account key
6.1 Open Service Accounts
Open the Service accounts tab.
6.2 Download the private key
In the Firebase Admin SDK section, click Generate new private key. Save the downloaded JSON file — you will upload it in the eDemand admin panel.
Step 7: Connect Firebase to eDemand
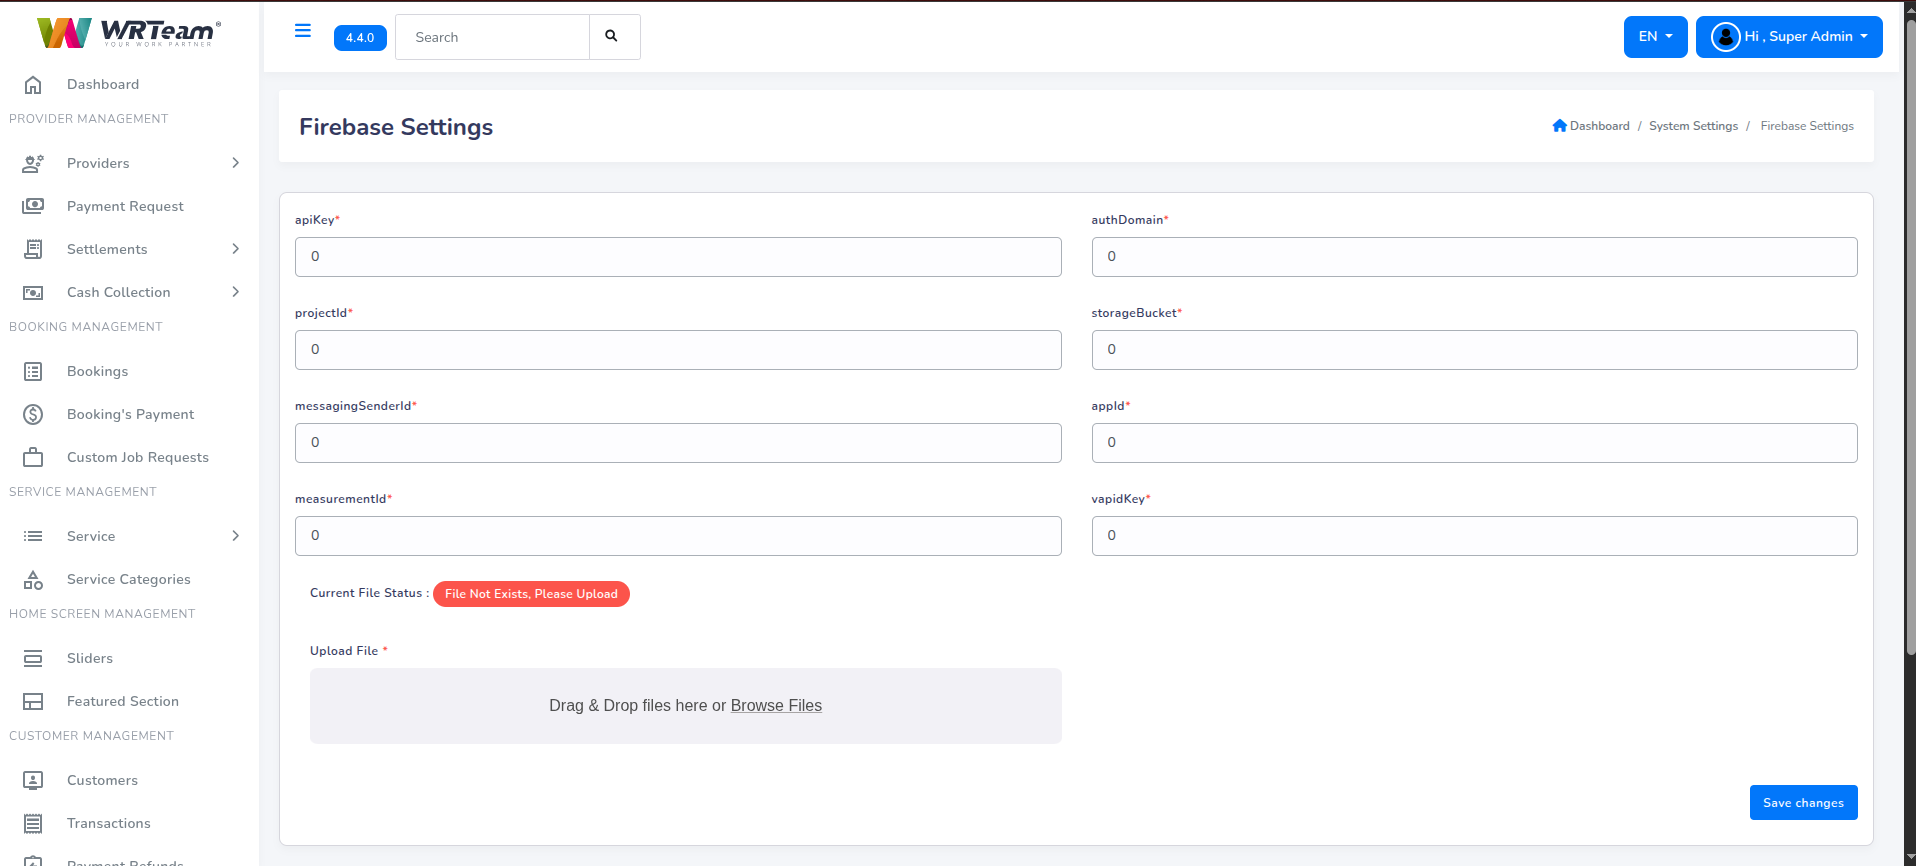
7.1 Open Firebase Settings
In the eDemand admin panel, go to Settings → Firebase Settings.
7.2 Fill in SDK configuration fields
Enter the values copied in Step 4:
- API Key
- Auth Domain
- Project ID
- Storage Bucket
- Messaging Sender ID
- App ID
7.3 Enter the VAPID key
Paste the VAPID Key generated in Step 5.
7.4 Upload the service account JSON
Upload the service account JSON file downloaded in Step 6.
Make sure you upload the correct JSON file. Using the wrong file will prevent push notifications from working.
7.5 Save the configuration
Click Save to apply all settings.