Installation
This guide shows how to install eDemand on a shared hosting server with cPanel.
- You have a working domain that points to your hosting.
- You can log in to your cPanel account.
- You have the product zip file downloaded to your computer.
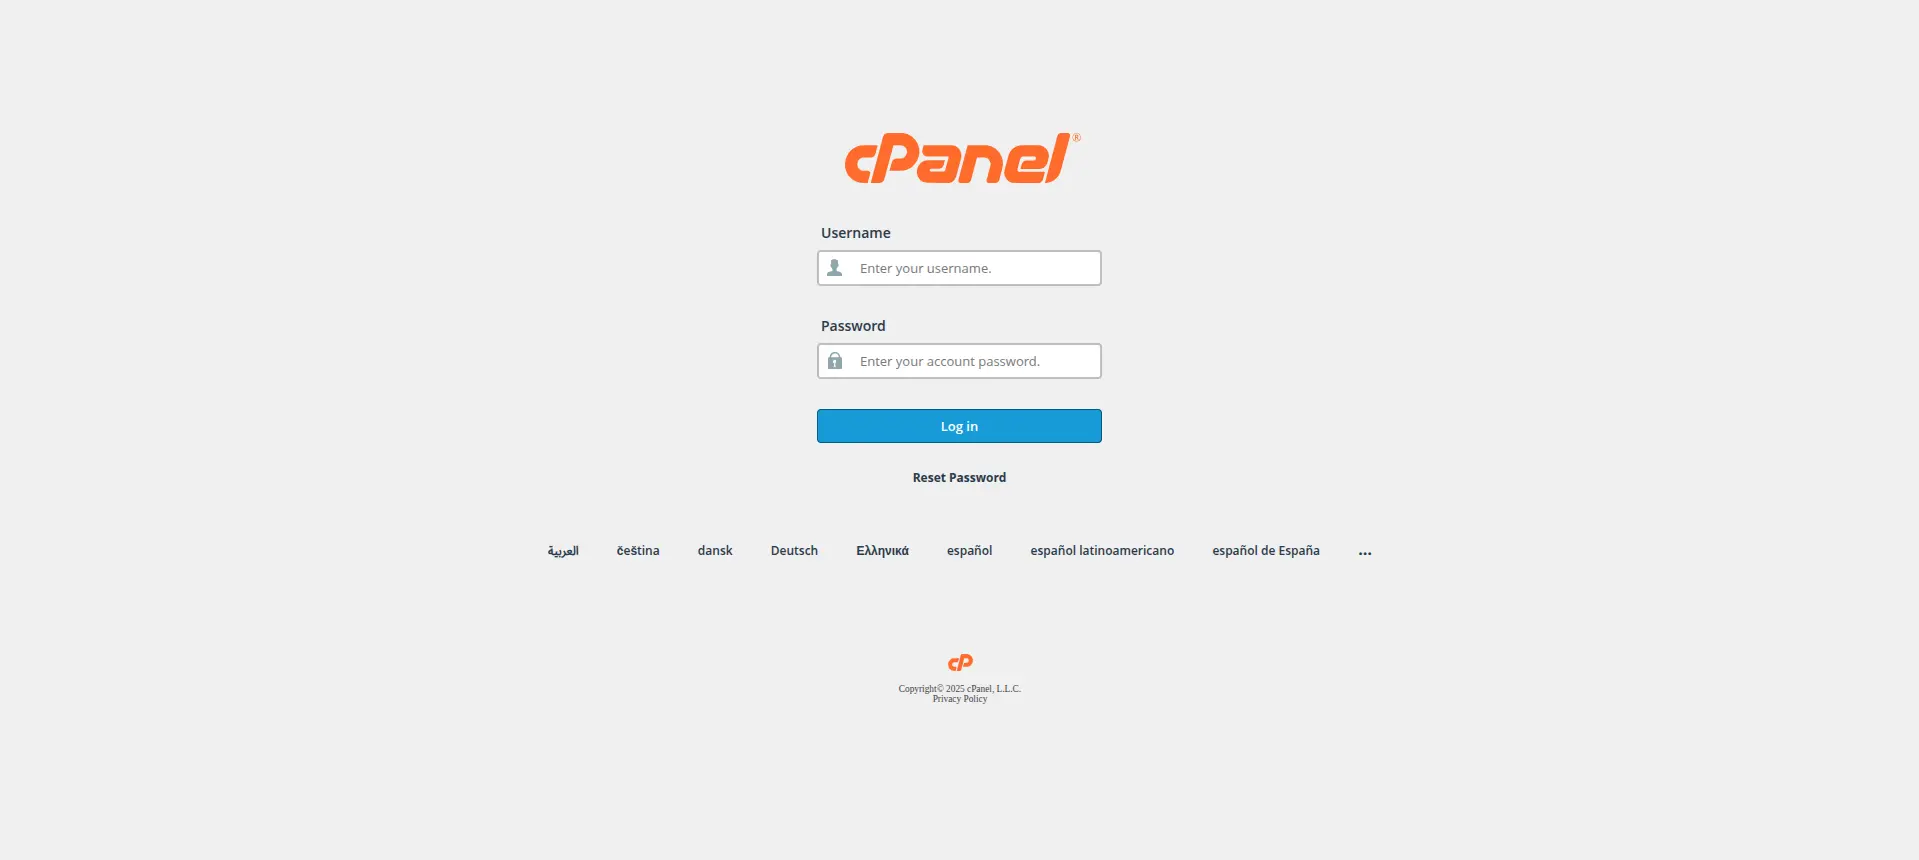
Step 1 — Log in to cPanel
Log in to your hosting cPanel.
Step 2 — Create the database
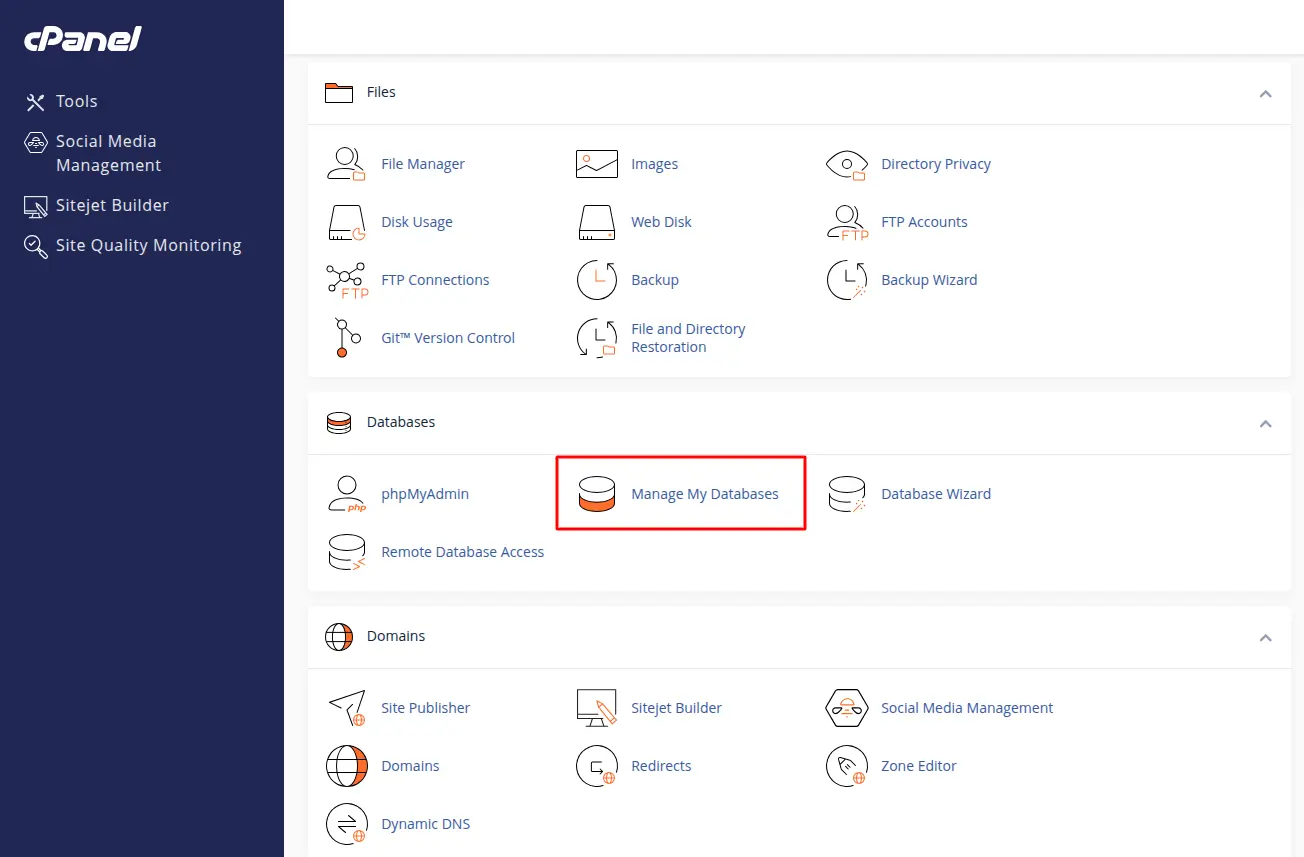
2.1 Open the database section
In cPanel, go to the Database section (for example, “MySQL Databases”).
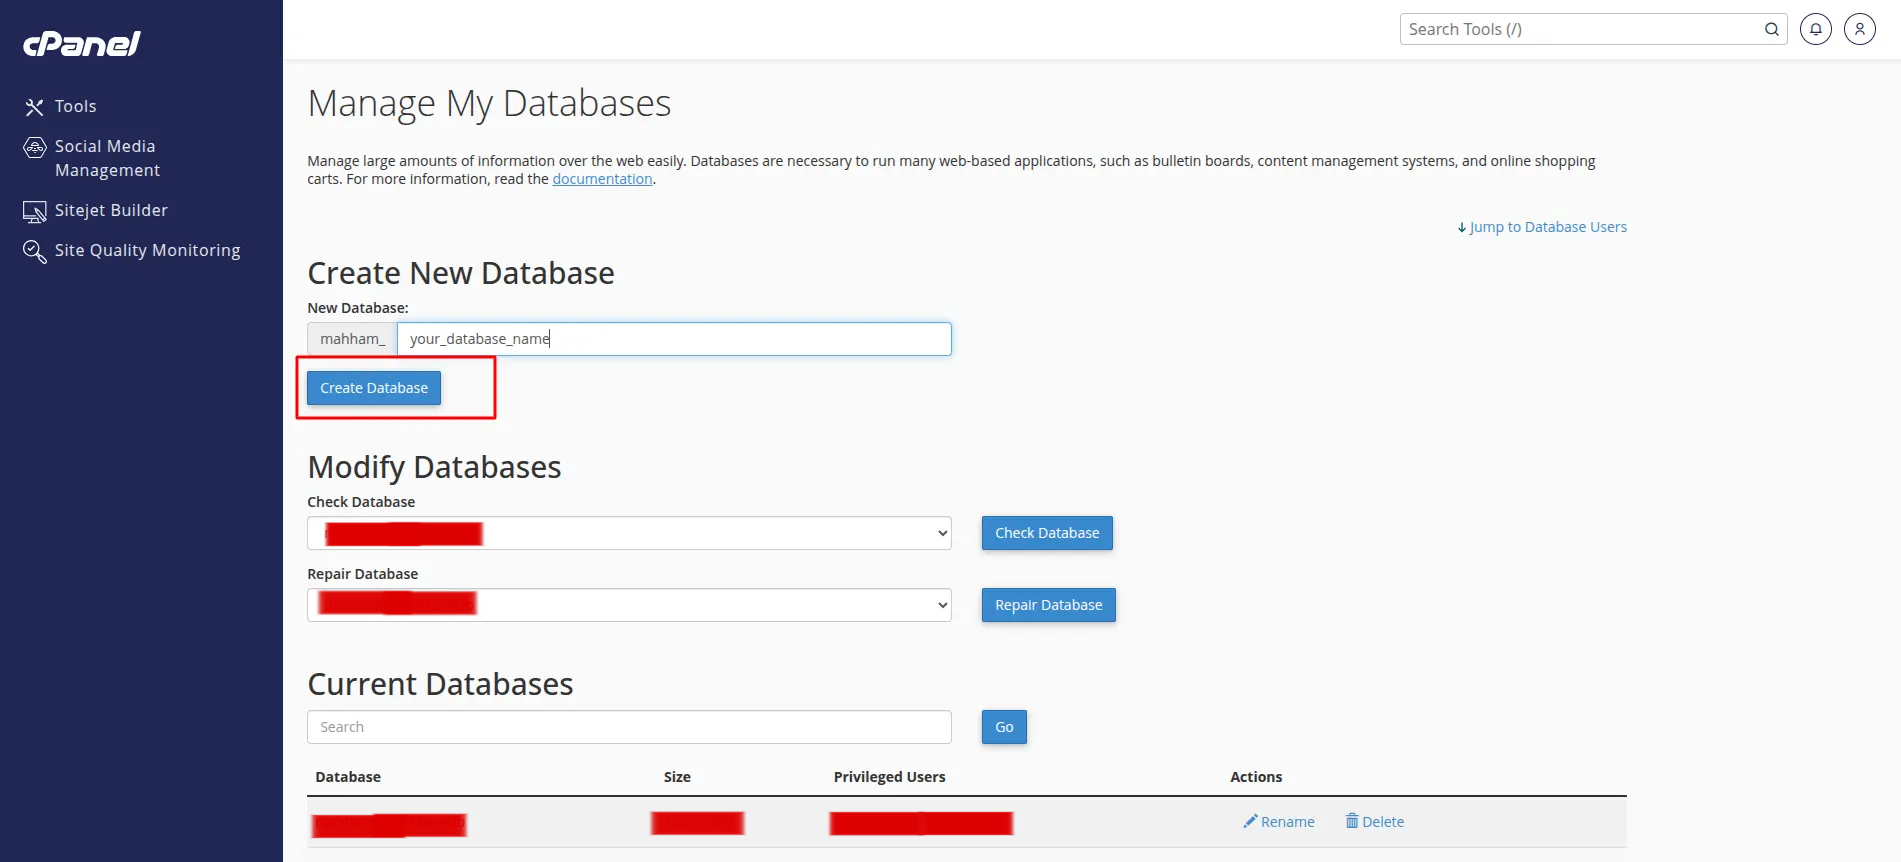
2.2 Create a new database
Enter a database name and click Create Database.
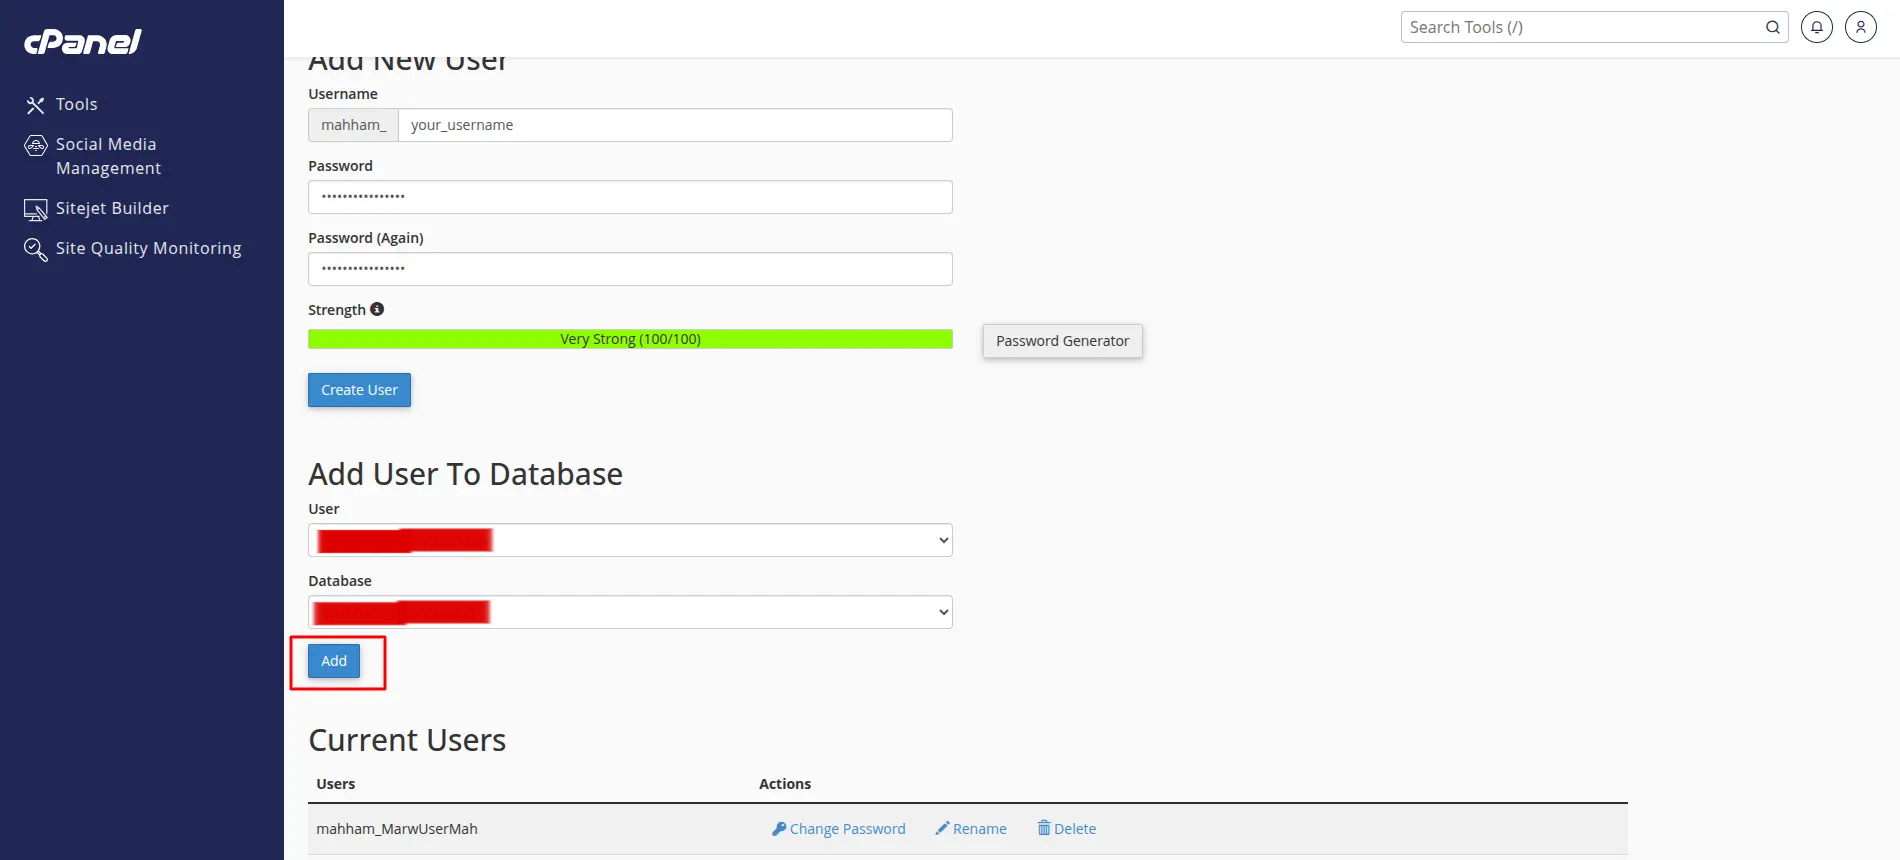
2.3 Create a database user
Create a database user.
Choose a strong password and save it in a safe place.

2.4 Assign the user to the database
Assign the new user to the new database.
Give the user All Privileges.
Write down the following:
- Database name
- Database user name
- Database user password
You will need these values in the installer.
Step 3 — Upload the application files
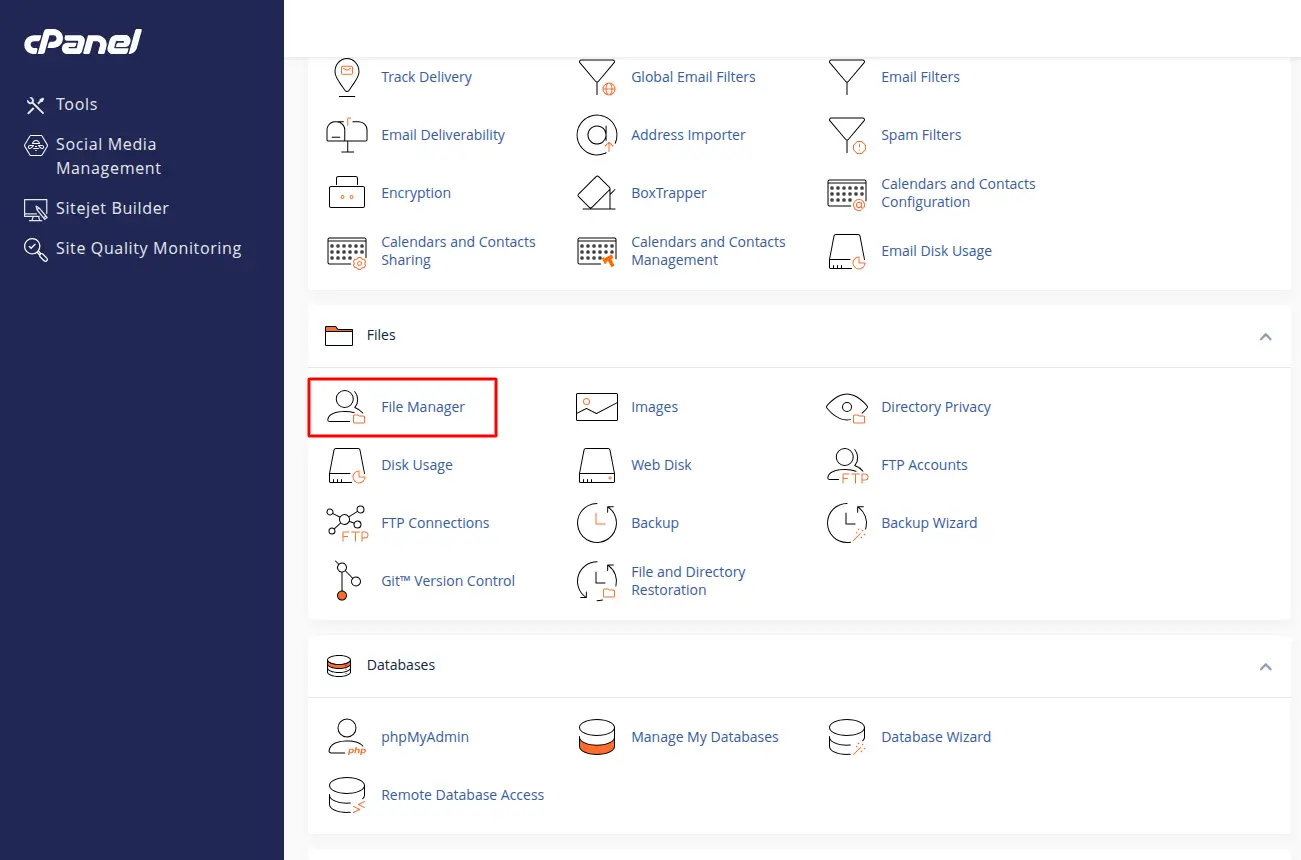
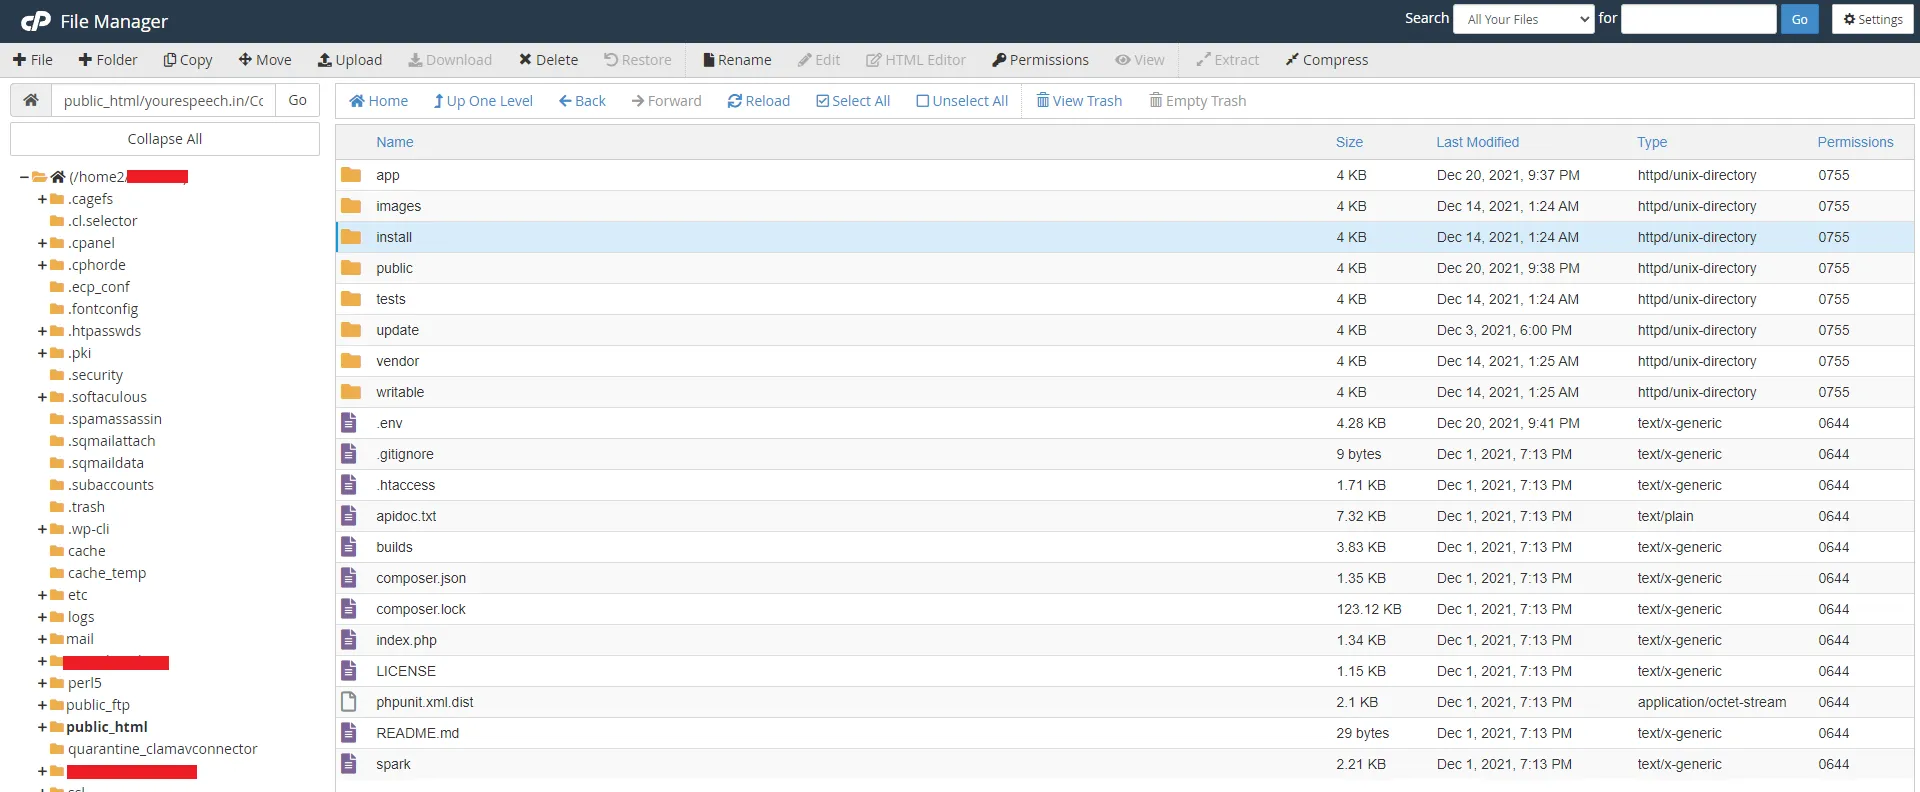
3.1 Open File Manager
In cPanel, open File Manager.
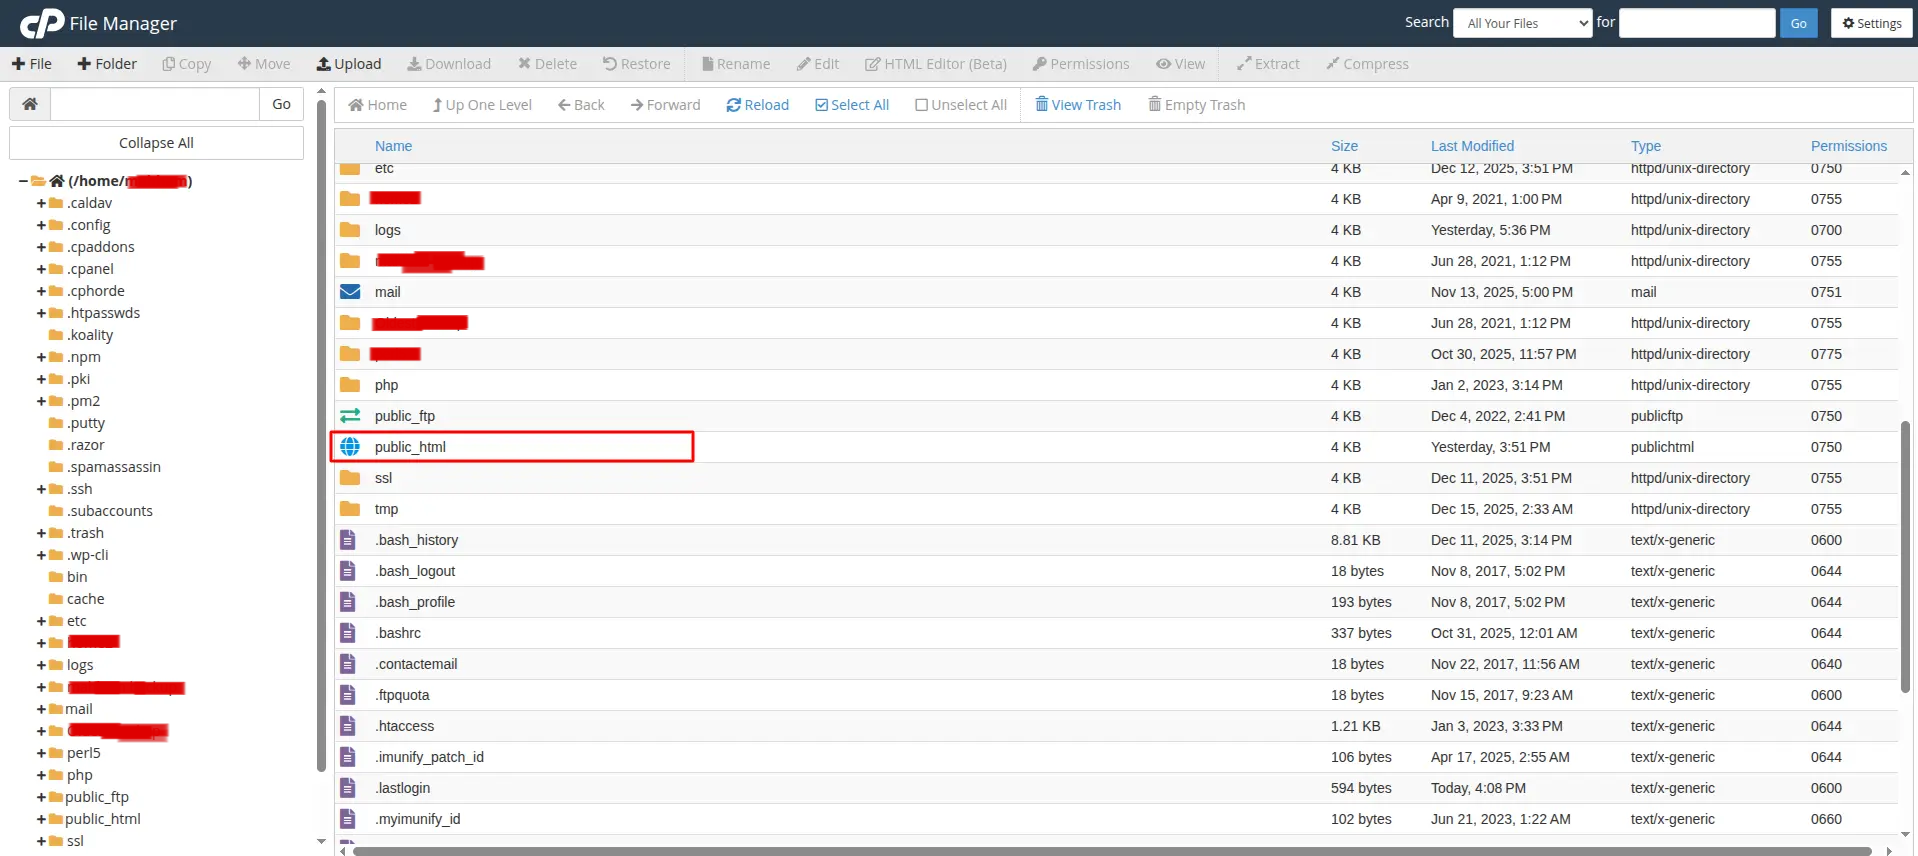
3.2 Go to your domain folder
Go to the folder where your domain points:
- Often this is
public_html, or public_html/youreDemand.in
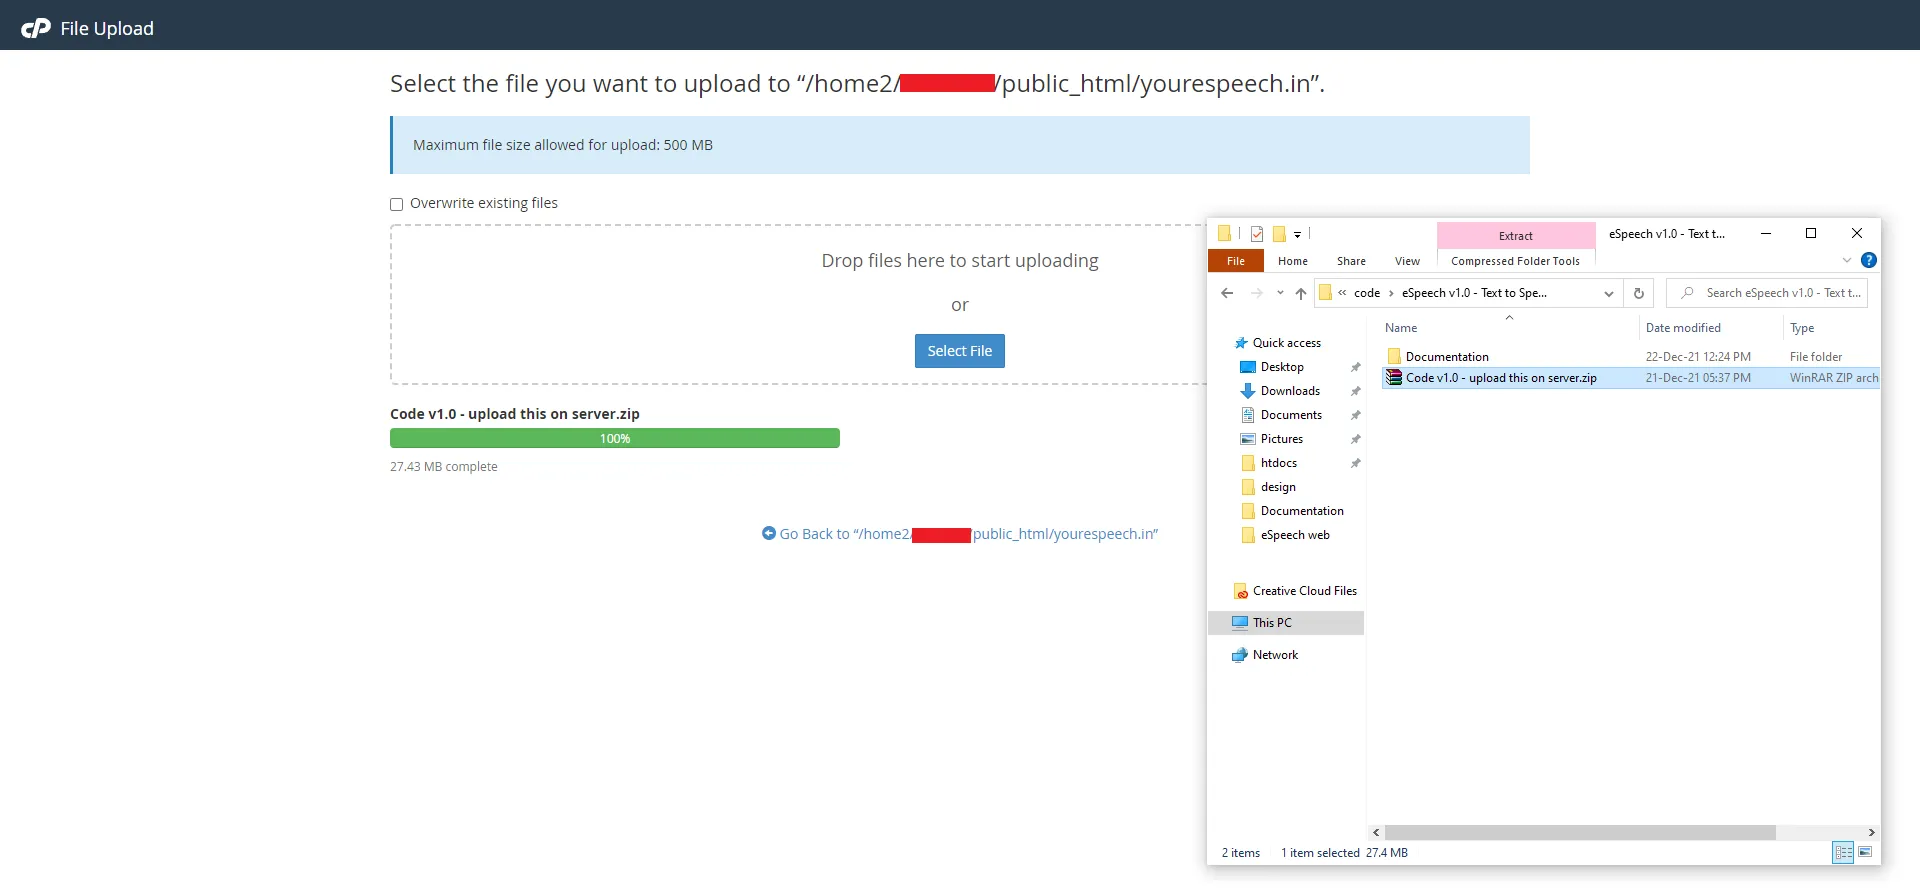
3.3 Upload the zip file
Upload the downloaded product zip file into this folder.
3.4 Extract the code
Unzip (extract) the file named
Code vX.X - upload this on server.zip.
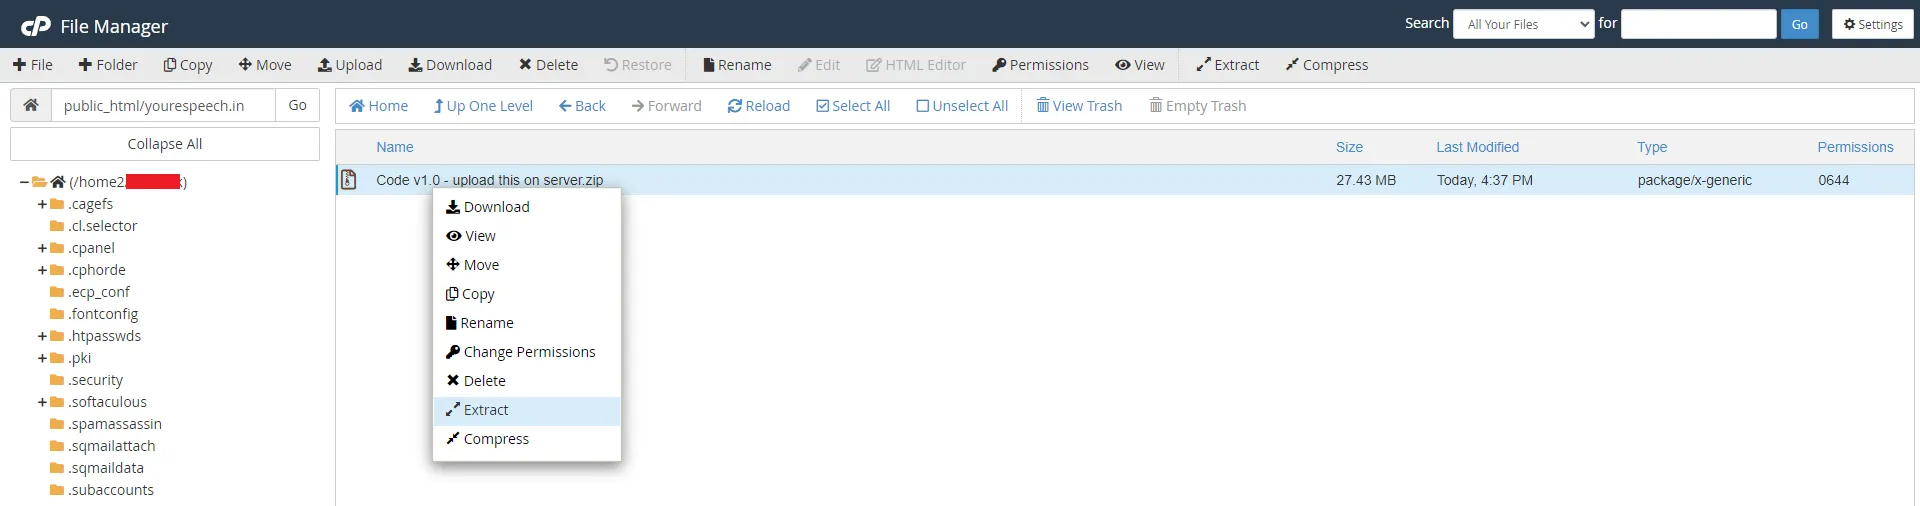
After extraction, confirm that all application files are in the same folder (public_html or public_html/youreDemand.in).
Step 4 — Run the installer
Open your browser and go to:
http://youreDemand.in/install
You will see the web installer.
Follow the steps below in order.
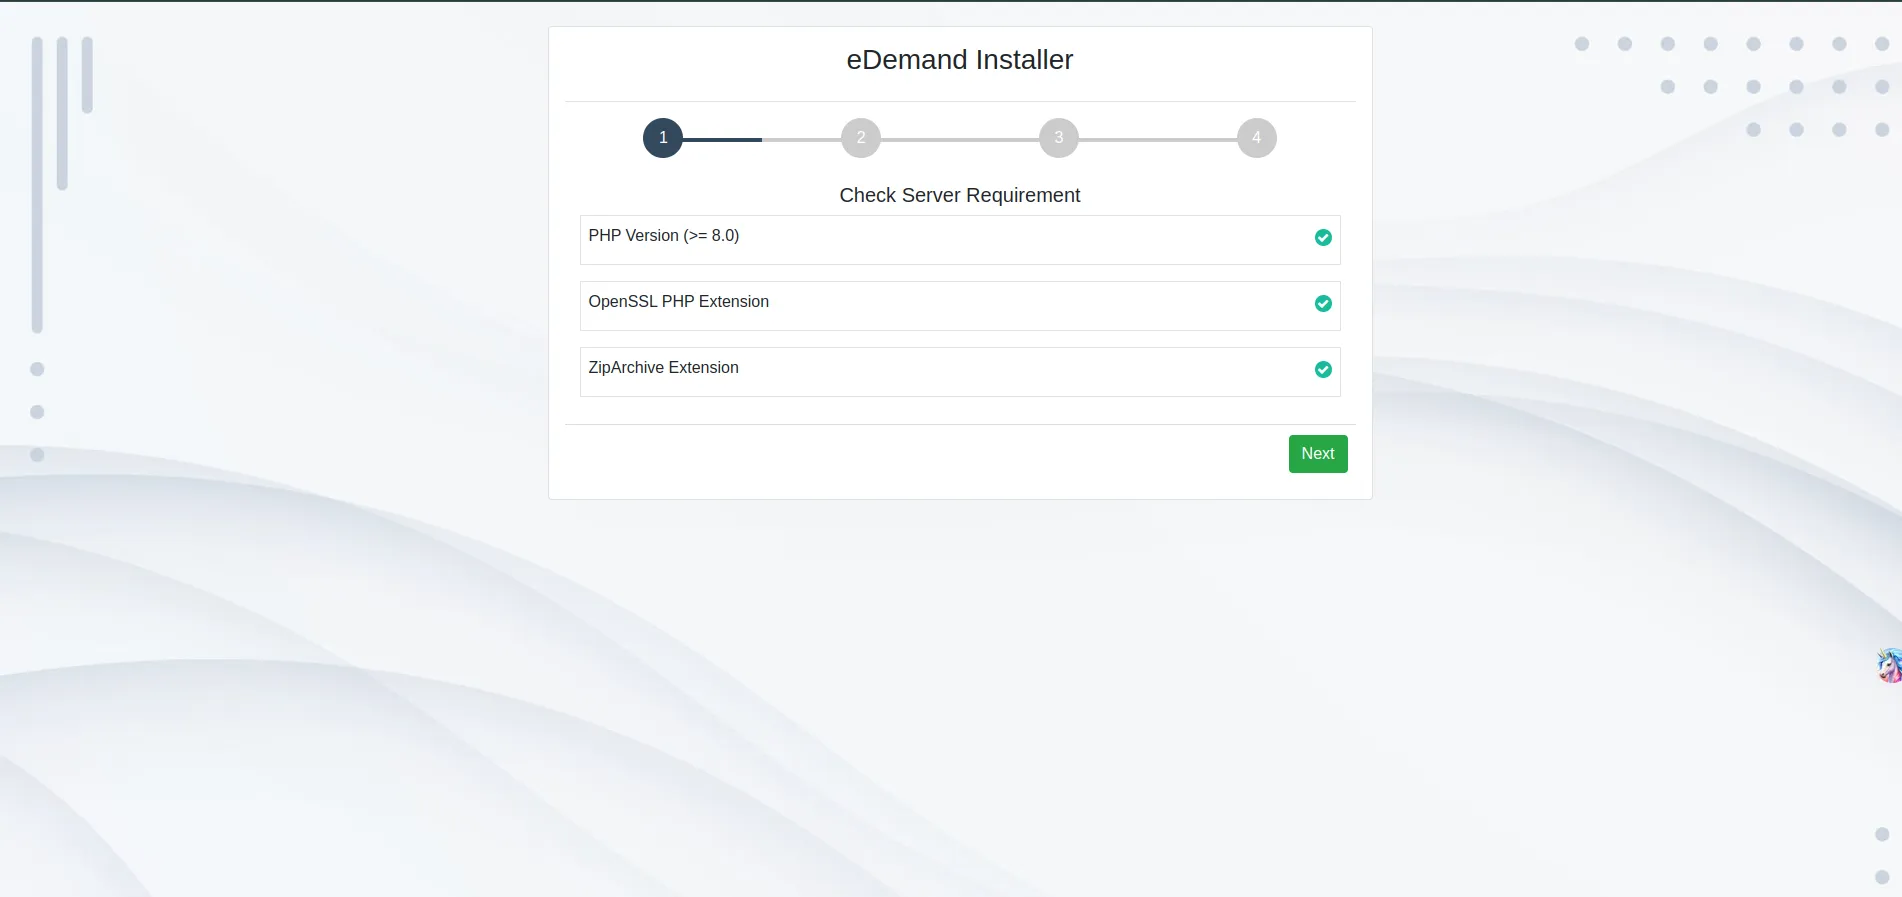
4.1 Prerequisites check
The installer first checks your server requirements.
- PHP version
- Required PHP extensions
If something fails here:
- Go back to the Admin Panel Prerequisites page.
- Fix the item on your server (for example in
php.inior hosting control panel). - Then refresh or reopen the installer URL.
4.2 Enter purchase code
Next, the installer asks for your Envato purchase code.
- Copy the purchase code from your Envato account.
- Paste it into the Purchase code field in the installer.
To find your purchase code, use this link:
Where Is My Purchase code
4.3 Enter database details
After the purchase code step, you will see the database form.
You have already:
- Created a database.
- Created a user and given it access.
- Uploaded and extracted the application files.
Use that information here:
- Database Hostname – Usually
localhost. Use the value from your hosting provider. - Database Username – The database user that has access to the database.
- Database Password – The password for that database user.
- Database Name – The name of the database you created.
4.4 Enter admin details
In the next step, set your admin login.
- Admin Mobile – The admin mobile number.
This number is used later for admin login and authentication. - Admin Password – The admin password.
This password is used later for admin login and authentication.
Keep these values in a safe place.
You will need them to log in to the admin panel.
4.5 Start installation
When all fields are filled:
- Check that there are no red error messages.
- Click Install.
If the installation is successful, your app is ready to use at:
http://youreDemand.in/