Firebase Configuration
Configure the Firebase Setup for Web Version Login
Note:
This step is very important for the web version's login, register, and forget password features to work. Please follow the steps below carefully.
1. Create Firebase Project
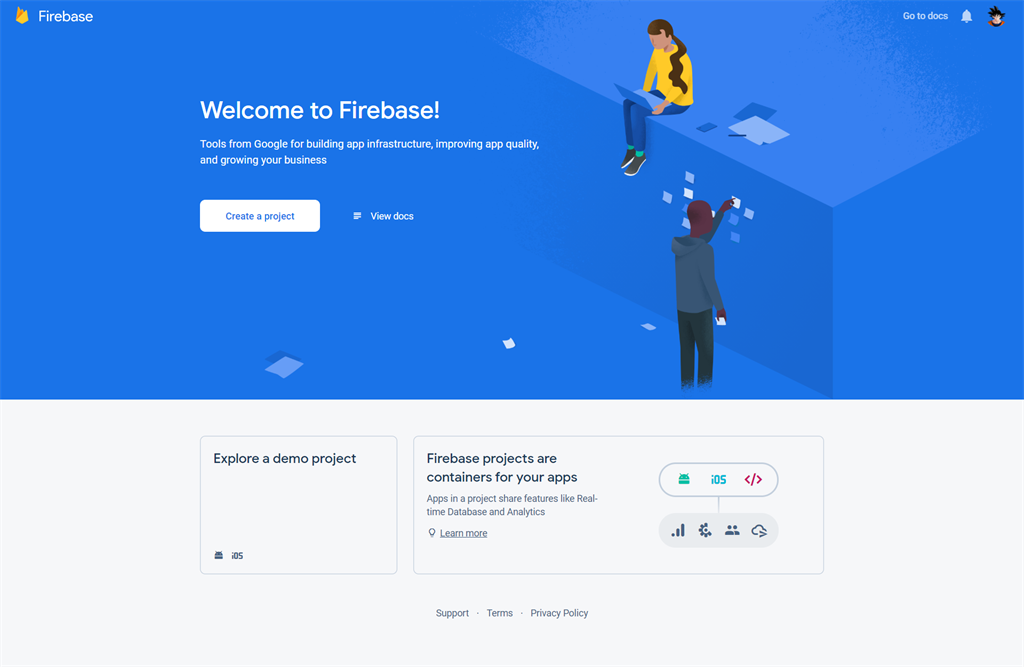
A. Go to the Firebase Console.
B. Register a new account or log in with an existing Google account.
Sample image
C. Once logged in, you will see the Firebase Console dashboard. Click on Add Project.
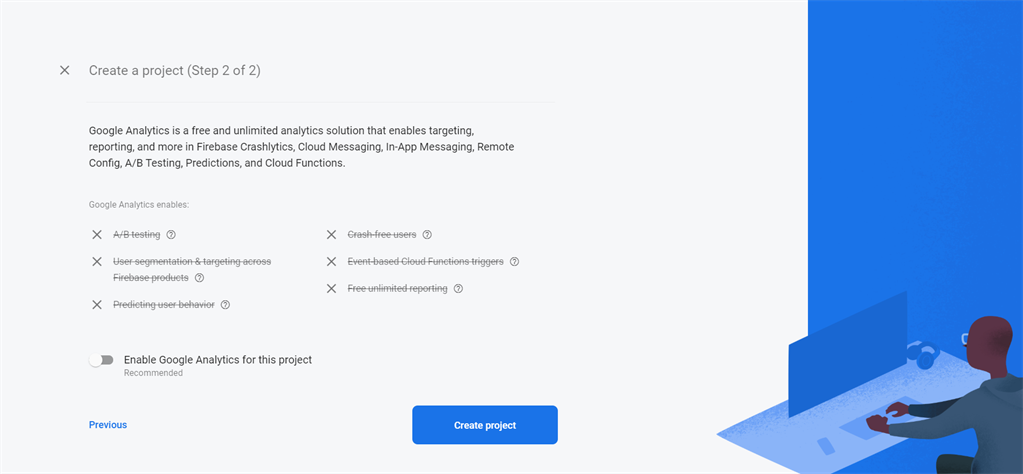
- Provide a project name, select country, and then click on Create Project.
- For example, see the images below:

Sample image
Sample image
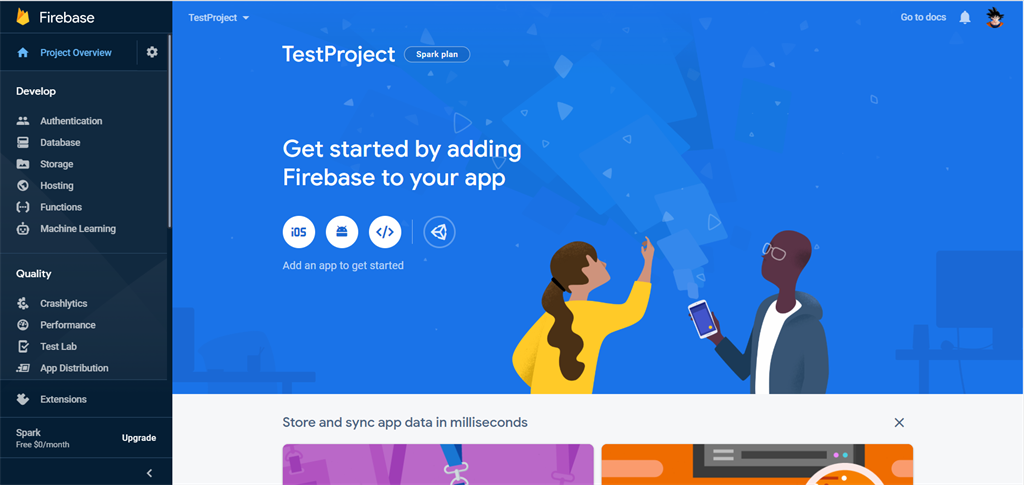
D. Once the project has been created, it will automatically redirect to the Firebase dashboard screen.
Sample image
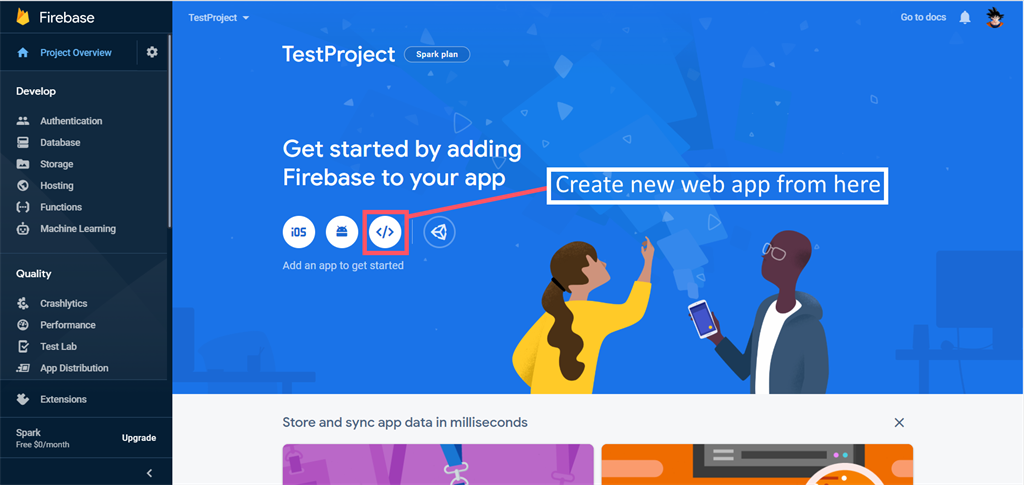
E. As eShop Front End (Web version) is a web project, you need to add a web application to the Firebase project.
Sample image
F. Go to Authentication and open the Sign-in method tab.
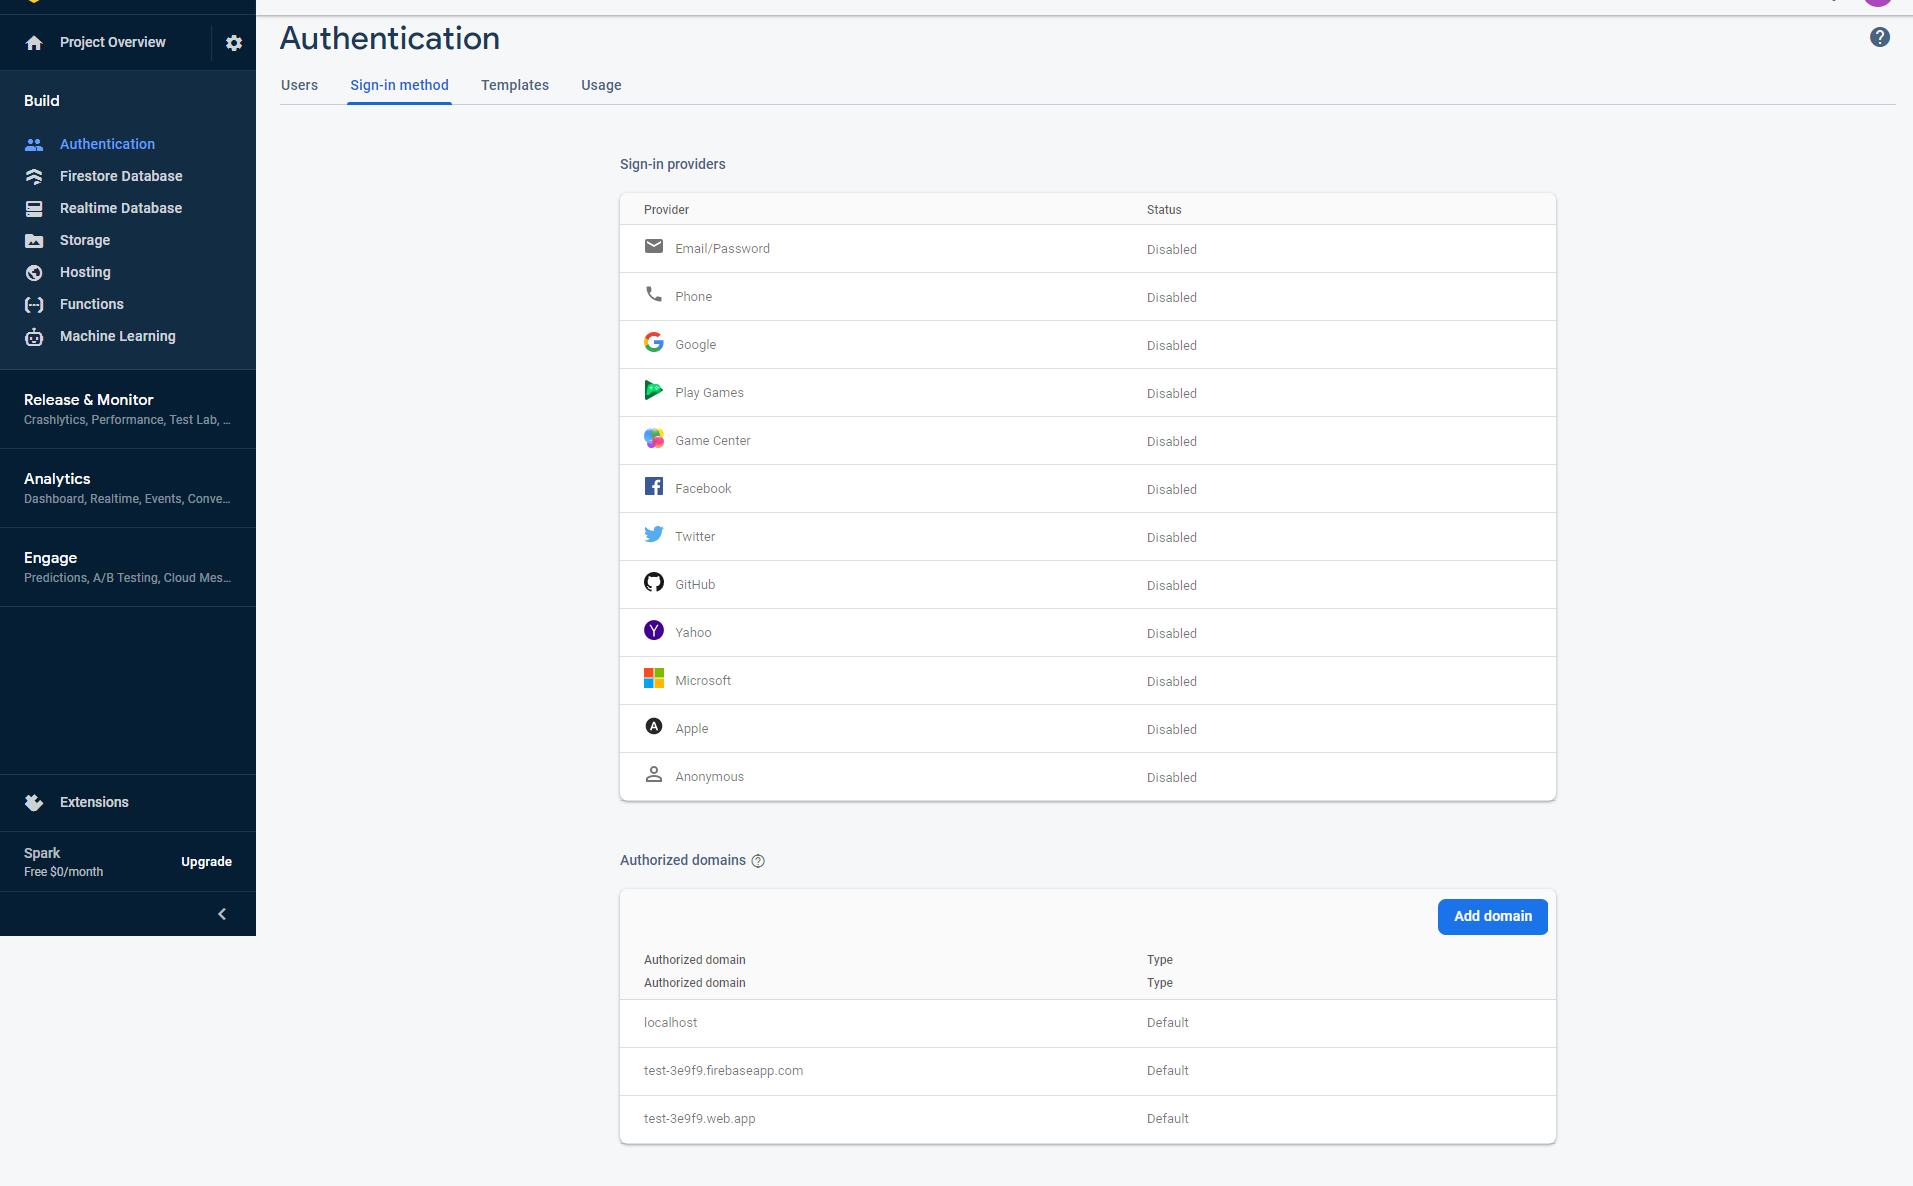
Sample image
G. At the bottom of the page:
- In "Authorized domains",
localhostand a Firebase domain are automatically added. - You must add your domain name (without
http://orhttps://) where the eShop Front End (Web Version) website will be hosted. - If you're using
wwwas a prefix, you must add both with and withoutwww.
H. Add your domain with www as prefix, e.g., www.myeShop.com.
I. Also add your domain without www, e.g., myeShop.com.
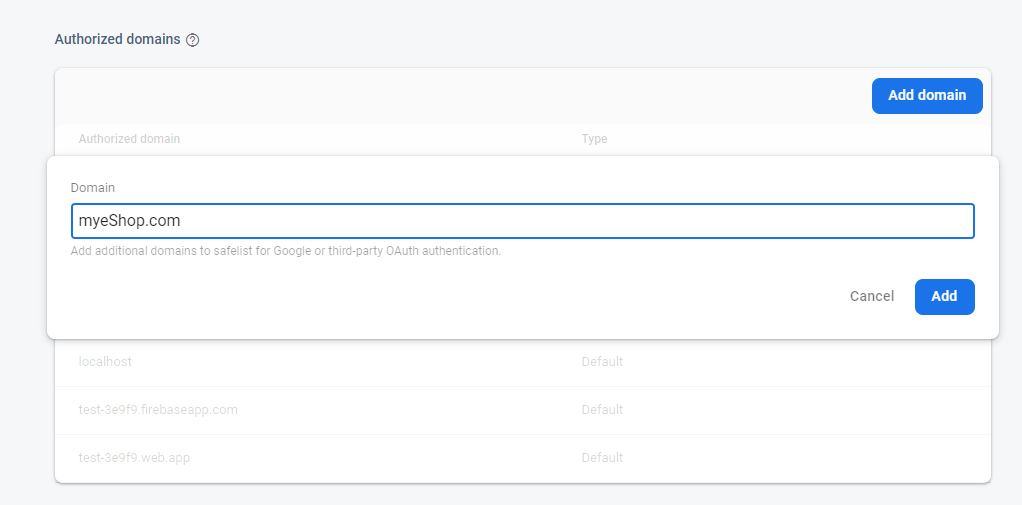
Sample image
J. Go to Project settings in the Firebase dashboard.
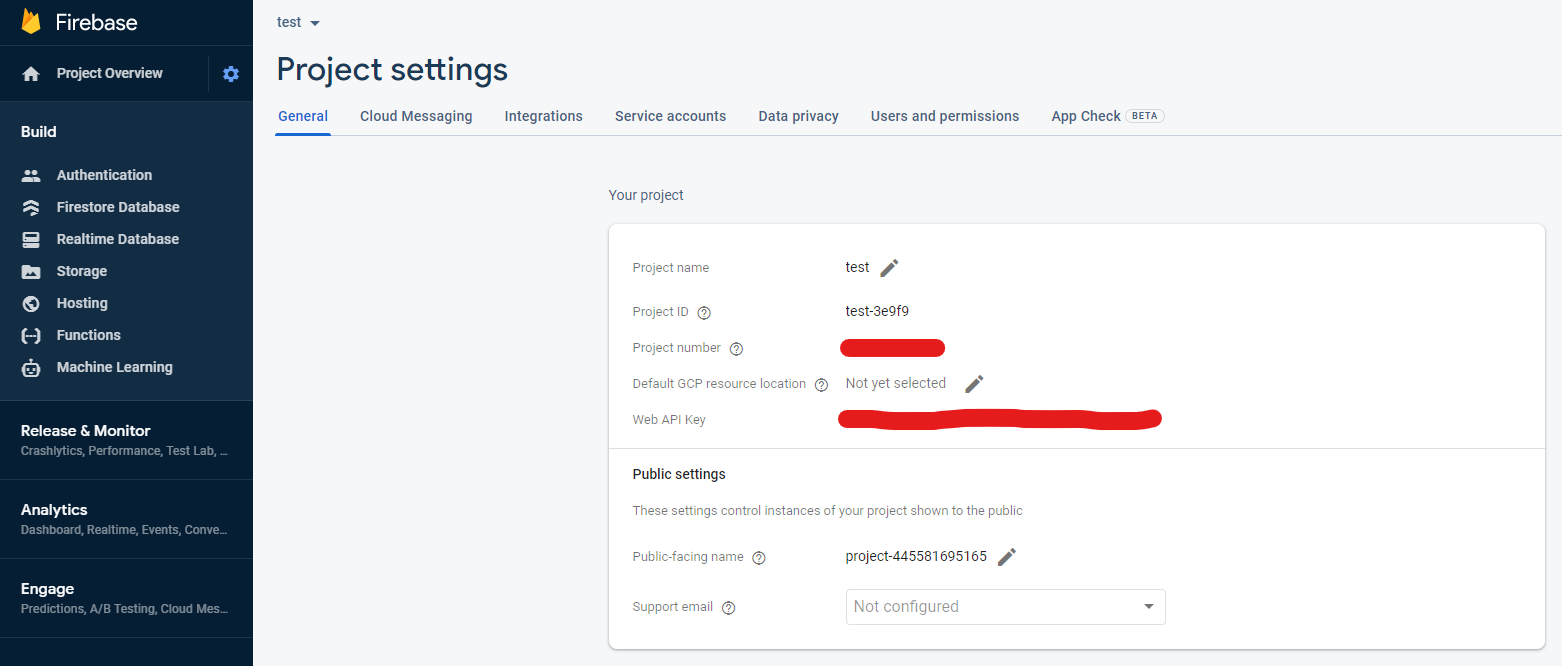
Sample image
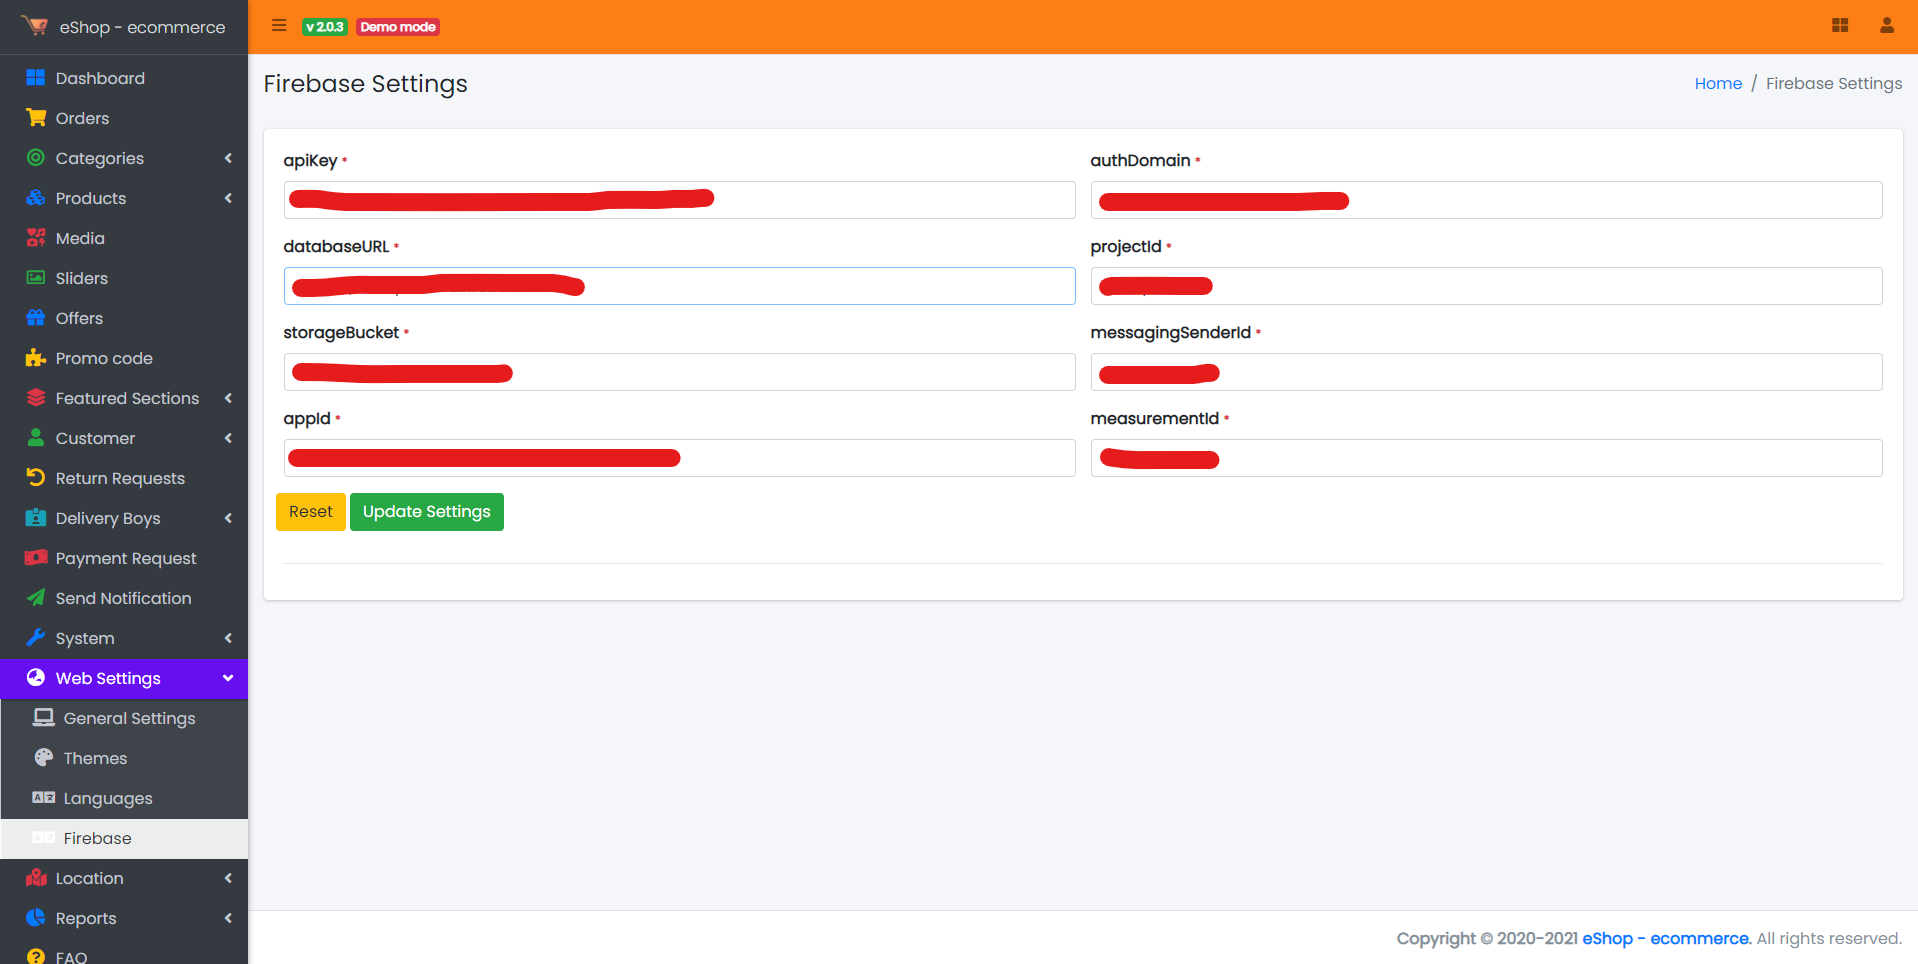
K. In Project settings, scroll down to find the created web app; there you will find the config option containing the Firebase settings for the frontend.
L. Set all details except the two fields:
databaseURLmeasurementId
For these two fields, you can set the value as test.
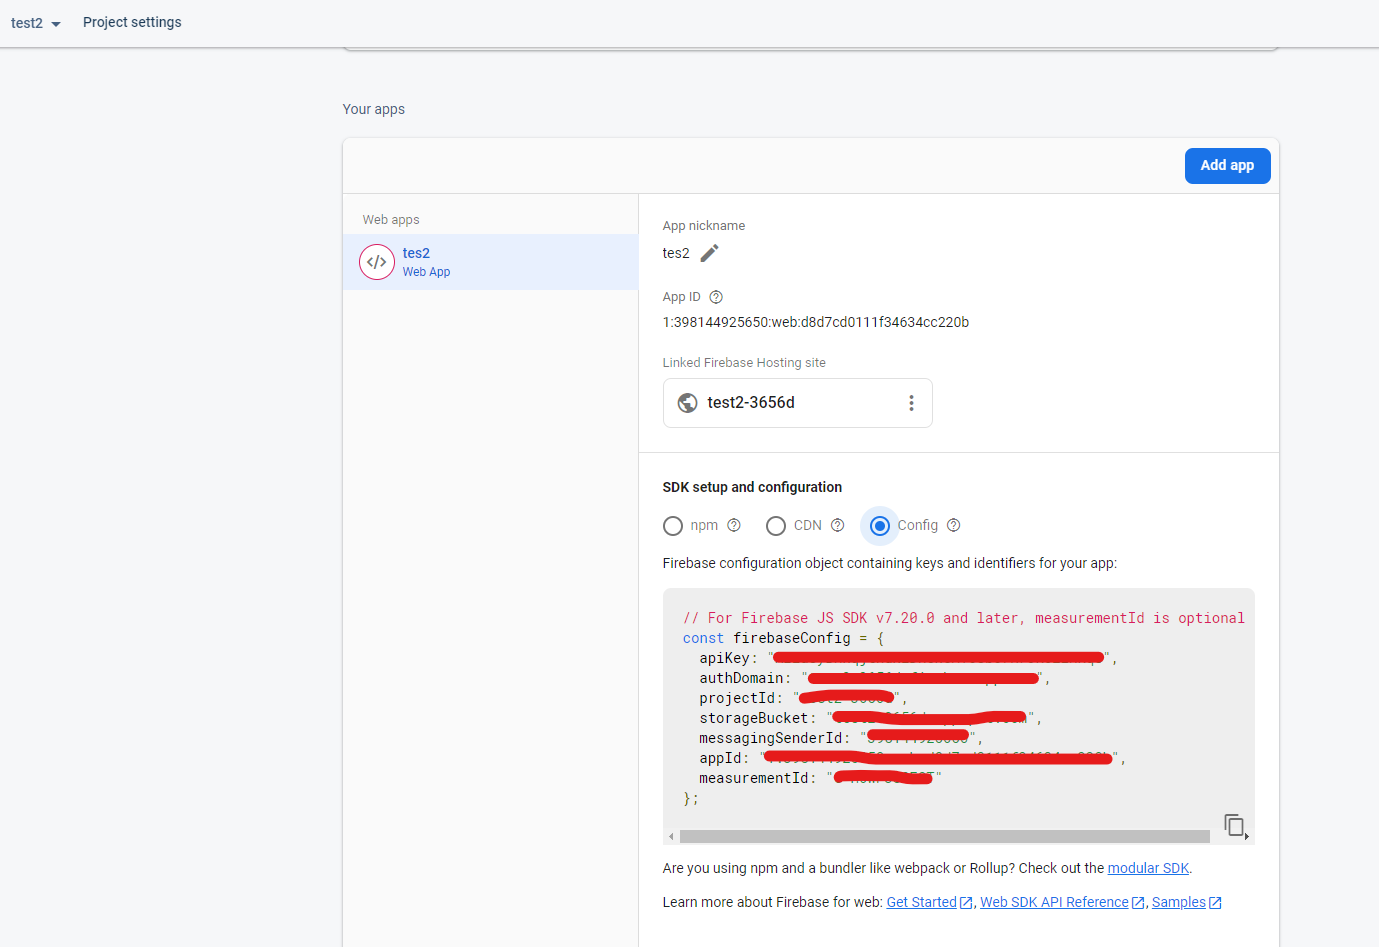
Sample image
M. Set these details in the eShop admin panel under Web Settings, using the Project settings from the Firebase dashboard.
Sample image