Cron Jobs
Cron jobs are scheduled tasks that your server runs automatically. They make sure important background work happens on time, without you having to log in and do it manually.
In eDemand you typically need two cron jobs:
- Subscription status update cron: updates subscription statuses (for example, when a subscription expires at midnight).
- Notification queue cron: processes queued email, SMS, and FCM notifications so they are sent reliably without slowing down the app.
If these cron jobs are not set:
- Subscription statuses may not update on time.
- Notifications may stay in the queue or be delayed.
You can run cron jobs in two common ways:
- URL-based cron using
curlorwget. - PHP CLI cron using the
sparkcommand (recommended for the notification queue).
Below you will find step‑by‑step instructions for both, including examples for cPanel.
1. Finding Your Cron URLs in the Admin Panel
For URL‑based cron, you first need the URLs that eDemand exposes. These are shown in the admin panel.
- Log in to your eDemand admin panel.
- Go to the section where cron URLs are listed.
- You will see URLs similar to your subscription cron route, for example:
https://your-domain.com/update_subscription_status- or
https://your-domain.com/admin/dashboard/update_subscription_status(depending on how routes are defined in your project)
You may also see screens similar to:
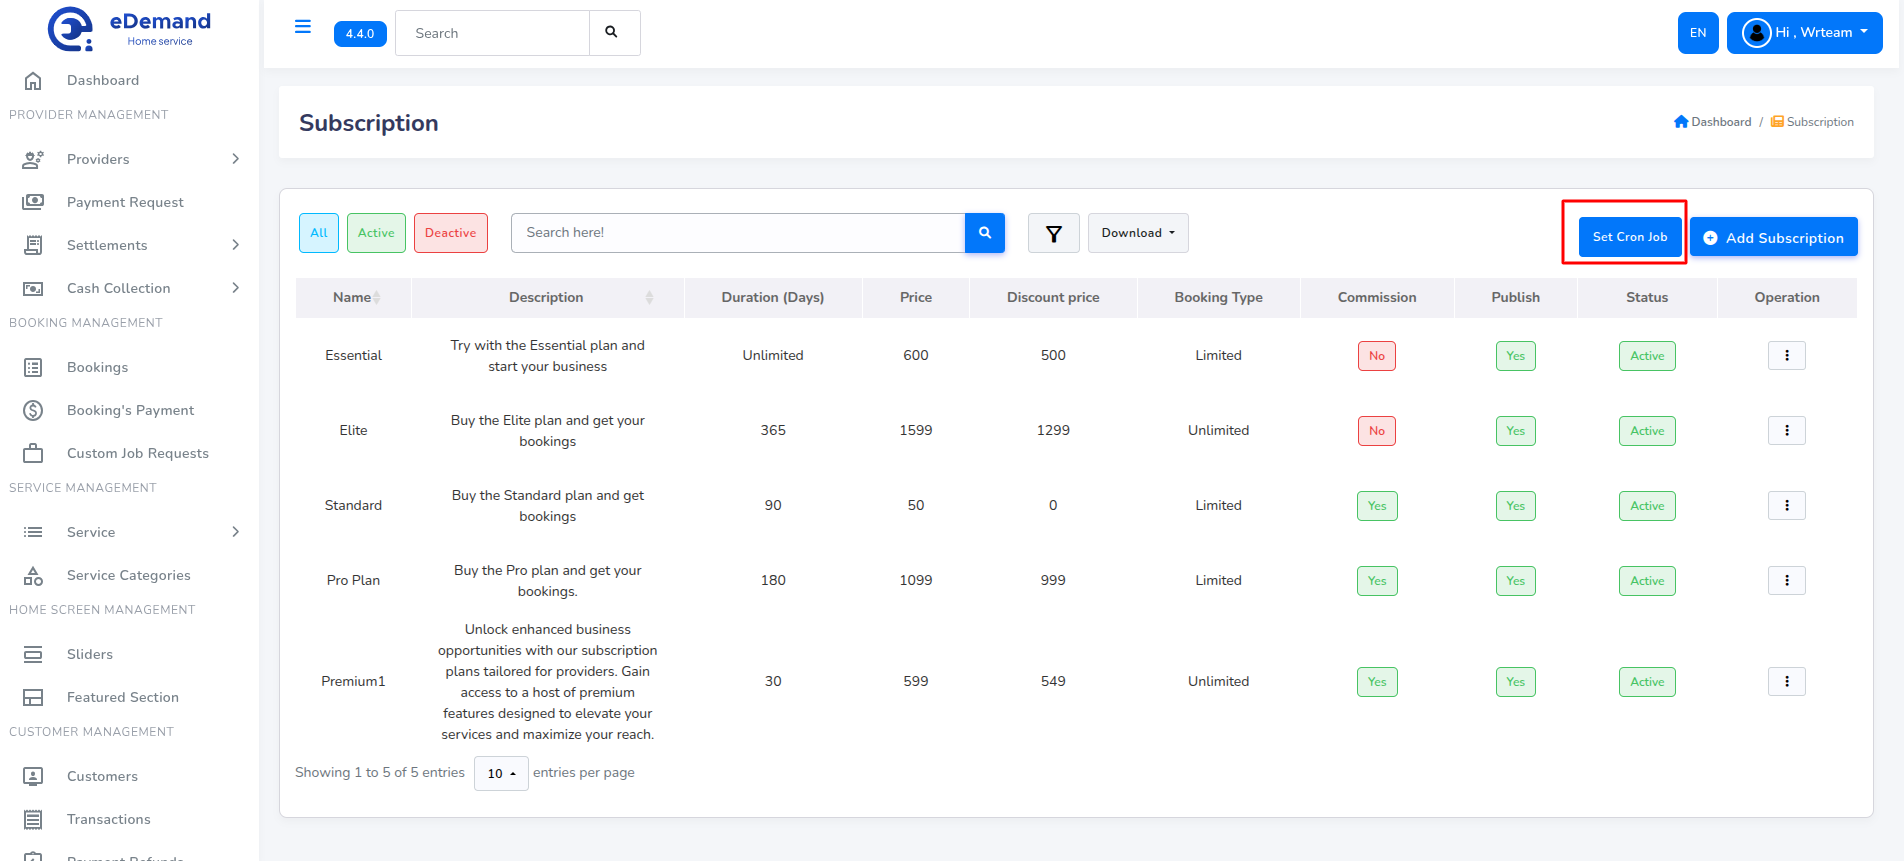
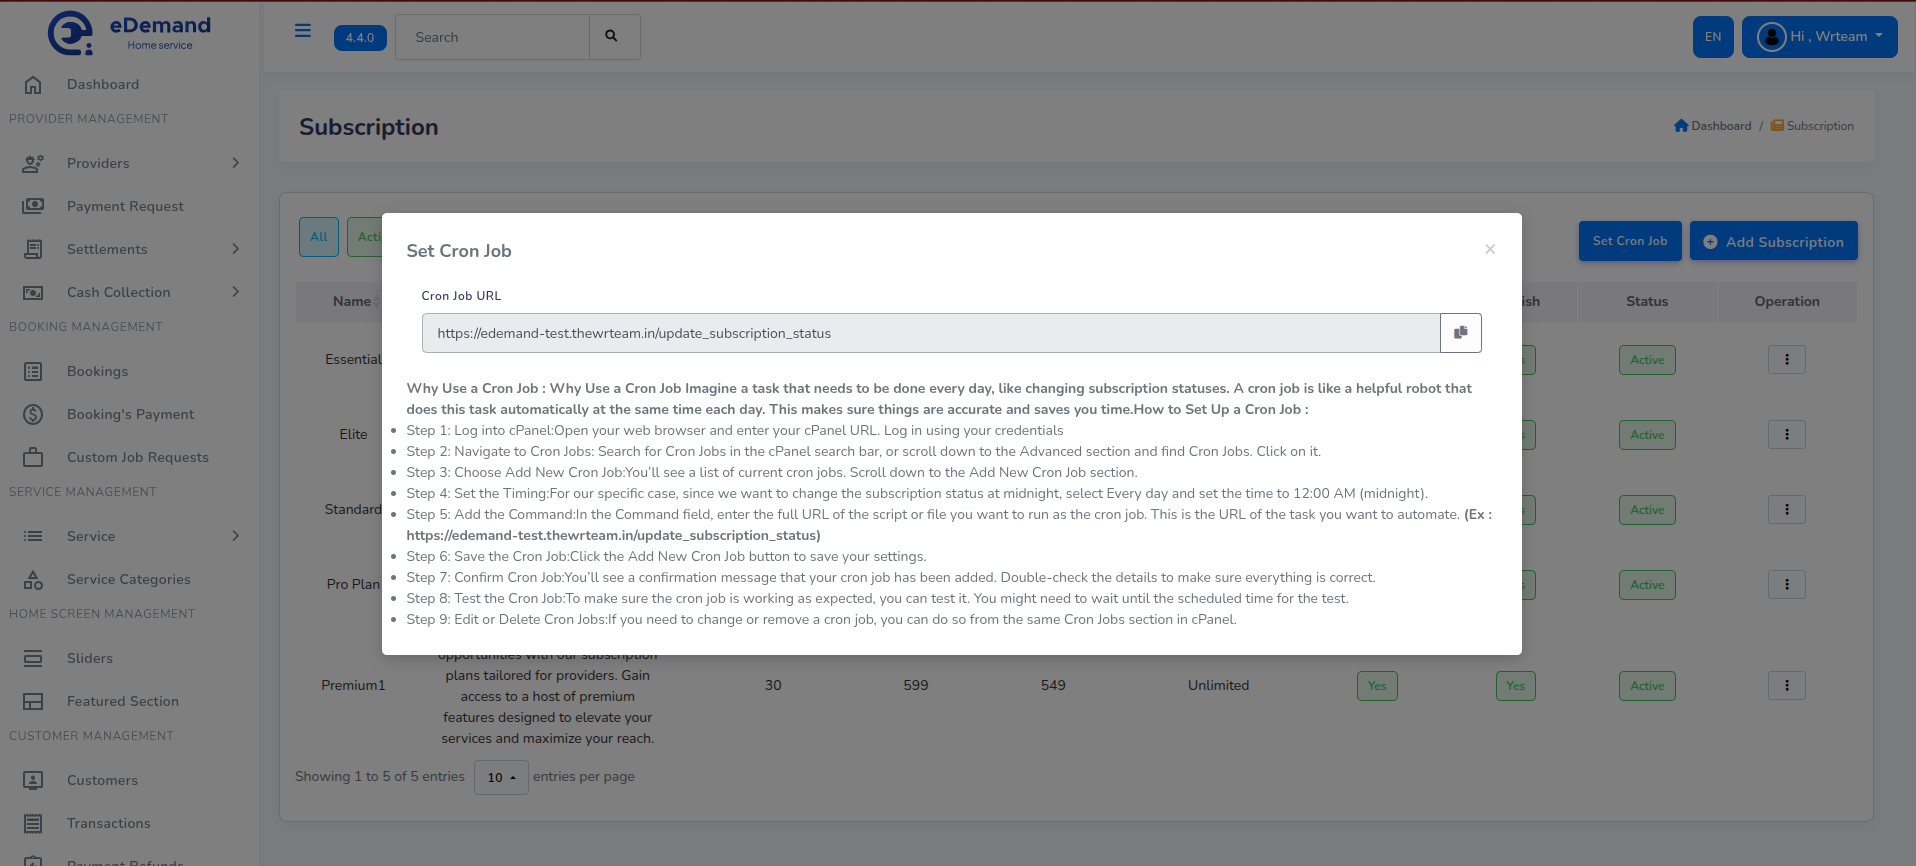
Copy the URL you want to schedule – you will paste them into your cron commands.
2. URL‑Based Cron (using curl or wget)
URL‑based cron means your server simply calls a URL at a fixed interval. This is easy to set up and works well for tasks like subscription status updates.
We will show:
- How to set it up in cPanel.
- The exact commands for
curlandwget, with output discarded so no log files are created on server.
cPanel – Add a URL‑Based Cron Job
-
Log in to cPanel
- Open your hosting cPanel URL and sign in.
-
Open the Cron Jobs screen
- In the search bar, type
Cron Jobs, or - Scroll to the Advanced section and click Cron Jobs.
- In the search bar, type
-
Choose “Add New Cron Job”
- Scroll down to the Add New Cron Job section.
-
Set the schedule
- For a daily subscription status update at midnight:
- Use the “Common Settings” dropdown (e.g.
Once Per Day) and adjust the time to 00:00 if available. - Or manually set:
- Minute:
0 - Hour:
0 - Day:
* - Month:
* - Weekday:
*
- Minute:
- Use the “Common Settings” dropdown (e.g.
- For a daily subscription status update at midnight:
-
Add the command using
curlReplace
<CRON_URL>with your actual cron URL.curl -s -o /dev/null -m 60 "<CRON_URL>" >/dev/null 2>&1-s: silent mode (no progress output).-o /dev/null: discard the body.-m 60: timeout after 60 seconds.>/dev/null 2>&1: send all remaining output and errors to the void.
Example:
curl -s -o /dev/null -m 60 "https://your-domain.com/admin/dashboard/update_subscription_status" >/dev/null 2>&1Most shared hosting servers allow you to call
curldirectly as above. If your host requires a full path, you can prepend it, for example:/usr/bin/curl. -
Alternative: command using
wgetIf your server uses
wget, you can use:wget -q -O /dev/null "https://your-domain.com/admin/dashboard/update_subscription_status" >/dev/null 2>&1-
-q: quiet mode. -
-O /dev/null: discard the downloaded content.
As with
curl, most servers let you usewgetdirectly. If needed, you can prepend the full path your host provides (for example/usr/bin/wget). -
-
Save
- Click Add New Cron Job.
- Confirm that the new cron job appears in the list.
3. PHP CLI Cron for the Notification Queue (spark)
Sending email, SMS, or FCM notifications to many users can be slow if you try to do it during the web request itself.
To solve this, eDemand uses a queue.
The notification queue cron regularly runs a spark command that processes a fixed number of jobs and then exits.
The command looks like this:
<path-to-php> <path-to-your-project>/spark queue:work notifications -max-jobs 20 --stop-when-empty
<path-to-php>: full path to the PHP binary.<path-to-your-project>: full path to the project root where thesparkfile is located.
You need to find both paths on your server.
3.1. How to Find <path-to-php>
a) On a normal Linux server (SSH)
-
Connect via SSH.
-
Run:
which php -
The output is usually something like:
/usr/bin/php
This is your <path-to-php>.
b) In cPanel
There are a few common ways:
-
Terminal feature (if enabled):
-
In cPanel, search for Terminal and open it.
-
Run:
which php -
Use the resulting path (for example
/usr/bin/phpor/usr/local/bin/php).
-
-
Select PHP Version / MultiPHP:
- Some hosts show the PHP path on the PHP Selector / MultiPHP Manager page.
- Look for text like “PHP executable path” or similar in your host’s documentation.
If you cannot find it, your hosting provider’s documentation or support can usually tell you the correct PHP path for cron jobs.
3.2. How to Find <path-to-your-project>
You need the absolute path to the folder where the spark file lives.
Common patterns on shared hosting:
/home/<cpanel-username>/public_html/home/<cpanel-username>/domains/<your-domain>/public_html
a) Using cPanel File Manager
- In cPanel, open File Manager.
- Navigate to your document root for the domain where eDemand runs.
- For the main domain, this is often
public_html. - For addon domains or subdomains, use Domains in cPanel to see the Document Root.
- For the main domain, this is often
- Find the folder where eDemand is installed (the folder that contains the
sparkfile). - Look at the full path displayed at the top of File Manager, or right‑click the folder and check “Copy path” if your host provides that.
Example full path:
/home/user/domains/domain.com/public_html/edemand
This becomes your <path-to-your-project>.
b) Using SSH
-
Go to your project folder:
cd /path/to/your/project -
Run:
pwd -
The output is your
<path-to-your-project>.
3.3. Example Full spark Command
Putting it together:
/usr/bin/php /home/user/domains/domain.com/public_html/edemand/spark queue:work notifications -max-jobs 20 --stop-when-empty
You can adjust:
notificationsqueue name if your setup uses a different one.-max-jobs 20to process more or fewer jobs per run.
3.4. cPanel – Add the Notification Queue Cron
Now that you have the PHP path and project path:
-
Log in to cPanel.
-
Open Cron Jobs.
-
In Add New Cron Job:
- Set the schedule to run every minute (recommended for queues):
- Minute:
* - Hour:
* - Day:
* - Month:
* - Weekday:
*
- Minute:
- Set the schedule to run every minute (recommended for queues):
-
In the Command field, enter:
<path-to-php> <path-to-your-project>/spark queue:work notifications -max-jobs 20 --stop-when-empty >/dev/null 2>&1Example:
/usr/bin/php /home/user/domains/domain.com/public_html/edemand/spark queue:work notifications -max-jobs 20 --stop-when-empty >/dev/null 2>&1 -
Click Add New Cron Job.
-
Confirm that the cron job appears in the list.
4. Verifying and Maintaining Your Cron Jobs
After setting up your cron jobs:
- Check logs or application behavior:
- Confirm that subscription statuses are updated as expected (for example, after midnight).
- Check that queued notifications are being sent and the queue is not growing indefinitely.
- Adjust schedules if needed:
- For heavy notification volume, you may keep the queue cron at every minute.
- For lighter workloads, you can reduce the frequency.
- Edit or remove cron jobs:
- In cPanel, use the same Cron Jobs screen to modify or delete.
Keeping these cron jobs configured and running is essential for correct and timely background processing in eDemand.