Firebase Configuration
Firebase Configuration
Critical
This configuration is mandatory for Social Login (Google/Apple) and Push Notifications to function correctly.
Follow this step-by-step guide to configure your Firebase project.
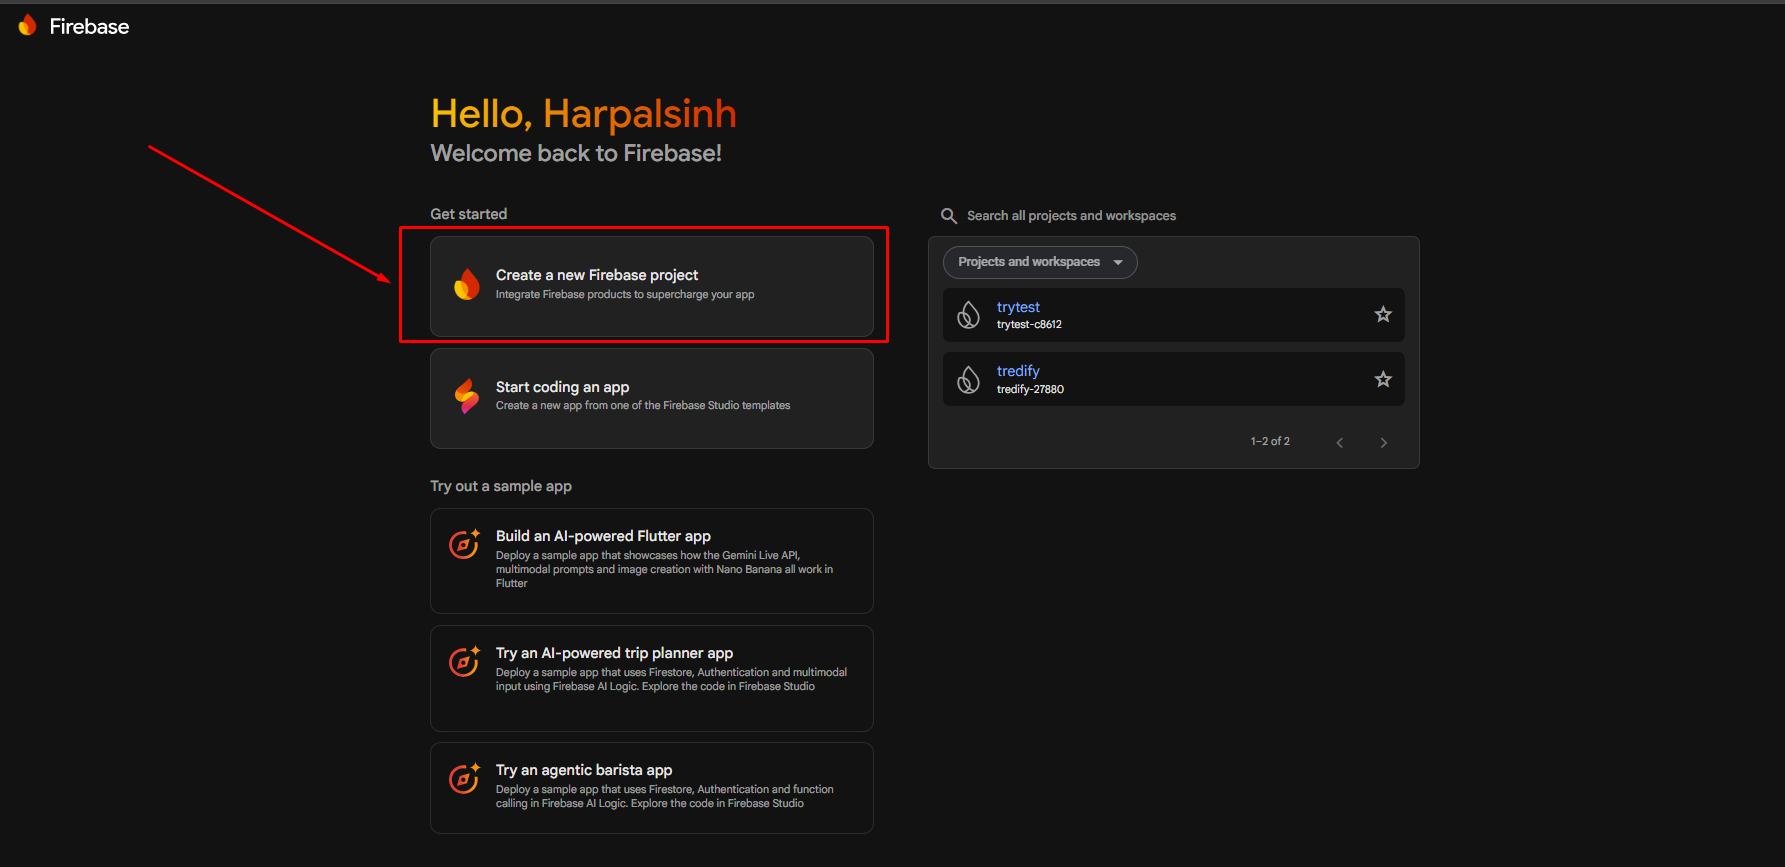
Step 1: Create a new Firebase project
Next steps after click:
- Go to the Firebase Console.
- Enter Project Name.
- Enable/disable Google Analytics (optional).
- Click Create project.
- Wait 20–30 seconds until the Dashboard opens.
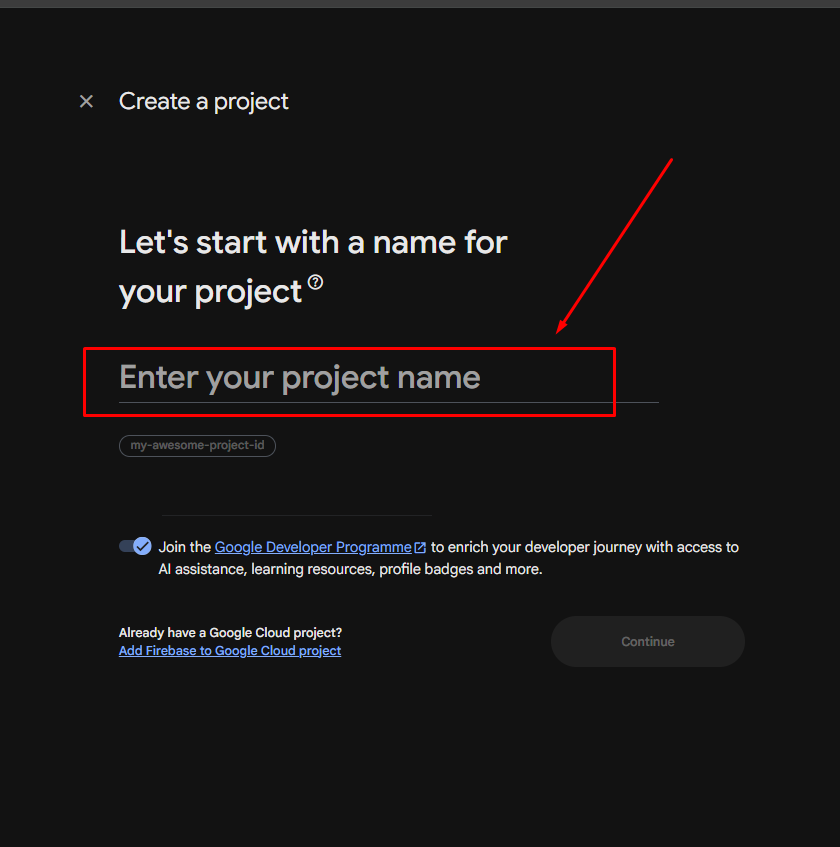
Step 2: Enter Your Project Name
Enter your project name and click Create project to proceed.
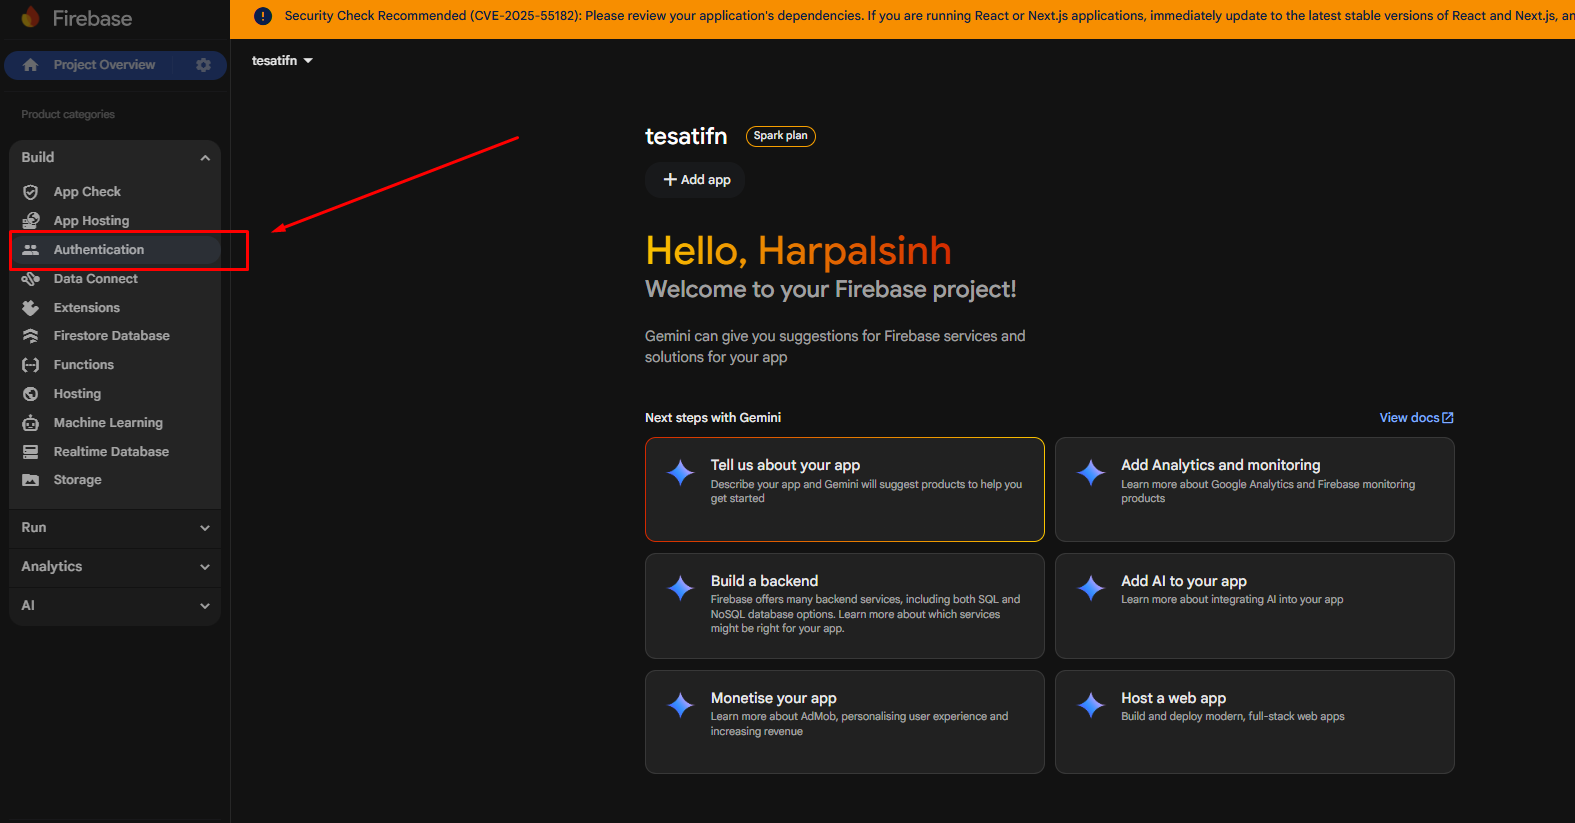
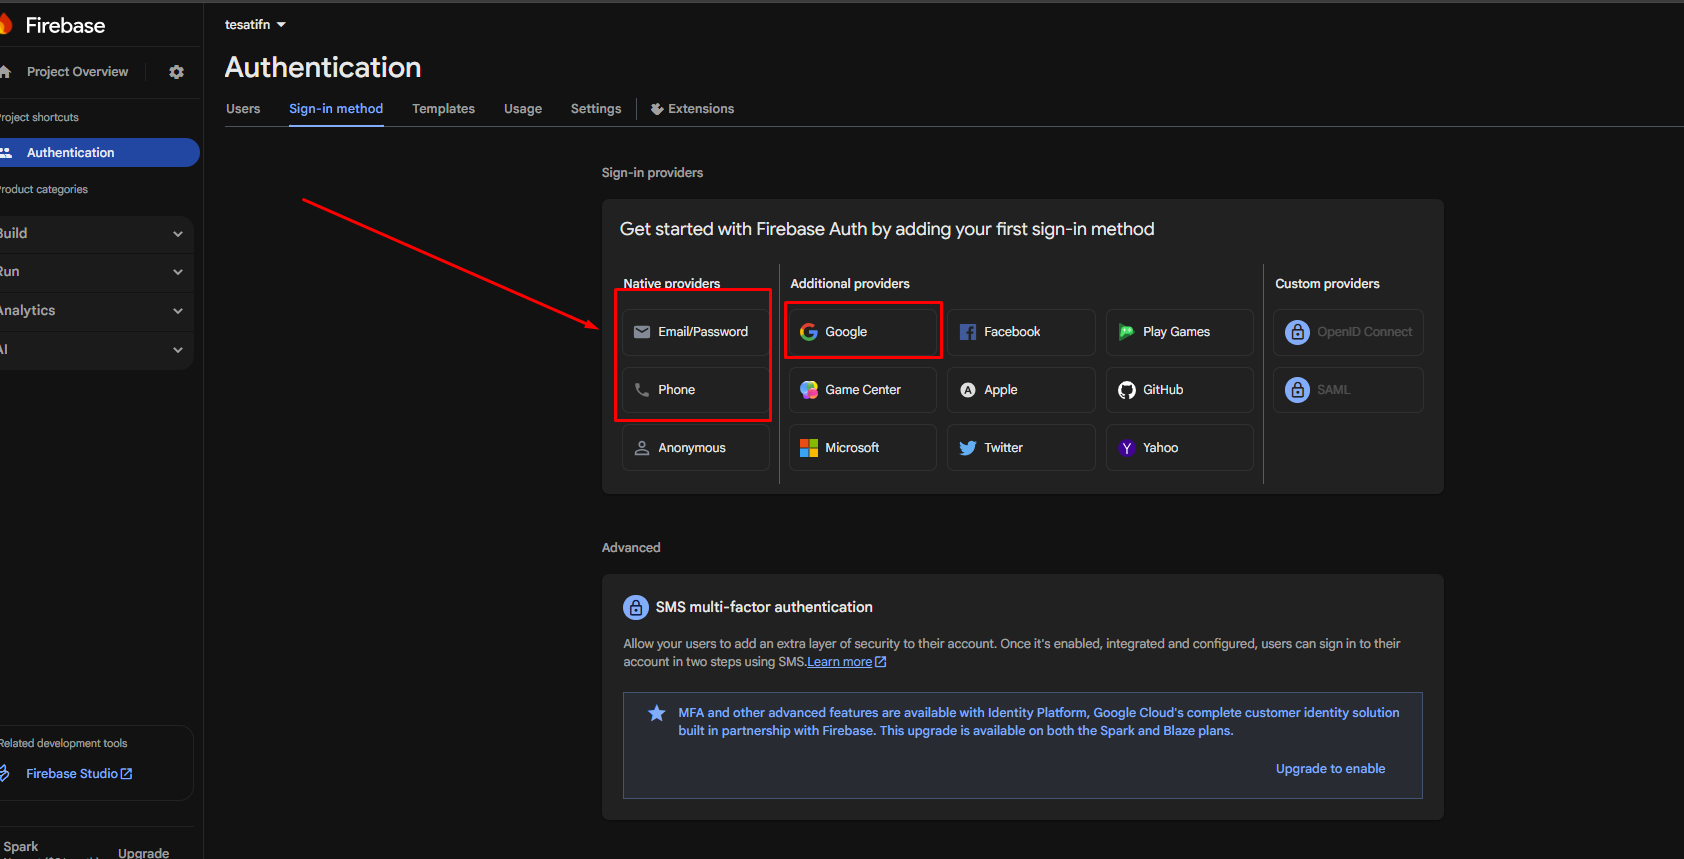
Step 3: Go to Authentication Section
Actions:
- Go to the Authentication Section in the dashboard.
- Click on the Sign-in method tab.
This section allows you to configure:
- Login methods
- User accounts
- Security settings
Step 4: Configure Sign-In Providers
Enable the following sign-in methods for your application:
Email/Password Login
- Recommended for most apps.
- Under Native providers, select Email/Password.
- Toggle Enable to On.
- Click Save.
Phone (OTP) Login
- Under Native providers, select Phone.
- Toggle Enable to On.
- Click Save.
- Note: May require Firebase billing setup.
Google Login
- Under Additional providers, select Google.
- Toggle Enable to On.
- Select a valid Support Email from the dropdown.
- Click Save.
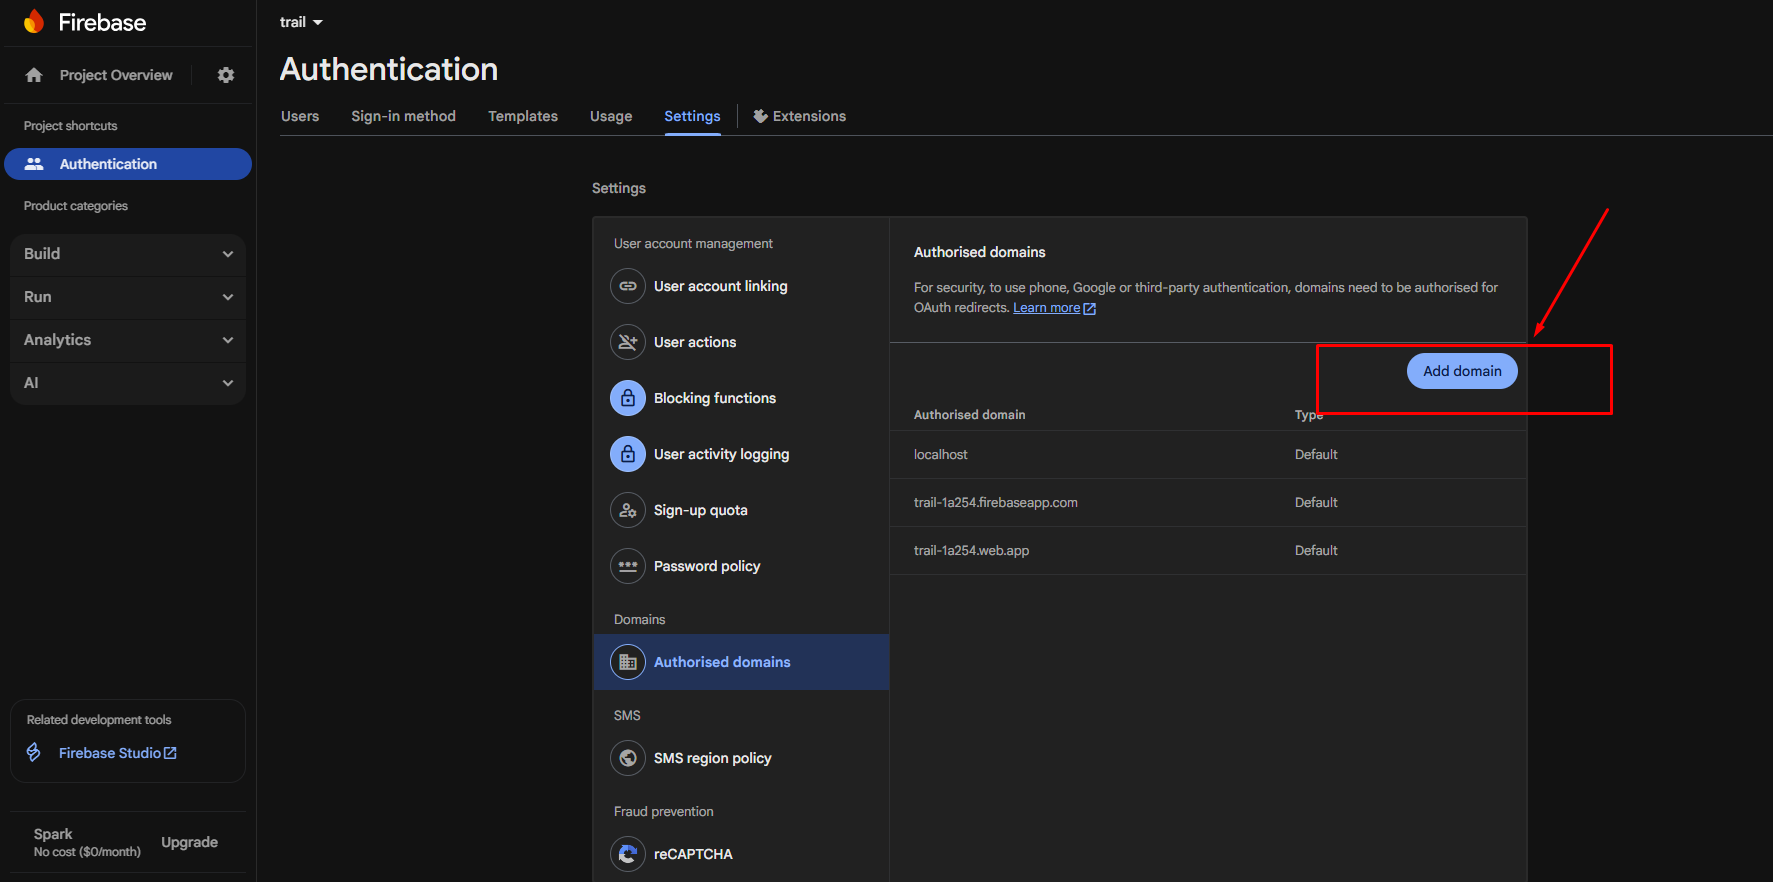
Step 5: Authorized Domains
What are Authorized Domains? In Firebase Authentication, Authorized Domains are the list of domains allowed to use Firebase authentication features (Google Sign-In, Phone Auth, etc.). Firebase blocks requests from unauthorized domains to prevent misuse.
How to Add a New Authorized Domain:
- Go to the Firebase Console.
- Select your project.
- Navigate to Build → Authentication → Settings → Authorized domains.
- Click Add domain.
- Enter your domain name (e.g.,
example.com,admin.example.com).
Mandatory
You must add your production domains here, or users will see errors like auth/unauthorized-domain.