Installation
1. Installation
This section guides you through installing the eShop backend and web application using the built-in installation wizard.
Before starting, ensure that your server environment and database credentials are ready.
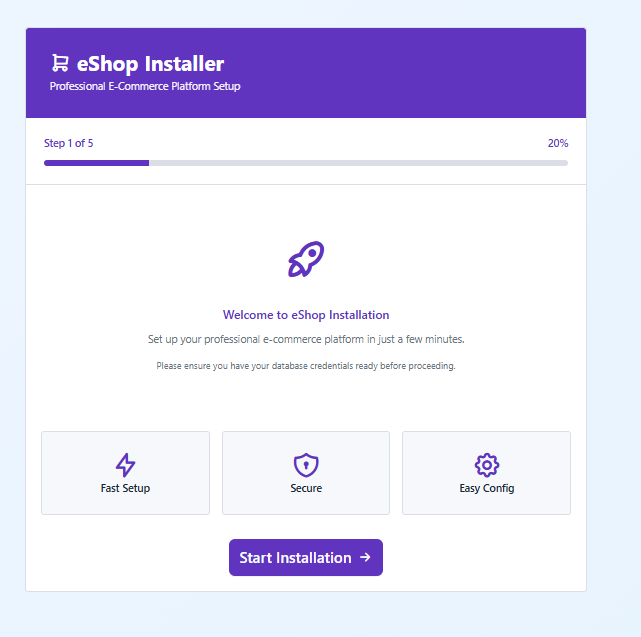
Step 1: Welcome & Preparation
The installation wizard welcomes you and ensures you are prepared to begin the setup process.
This installer will guide you step by step. No manual configuration is required if all requirements are met.
Instructions:
- Carefully read the welcome message displayed by the installer.
- Keep your database credentials ready:
- Database Host
- Database Username
- Database Password
- Click Start Installation to proceed.
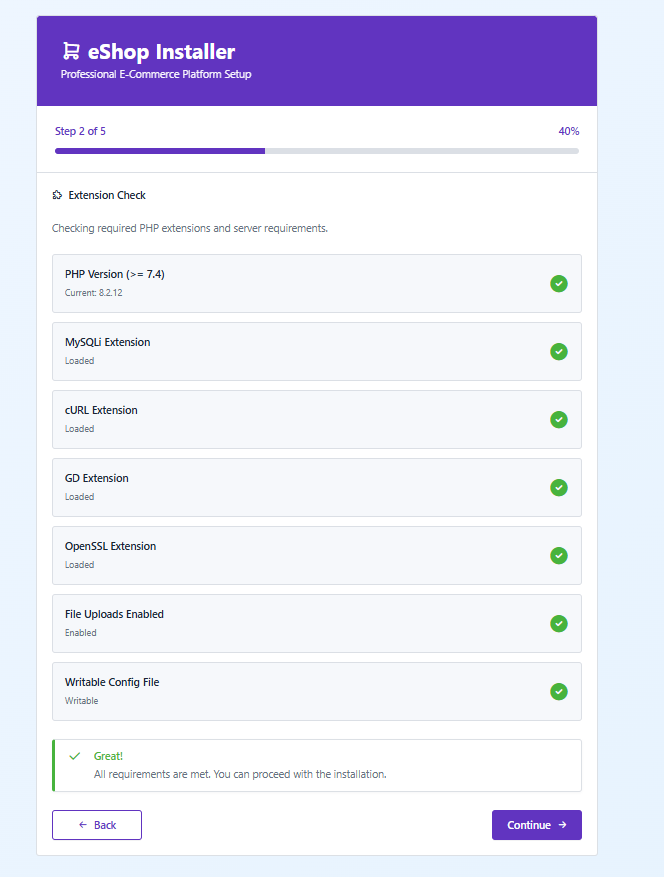
Step 2: System Requirements Check
At this stage, the installer verifies whether your server meets all technical requirements needed to run eShop.
Server Requirements:
- PHP version 7.4 or higher
- MySQLi extension enabled
- cURL extension enabled
- GD extension enabled
- OpenSSL extension enabled
- File uploads enabled
- Writable configuration files
Instructions:
- Ensure all checks display a green ✔ status.
- If any requirement fails, resolve it on your server before continuing.
- Click Continue once all requirements are satisfied.
Most hosting providers enable these extensions by default. If unsure, contact your hosting support team.
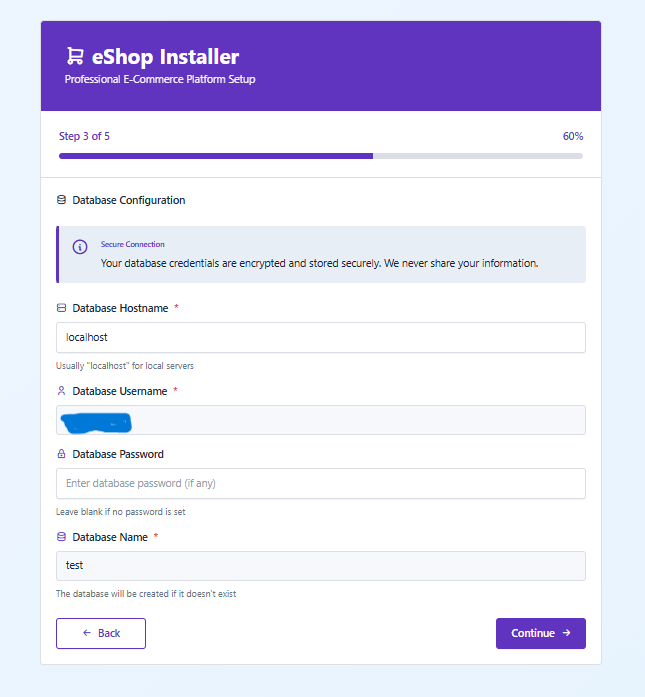
Step 3: Database Configuration
In this step, you will connect eShop to your MySQL database.
Database Fields:
-
Database Hostname
Usuallylocalhost -
Database Username
Your MySQL database user -
Database Password
Password associated with the database user -
Database Name
The database where eShop data will be stored
(Create one beforehand if it does not exist)
Instructions:
- Enter the correct database credentials.
- Double-check for typing errors.
- Click Continue to validate the connection.
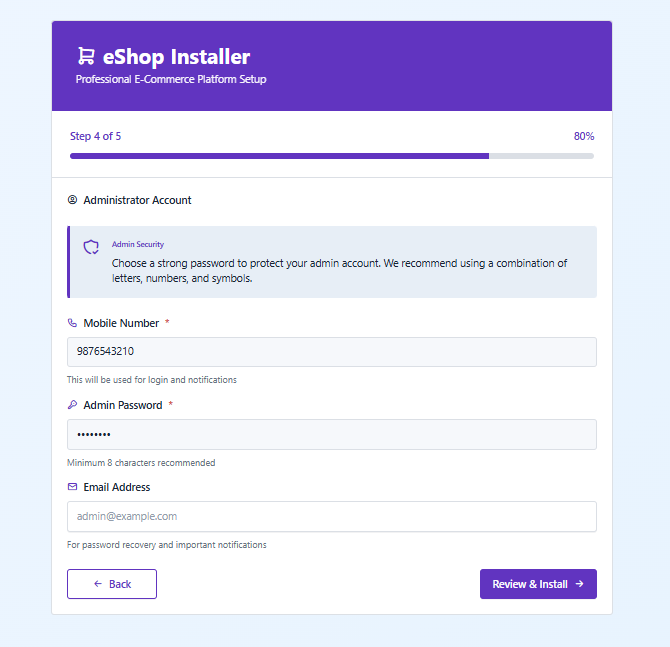
Step 4: Admin Account Setup
Create the primary administrator account that will be used to manage the store.
Administrator Details:
-
Mobile Number
Used for admin login and system notifications -
Admin Password
Use a strong password (minimum 8 characters recommended) -
Email Address
Used for password recovery and important alerts
Instructions:
- Enter valid and active contact details.
- Store your admin credentials securely.
- Click Review & Install to proceed.
The admin account has full system access. Avoid sharing these credentials.
Step 5: Final Review & Installation
Before completing the setup, the installer presents a summary of your configuration.
Review Checklist:
- Administrator account details
- Database connection status
- Server readiness confirmation
Instructions:
- Carefully verify all information.
- Click Install eShop Now.
- Wait for the installation process to complete.
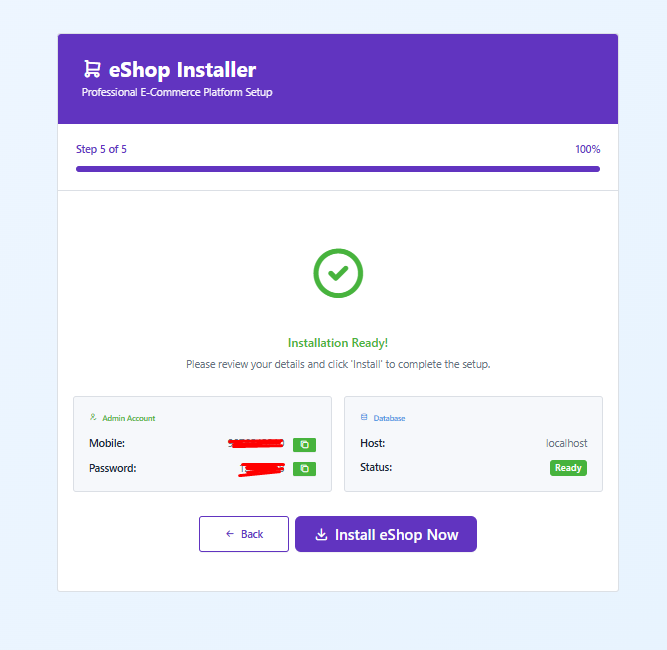
Installation Summary
During the installation, you will configure the following:
-
Database Hostname
Usuallylocalhost -
Database Username / Password / Name
As created during database setup -
Admin Mobile & Password
Used to log in to the admin panel -
Application URL
Full base URL of your site
Example: https://example.com