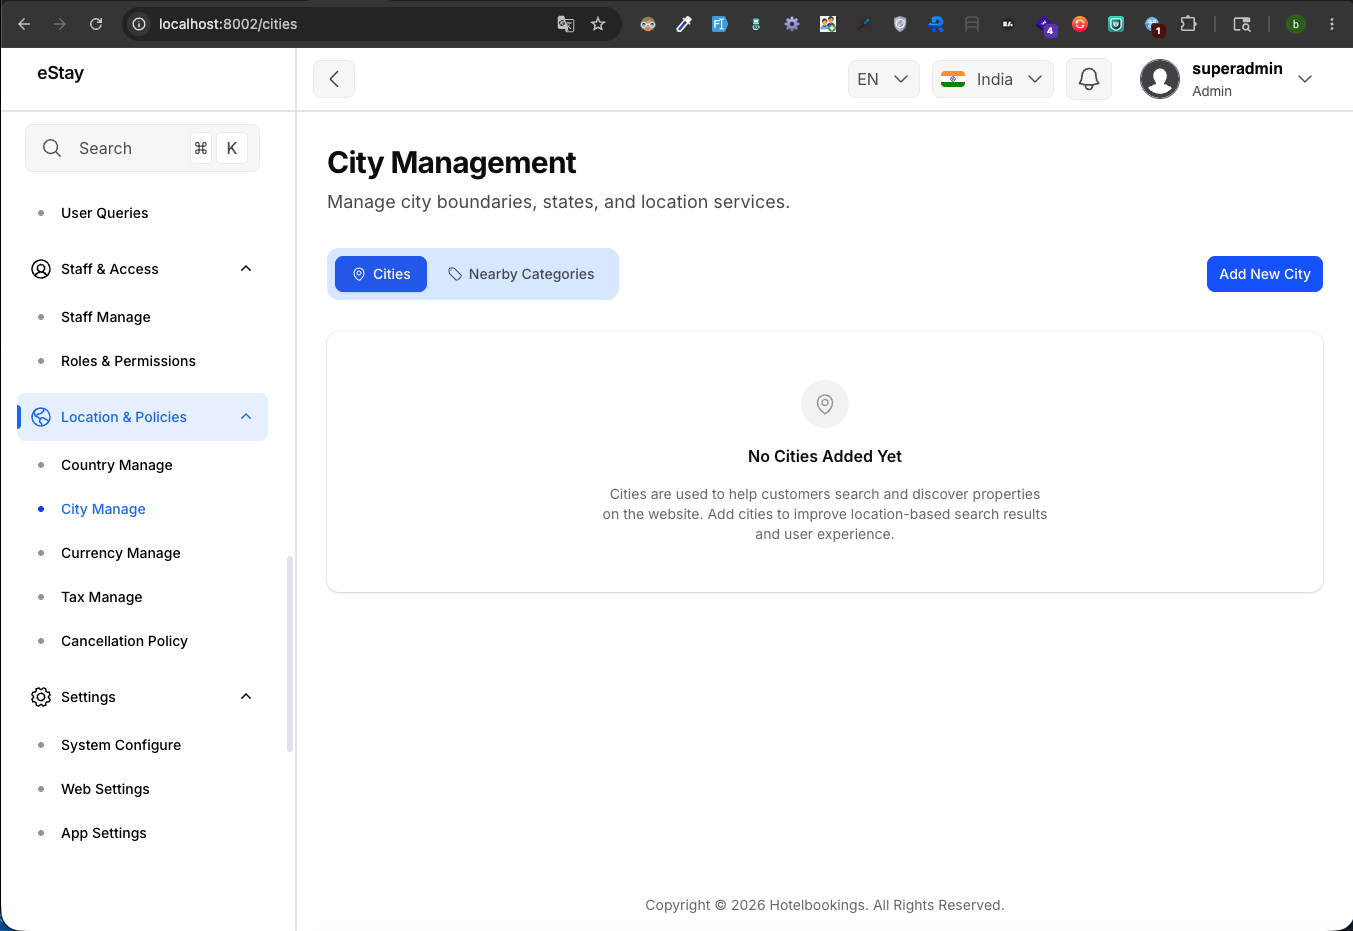
Add Cities
Adding cities allows your customers to search and discover properties based on their location. You must add at least one active city to complete this setup step.
Cities will be added under the country you selected during the initial superadmin setup. You can only add cities that belong to your chosen country.
Step 1: Navigate to City Management
In your admin dashboard, navigate to Location Policies > Cities using the left sidebar.
Step 2: Add a New City
Click the Add New City button located at the top right of the page. A modal window will appear.
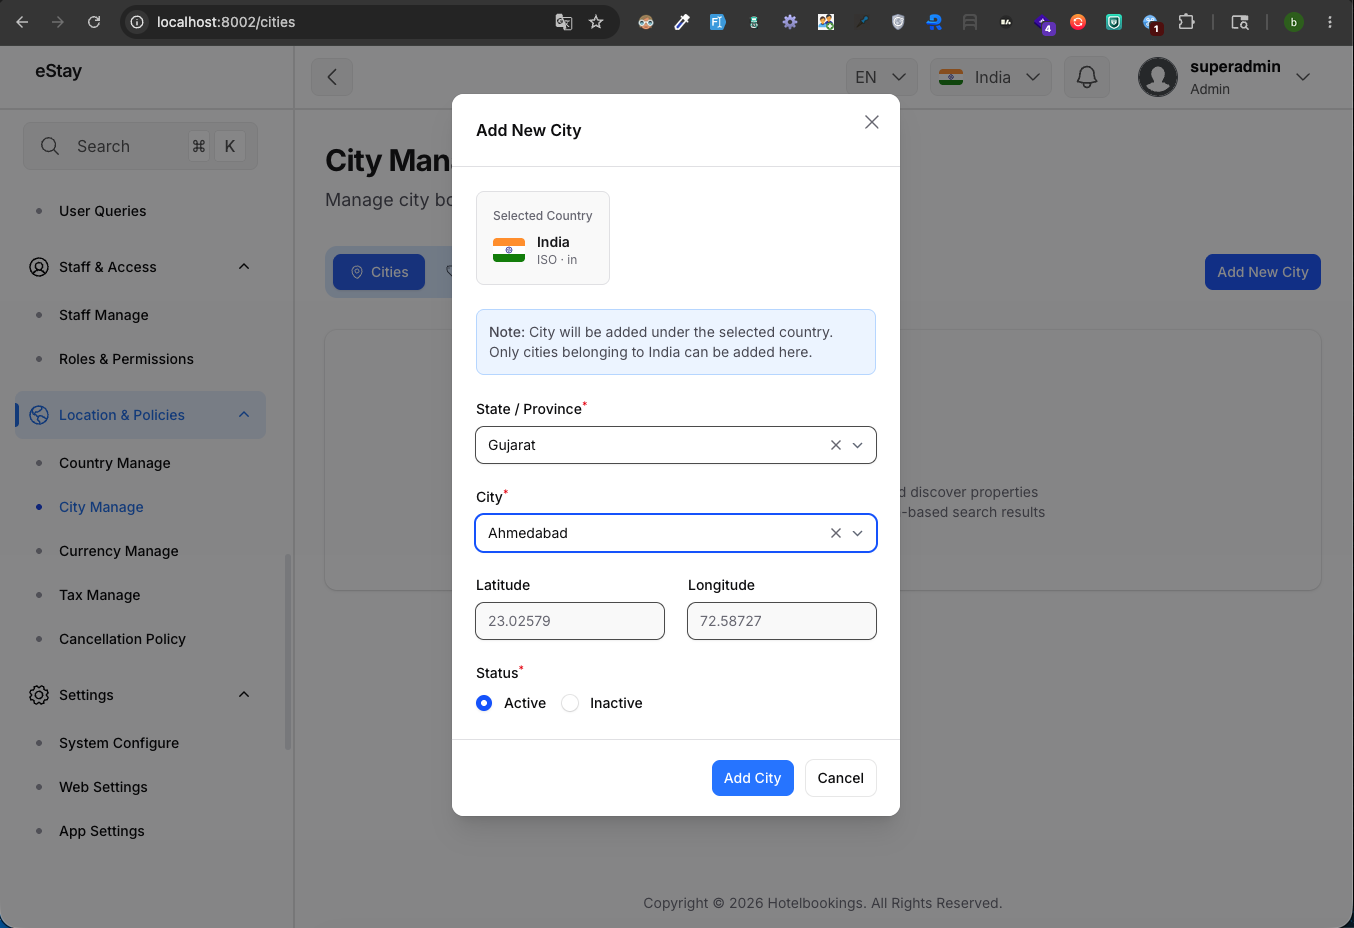
Step 3: Fill in City Details
Fill out the form with the following information:
| Field | Description |
|---|---|
| State / Province | Select the state or province where the city is located from the dropdown menu. |
| City | After selecting a state, choose the specific city from the dropdown. |
| Latitude & Longitude | These fields will automatically populate based on the city you selected. |
| Status | Choose whether this city should be Active (visible to users) or Inactive (hidden). |
Step 4: Save the City
Click the Add City button at the bottom of the modal to save your new city.
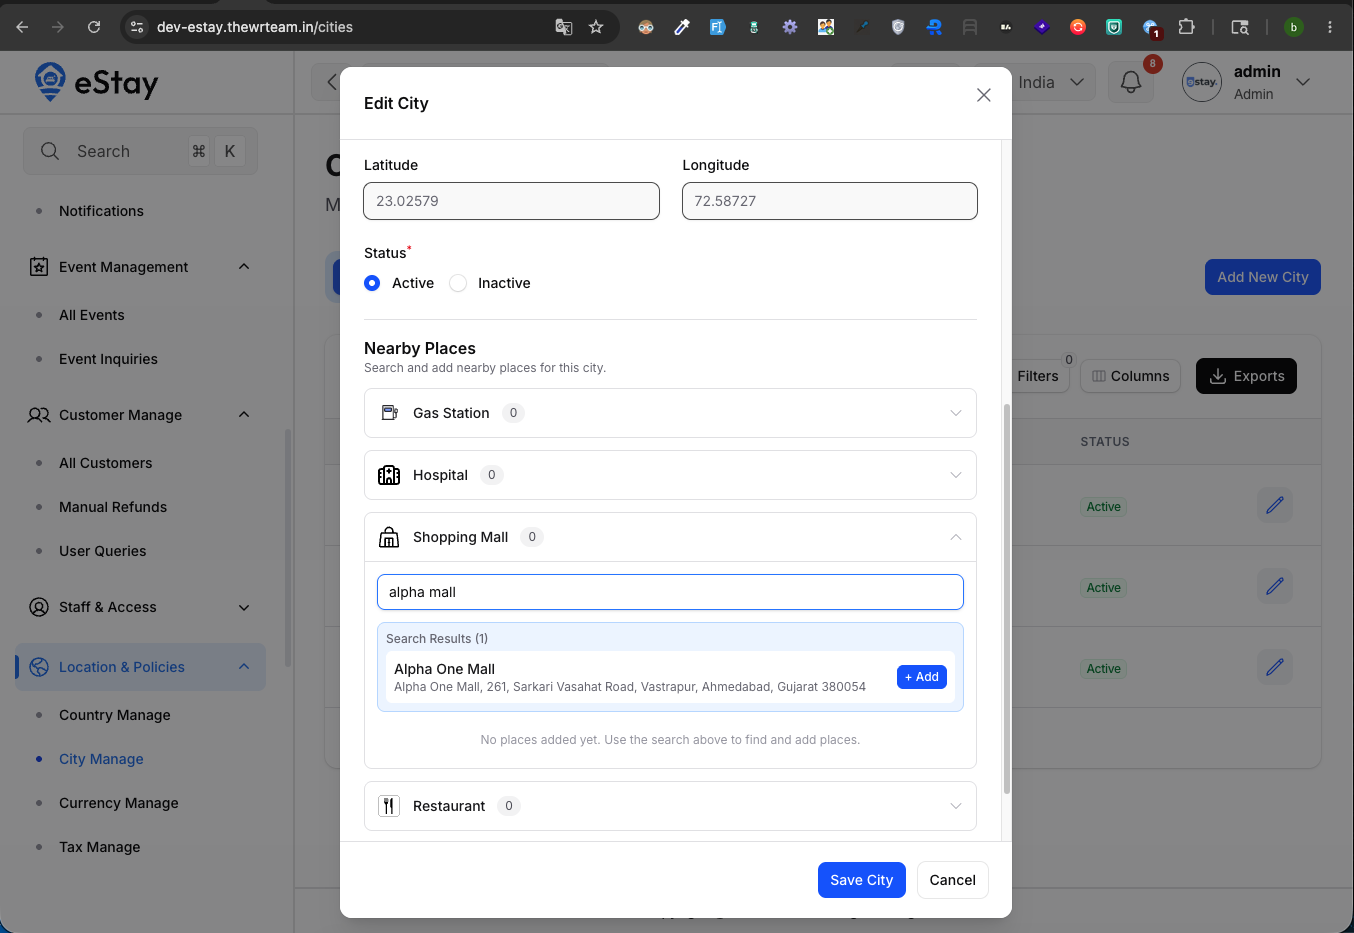
Once you have created a city, you can click the Edit icon (pencil) next to it in the table. In the edit screen, you'll have access to the Nearby Places feature, allowing you to search and add local attractions, airports, and transit stations directly via Google Places.