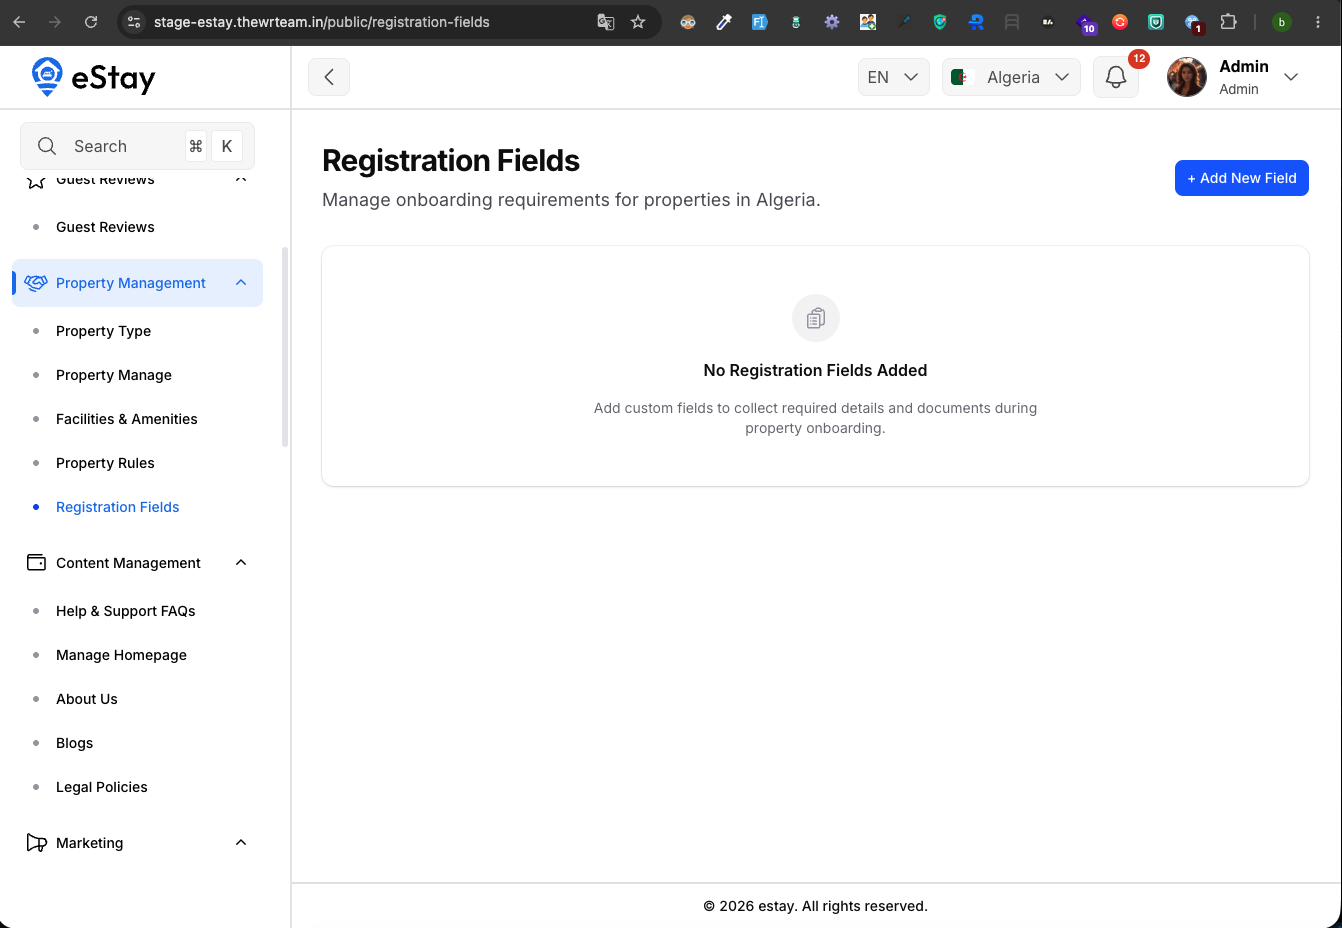
Registration Fields
Registration Fields let you add your own custom questions and document uploads to the property onboarding form. Whenever a property is added to your platform, these fields appear on the "Add Property" form so you can collect exactly the details and documents your business (or local regulations) require — beyond the standard built-in fields.
Think of it as building a custom checklist for onboarding a property. For example, you might require a business license number, a tax ID, an uploaded registration certificate, or a star rating — none of which exist by default. You define those here, and they become part of every new property's setup.
Registration fields are defined per country — they apply to property onboarding in your currently selected country. Switch the country from the topbar to manage fields for another country.
Step 1: Open Registration Fields
In your admin dashboard, go to Property Management > Registration Fields. You'll see all the custom fields configured for your current country.
Understanding the List
| Column | Description |
|---|---|
| Registration Fields | The field's name (the question/label the user sees). |
| Input Type | What kind of input it is (text, number, dropdown, file, etc.). |
| Validation | Whether it's Mandatory (must be filled) or Optional. |
| Applicability | The property type the field applies to. |
| Status | Active (shown during onboarding) or Inactive (hidden). |
You can search, export, and edit or delete any field.
Step 2: Add a Field
Click Add New Field and fill in the form.
| Field | Description |
|---|---|
| Field Name | The label/question shown during onboarding (e.g. "Business License Number"). Required. |
| Applicable In | The property type this field belongs to. (Set automatically to your active property type.) |
| Field Type | The kind of input — see the table below. |
| Is Mandatory | Yes = the field must be filled to complete onboarding; No = optional. |
| Status | Active to use it now, or Inactive to keep it hidden for now. |
Field Types
Depending on the type you choose, extra settings appear:
| Field Type | What it collects | Extra settings |
|---|---|---|
| Text Field | A short single-line text answer. | Max Length |
| Text Area | A longer multi-line text answer. | Max Length |
| Number Input | A numeric value. | Min Number and Max Number (max must be ≥ min) |
| Date | A date. | — |
| Dropdown | One choice from a list you define. | Dropdown Options (add each option) |
| Checkboxes | One or more choices from a list you define. | Dropdown Options (add each option) |
| File Upload | A document or image upload. | Max File Size |
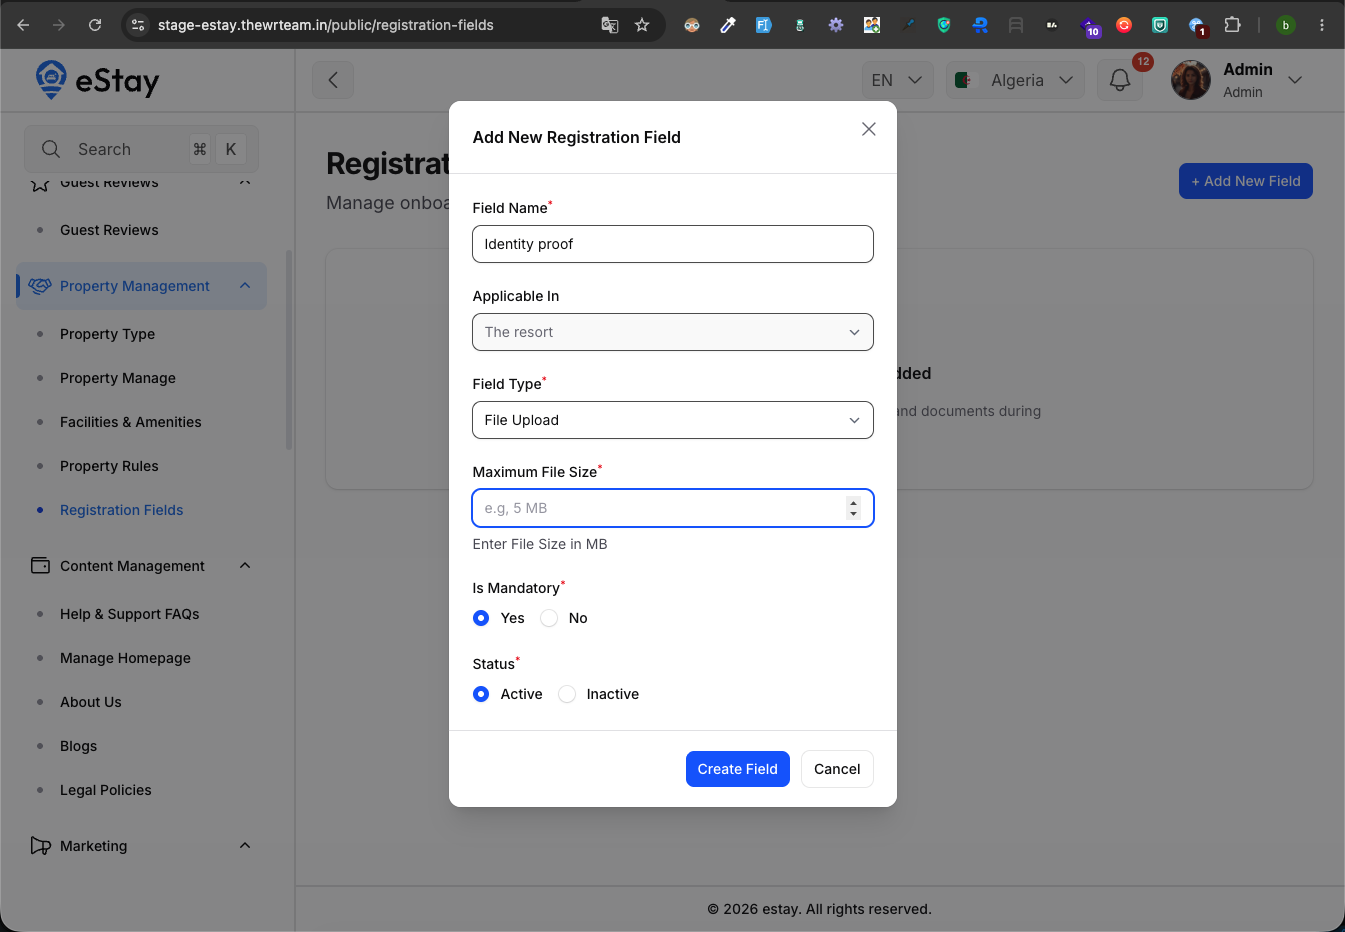
For Dropdown and Checkboxes, type each choice and press Enter to add it. You can drag to reorder them — the order is how they'll appear to the user.
Click Create Field to save. The field will immediately appear on the property onboarding form (if its status is Active).
Step 3: Edit or Delete a Field
- Edit (pencil) — change the name, type, validation, options, or status.
- Delete (trash) — remove the field from onboarding.
Removing a field takes it off future onboarding forms. Delete only fields you no longer need to collect.
Mark a field Mandatory only when onboarding genuinely can't proceed without it (e.g. a legally required document). Use Optional for nice-to-have details so you don't block property setup unnecessarily.