Property Management
Manage your properties across all countries, including their room types, facilities, and the overarching property type.
1. Property Type
Navigate to: Sidebar → Property Management → Property Type
This section defines the overarching category for your platform's properties (e.g., Hotel, Resort) and links applicable taxes.
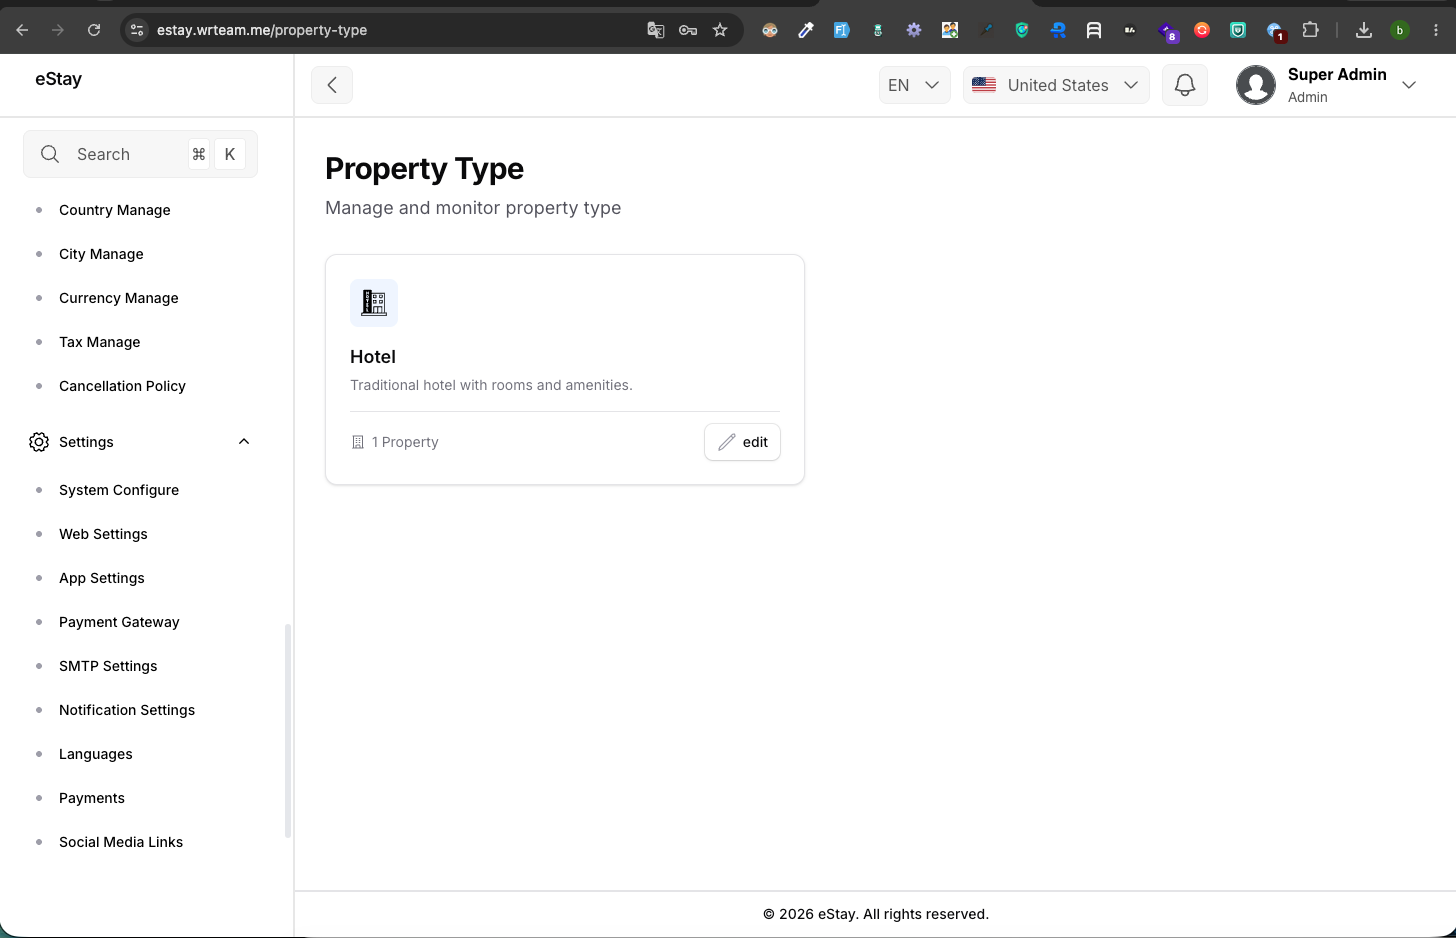
Editing the Property Type
Click the Edit (pencil icon) button to open the property type configuration modal.
| Field | Description |
|---|---|
| Property Type Icon | Upload an icon (SVG/PNG) representing the property type. |
| Property Type Name | The name of the property type (e.g., Hotel). |
| Description | A brief description of what this property type entails. |
| Configure Tax | Select taxes from the dropdown that should be applied to this property type. You can also click + Add New Tax to create a tax on the fly. |
2. Facilities & Amenities
Navigate to: Sidebar → Property Management → Facilities & Amenities
Organize and manage the amenities available at your properties. Facilities are grouped into Categories (e.g., "General", "Bathroom", "Outdoors") to make them easier to assign and display.
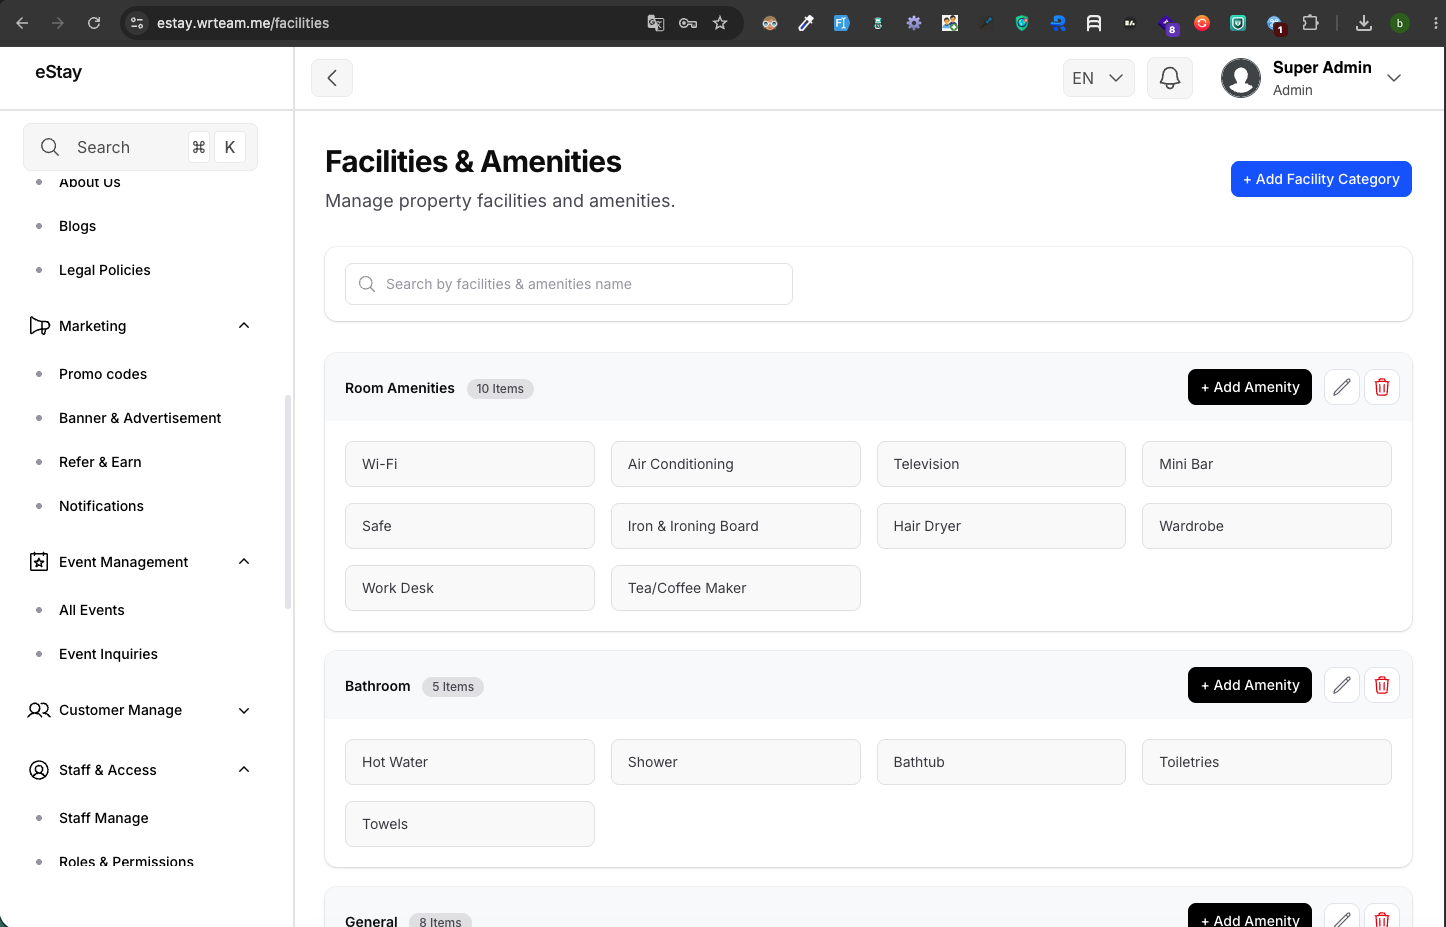
Managing Facility Categories
| Action | Description |
|---|---|
| + Add Facility Category | Create a new grouping. Requires a Category Name, an Icon upload, and setting the Status (Active/Inactive). |
| Edit Category | Update the category's name, icon, or status using the pencil icon. |
| Delete Category | Removes the category. |
Managing Facilities (Amenities)
Within each category block, you can add specific amenities.
| Action | Description |
|---|---|
| + Add Amenity | Click this inside a specific category block. Requires a Facility Name, an Icon upload, and setting the Status. |
| Edit Facility | Update the specific amenity's details using the pencil icon next to it. |
| Delete Facility | Removes the amenity permanently from the system and all properties. |
3. Room Types
Navigate to: Sidebar → Property Management → Room Types
Define the different types of rooms available across your platform (e.g., Deluxe Ocean Suite, Standard Double).
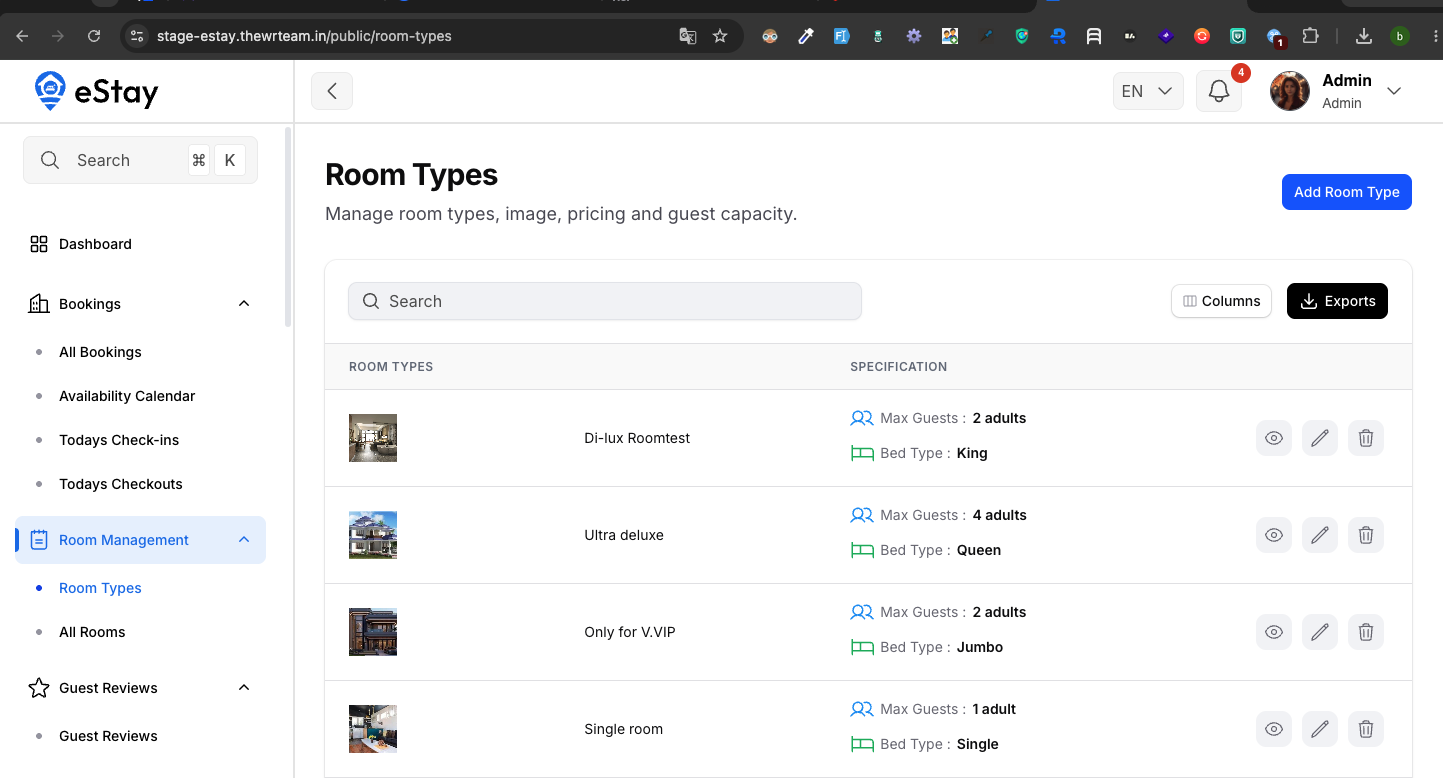
Adding a Room Type
Click Add Room Type. This opens a 3-step wizard:
Step 1: Basic Details
| Field | Description |
|---|---|
| Room Name | Display name of the room type. |
| Bed Type | Description of beds (e.g., 1 King Bed + 1 Sofa Bed). |
| Max Guests | Maximum number of guests allowed (1-50). |
| Description | Full rich-text description of the room. |
| SEO Settings | Optional Meta Title, Meta Description, Meta Keywords, and Schema Markup for search engines. |
Step 2: Select Room Amenities
- Check the boxes next to the facilities that apply specifically to this room type.
Step 3: Room Images
- Upload up to 8 images showcasing the room type.
Editing or Deleting a Room Type
Use the Edit or Delete icons in the list.
Editing a room type will automatically update these details for all properties currently using this room type. You cannot delete a room type if there are active rooms associated with it.
4. Properties
Navigate to: Sidebar → Property Management → Property Manage
Manage individual property listings. A property must go through a comprehensive 8-step setup wizard before it is fully configured.
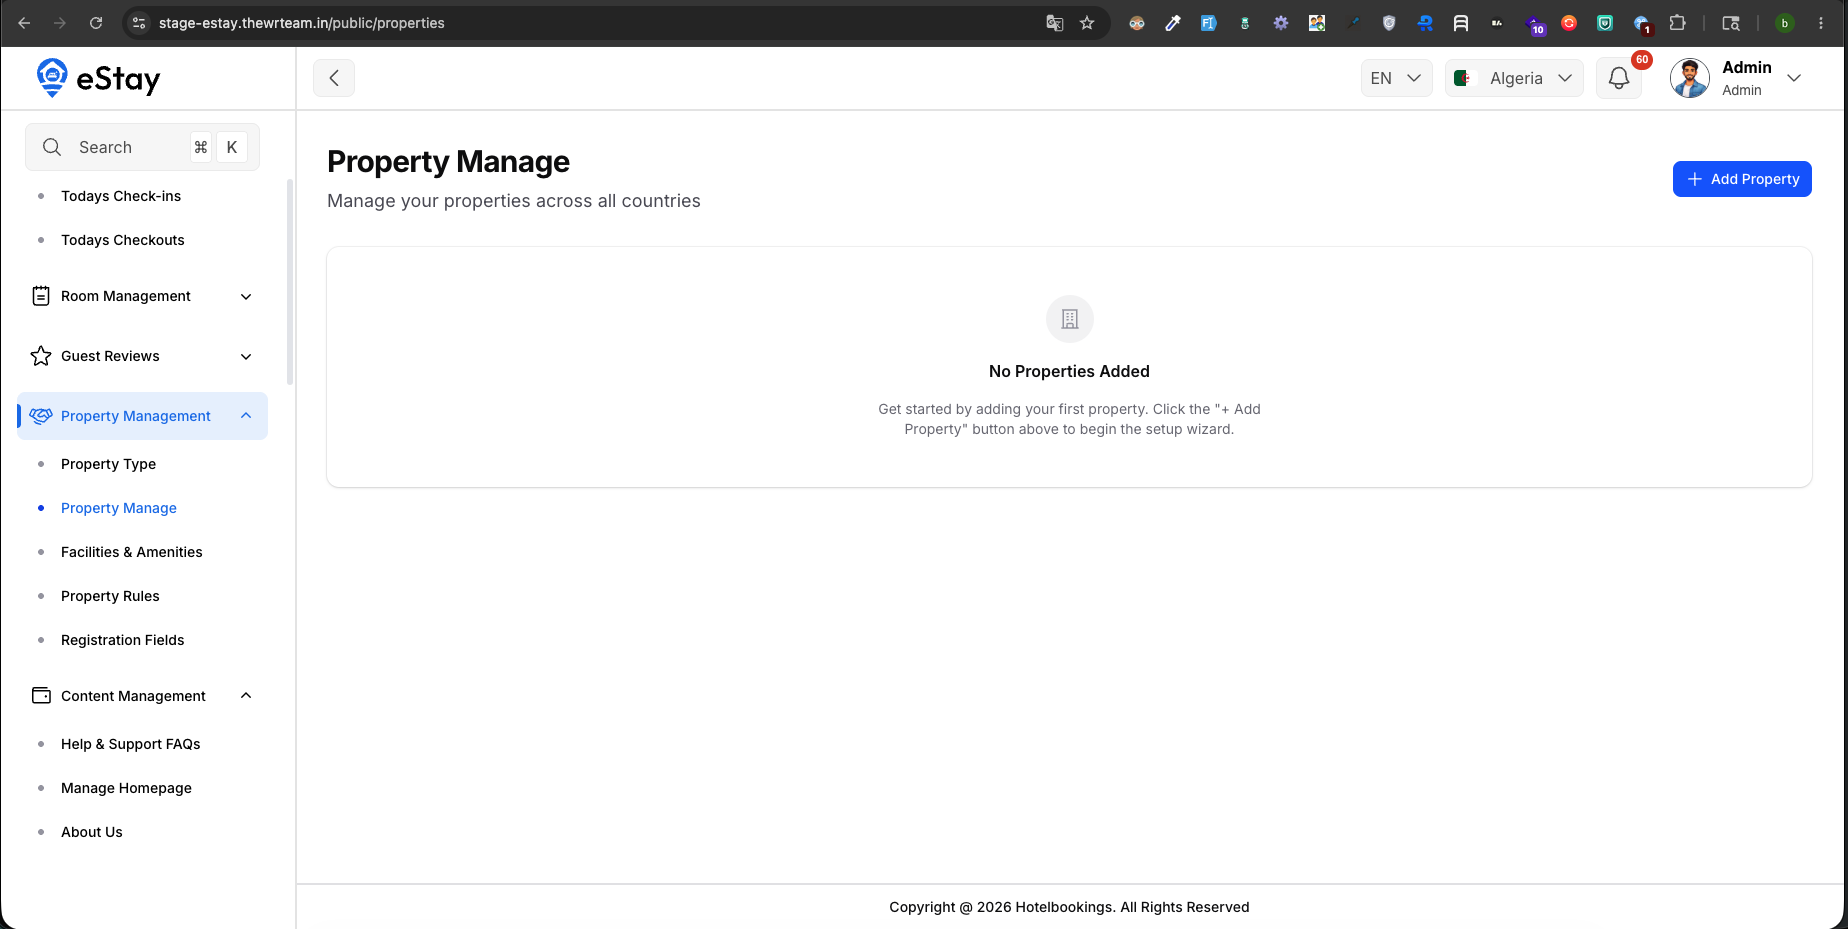
Adding a Property (8-Step Wizard)
Click Add Property to launch the comprehensive setup wizard. The system auto-saves your progress, allowing you to return to an incomplete draft at any time.
Step 1: Basic Details
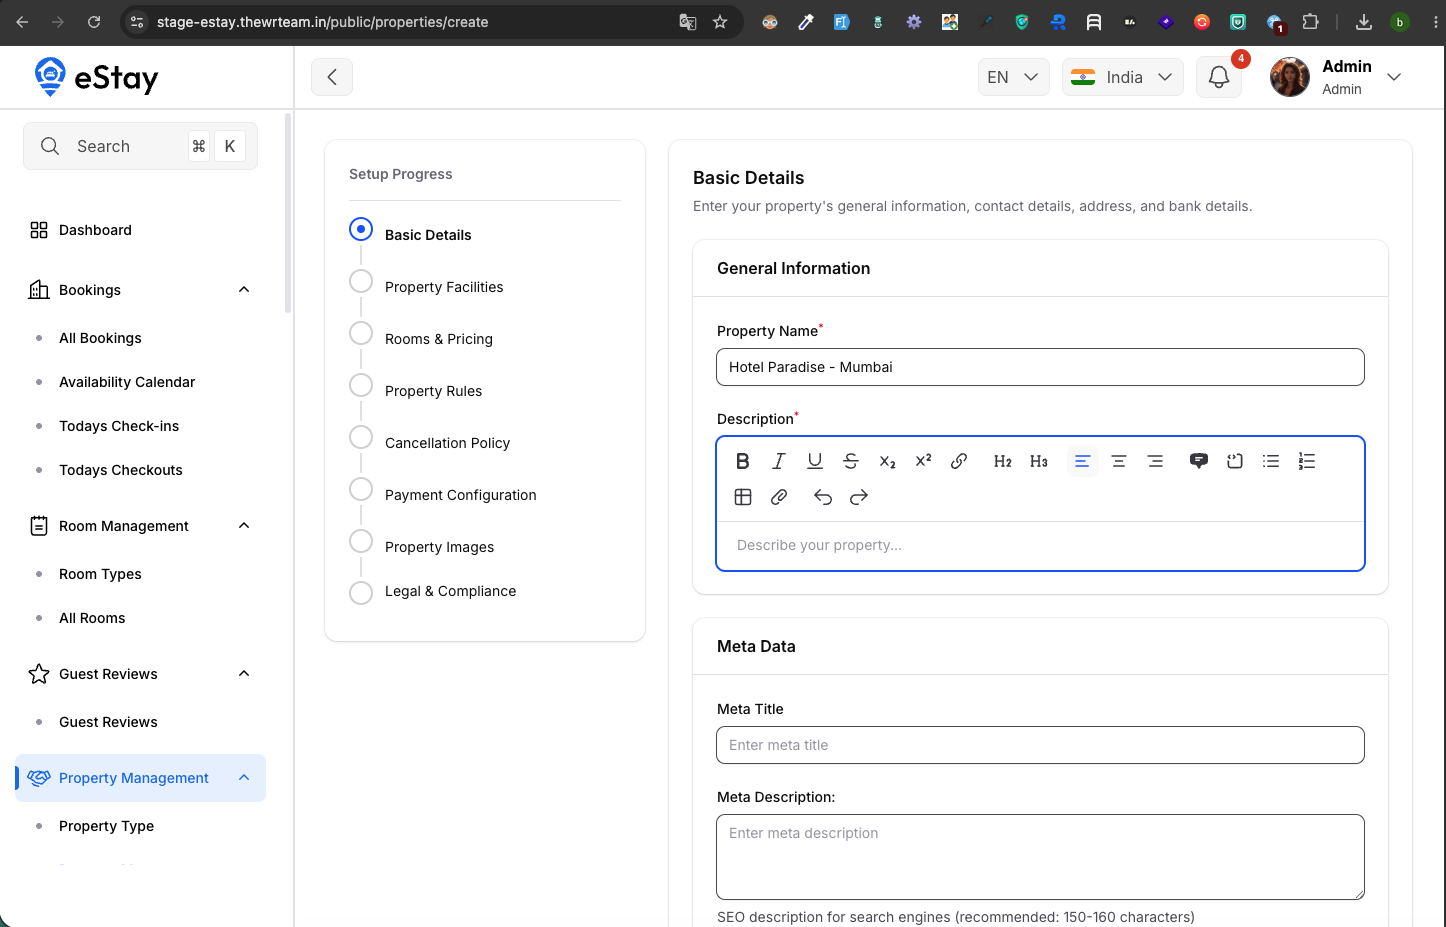
Provide the foundational information for your property.
- General Information: Enter the Property Name + city as the property name (if you have multiple properties with same name) and a rich-text Description.
- Meta Data: Configure SEO settings including Meta Title, Meta Description, Meta Keywords, and Schema Markup.
- Property Contact Info: Add the primary Phone Number, Email Address, and optional Landline.
- Property Address: Use the Google Maps picker to select your location. Enter Street Address, State, City, Zip Code, Latitude, and Longitude.
- Bank Details: Add payment reception details: Account Holder Name, Bank Name, Account Number, and Bank Code.
Step 2: Property Facilities
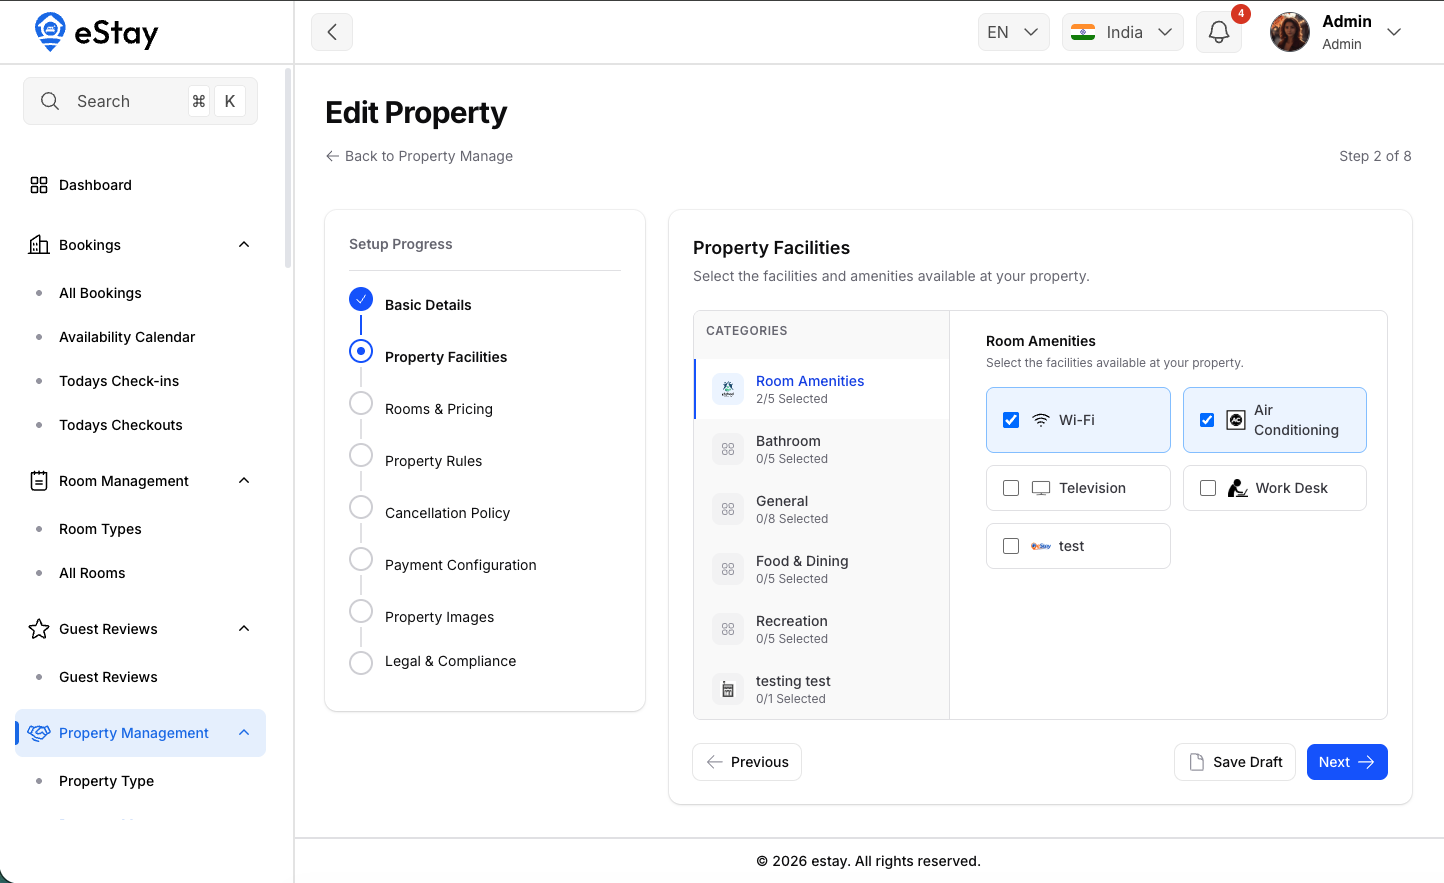
Select the global amenities available at this specific property.
- Check the relevant facilities grouped by categories (e.g., General, Bathroom, Outdoors).
Step 3: Rooms & Pricing
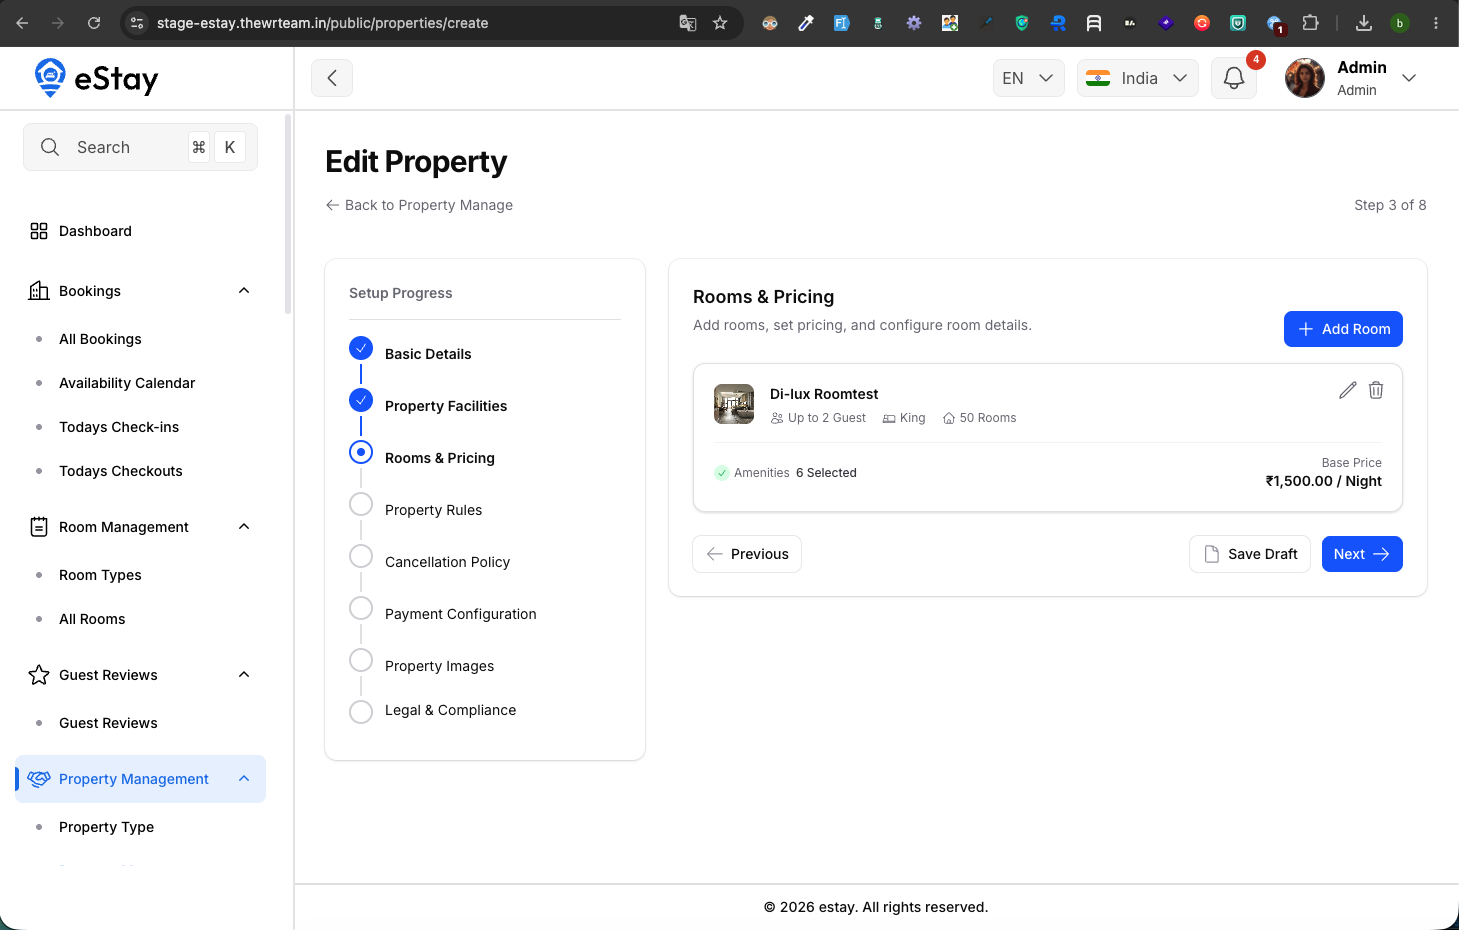
Add inventory to your property.
- Click Add Room to configure a specific room offering.
- Room Information: Select a pre-configured Room Type from the dropdown (this pre-fills Name, Bed Type, Max Guests, Description, Images, and Amenities).
- Room Images & Amenities: Review or modify the inherited images (max 8) and amenities for this specific physical room block.
- Room Setup: Define the Total Rooms (inventory count), Room Size (sqft), and the Base Price Per Night.
- Click Save Room. You must add at least one room to proceed.
Step 4: Property Rules
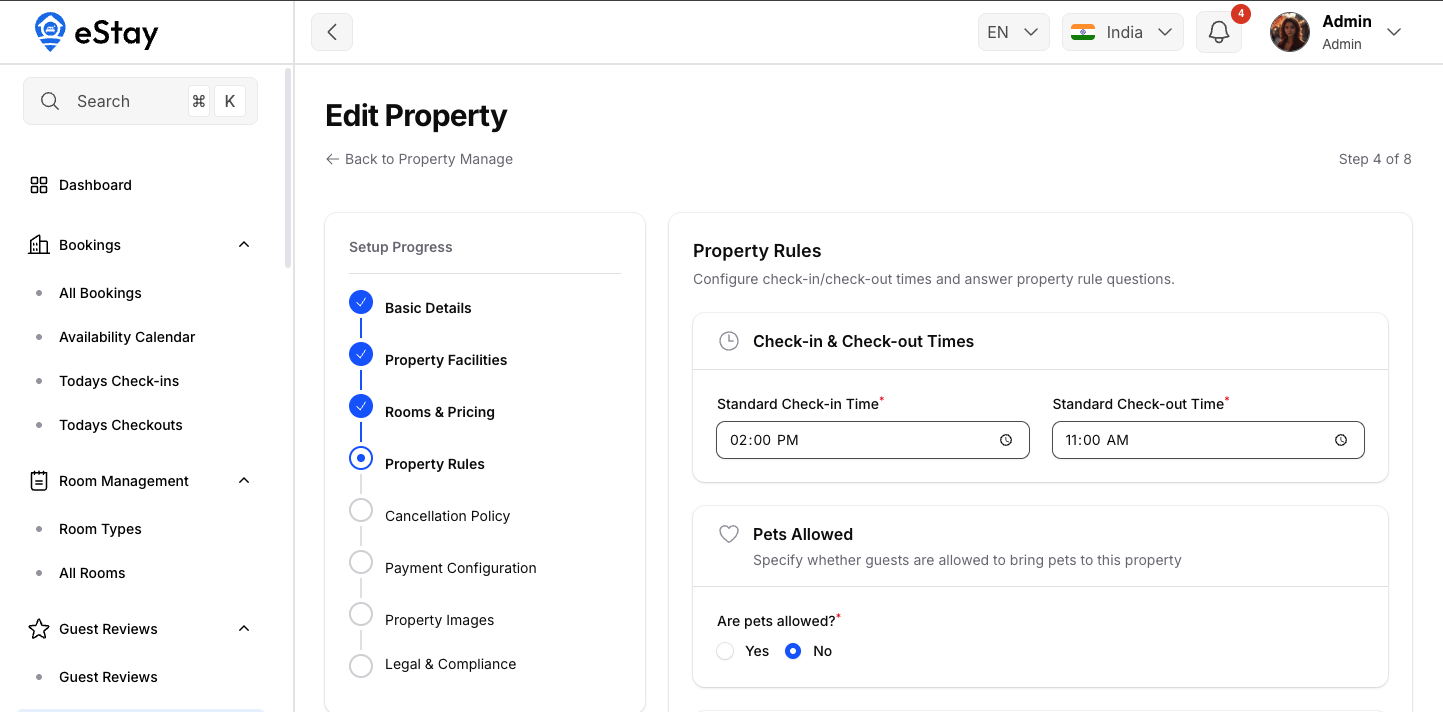
Define standard policies and check-in/out procedures.
- Check-in and Check-out Times: Set the standard arrival and departure hours.
- Pets Allowed: Toggle whether pets are allowed on the premises.
- Policy Questions: Answer any dynamic property rules (Yes/No, Single Select, Multiple Select) configured by the platform administrator.
Step 5: Cancellation Policy
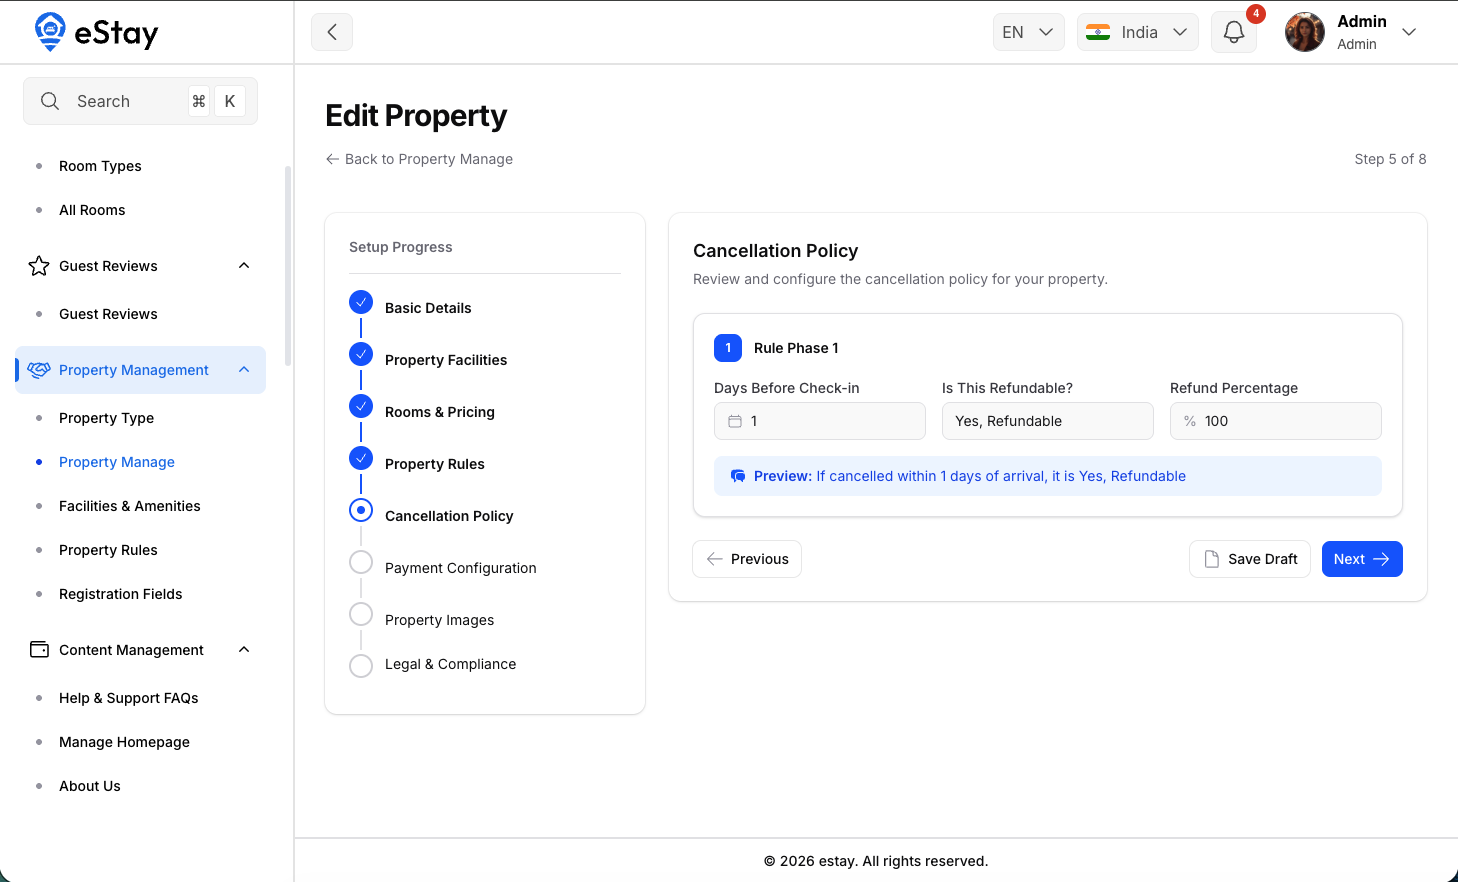
Configure the refund rules specific to this property.
- Cancellation Cutoff Time: Set the universal cutoff time (e.g., 14:00) for processing cancellations.
- Cancellation Rules: Add specific rules, such as "Days Before Check-in", whether it "Is This Refundable?", and the "Refund Percentage" (e.g., Cancel 5 days prior for a 100% refund).
Step 6: Payment Configuration
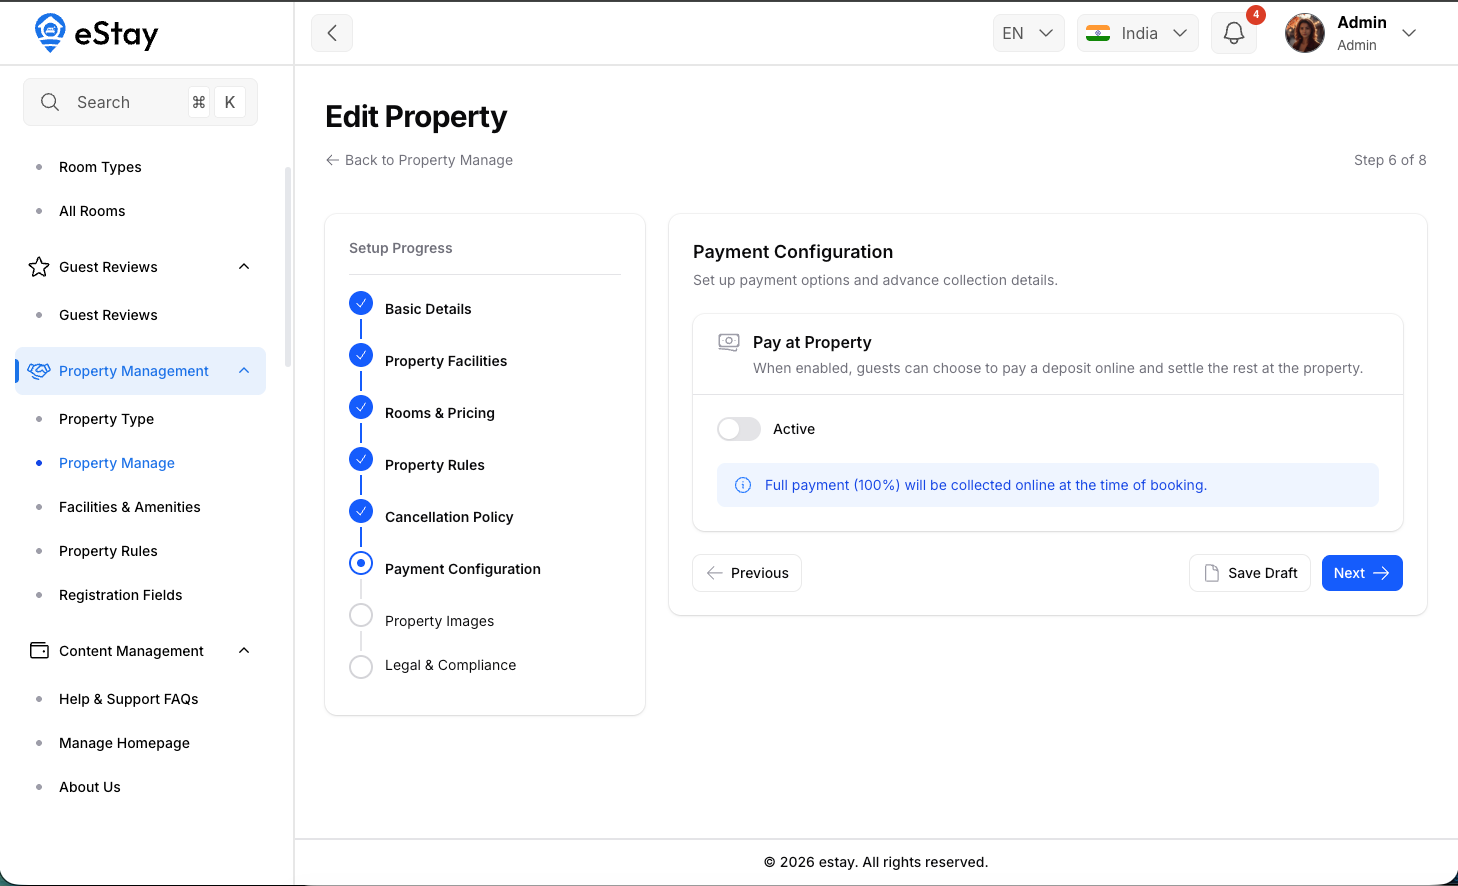
Setup how this property handles guest payments.
- Pay At Property: Toggle whether guests can pay upon arrival.
- Advance Percentage: If Pay At Property is enabled, set the percentage (0-99%) required to be paid online to secure the booking.
Step 7: Property Images
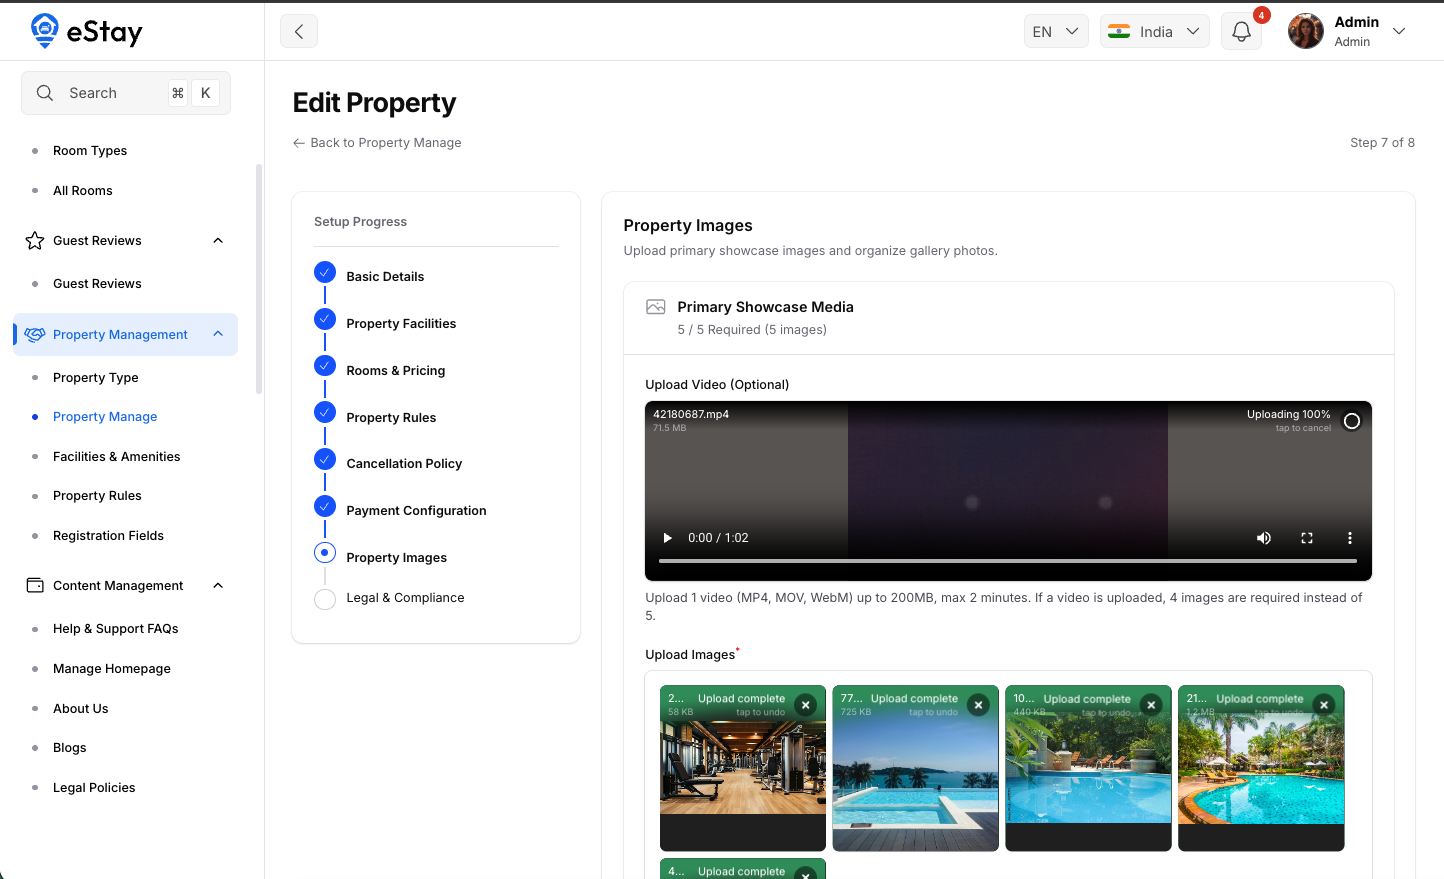
Upload high-quality media to showcase the property.
- Primary Showcase Media: Upload either 5 images OR 1 Video (max 2 mins, MP4/MOV) + 4 images.
- Additional Gallery Photos: Create categorized image galleries (e.g., "Dining", "Lobby") and upload up to 5 images per group.
Step 8: Legal & Compliance
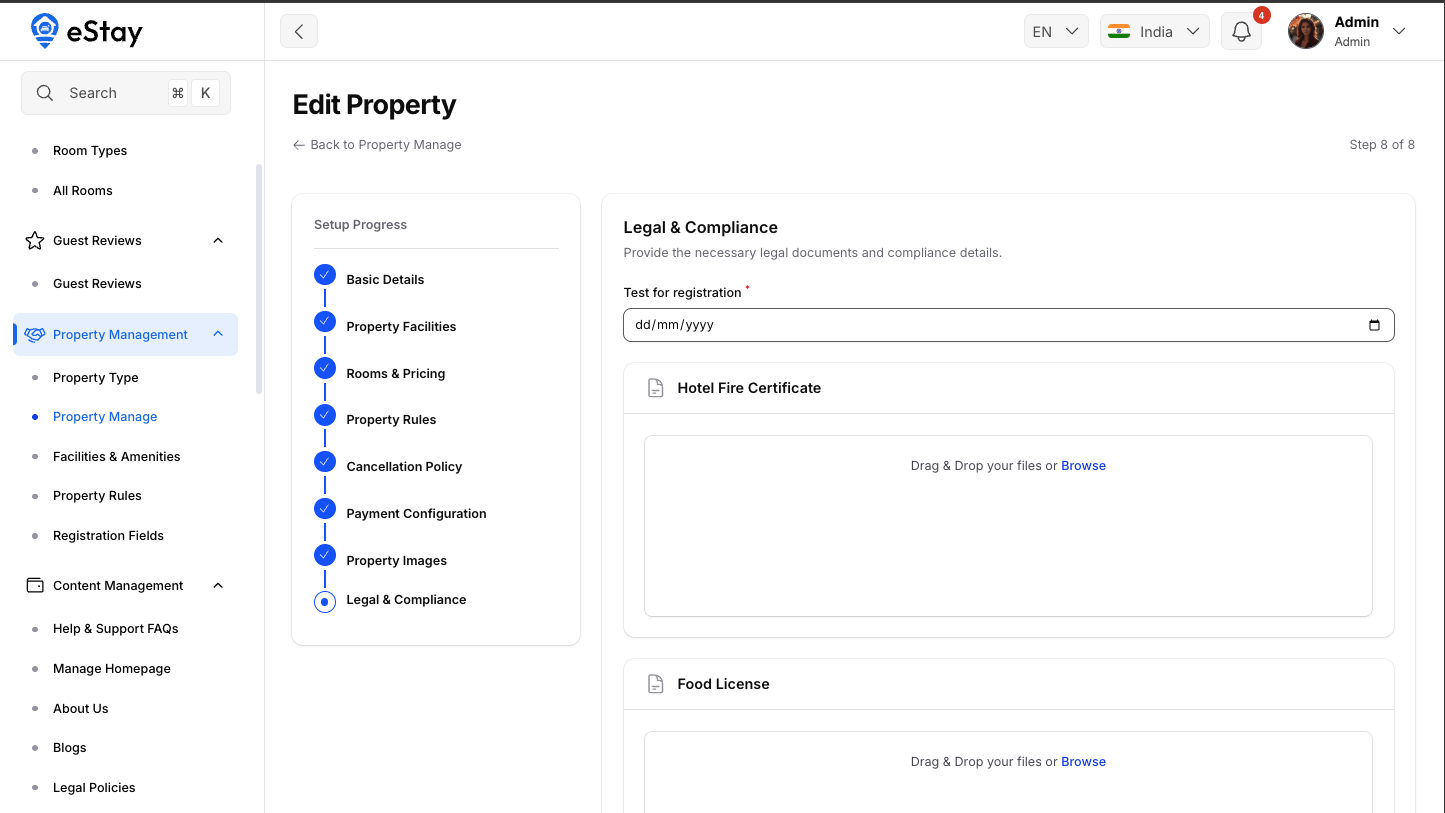
Provide necessary registration documents and finalize publication.
- Registration Fields: Fill out any mandatory dynamic fields (e.g., text, numbers, document uploads) required for onboarding in your region.
- Property Status: Choose whether to keep the property as a Draft or set it to Active upon submission.
Property Status and Progress
In the properties list, you can track the setup progress (e.g., 8/8 Steps). Properties remain invisible to guests if they are in a Draft status. You can click Edit Property to resume an incomplete wizard at any time.