Installation
Install the eStay admin panel on your server via cPanel. Before starting, ensure your server meets the minimum requirements.
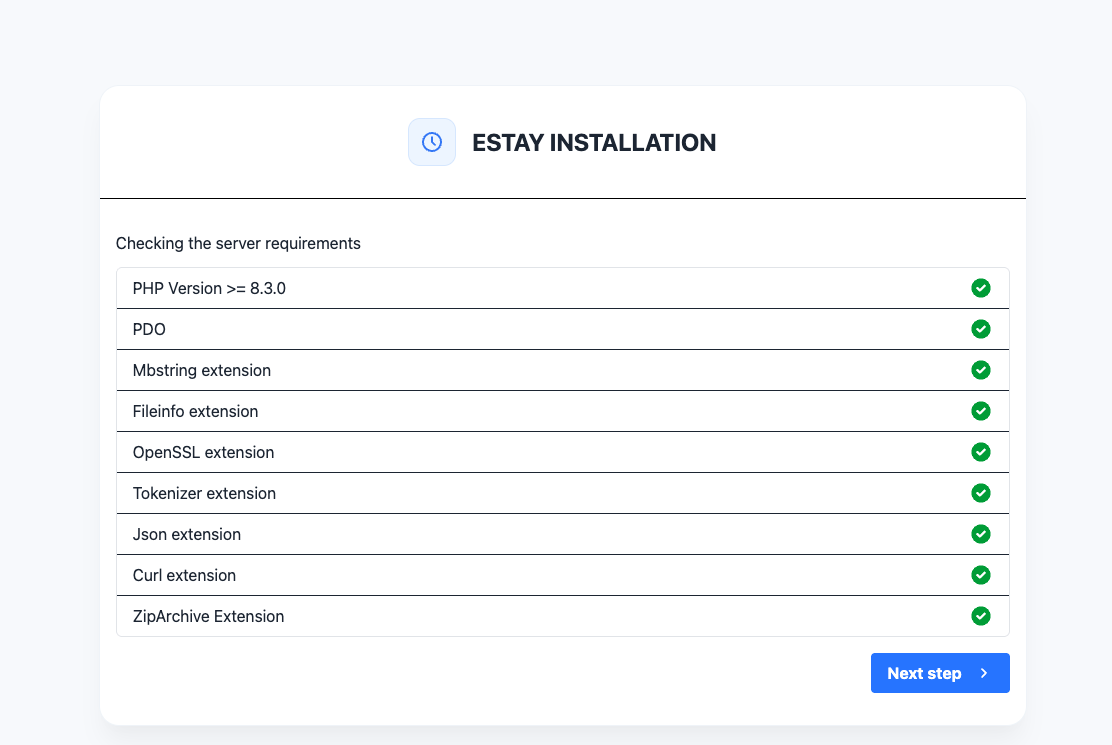
- PHP 8.3 or higher
upload_max_filesizeset to 100M- MySQL 5.7+ or MariaDB 10.3+
- BCMath, cURL, Ctype, Fileinfo, JSON, Mbstring, OpenSSL, PDO, Tokenizer, XML PHP extensions
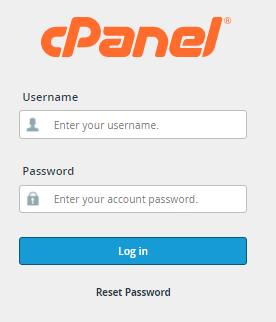
Step 1: Login to cPanel
Log in to your hosting account's cPanel dashboard.
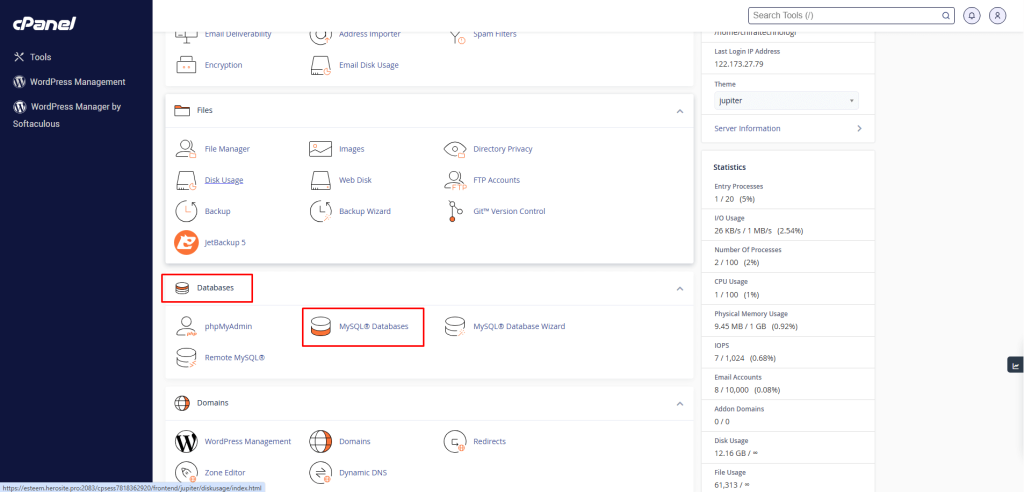
Step 2: Create a Database
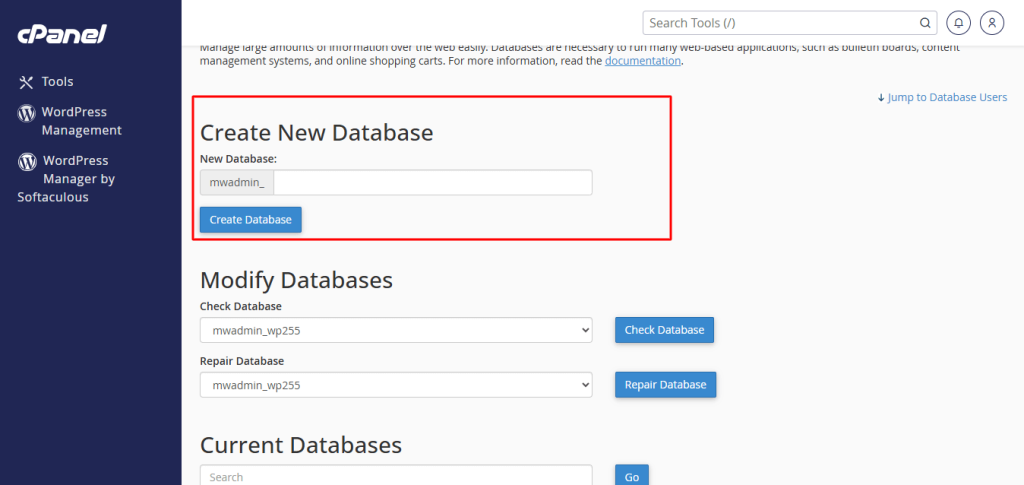
- In cPanel, navigate to MySQL Databases.
- Create a new database (e.g.,
estay_db). - Create a new database user with a strong password.
- Assign the user to the database and grant All Privileges.
Note down your DB Hostname, DB Name, DB Username, and DB Password — you will need these during installation.
Step 3: Open File Manager
In cPanel, open File Manager and navigate to either:
public_html— for the main domain- Your subdomain's root folder — if installing on a subdomain
Step 4: Upload the Zip File
Upload the downloaded zip file named Code vX.X - upload this on server.zip into the folder from Step 3.
Only upload the file named "upload this on server" — do not upload the full package zip directly.
Step 5: Extract the Zip File
Right-click the uploaded zip file and select Extract. Confirm the extraction path is your target folder (public_html or subdomain root).
Once extracted, verify that files such as index.php, artisan, and the app/ directory are present in the folder.
Step 6: Create Your .env File
The package includes a .env.example file with all the required configuration keys. You must copy it to .env before the installer can run.
Via cPanel File Manager:
- In File Manager, navigate to your project root (the folder containing
artisan). - Right-click
.env.exampleand select Copy. - Copy it to the same directory and rename the copy to
.env.
Via SSH (if available):
cp .env.example .env
If you skip this step, you will see a "Setup Required" error page when you open the installer. The application cannot boot without a .env file.
You do not need to edit the .env file manually. The installation wizard will fill in your database credentials, and the application key is generated automatically during installation.
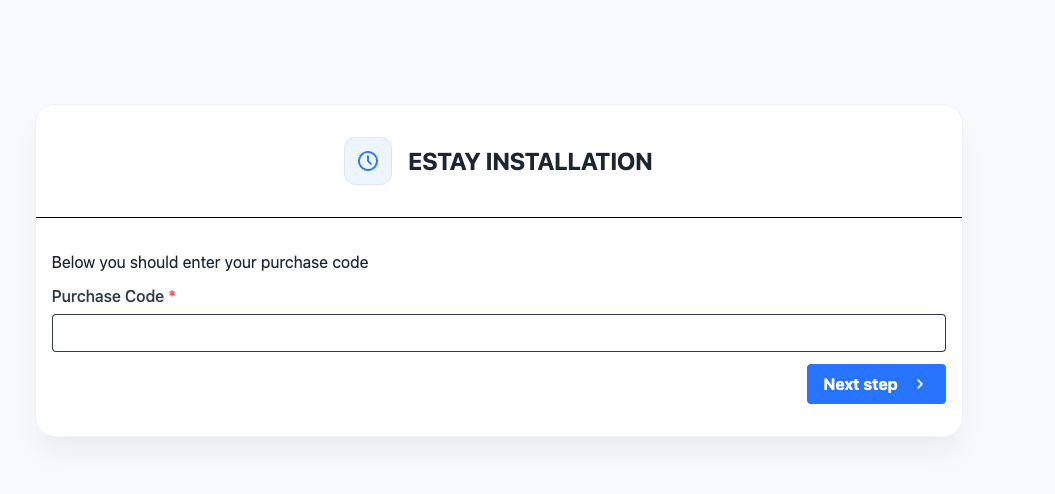
Step 7: Find Your Purchase Code
You will need your Envato purchase code during installation.
Find it here: Where Is My Purchase Code?
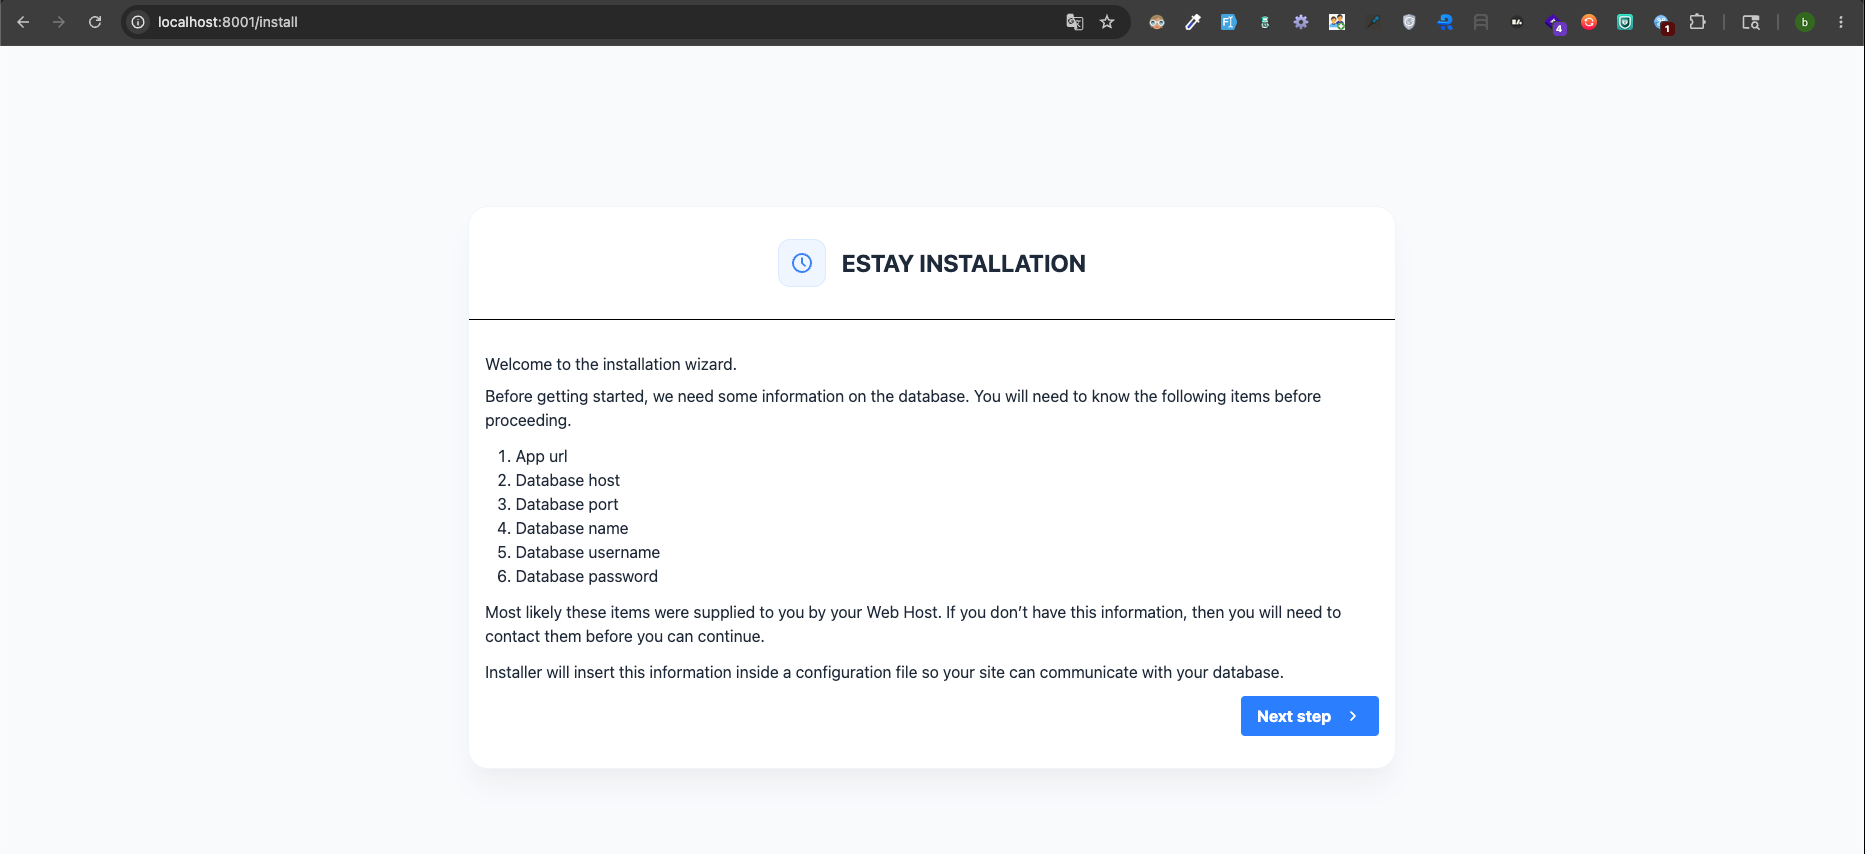
Step 8: Run the Installer
Open your browser and visit:
http://yourdomain.com/install
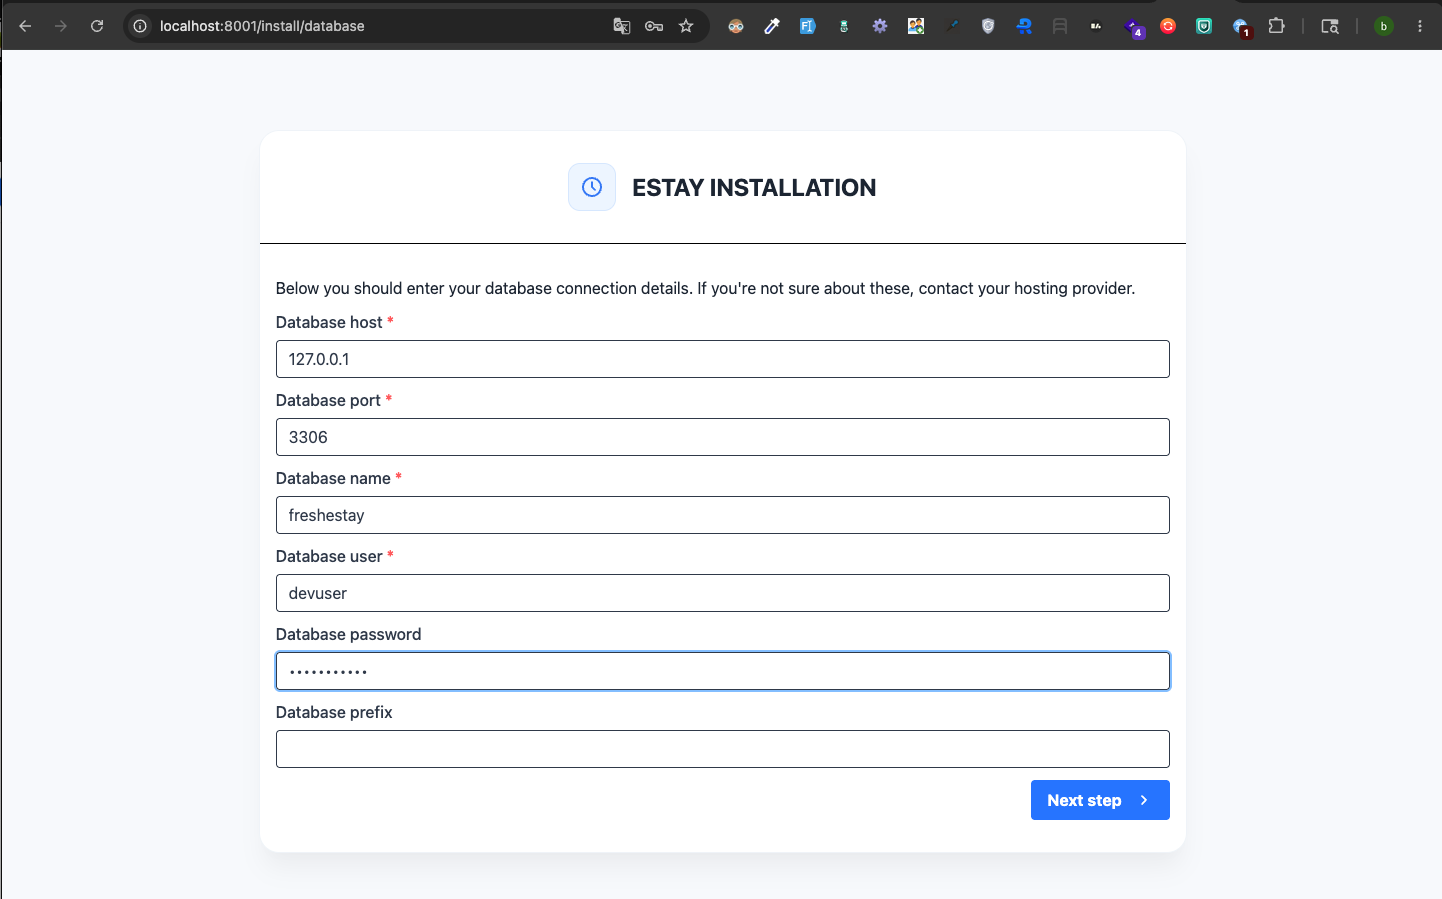
The installation wizard will appear. Fill in the following fields:
| Field | Description |
|---|---|
| DB Hostname | Usually localhost |
| DB Username | The database user created in Step 2 |
| DB Password | The database user's password |
| DB Name | The database name created in Step 2 |
| Admin Email | Email address for the admin account |
| Admin Password | Password for the admin account |
| Purchase Code | Your Envato purchase code |
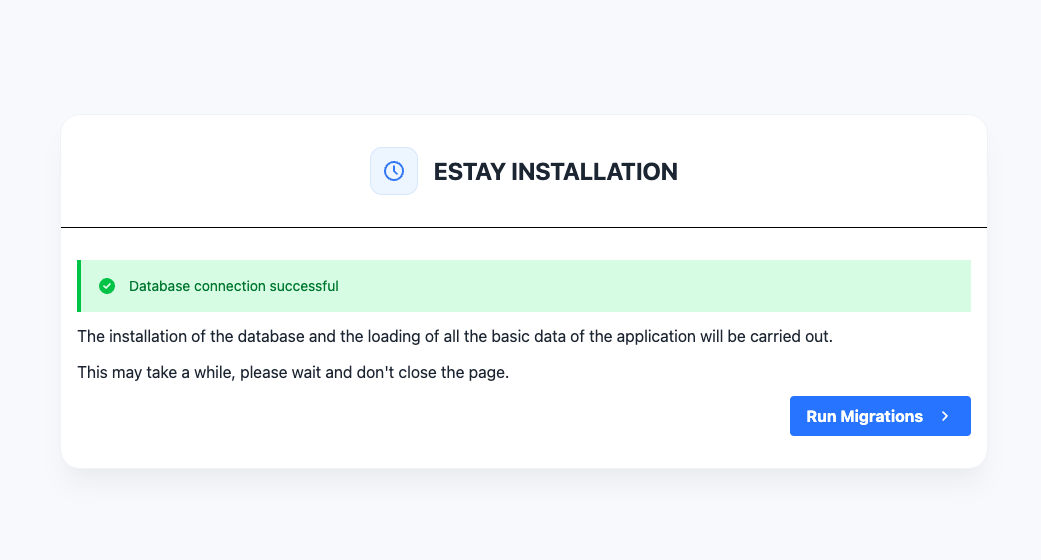
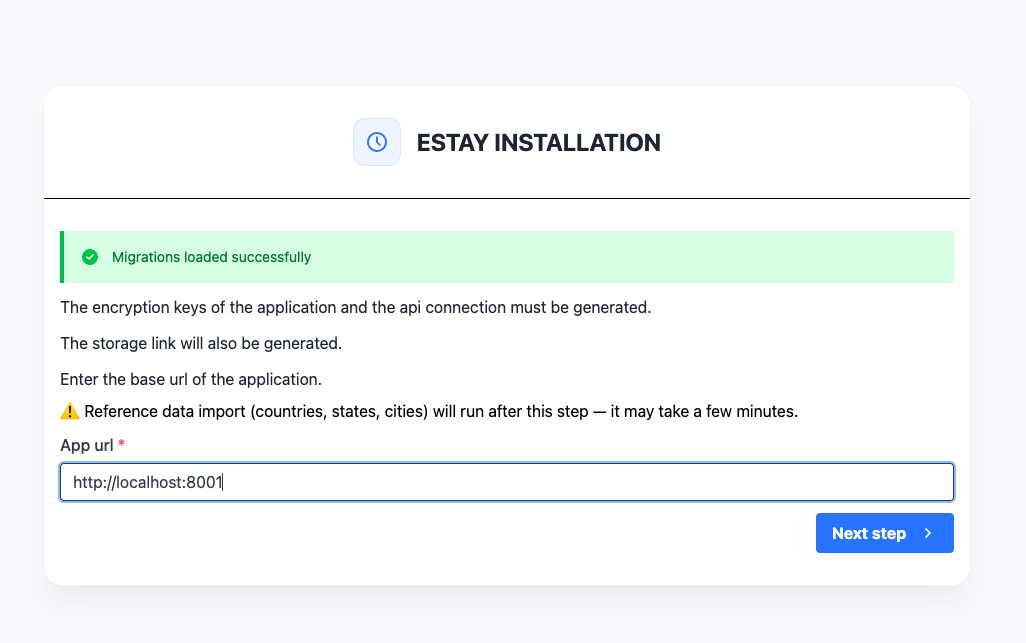
Step 9: Complete Installation
Click the Install button. The installer will:
- Verify the database connection
- Run database migrations and seeders
- Generate the application key
- Create the storage symlink (so uploaded logos and property images display correctly)
- Create the admin account
Once complete, you will see a success screen with a link to your admin panel.
The installer creates the storage symlink automatically. If your hosting has the symlink or exec functions disabled, the installer will show an error — in that case, create the link manually via SSH:
ln -s /path/to/your/project/storage/app/public /path/to/your/project/public/storage
After installation, the /install route is automatically disabled for security. Attempting to visit it again will redirect you to the admin panel.
Logging In and setting the main superadmin account
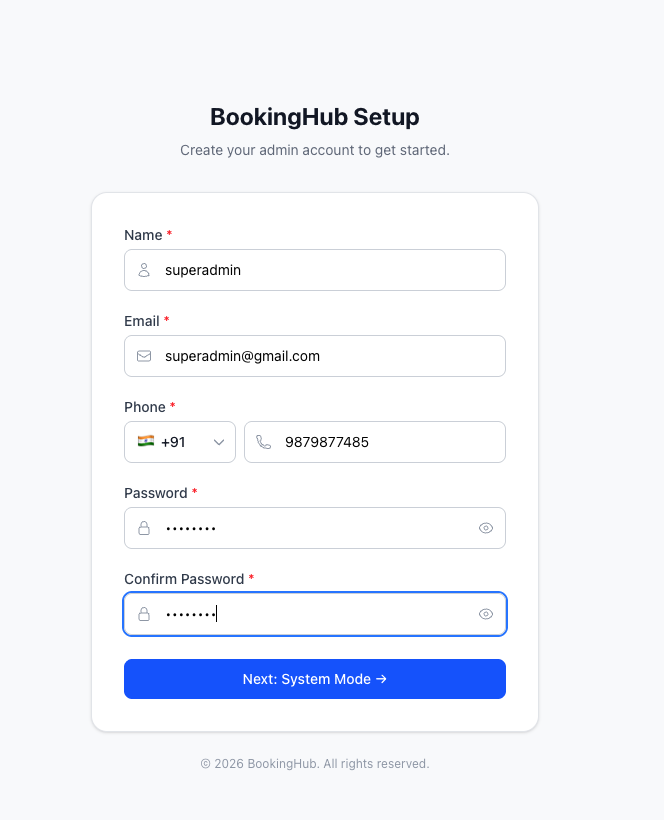
- create your superadmin account from here add strong password.
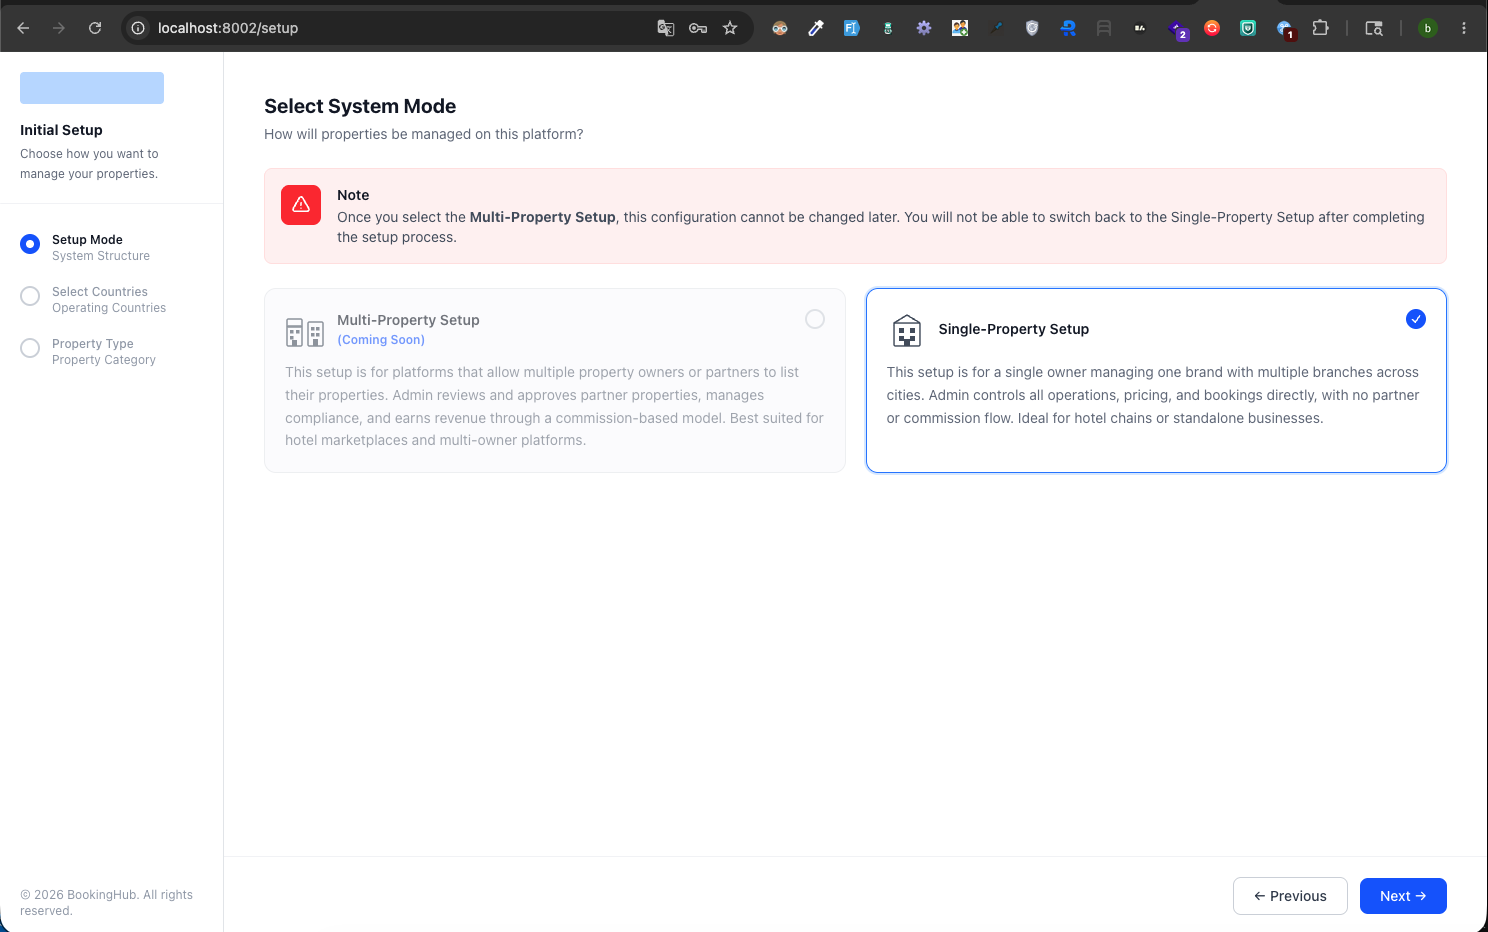
- choose your property mode.
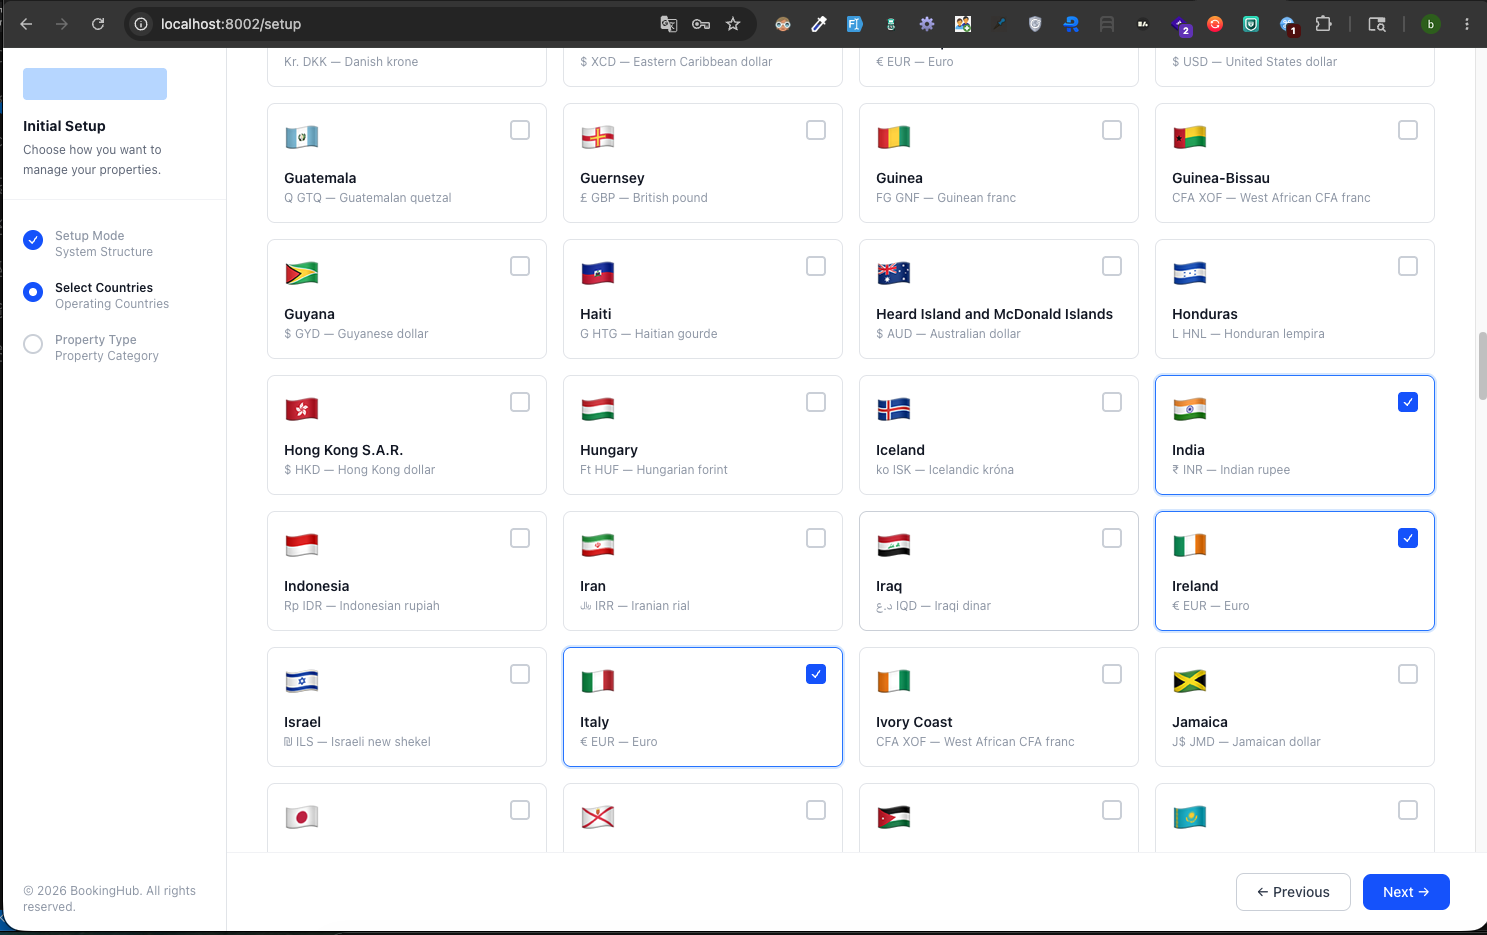
- choose the countries where you want to operate your business.
- dont worry, you can always add/edit new countries later.
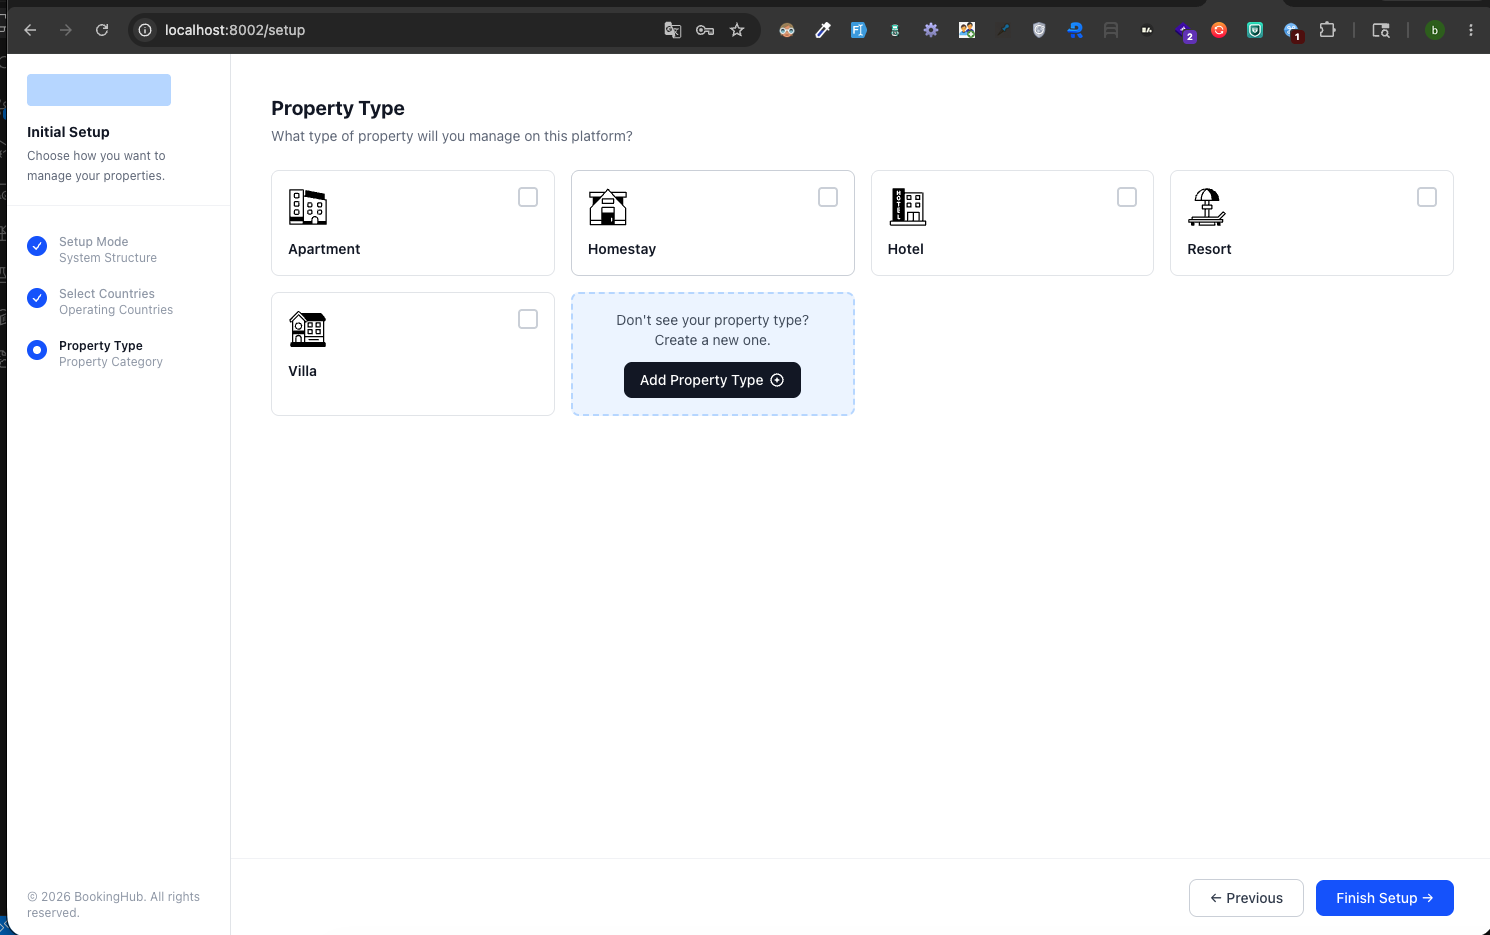
- choose the type of property you run the business with (you can choose one only )
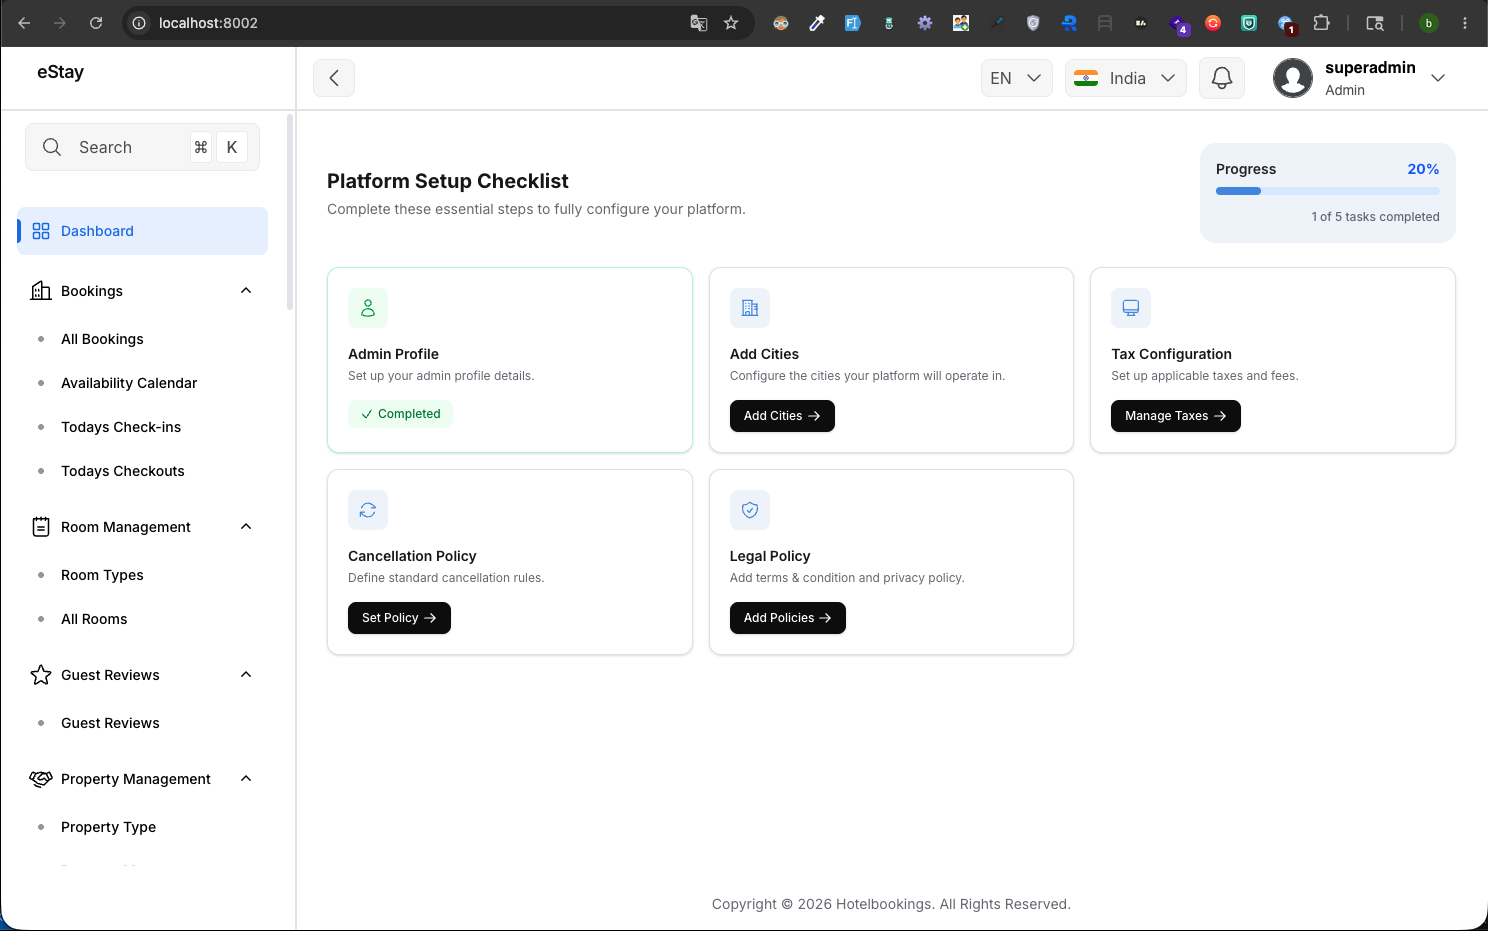
- congratulations! you have landed to the dashboard.
- complete the checklist to access the main admin dashboard.
Navigate to your admin panel at:
http://yourdomain.com/admin
Use the Admin Email and Admin Password you set during installation.
Next Steps
Some features run in the background — confirming payments after a gateway webhook, expiring abandoned bookings, sending scheduled notifications, and syncing exchange rates. These rely on scheduled tasks (cron) being set up on your server. After installing, set these up by following the Cron Jobs Setup guide, otherwise these actions won't happen automatically.